Generate Images and Videos Inside Claude Cowork with the Higgsfield Connector
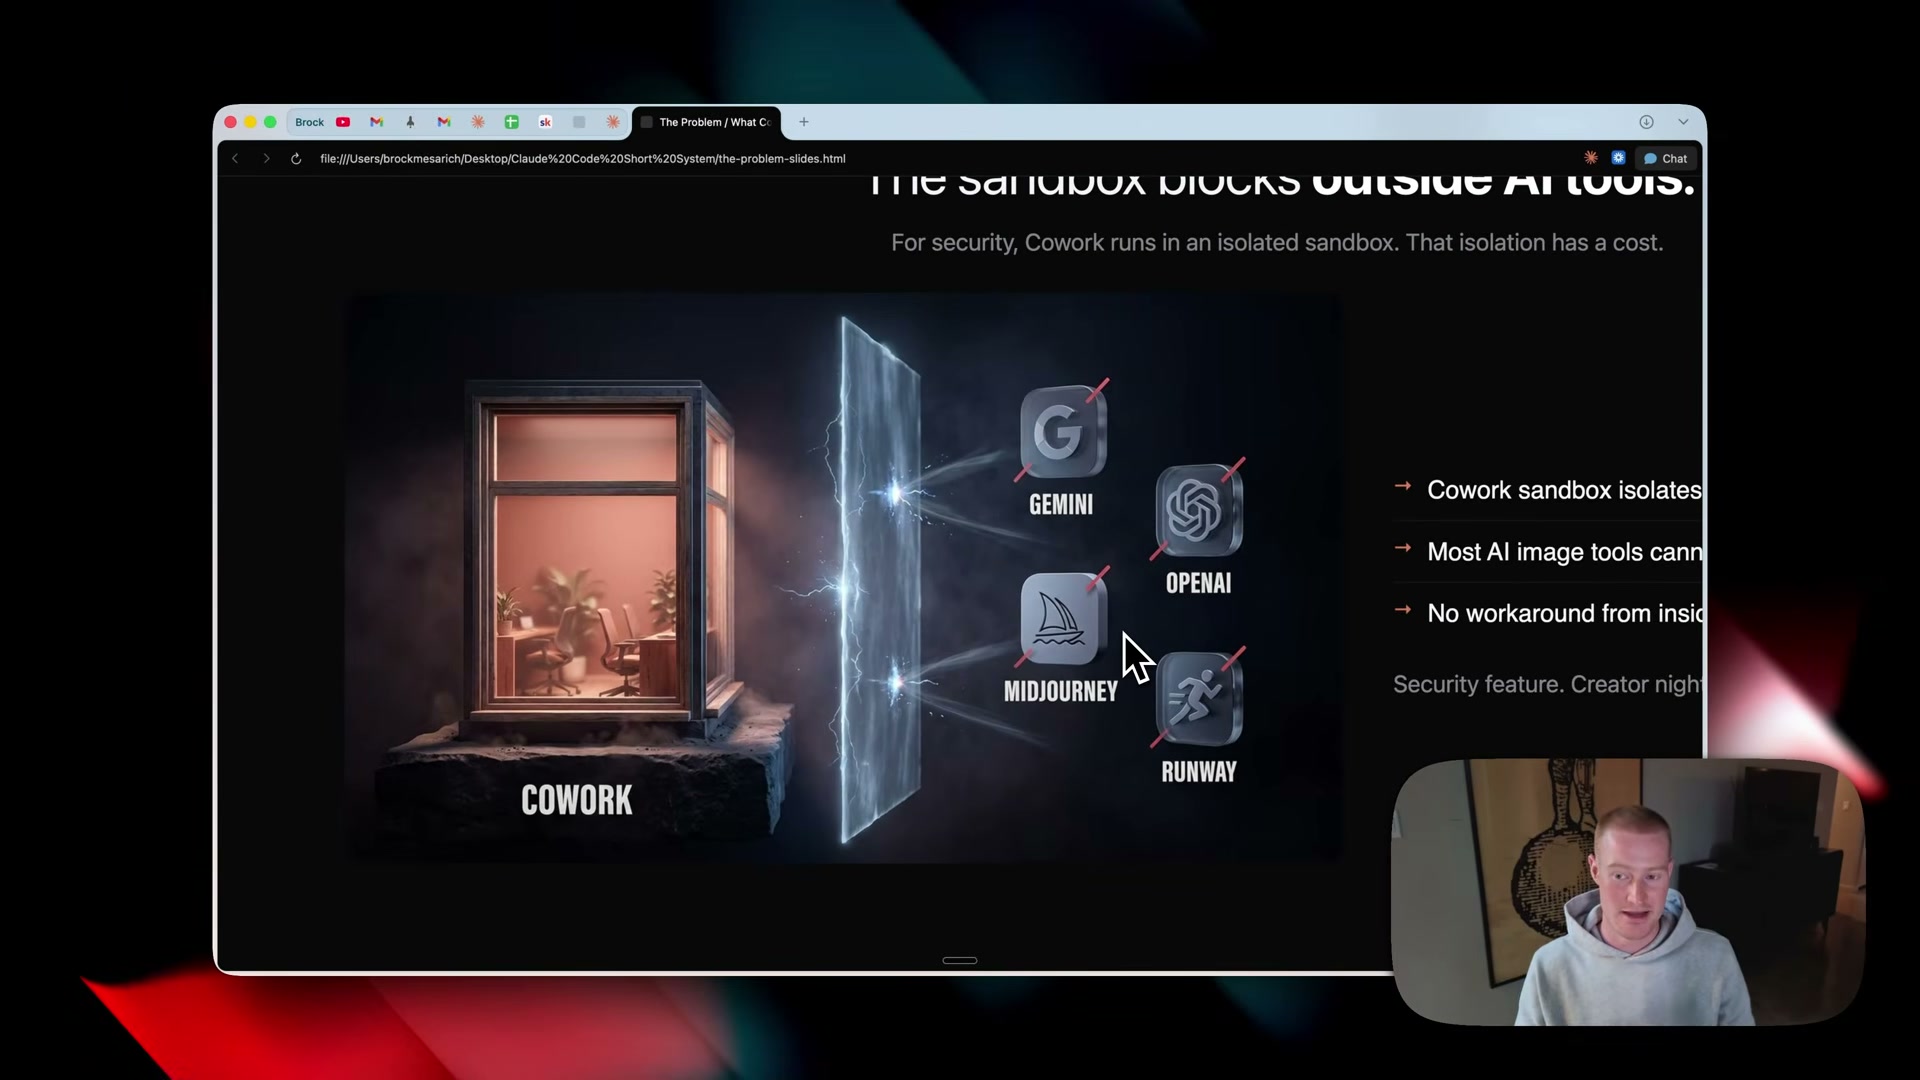
Claude Cowork’s sandbox has long blocked every major AI image and video API — Gemini, OpenAI, Midjourney, Runway — making media generation a hard stop for power users. The Higgsfield custom connector, paired with a downloadable plugin pack of six skills, closes that gap entirely. After completing this tutorial, you’ll have a configured Cowork project that can generate images and videos on demand, locked to your brand voice, aspect ratios, and output folder structure — with the option to schedule those generations to run overnight.
-
Download the Claude Desktop App from claude.com for Mac or Windows and install it on your machine.
-
Open the app and click the checklist icon in the top toolbar to switch from Chat mode into Co-work mode.
-
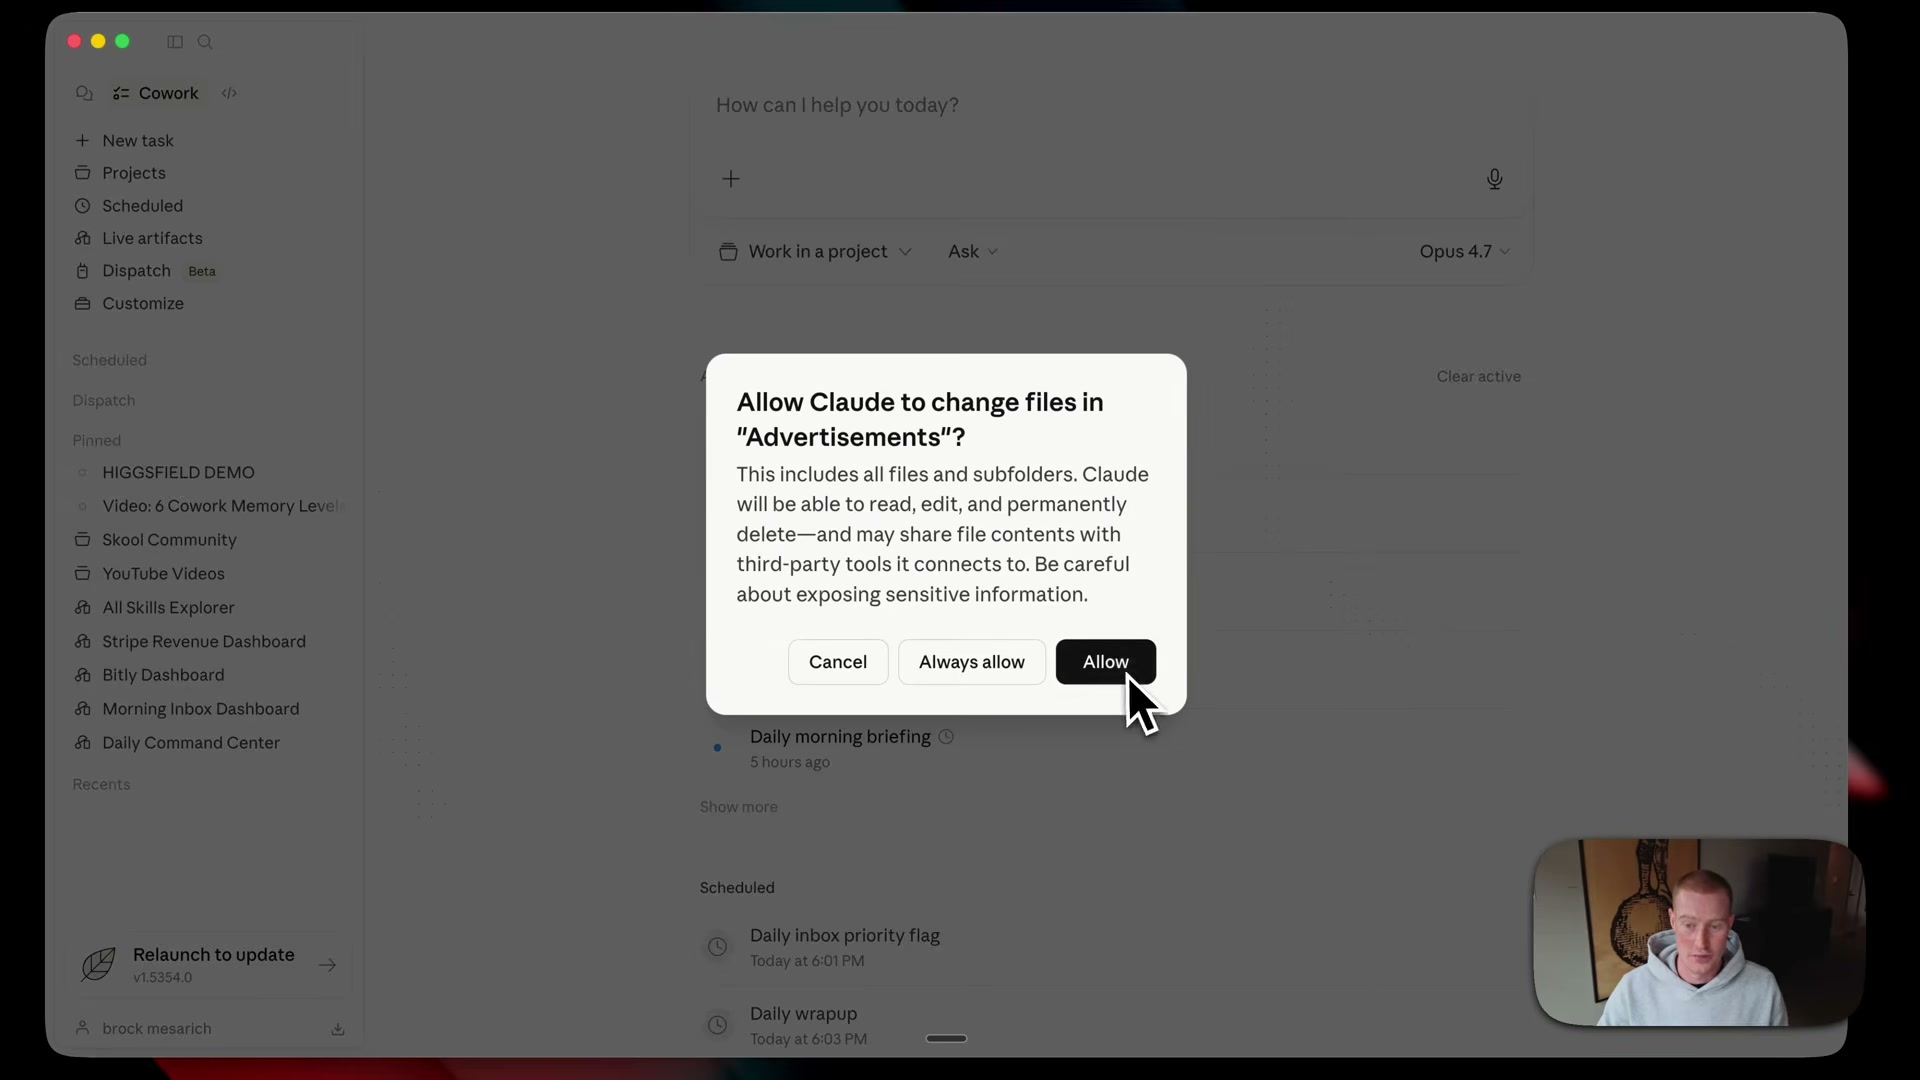
Click the folder selector in Co-work and either choose an existing assets folder or create a new one — the video uses a folder named
advertisements. Click Open, then click Allow when Claude requests permission to read and write files in that directory.
-
Download the plugin zip file and PDF guide from the link in the video description (hosted on Gumroad). The PDF maps each skill to a specific use case and is worth reviewing before your first run.
-
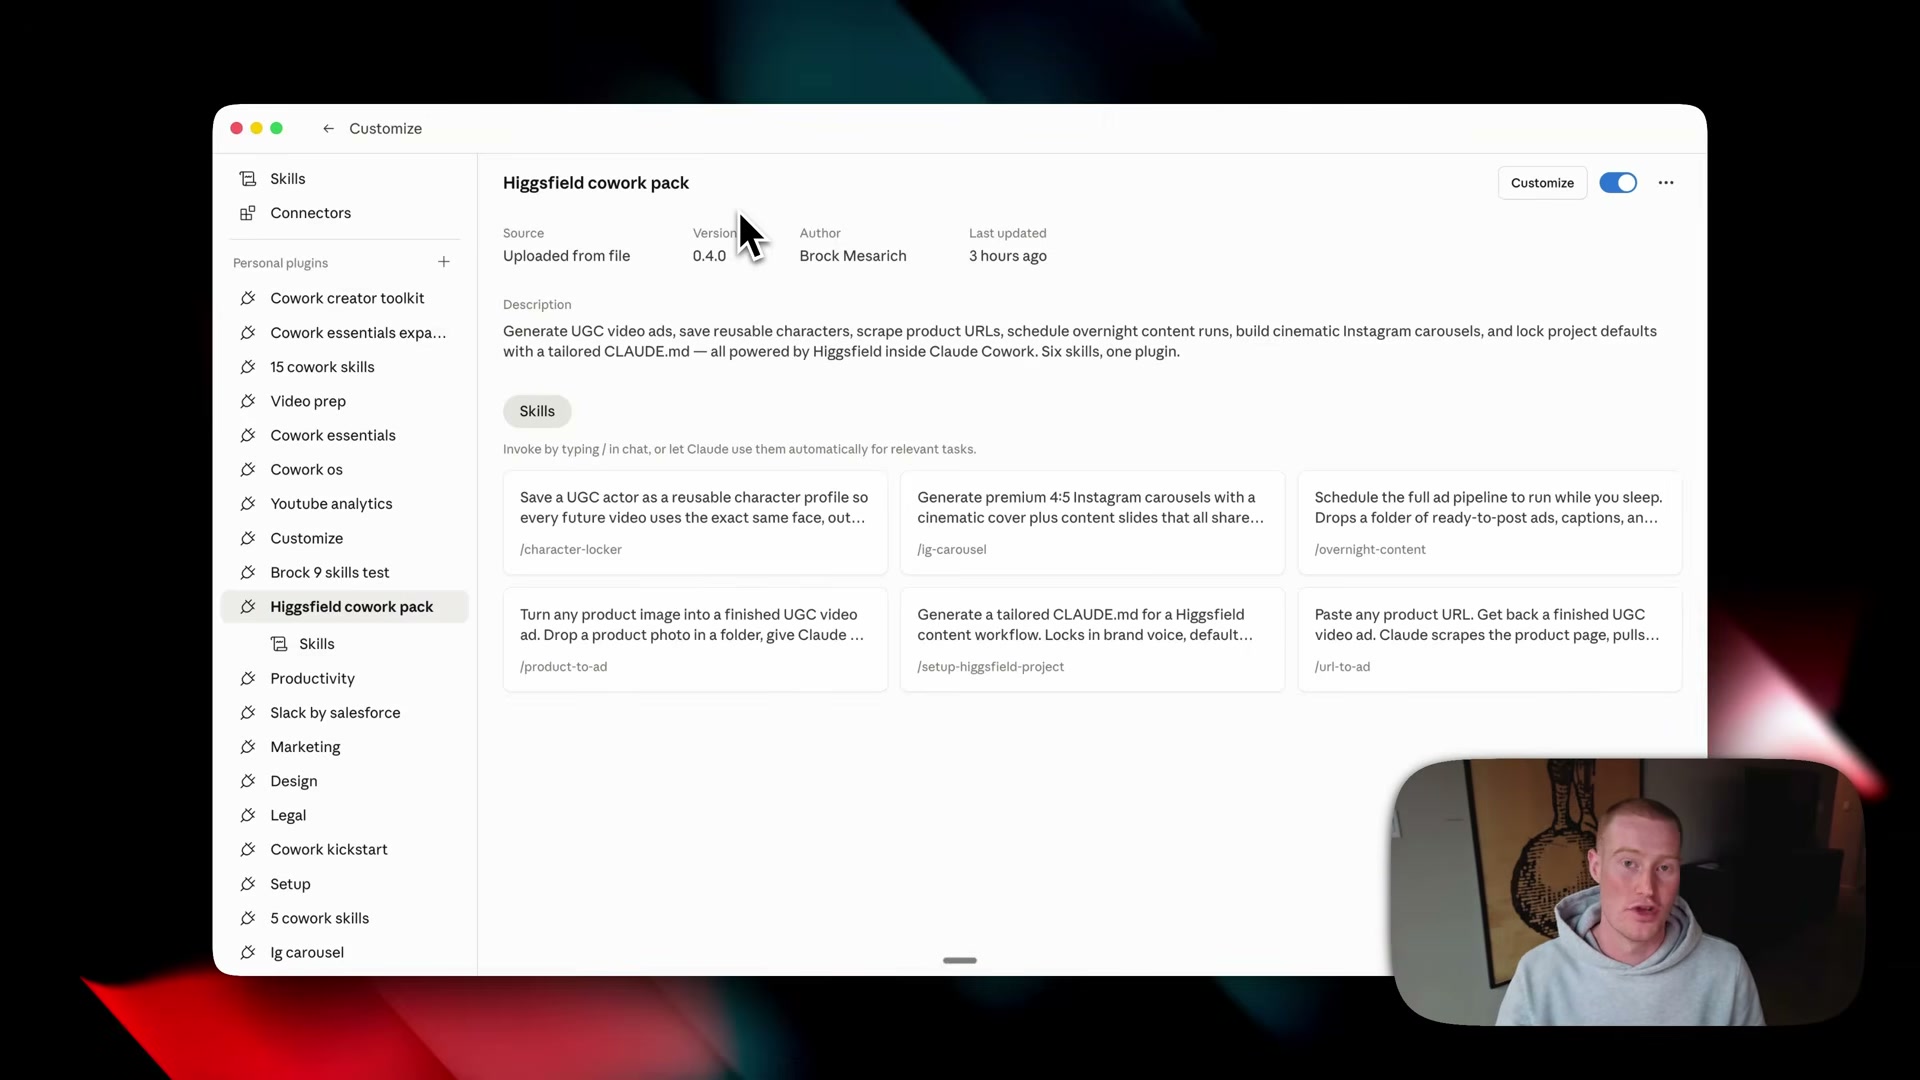
In the Co-work left sidebar, go to Customize > Plugins > Create Plugin > Upload Plugin. Drag the zip file into the upload dialog and click Upload (or Replace if a prior version exists). All six skills appear with descriptions once the upload completes.
-
Go to Projects in the left sidebar and click New Project. Select Use an existing folder, choose the folder from step 3, then click Create — no need to populate instructions manually yet.
-
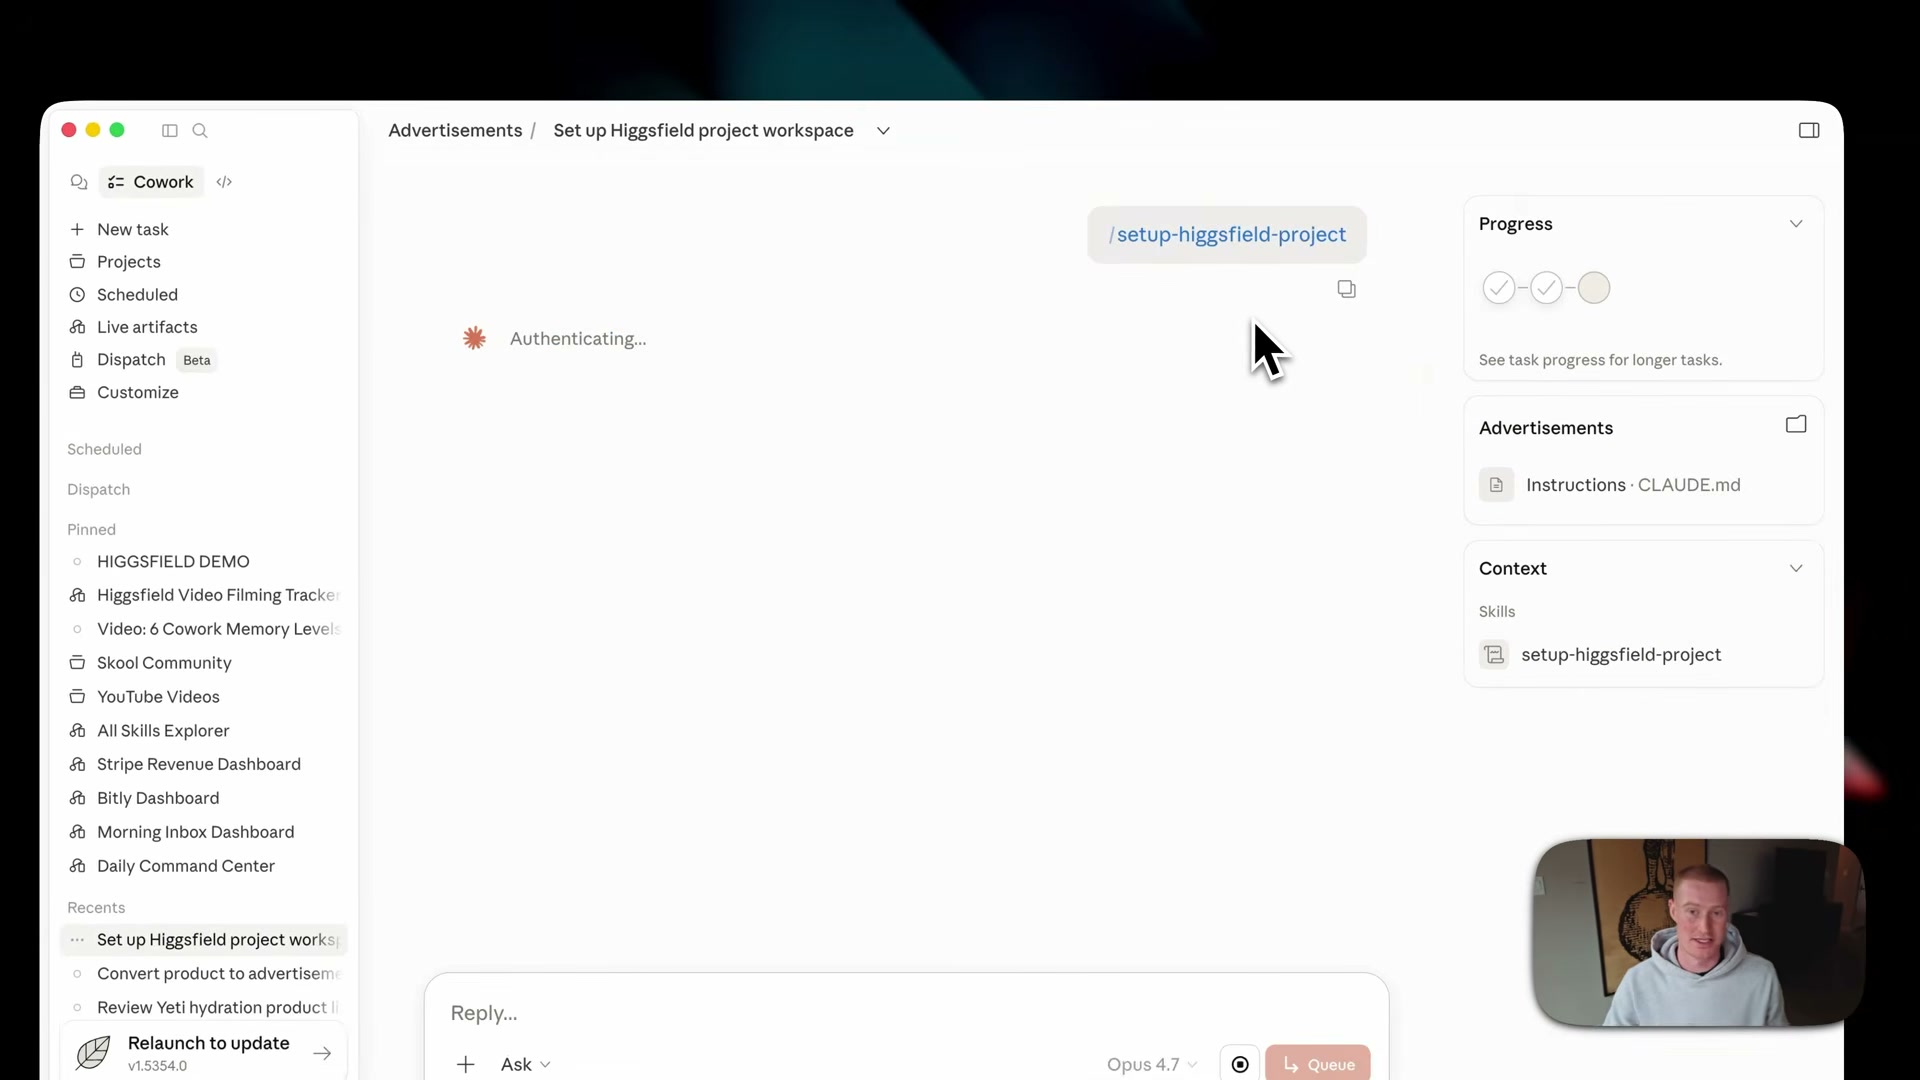
Inside the new project, type
/setup Higgsfield projectinto the chat input and send it. Cowork resolves the slash command against the installed skills and begins execution.
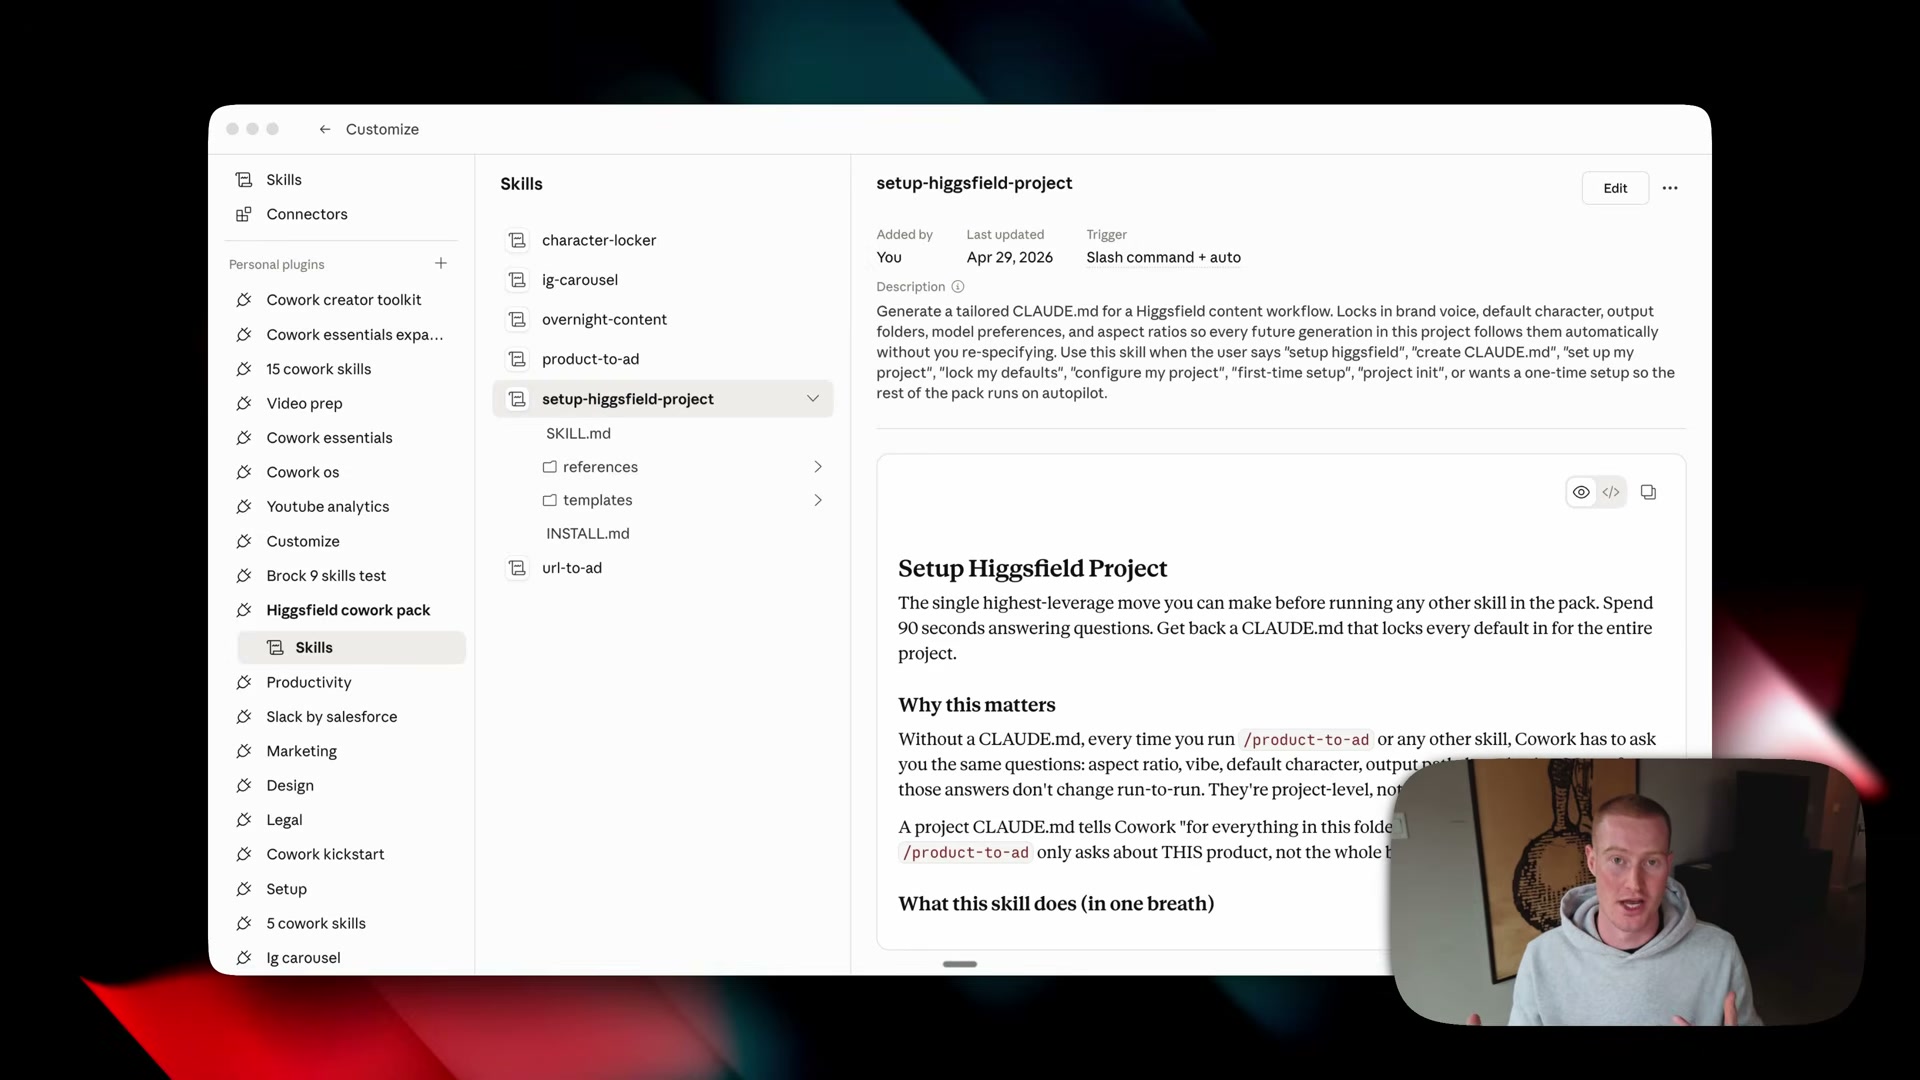
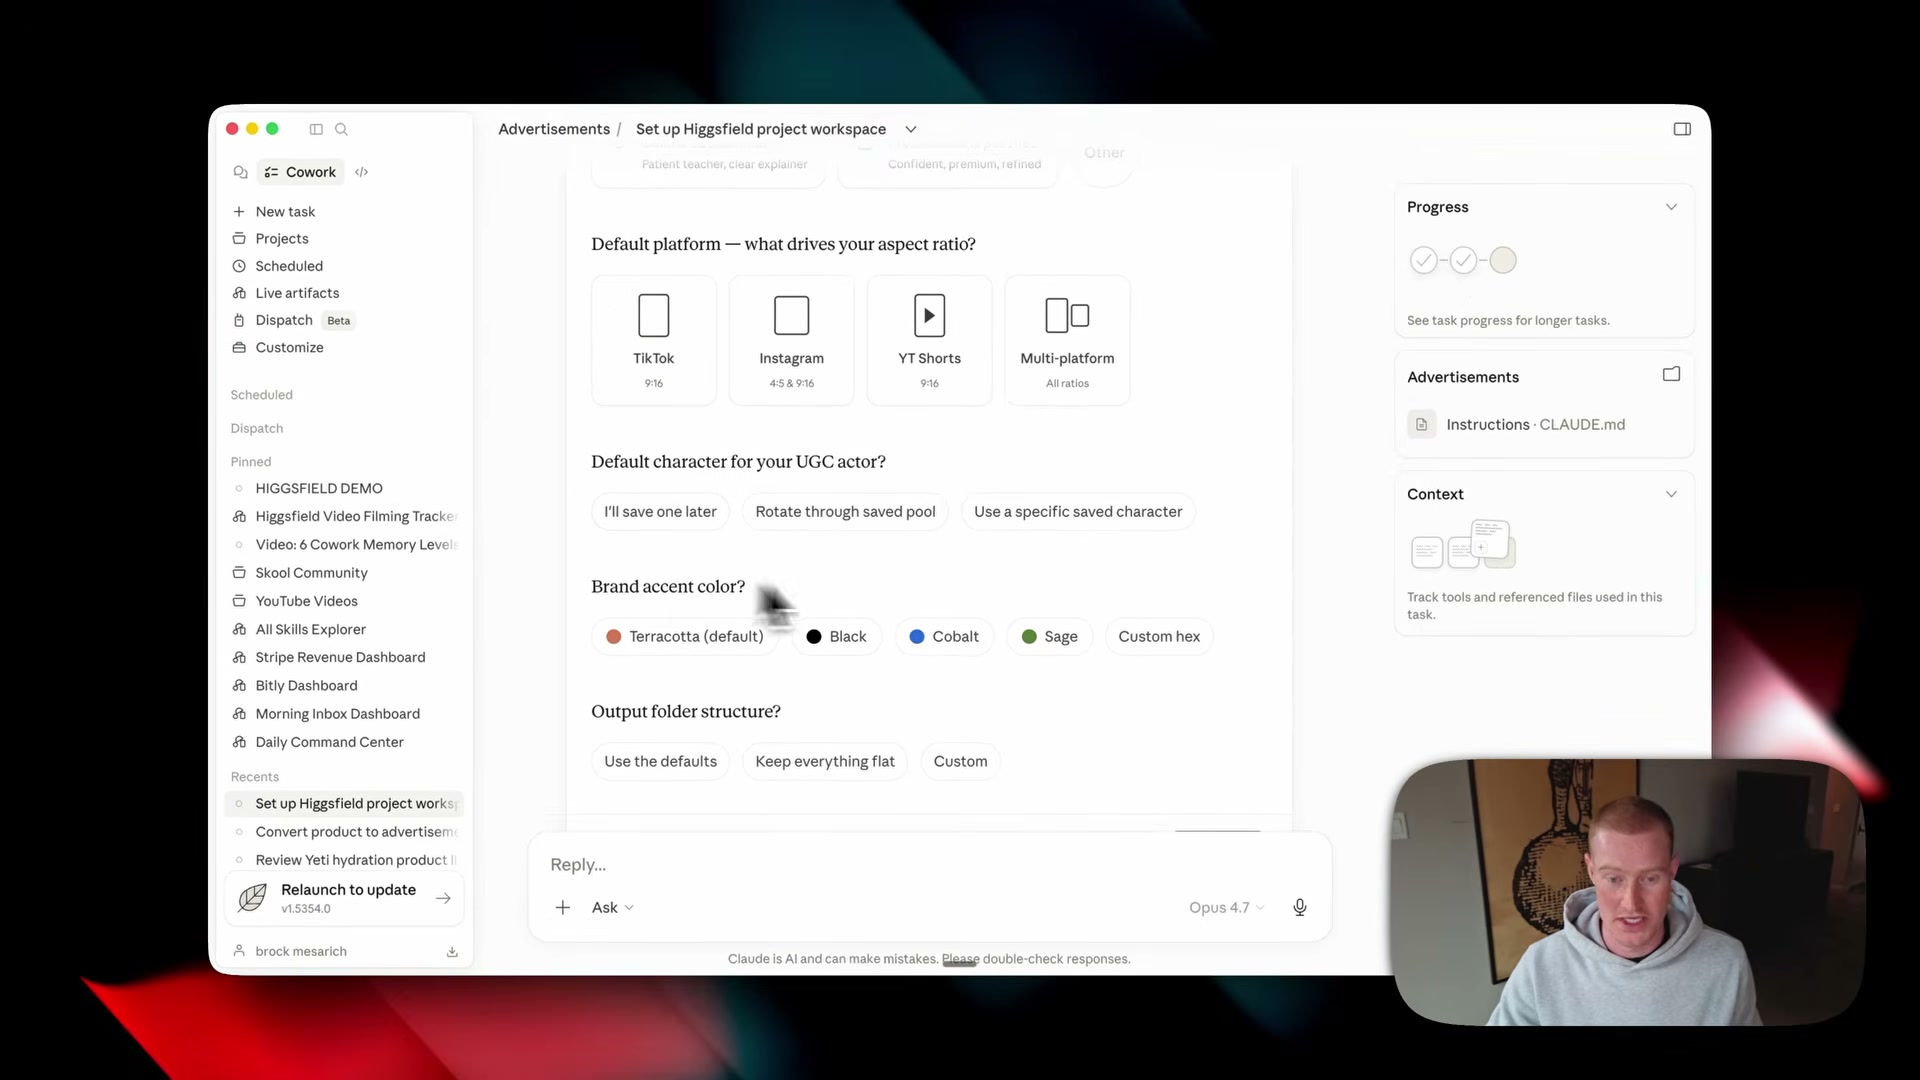
- Answer the interactive prompts: workspace name, brand voice, target platforms (TikTok 9:16, Instagram 4:5, YouTube Shorts, multi-platform), default UGC character, brand accent color, and output folder structure. The skill writes your choices into a
CLAUDE.mdfile automatically.
-
Verify that the generated
CLAUDE.mdfile appears under the Instructions panel in your project. Every subsequent task in this project loads those defaults, keeping outputs consistent without repeating yourself in every prompt. -
Open Customize > Connectors, click the + button, and select Add Custom Connector. Name it
Higgsfield, paste the MCP connector URL from the video description, and click Add. Confirm the connector surfaces its tools —generate image,generate video,show generations, and related actions.
Warning: this step may differ from current official documentation — see the verified version below.
- Optionally set connector permissions to Always Allow to skip the per-action approval dialog on each generation call. Confirm you have an active Higgsfield account on a paid plan before triggering any generation — the connector authenticates against your Higgsfield credentials and will fail silently on free-tier accounts that lack API access.
How does this compare to the official docs?
The video installs the connector and skills through a third-party plugin pack distributed via Gumroad — the next section checks that workflow against Anthropic’s official documentation on MCP connectors, custom skill authoring, and the permissions model to surface any gaps worth knowing before you build on top of this setup.
Here’s What the Official Docs Show
The video’s core workflow holds up — the steps below layer in documentation-grounded detail for the points the tutorial moves past quickly, including a subscription requirement that will stop users before Step 2 if they’re on the wrong plan. Read this alongside the video, not instead of it.
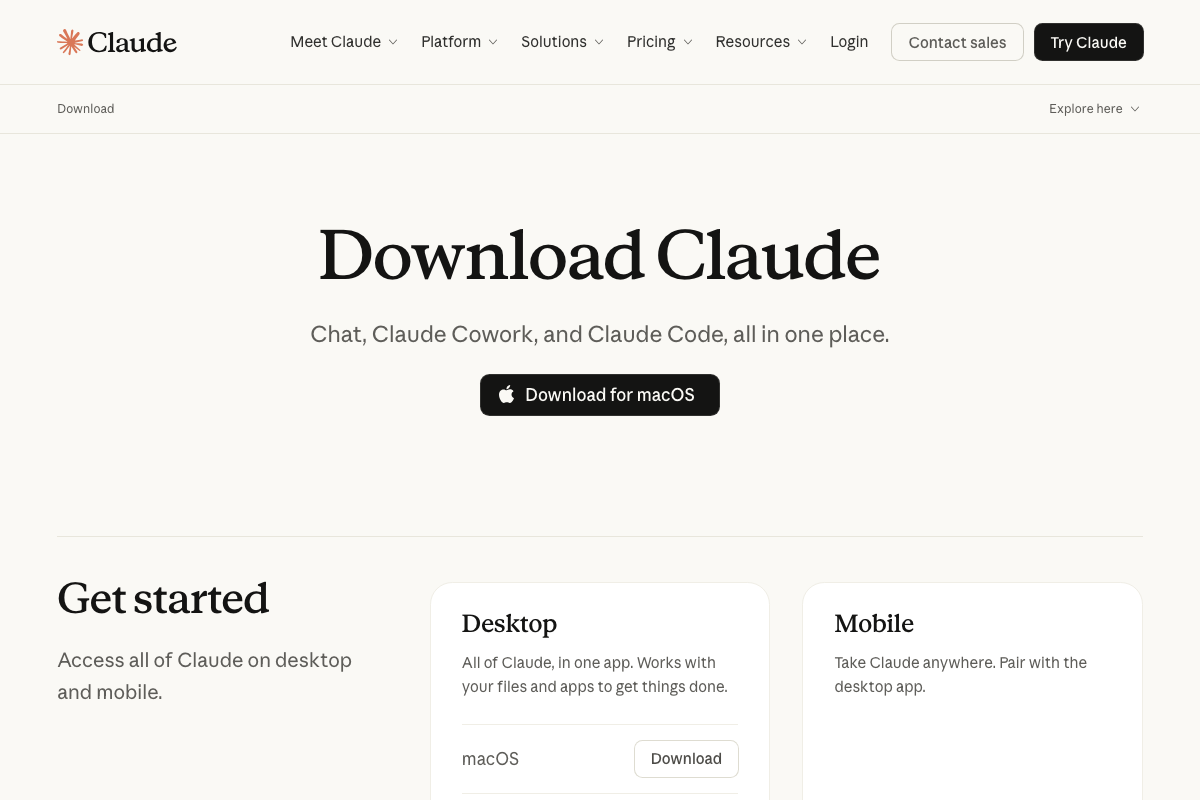
Step 1 — Download the Claude Desktop App
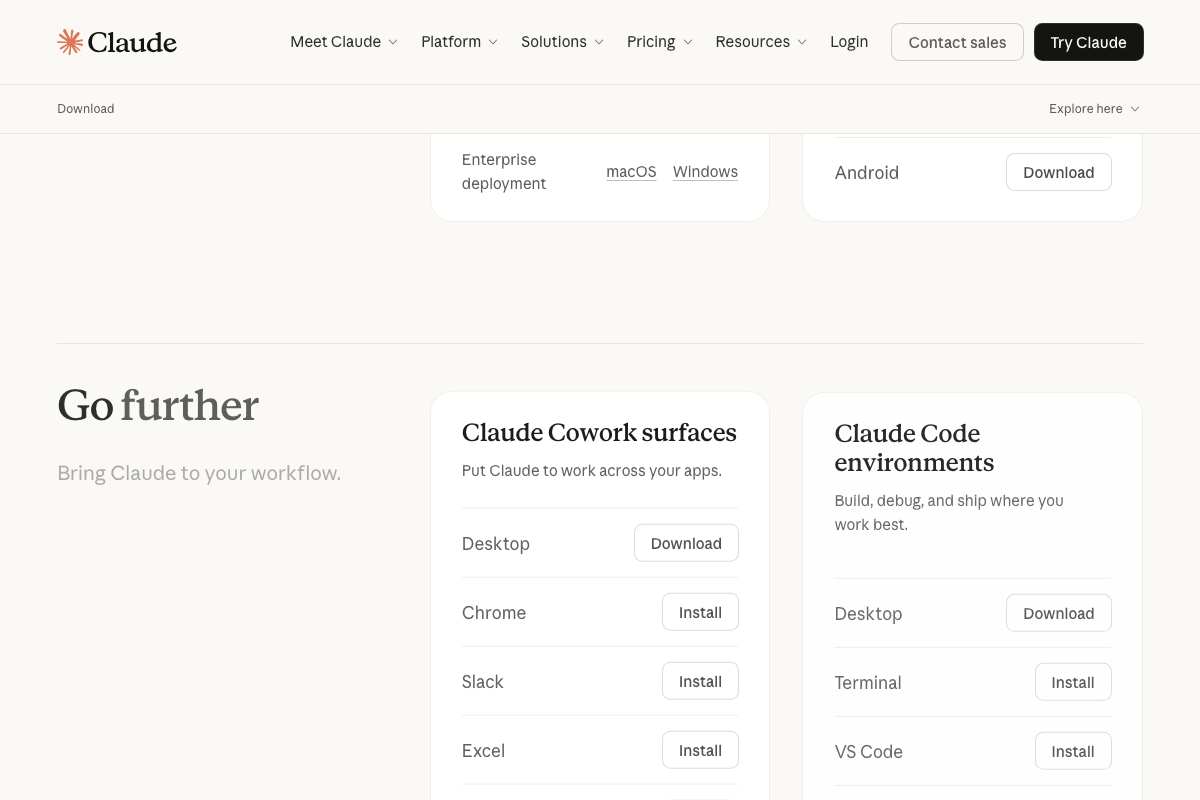
The video’s approach here matches the current docs exactly. The download page confirms the Desktop app bundles Chat, Claude Cowork, and Claude Code as three distinct modes, with macOS as the primary consumer download. One clarification worth noting: Windows does not appear as a peer consumer option — it is listed under an Enterprise deployment row, which may require different provisioning than a standard install implies.
Steps 2–4 — Switch to Co-work, select a folder, download the pack
No official documentation was found for these steps — proceed using the video’s approach and verify independently.
Step 5 — Install the plugin pack
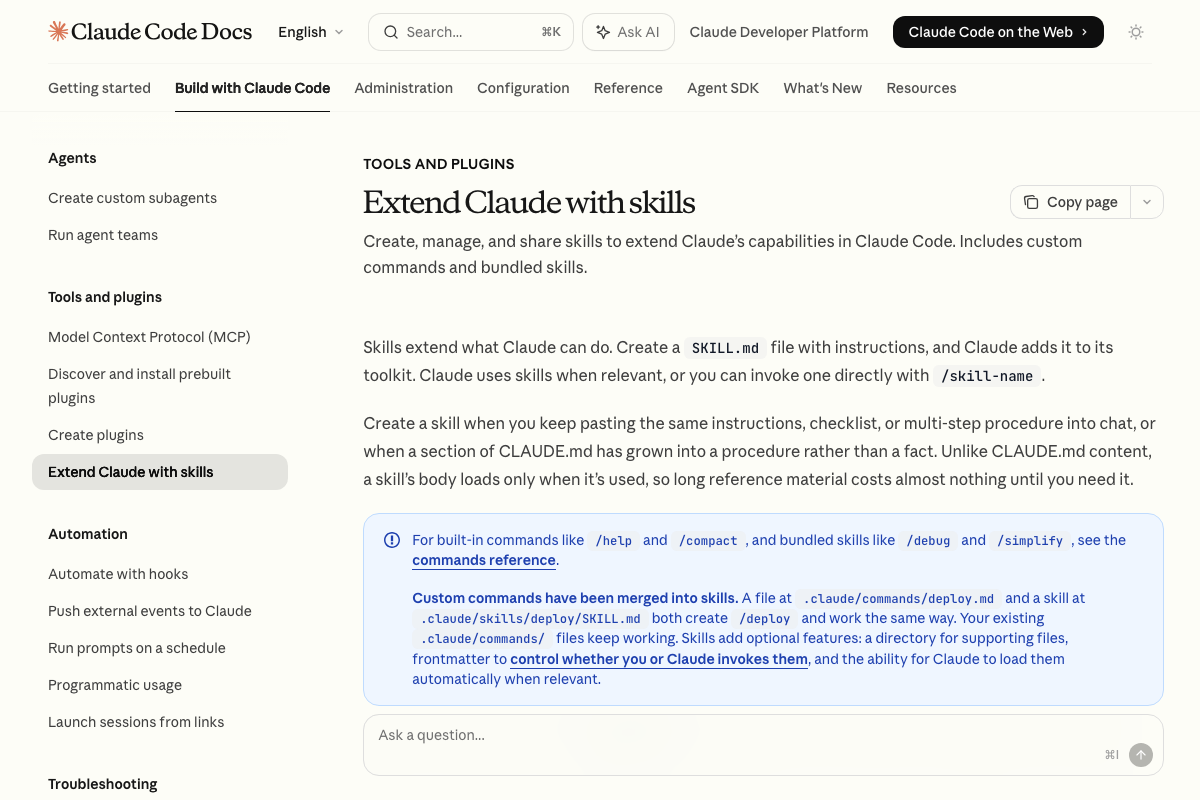
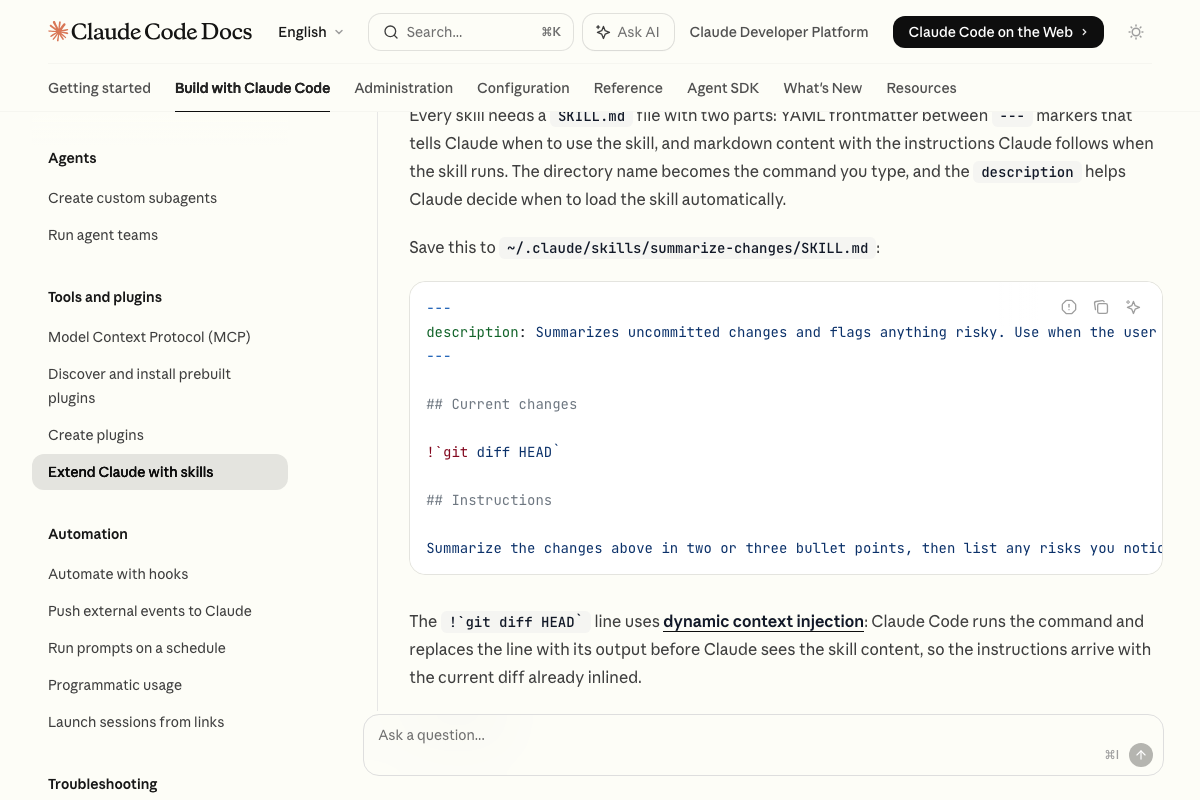
The official Claude Code documentation does not describe a zip-upload mechanism at any GUI path. The canonical installation method uses SKILL.md files placed in ~/.claude/skills/<skill-name>/SKILL.md — the directory name becomes the slash command that invokes the skill. Whether the Co-work “Upload Plugin” UI shown in the tutorial is a front-end wrapper that unpacks into this same structure cannot be confirmed or denied from current documentation.
One terminology note for all your future searches: the official docs use skills exclusively — the tutorial uses plugins throughout. When referencing official documentation, skills is the correct keyword.
Step 6 — Create a new project
No official documentation was found for this step — proceed using the video’s approach and verify independently.
The documentation URL for Claude Code Projects (docs.anthropic.com/en/docs/claude-code/projects) returned a 404 at time of capture, so the Projects sidebar workflow has no verifiable official source in this documentation set.
Steps 7–8 — Run /setup and answer the prompts
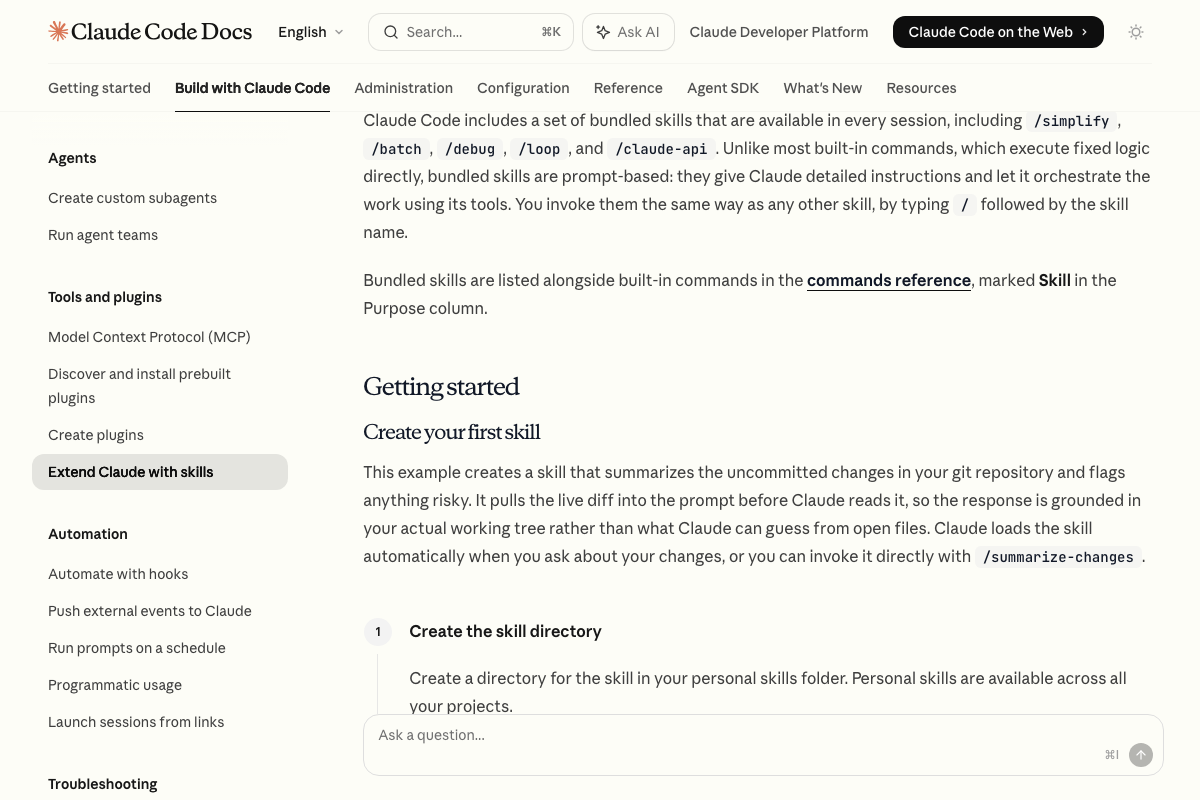
The video’s approach here matches the current docs exactly. The official skills documentation confirms that slash commands invoke prompt-based skills that orchestrate Claude’s tools interactively — the Q&A flow you’ll see during /setup is expected, documented behavior. Skills installed in your personal skills folder are available across all projects, consistent with the tutorial’s expectation that installed skills persist globally.
Step 9 — Verify CLAUDE.md
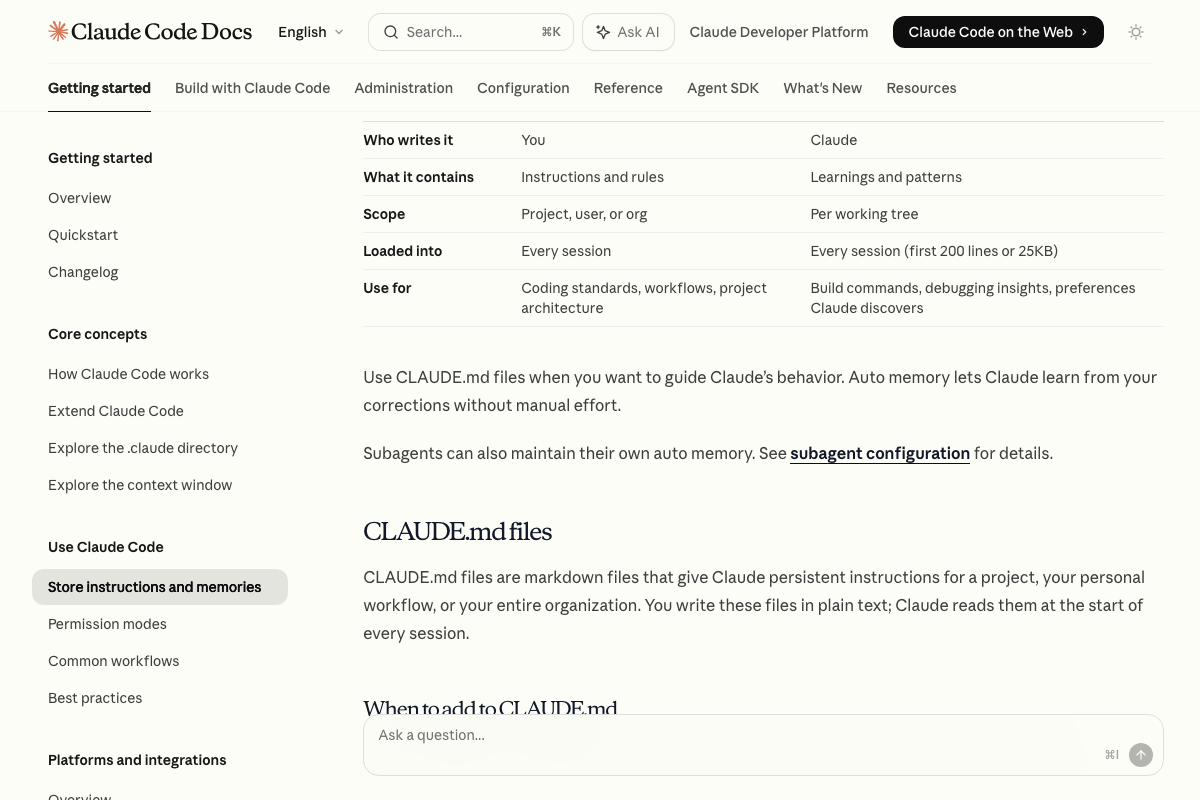
The video’s approach here matches the current docs exactly. A project-level ./CLAUDE.md loads into every subsequent session, making the one-time /setup run persistent as described. The “Instructions panel” label the tutorial references is not shown in official documentation screenshots, but the underlying file mechanism is fully documented and sound.

Steps 10–14 — Add the Higgsfield Custom Connector
No official documentation was found for these steps — proceed using the video’s approach and verify independently.
Step 15 — Account and plan prerequisites
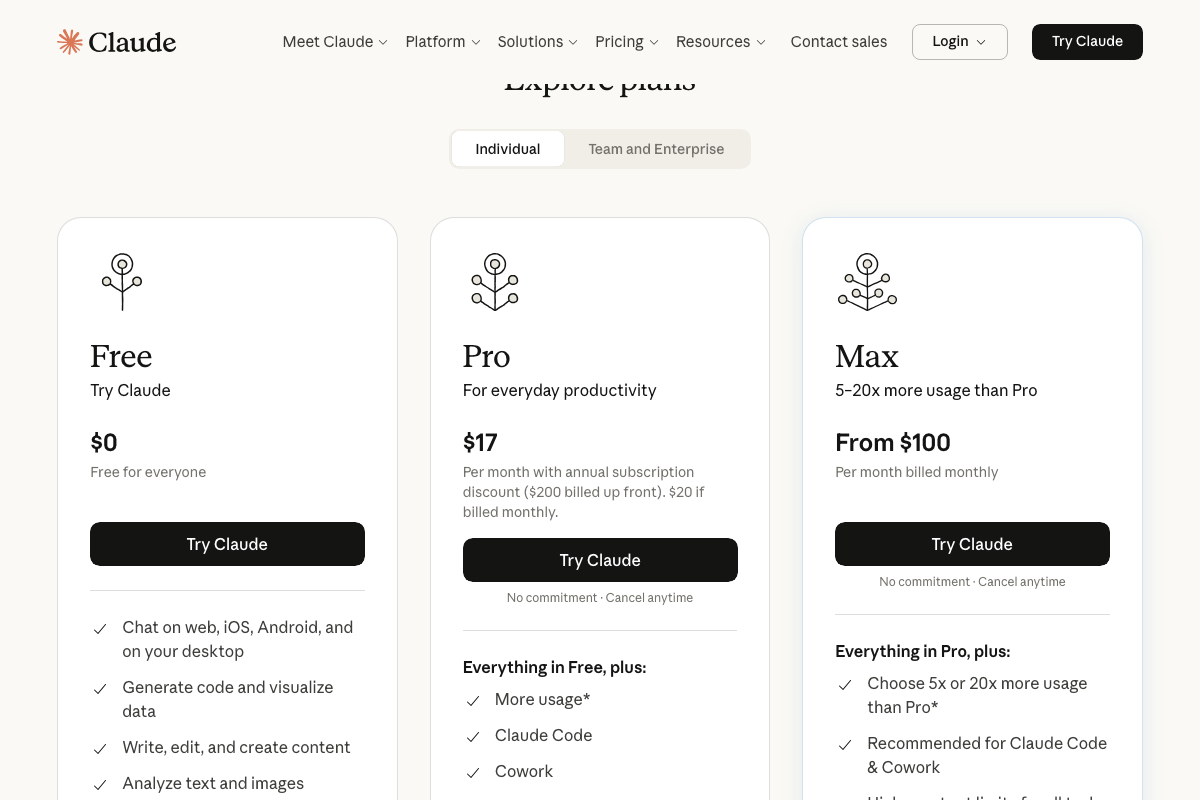
As of May 4, 2026, the correct prerequisite list is broader than the video states — the tutorial flags only an active Higgsfield paid account. The official pricing page shows a second hard requirement the tutorial omits: Claude Cowork is not available on the Free tier. A Claude Pro subscription ($17/month billed monthly, or $200/year) is the minimum required to access Cowork at all; Claude Max (from $100/month) is Anthropic’s explicit recommendation for Cowork and Claude Code workloads. Verify your Claude subscription tier before following the connector and skill steps above.
Useful Links
- Download Claude | Claude by Anthropic — Official download page for the Desktop app bundling Chat, Claude Cowork, and Claude Code.
- Extend Claude with skills – Claude Code Docs — Official documentation for the skills system, SKILL.md file format, and slash command invocation.
- How Claude remembers your project – Claude Code Docs — Covers CLAUDE.md file scope, file locations, and the distinction between user-authored instructions and Auto memory.


0 Comments