

Build a Markdown-Native Knowledge Base with Obsidian and Claude Code
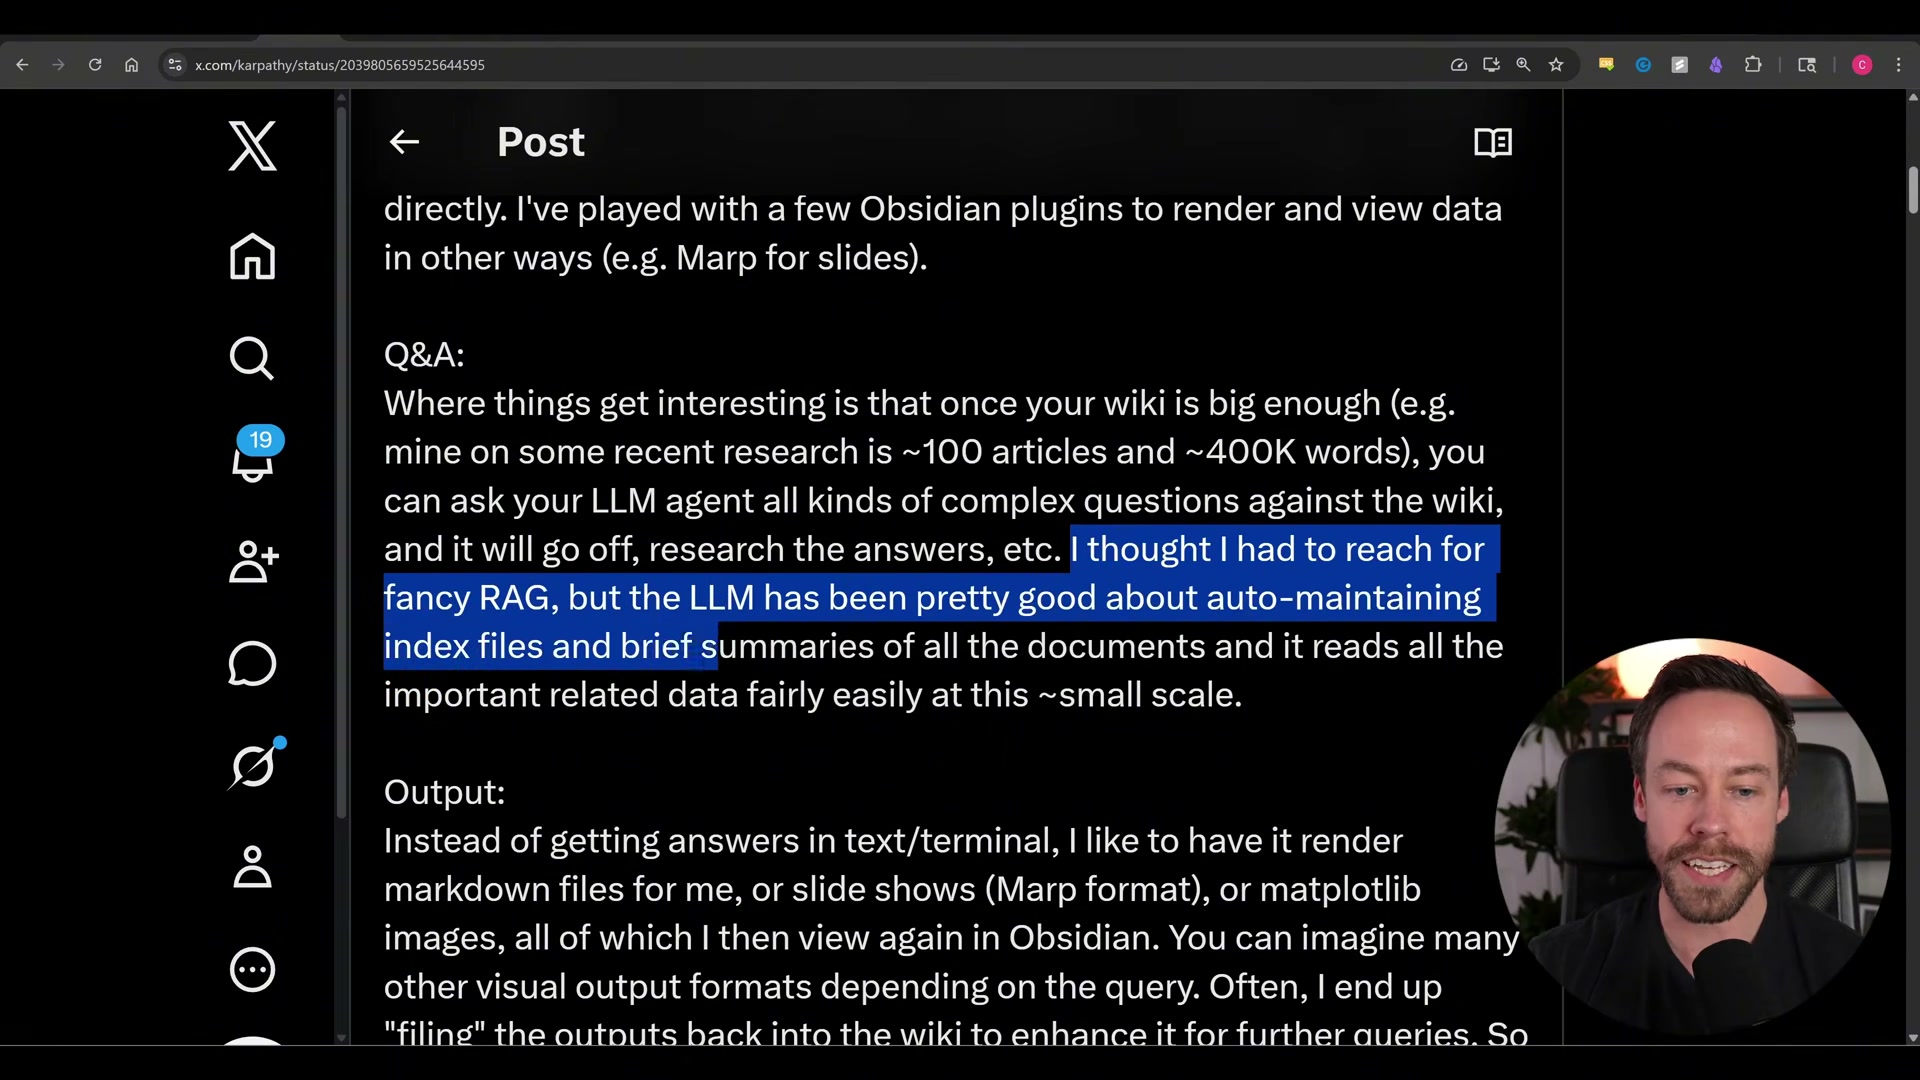
Andrej Karpathy’s knowledge base design replaces vector databases and embeddings with a structured folder of plain markdown files — queryable by Claude Code in a single session. After following these steps, you’ll have a personal knowledge base that ingests web pages, PDFs, and markdown automatically, then answers natural-language questions through Claude Code’s terminal. No infrastructure to provision, no retrieval pipeline to maintain.
-
Download Obsidian from obsidian.md and run through the installer. When prompted, designate a local folder as your vault — name it something unambiguous like
vaultso Claude Code can navigate to it without confusion. -
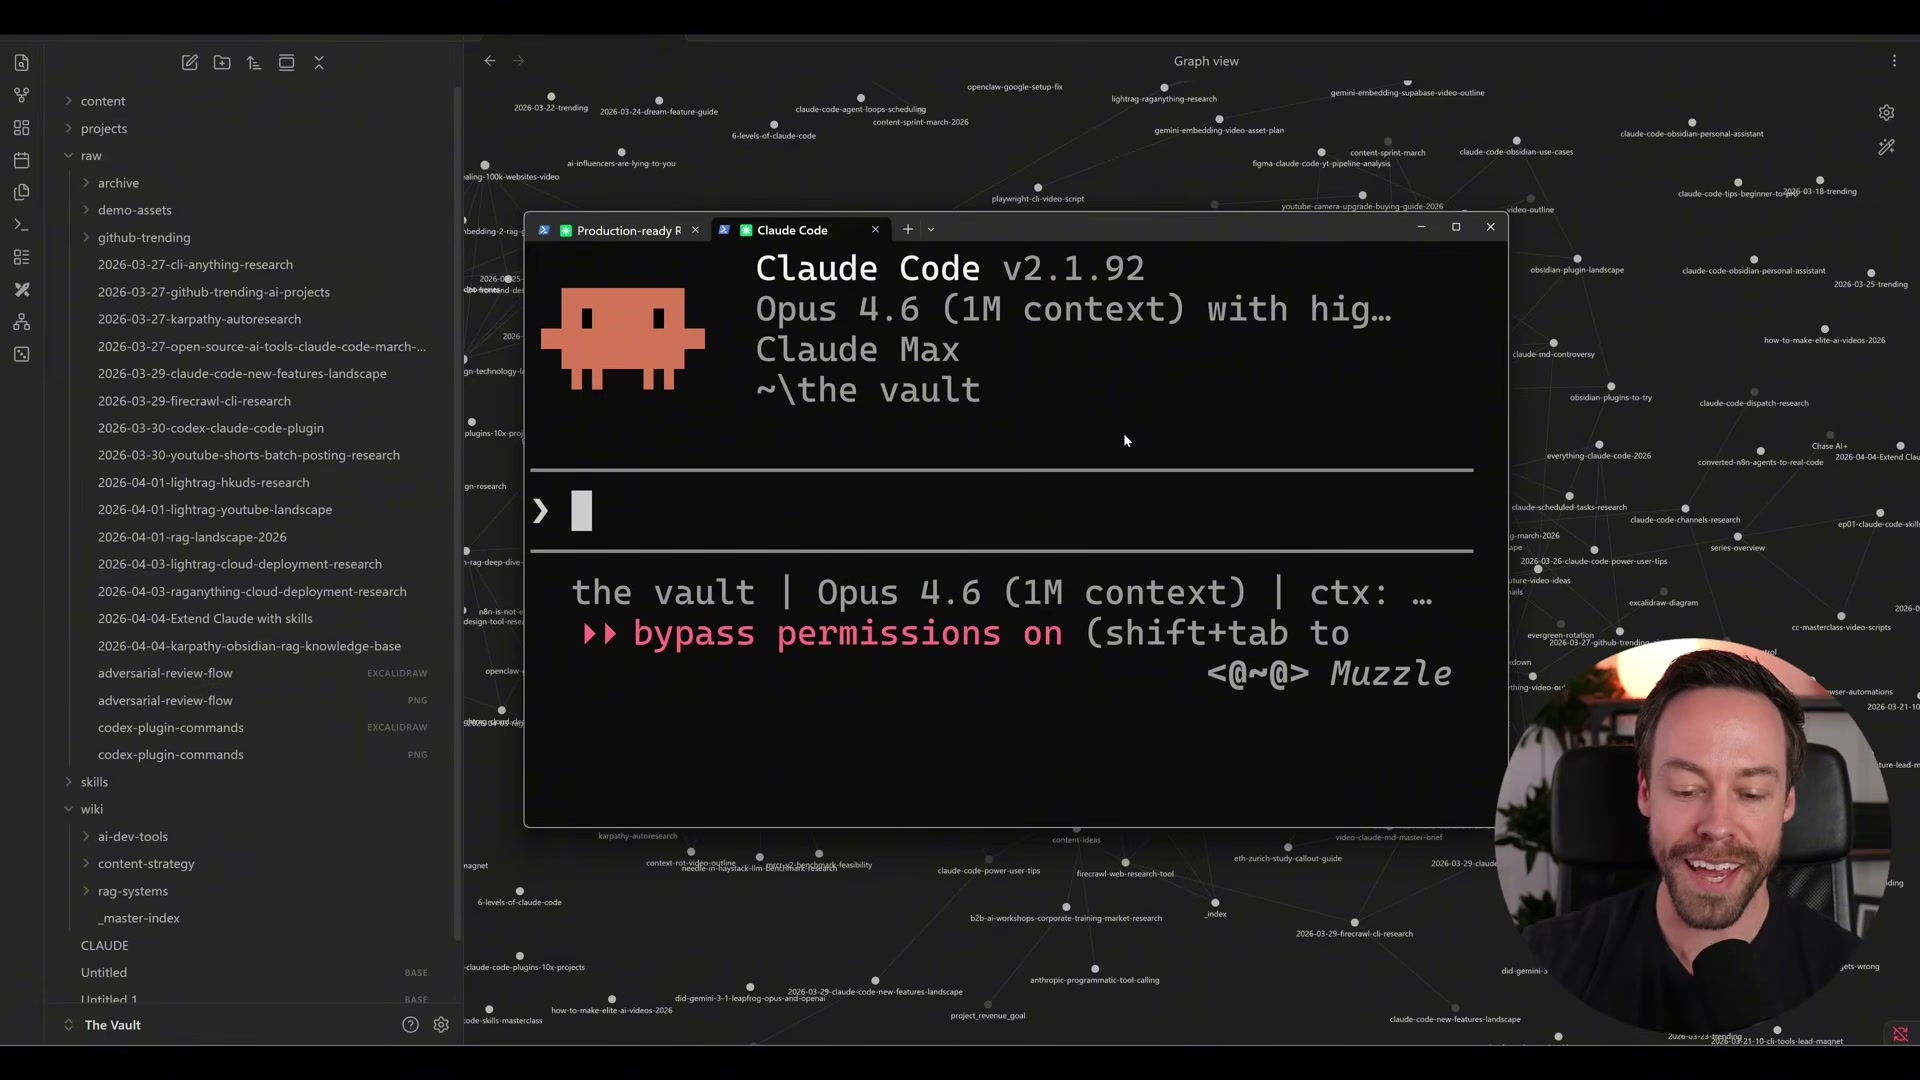
Open Claude Code in a terminal pointed at your vault directory. Claude Code treats the vault as its working directory for all subsequent commands, giving it direct read/write access to every markdown file in the folder tree.
-
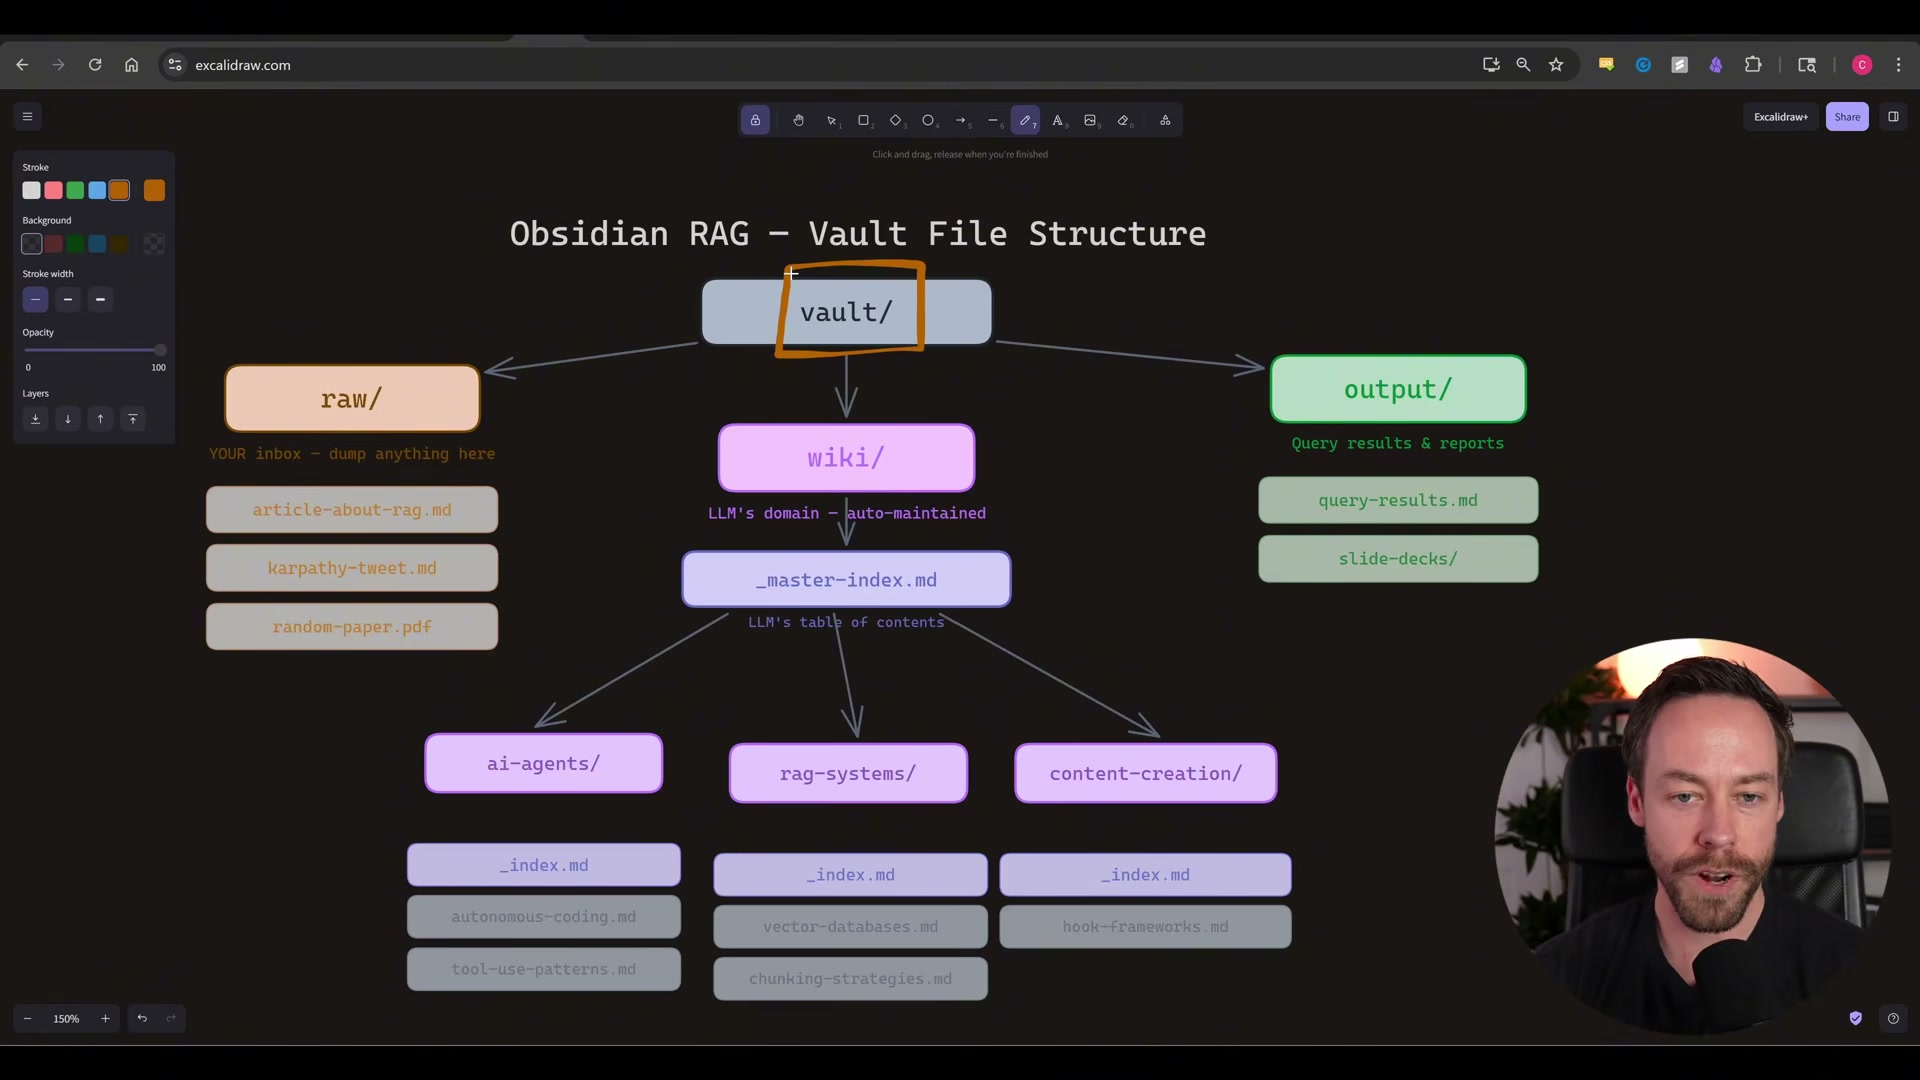
Paste the provided scaffold prompt into Claude Code. It generates three top-level directories —
raw/,wiki/, andoutput/— along with a_master-index.mdinsidewiki/that tracks every topic folder the LLM creates over time.
-
Create a
CLAUDE.mdfile at the vault root using the provided template. This file defines how Claude Code traverses the knowledge base — which folders to read first, how to format wiki notes, and when to update index files — so every session starts from a consistent operating model. -
Install the Obsidian Web Clipper Chrome extension from obsidian.md/clipper. The extension converts any web page into a markdown file and saves it directly to your vault.
-
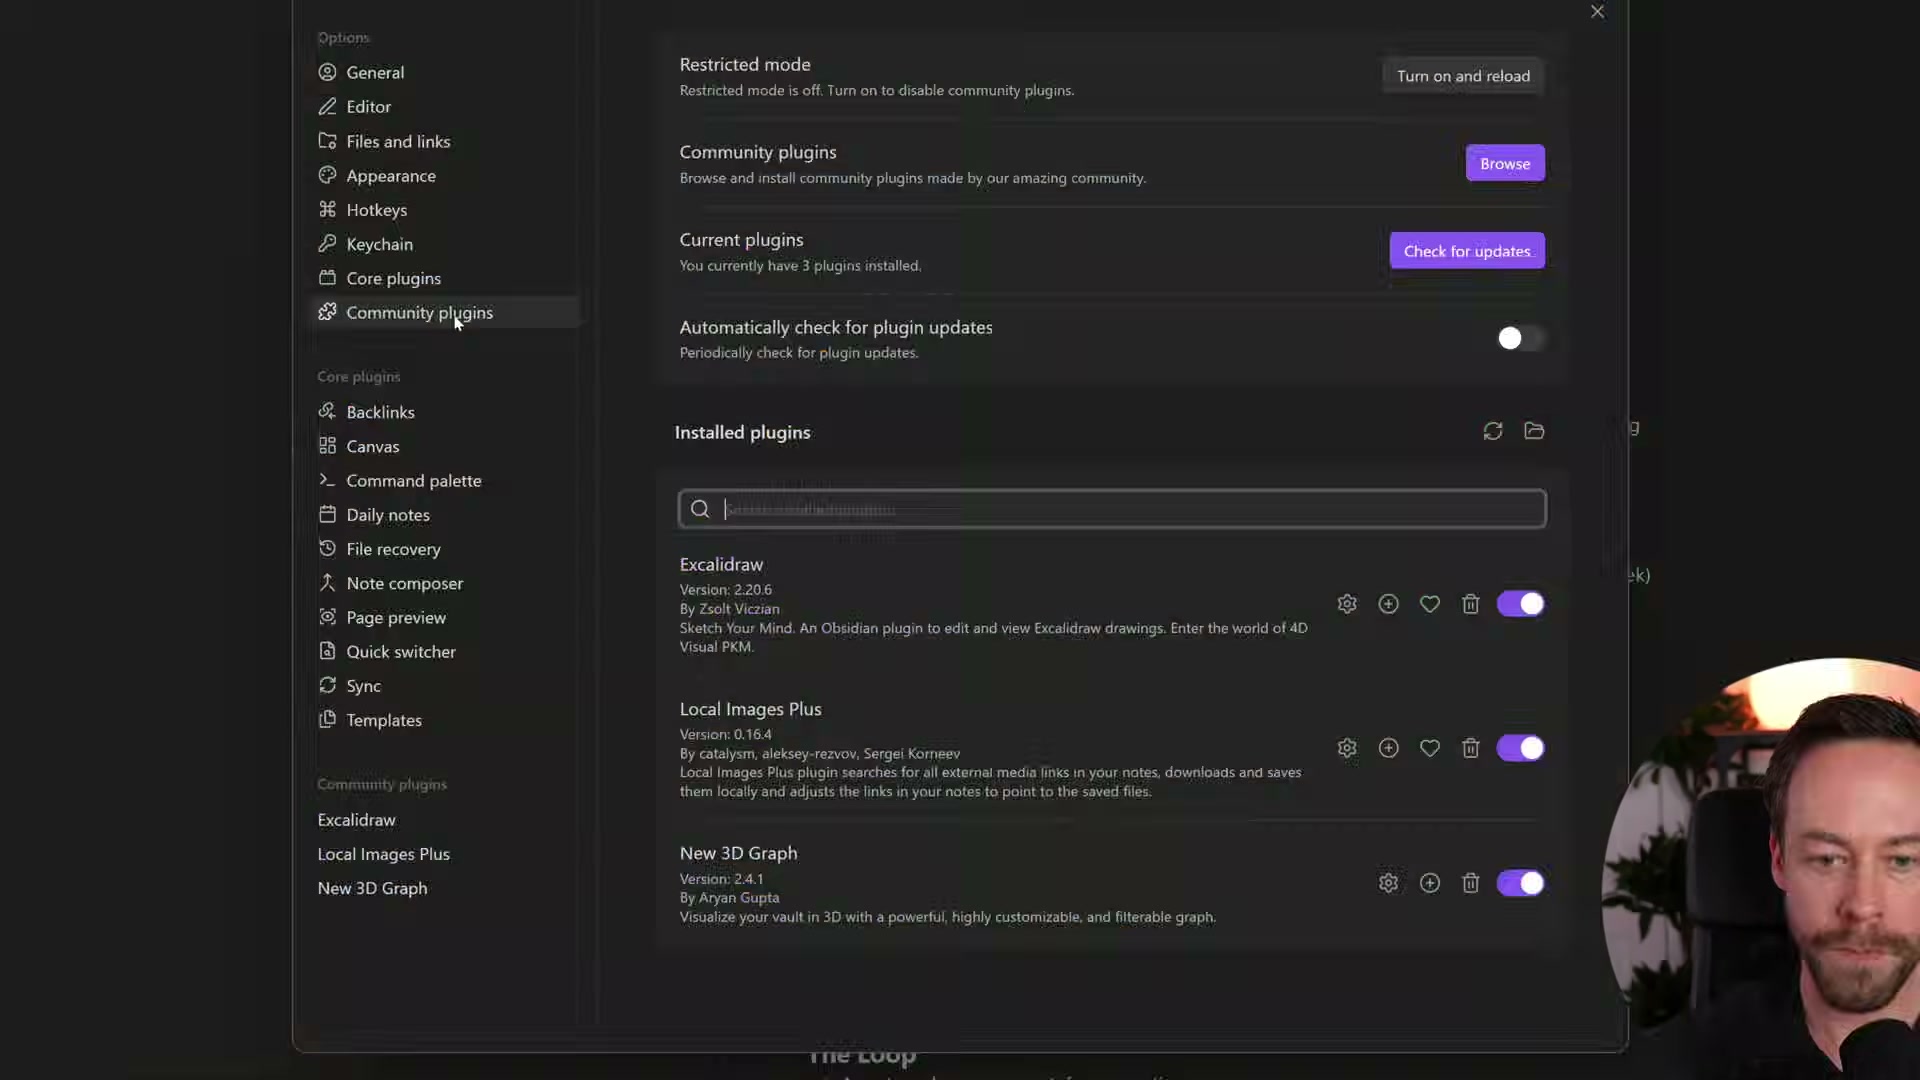
Inside Obsidian, open Settings → Community Plugins → Browse and search for Local Images Plus. Install and enable it. Without this plugin, the Web Clipper saves images as external URLs that break offline; Local Images Plus downloads them into an attachments folder inside the vault.
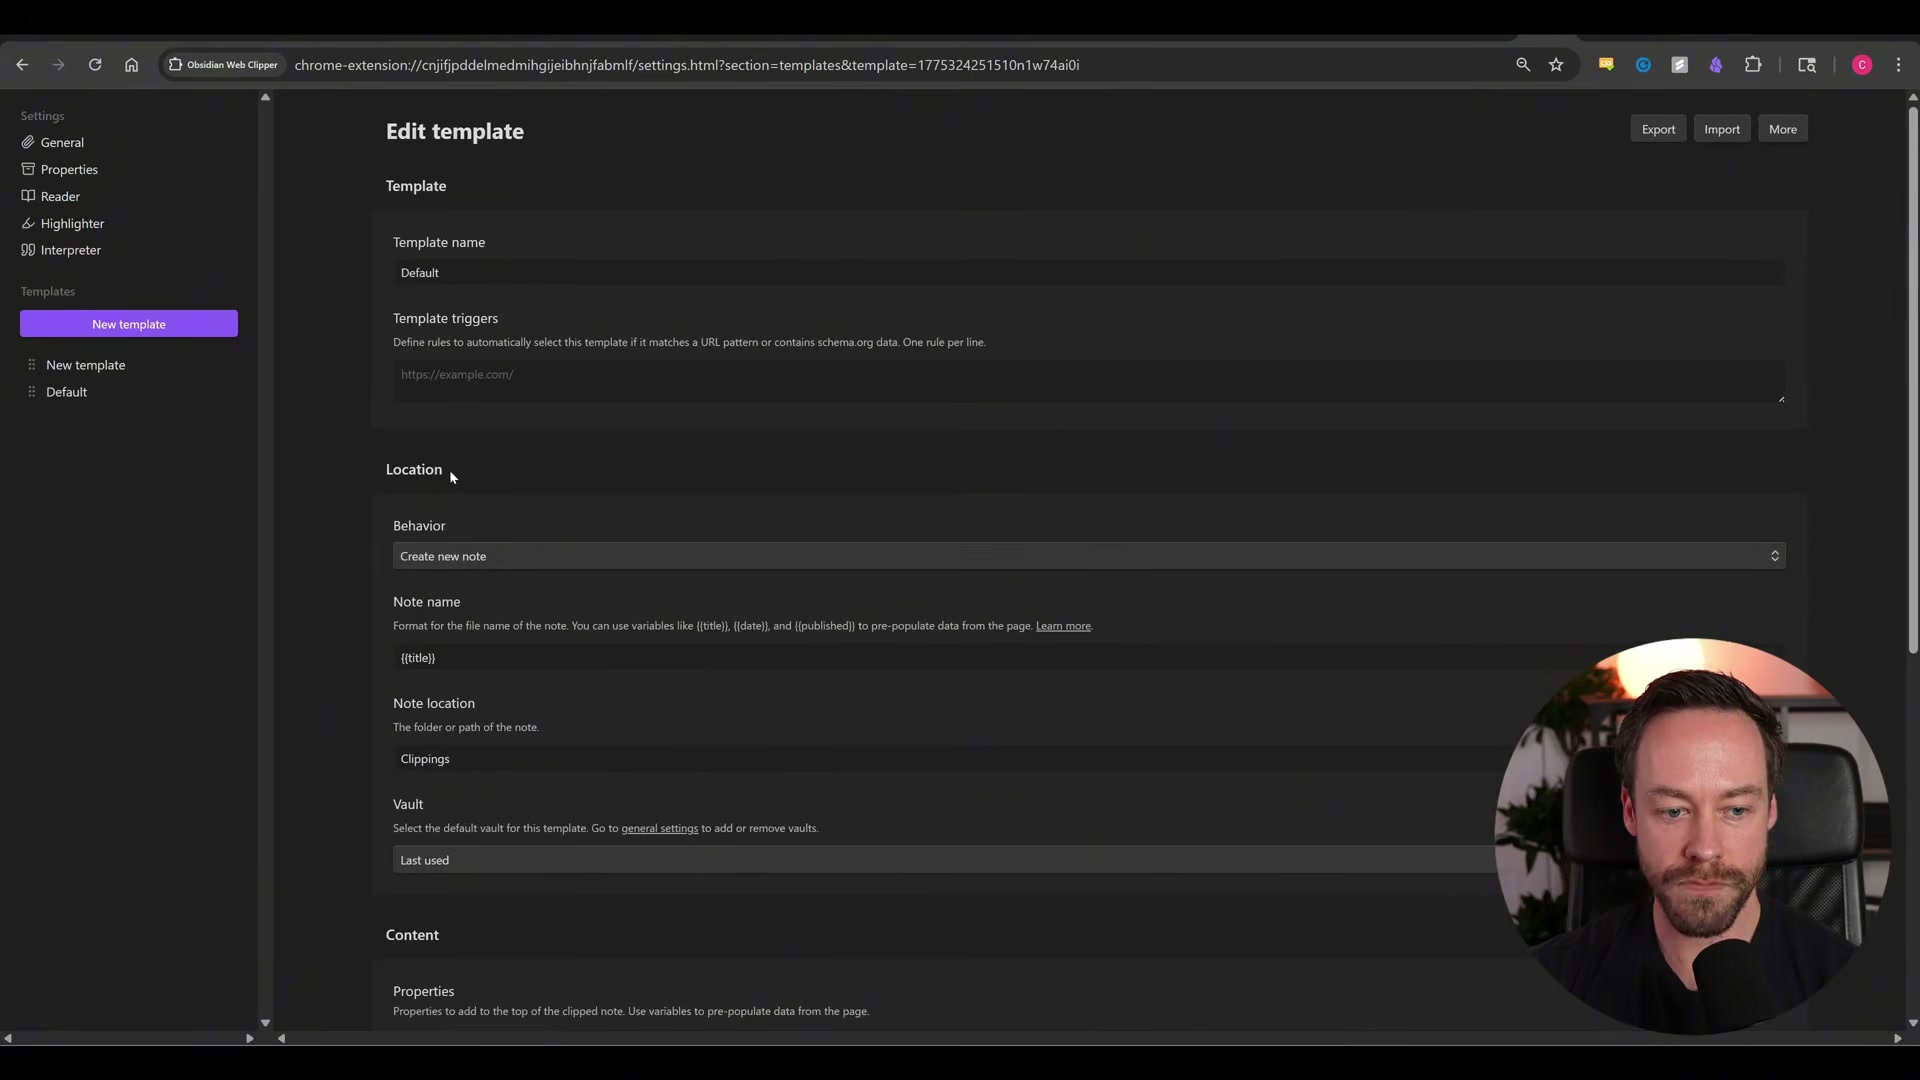
- Right-click the Web Clipper extension icon and open its options. Find the Note location field and change the value from
Clippingstoraw. Every page clipped from this point forward lands directly in the staging inbox.
-
Clip a web page and confirm the note appears in
raw/with images embedded locally. You can also drop PDFs or existing markdown files intoraw/manually — Claude Code treats any file format in that folder as raw input. -
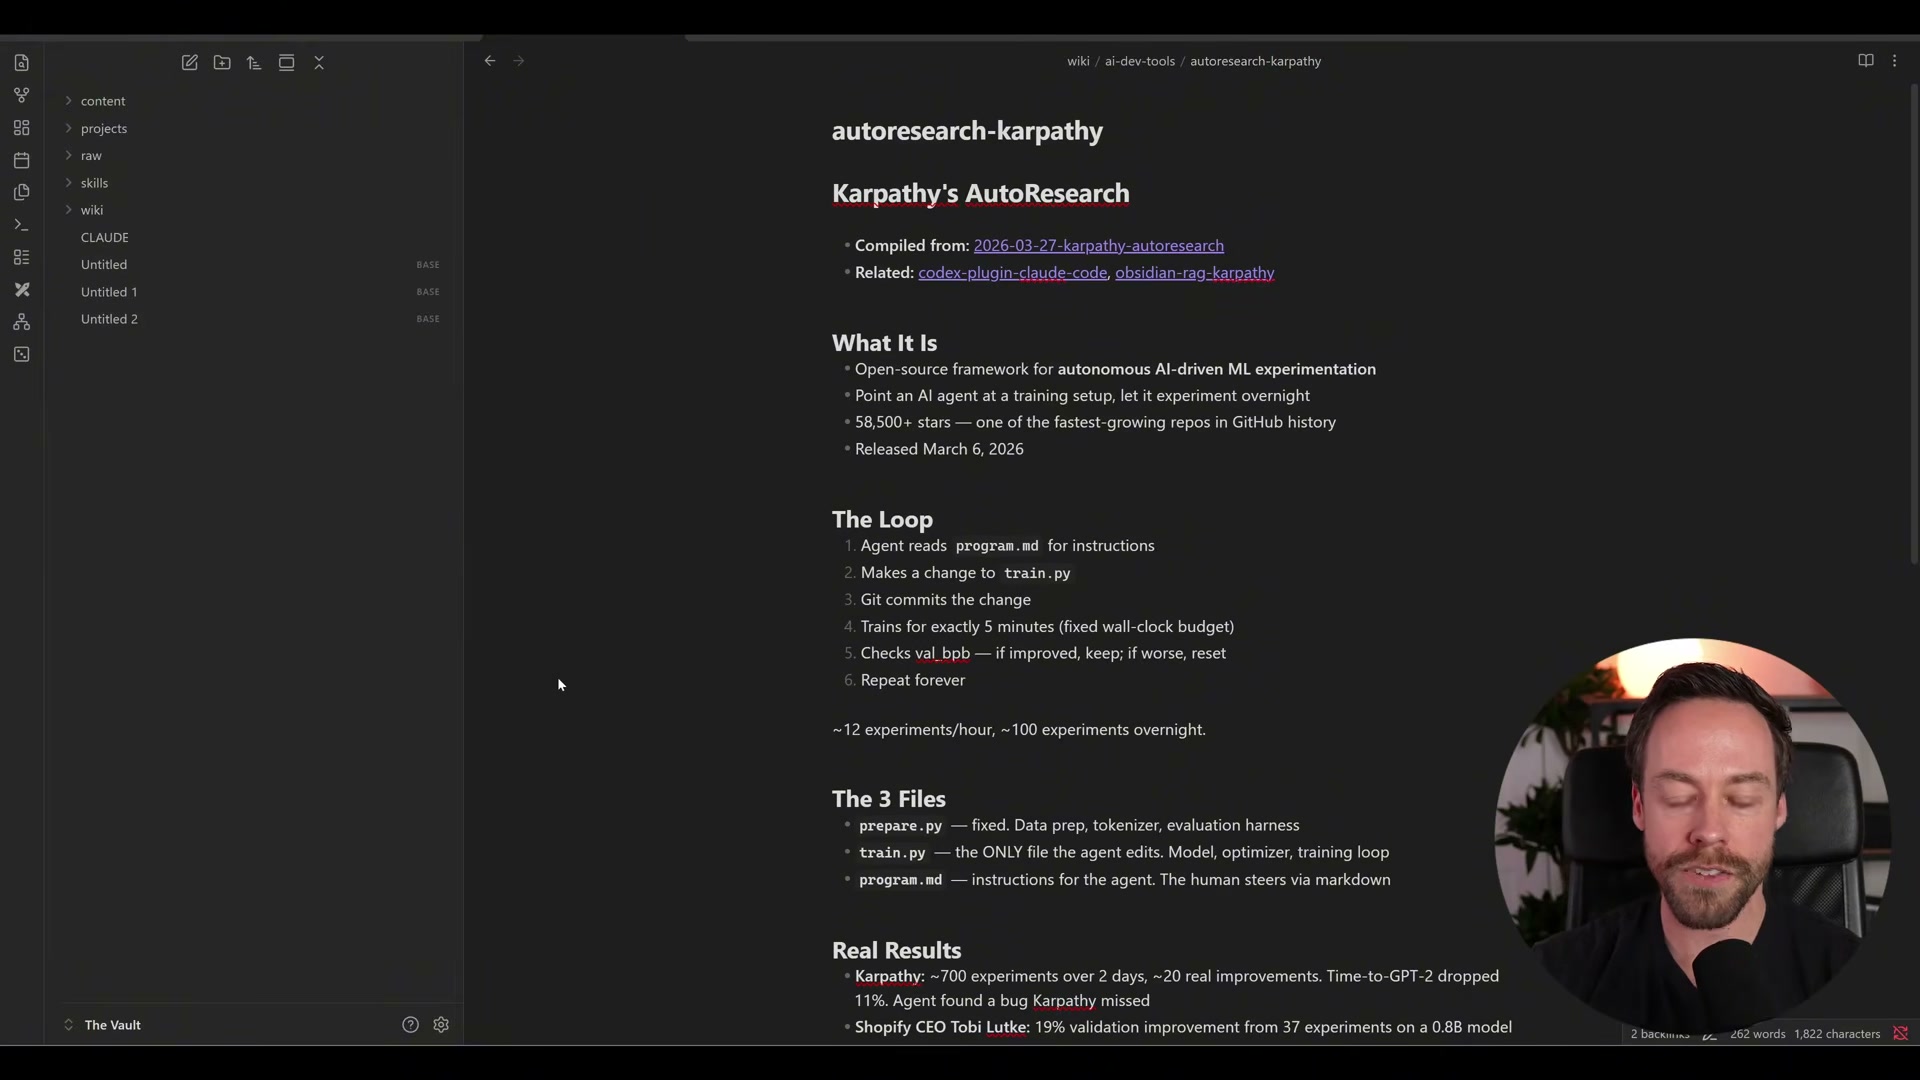
Ask Claude Code to generate a wiki on a topic. Point it at
raw/for existing research and specify whether it should supplement with its own web search. Claude Code reads the raw files, synthesizes the content, and writes structured notes into the appropriatewiki/subfolder.
-
After wiki generation, verify that both
wiki/_master-index.mdand the topic-level_index.mdhave been updated with one-line summaries of the new notes. If either file was skipped, add an explicit index-maintenance rule to yourCLAUDE.md. -
Query the knowledge base with a natural-language question about any covered topic. Claude Code reads the master index first, navigates to the relevant topic folder, and synthesizes an answer from the notes it finds — the 1M-token context window means the entire vault is available in a single session.
How does this compare to the official docs?
The video delivers a working system grounded in Karpathy’s published design, but several key details — the CLAUDE.md traversal rules, scaffold prompt structure, and plugin configuration — come from the creator’s own templates rather than Obsidian’s or Anthropic’s official documentation, which is exactly what Act 2 examines.
Here’s What the Official Docs Show
The video builds a functional, well-reasoned system. Act 2 adds what official sources confirm, flags the steps documentation doesn’t cover, and surfaces one configuration detail worth knowing before it costs you time.
1. Download Obsidian
The video’s approach here matches the current docs exactly. Obsidian is available for macOS, Windows, and Linux from obsidian.md. The docs state explicitly: “Obsidian stores notes privately on your device — no one can read them, not even us.” That privacy guarantee is the architectural reason this local-first design works as a RAG alternative.

2. Open Claude Code in your vault
No official documentation was found for this step — proceed using the video’s approach and verify independently.
One prerequisite the video skips: Claude Code CLI is billed by API token consumption, not by a claude.ai subscription tier. The Free, Pro, and Max plans shown at claude.ai cover the web interface only. Confirm your billing model at docs.anthropic.com/en/docs/claude-code before you start.
3. Scaffold raw/, wiki/, and output/ via prompt
No official documentation was found for this step — proceed using the video’s approach and verify independently.
4. Create CLAUDE.md at the vault root
No official documentation was found for this step — proceed using the video’s approach and verify independently.
5. Install Obsidian Web Clipper
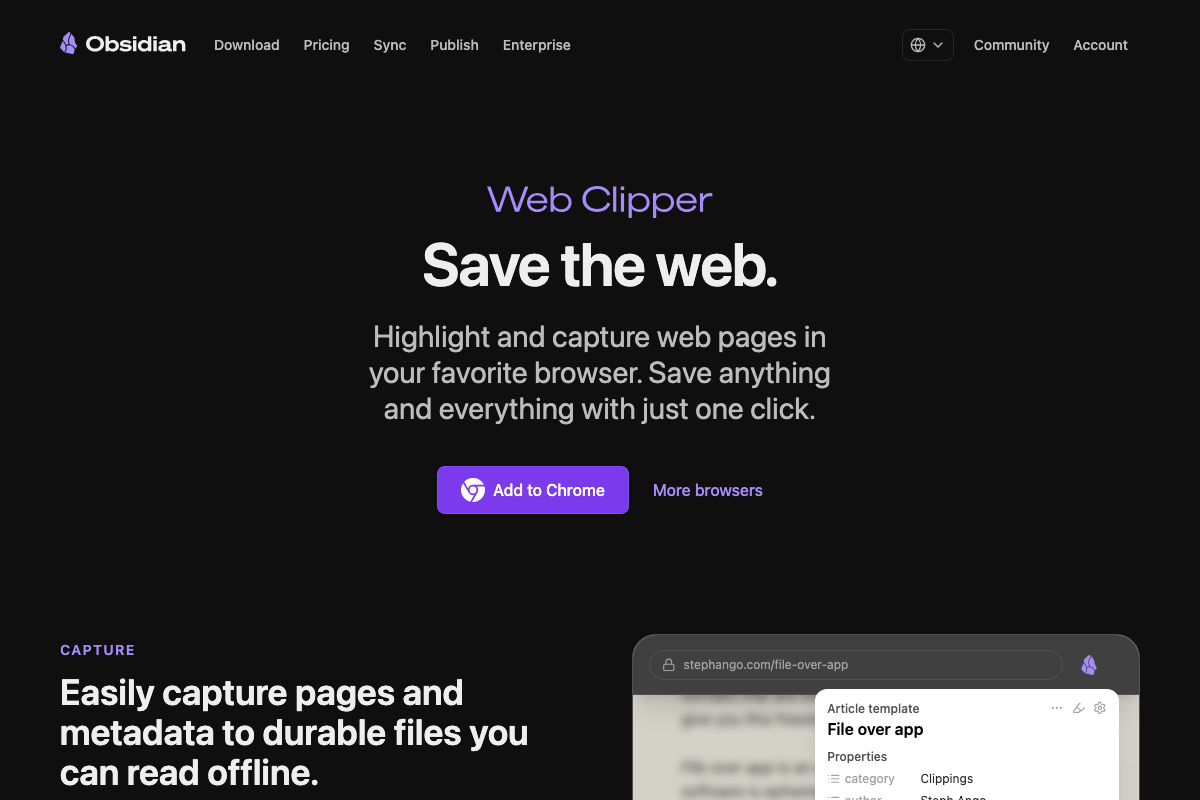
The video’s approach here matches the current docs exactly. The primary CTA at obsidian.md/clipper is “Add to Chrome,” but a visible “More browsers” option confirms support for Firefox, Safari, and others — the video describes it as Chrome-only.
6. Install Local Images Plus
No official documentation was found for this step — proceed using the video’s approach and verify independently.
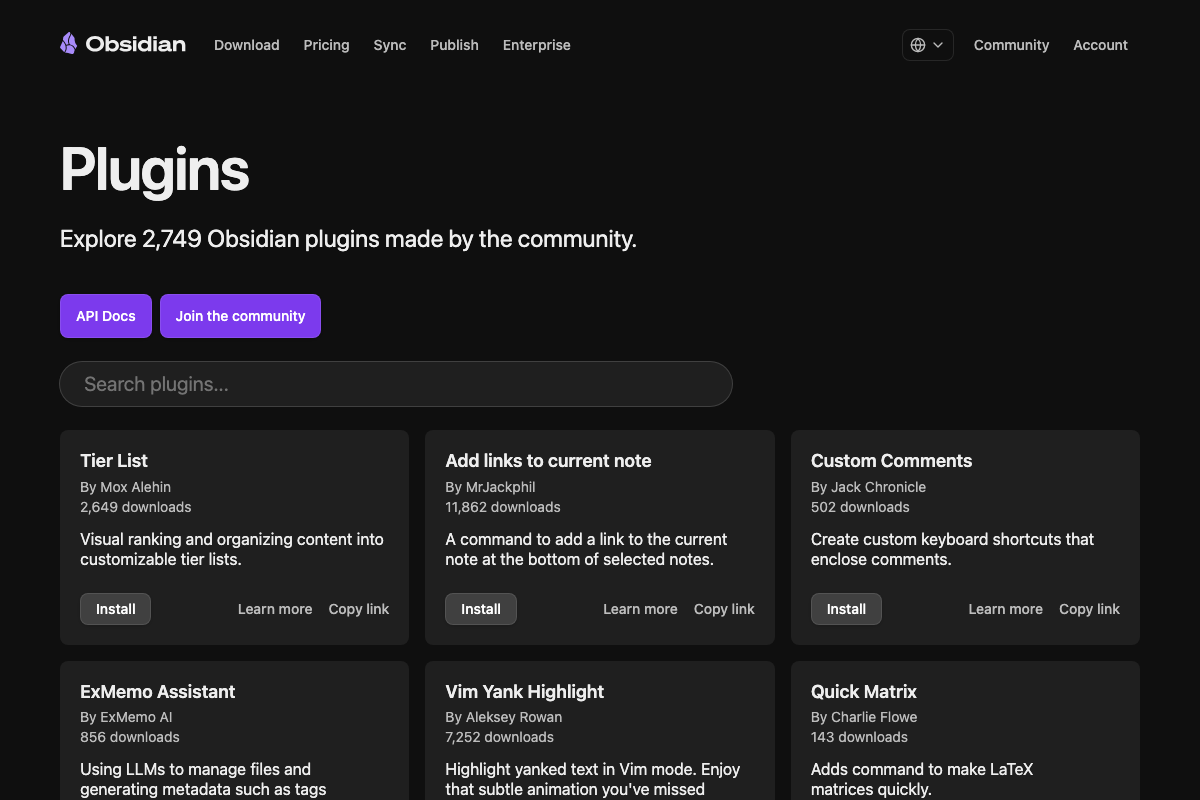
“Local Images Plus” does not appear in the default sort view at obsidian.md/plugins across multiple scroll positions. The in-app path the video specifies — Settings → Community Plugins → Browse, then search by name — is the correct and fastest route; it’s the only path that enables one-click install directly into your active vault.
7. Route clipped pages to raw/
No official documentation was found for this step — proceed using the video’s approach and verify independently.
One clarification from the Web Clipper docs: the template has two distinct settings — Note location (the save folder) and category (a YAML front-matter property). The “Clippings” value visible in the demo panel is the default category tag, not a folder path. As of April 4, 2026, you need to update the Note location field specifically to route clipped pages into raw/; changing only the category label will not redirect the save destination.
8. Clip a page and verify
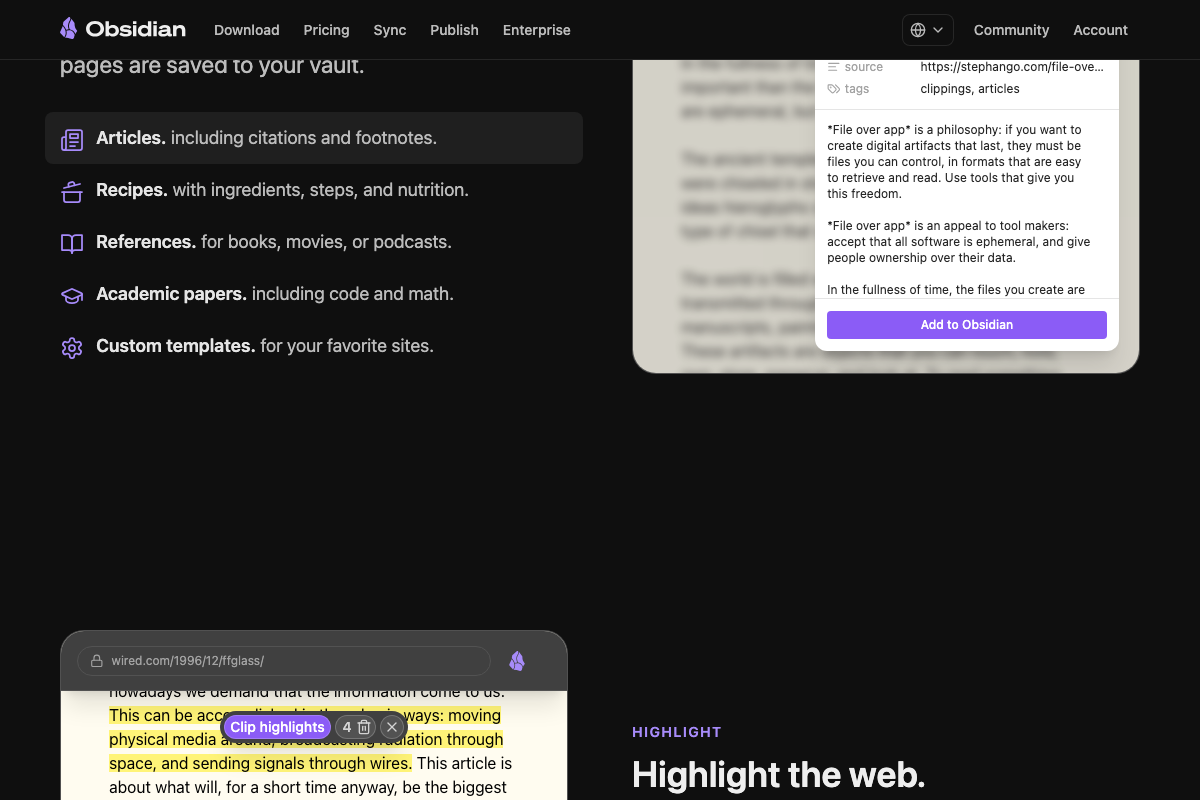
The video’s approach here matches the current docs exactly. The Web Clipper supports Articles, Academic papers, References, and custom templates, all saved directly to the vault. The docs also document a highlight-and-clip mode — select text or images on a page before clipping — that captures partial content rather than full articles, a capability the video doesn’t cover but worth knowing for targeted research capture.
9–12. Generate wiki, verify indexes, query via Claude Code
No official documentation was found for these steps — proceed using the video’s approach and verify independently.
For Claude Code CLI context window behavior, CLAUDE.md syntax, and file-system access specifics, consult docs.anthropic.com/en/docs/claude-code directly — the steps in this section depend entirely on CLI capabilities that the captured screenshots did not document.
Useful Links
- Obsidian — Sharpen your thinking — Official homepage; download Obsidian for macOS, Windows, or Linux and review local, offline-first storage guarantees.
- Obsidian Web Clipper — Multi-browser extension for clipping web pages directly to your vault; free, open source, with YAML front-matter templating and custom save-folder routing.
- Plugins — Obsidian — Browsable community plugin directory listing 2,749+ plugins; use the name search field to locate Local Images Plus.
- Claude Code — General Claude web interface and subscription tiers; Claude Code CLI documentation, installation instructions, and API token billing details are at docs.anthropic.com/en/docs/claude-code.


0 Comments