Set Up Claude Cowork Projects for Automated, Persistent AI Workflows
Most people using Claude Cowork end up with scattered tasks and no memory between sessions — the Projects feature solves both problems at once. After working through this tutorial, you’ll have a fully configured Project with a linked local folder, a CLAUDE.md instruction file, and scheduled tasks running automatically on your behalf. The same structure scales across every area of your business, and it compounds: by Day 90, three-word prompts can trigger entire workflows.
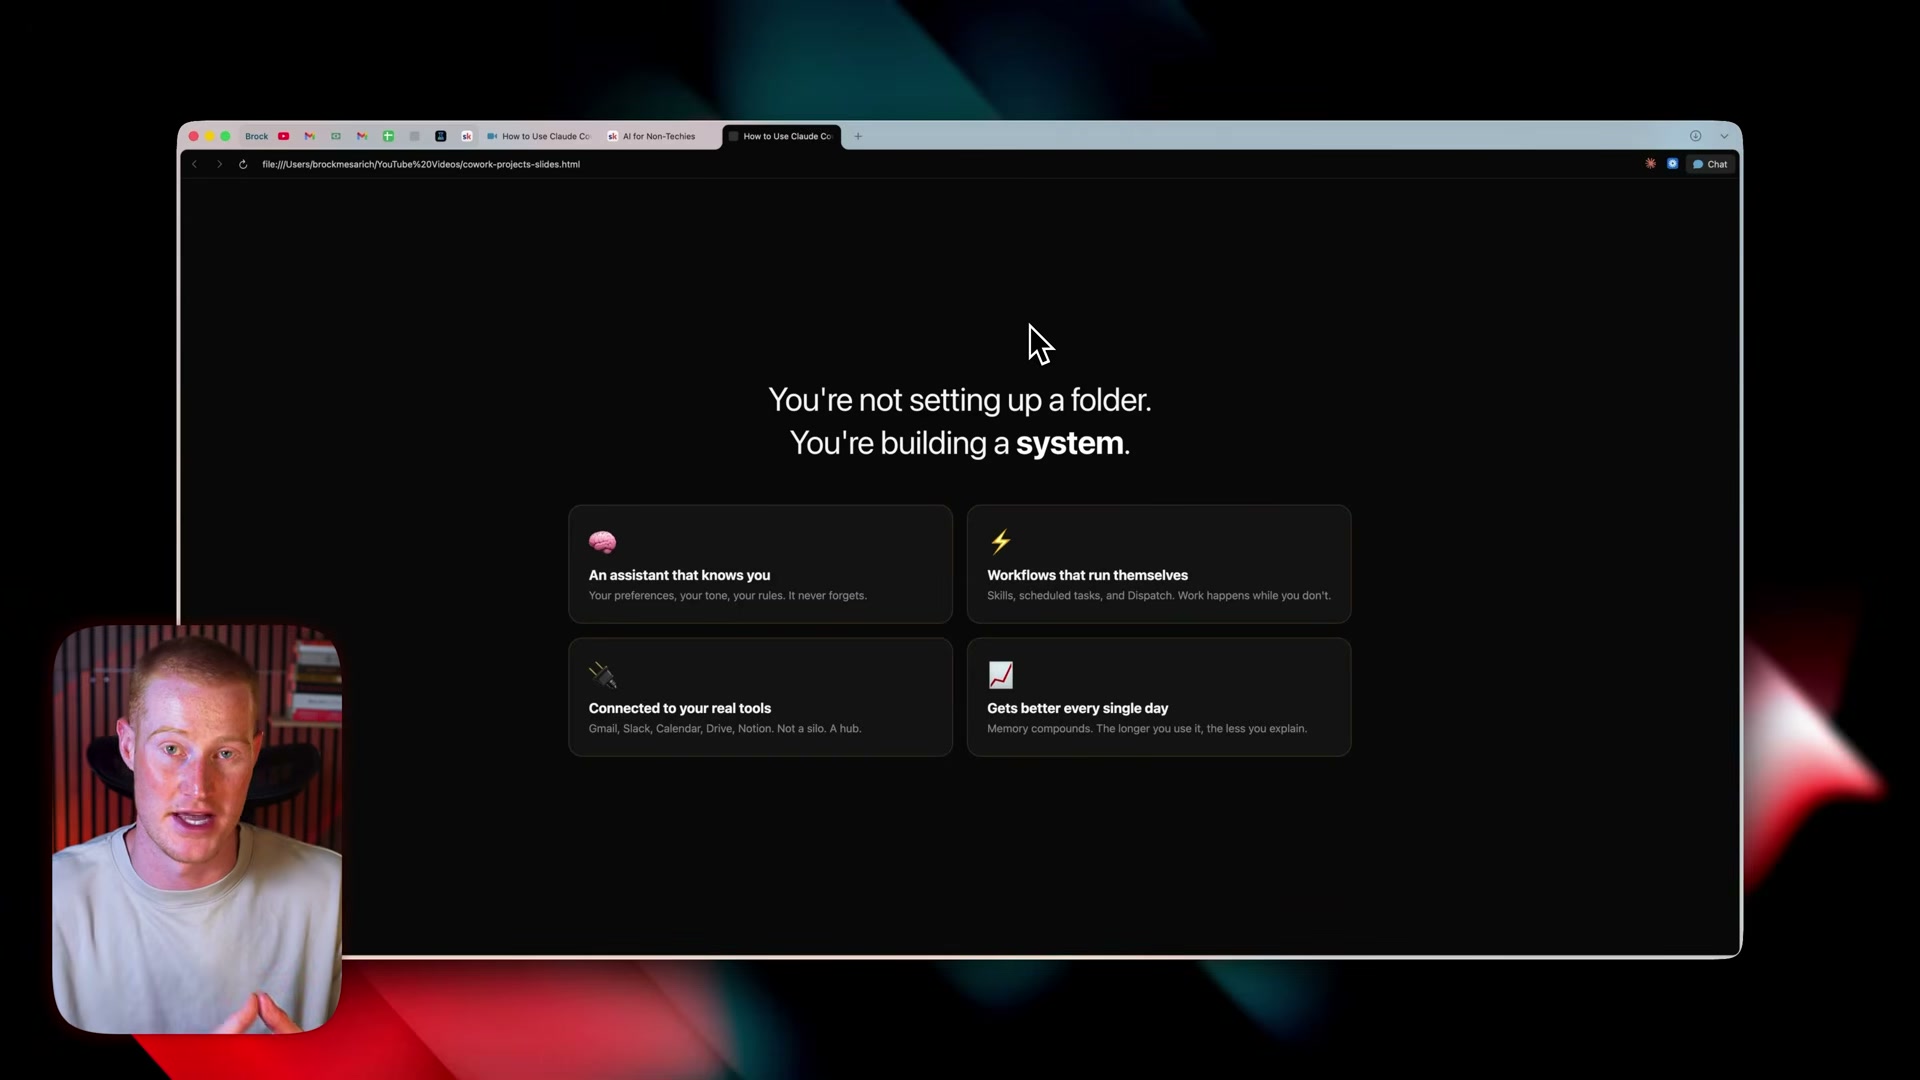
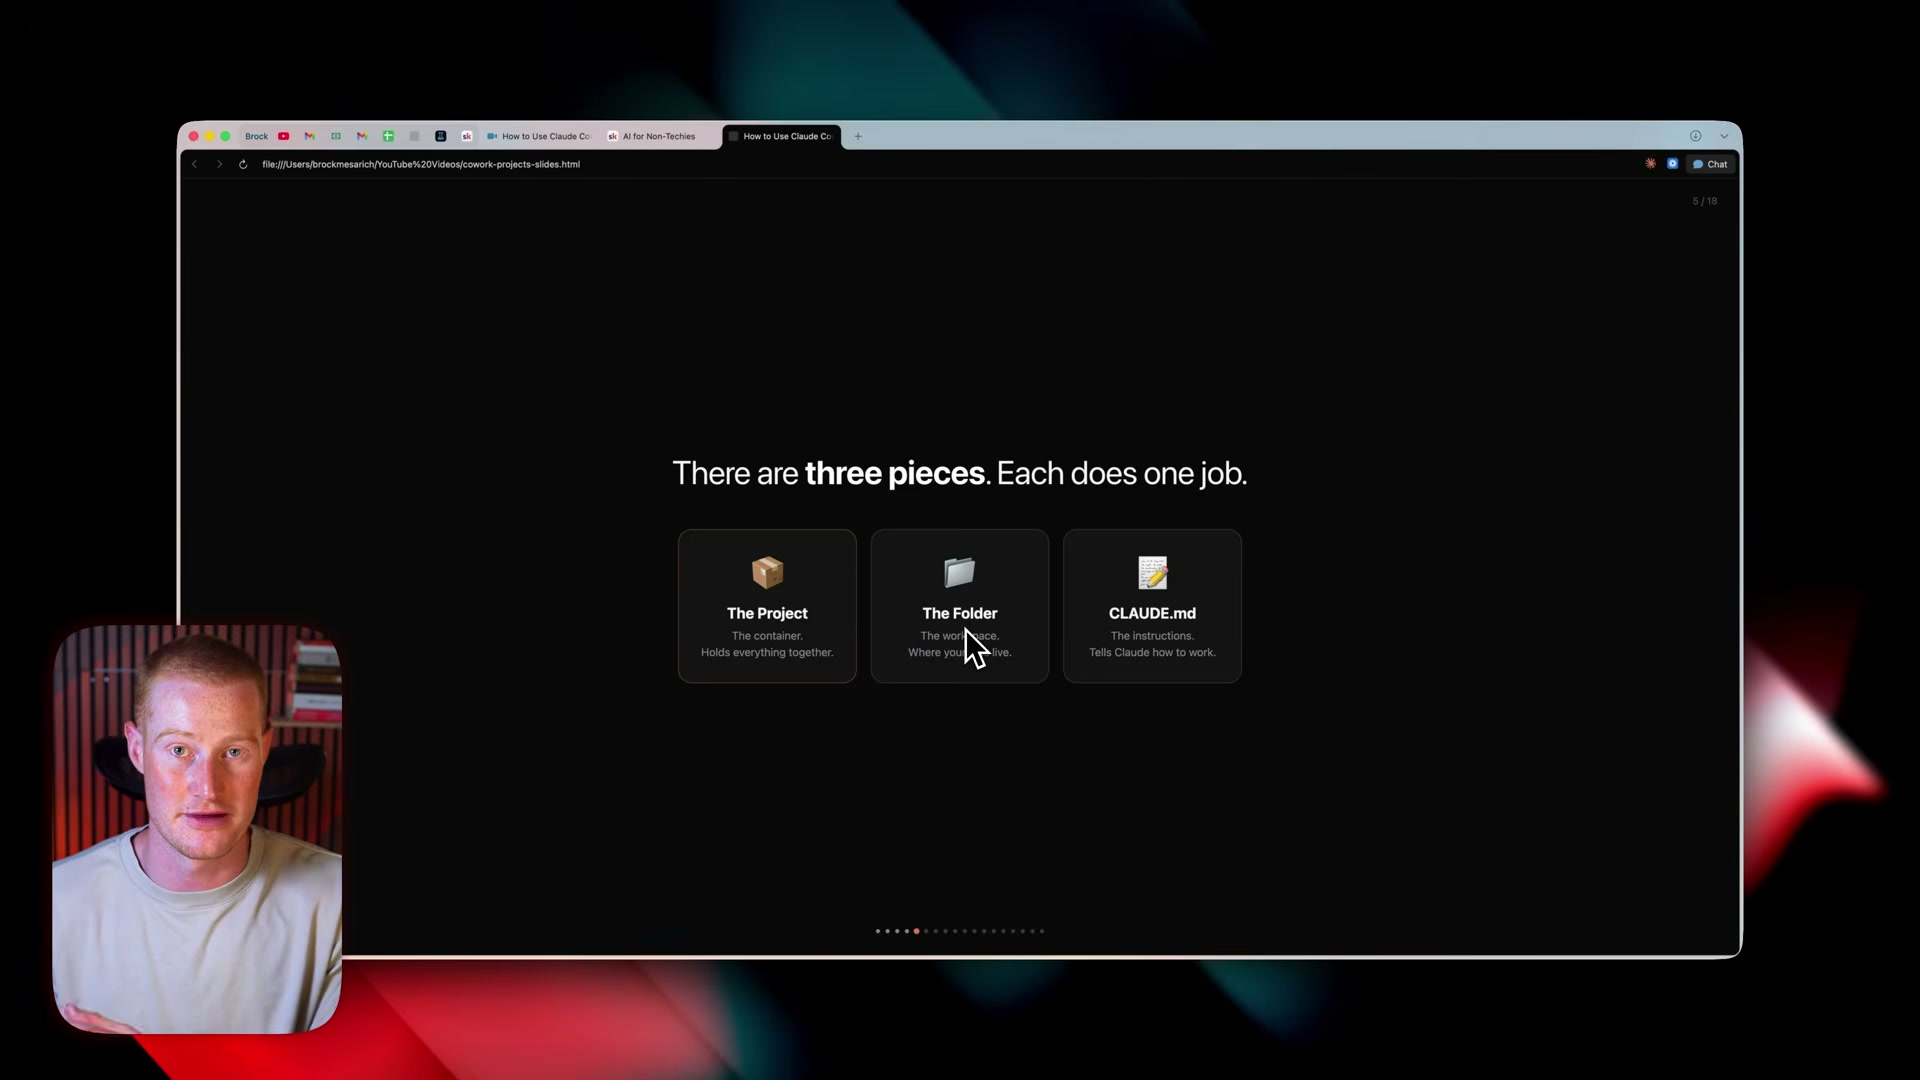
Before touching the interface, understand the architecture. Every Cowork Project has three distinct components: the Project (the container that holds everything), the Folder (a linked directory on your local machine where files and outputs live), and the CLAUDE.md file (the standing instructions Claude reads before every prompt in that project). Confusing these three is the most common setup mistake.
-
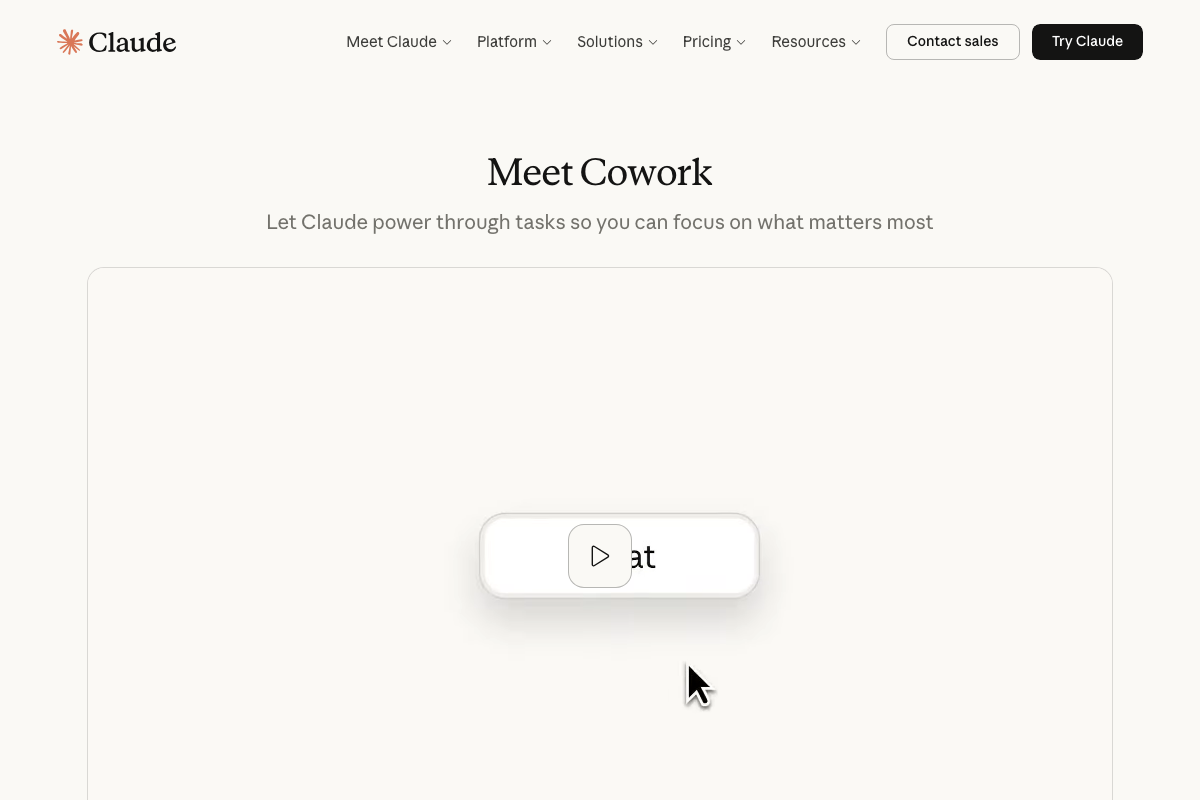
Download and install the Claude Desktop App from the link in the video description. Cowork Projects are not accessible at claude.ai — the desktop app is required.
-
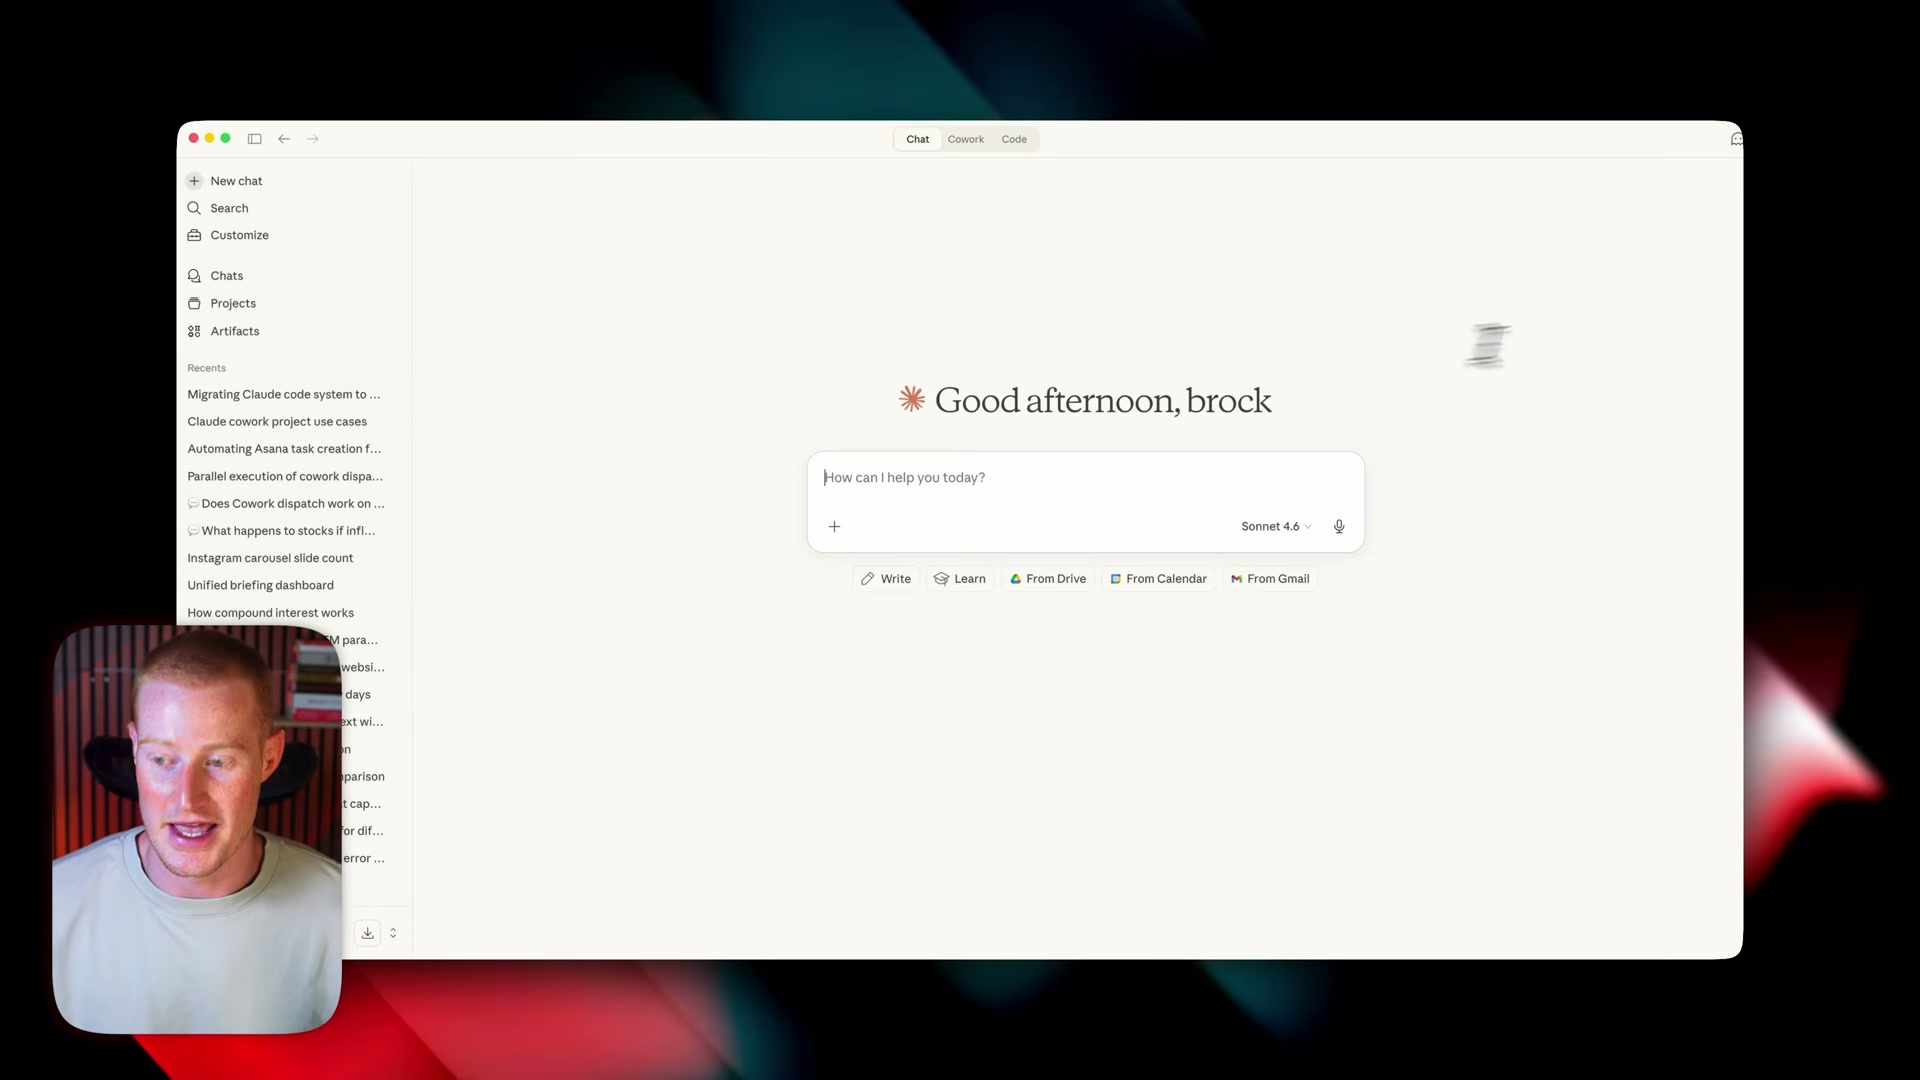
Open the Claude Desktop App. At the top of the interface, switch from Chat mode to Cowork mode using the navigation tabs.
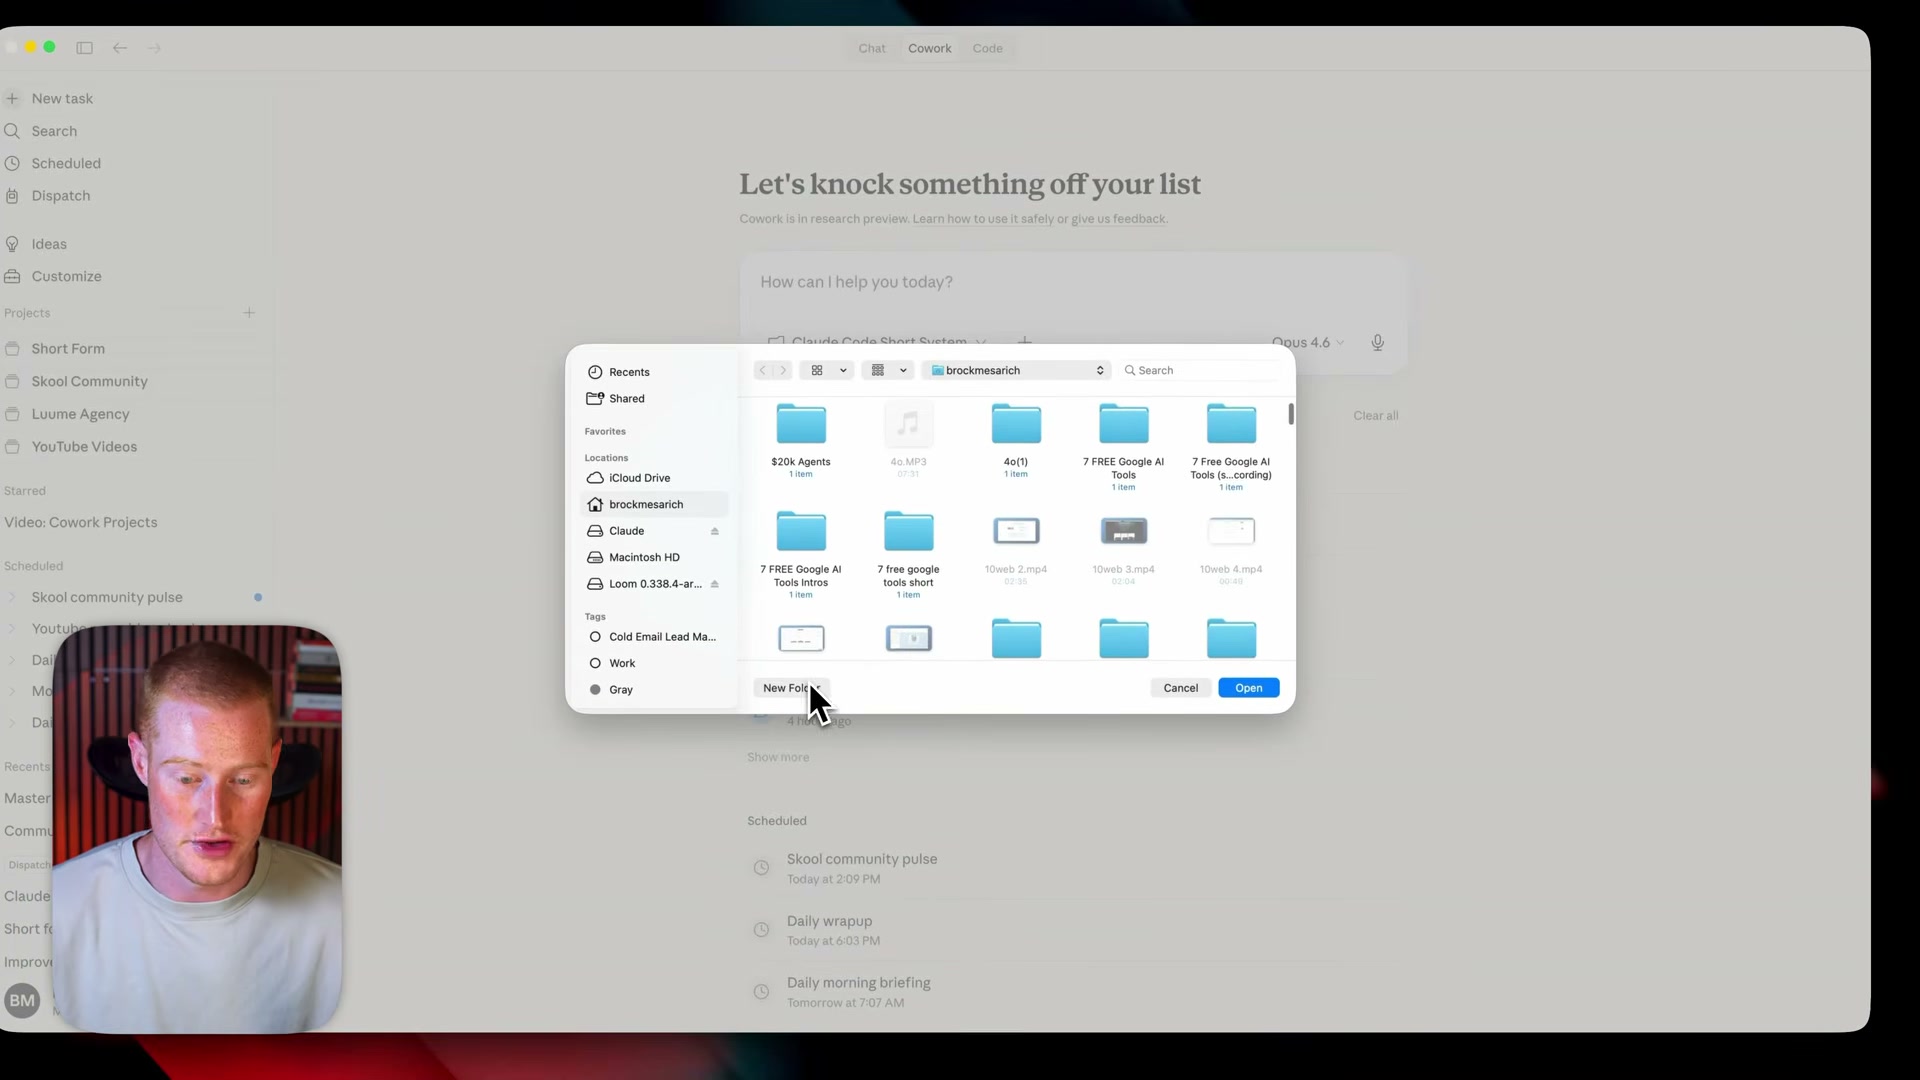
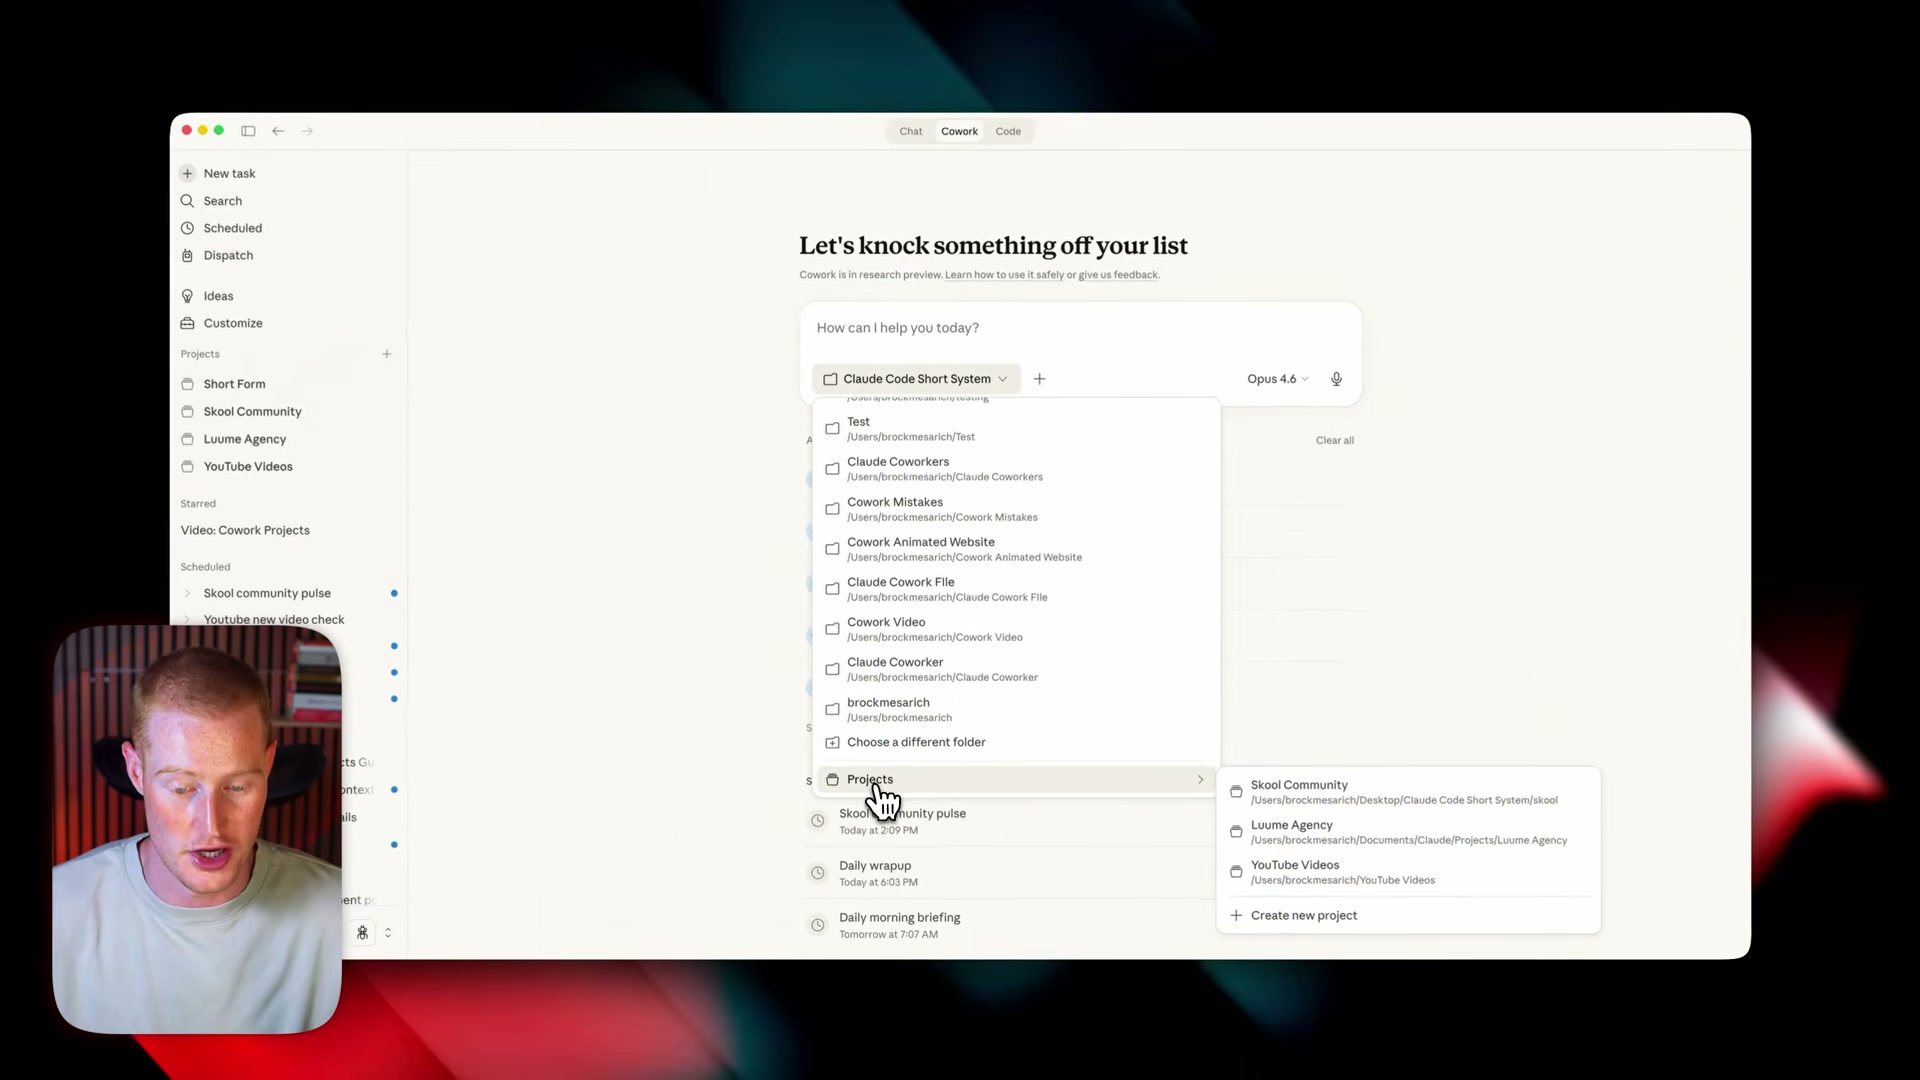
- In the Cowork sidebar, click Choose new folder. Either select an existing directory or create a new one — the presenter creates a folder called
claw testto demonstrate. Click Open, then Allow to grant Cowork file access.
-
Take note of the multi-folder option now available in the sidebar — you can select several local directories if a project needs to work across multiple locations simultaneously.
-
Scroll to the bottom of the Cowork sidebar to find the Projects section. Click an existing project to enter it, or create a new one.
-
Inside a project, the main area gives you a chat interface and a Skills panel scoped to that project. Open the Skills dropdown and locate the
scheduleskill — this is the entry point for all recurring automation.
-
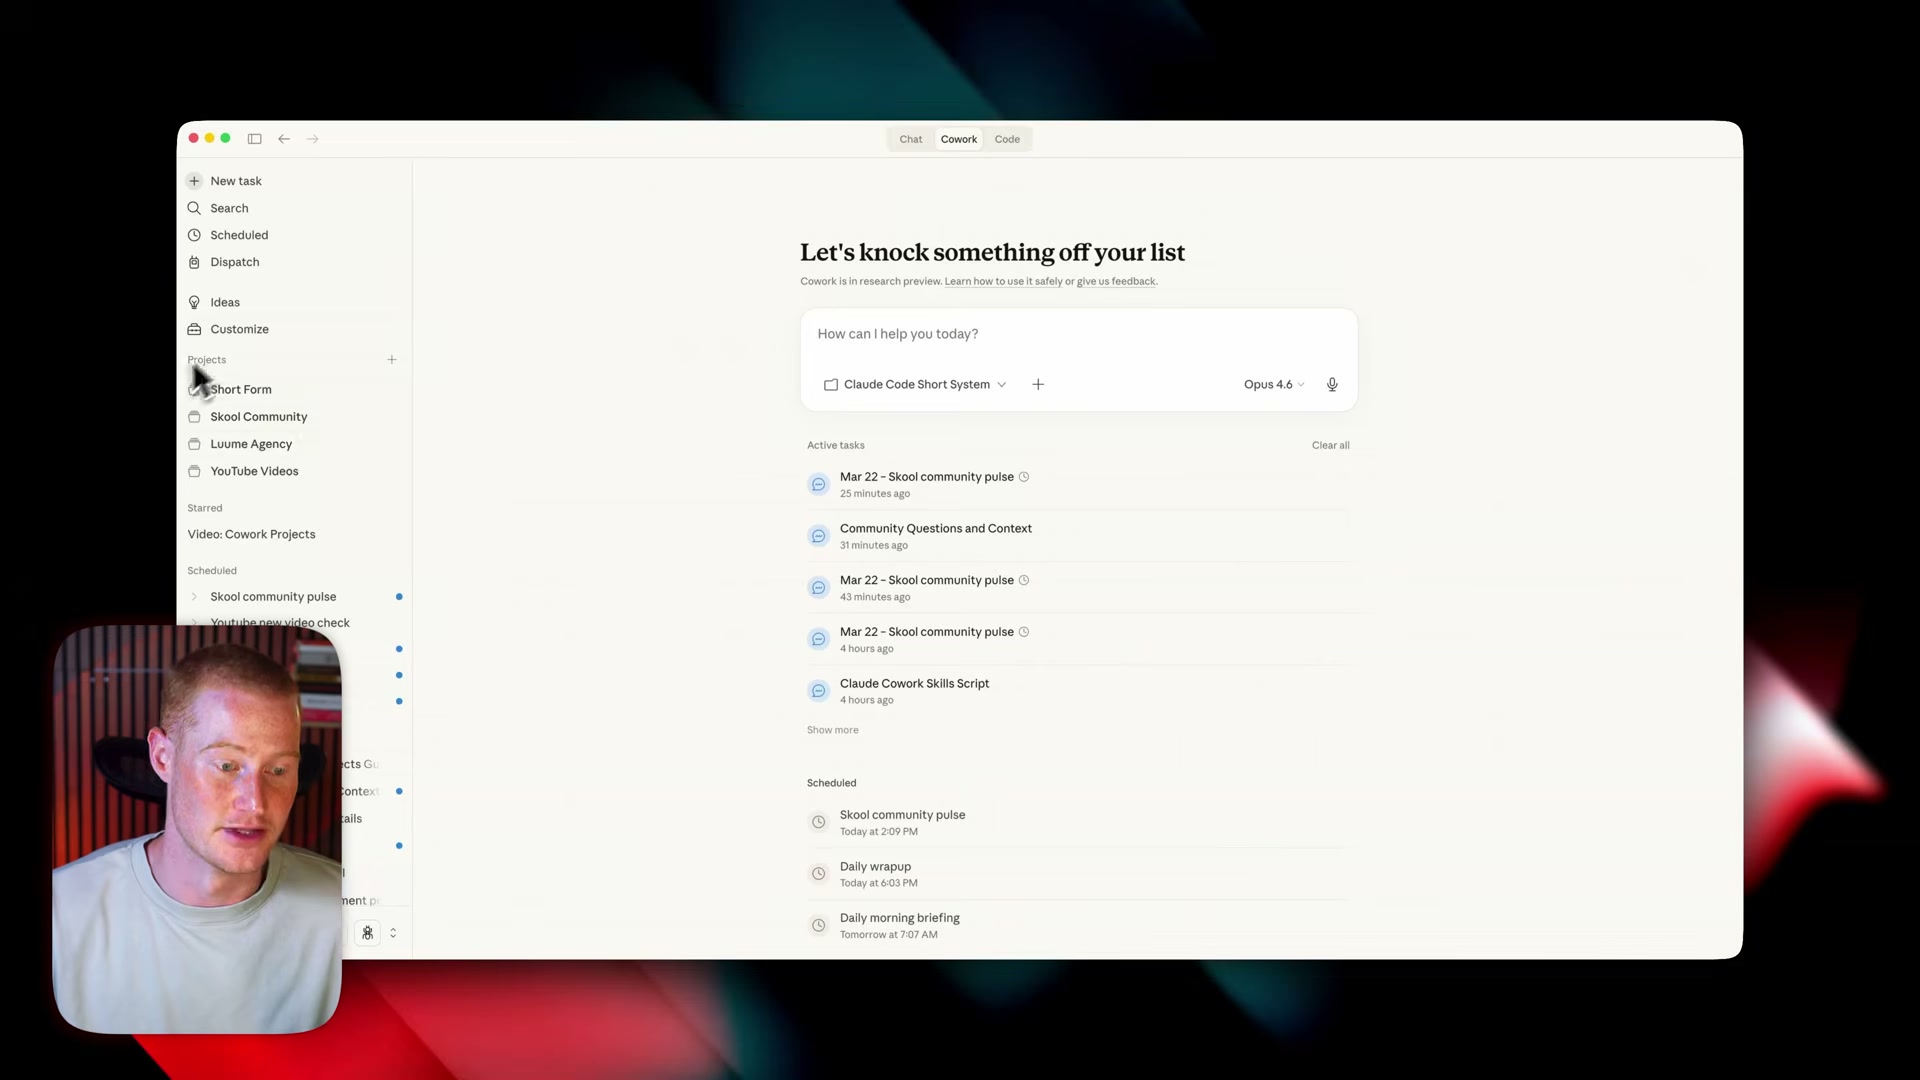
Scroll down to the Outputs section to see every file and artifact Cowork has generated inside this project. All task results are collected here, keeping your work organized by context.
-
Star important chats to pin them at the top of the project’s recent history. The chat log is scoped to the current project, so you’re not wading through unrelated sessions.
-
Open the Scheduled Tasks panel on the right. Each task shows its description, repeat cadence, linked folder path, step-by-step instructions, and a full run history. You can test-run any task directly from this panel without waiting for the next scheduled trigger.

-
Tasks can be shared across projects or kept scoped separately — add an existing task from another project if the automation is relevant, otherwise leave it isolated to maintain clean project boundaries.
-
Open the Context panel to review the
CLAUDE.mdfile, all project outputs, invoked skills, and the memory store Claude has built up over time. -
Write or refine the
CLAUDE.mdfile directly inside the Context panel. Cover tone, output preferences, naming conventions, and any workflow rules Claude should apply to every prompt in this project. The presenter had Claude generate this file initially, then refined it manually.
- Repeat this structure for each distinct area of your business — the presenter maintains separate projects for agency work, YouTube, finances, and a school community. Keeping projects scoped to a single domain prevents Claude’s context from bleeding across unrelated work.
How does this compare to the official docs?
The video gives a clear mental model for Projects and Cowork, but the official Anthropic documentation may describe certain configuration options, permission scopes, and CLAUDE.md syntax in more precise terms — Act 2 maps every step against the source of record.
Here’s What the Official Docs Show
The video does an excellent job orienting you to the Cowork mental model — Act 2 builds on that foundation by mapping each step against what the official claude.ai interface and documentation actually display today. A handful of naming and configuration details are worth noting before you sit down to build.
Step 1 — Download the Desktop App
The video correctly directs you to download the Claude desktop app as the entry point. The official interface confirms this with a visible Download desktop app button.
The video’s approach here matches the current docs exactly — with one platform caveat worth knowing: the download button in the official UI displays an Apple logo only. Windows availability is not confirmed by the current interface screenshot. If you’re on Windows, verify desktop app availability at claude.ai before following along.
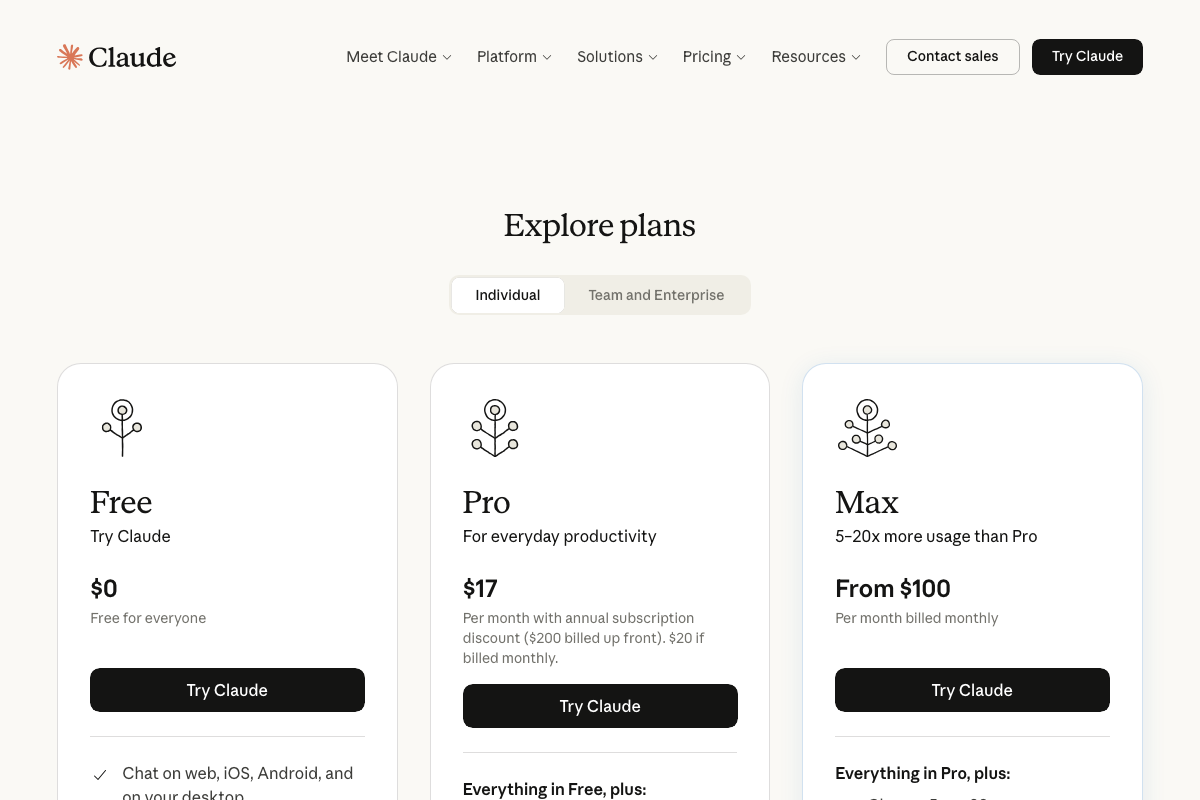
One additional detail the video skips: claude.ai offers three plan tiers — Free ($0), Pro ($17/mo billed annually), and Max (from $100/mo). The Free tier lists desktop access as a feature, but which tier gates Cowork specifically is not stated explicitly in the current pricing screenshot. Check your plan before expecting full Cowork access.
Step 2 — Switch to Cowork Mode
Open the desktop app and locate the two-mode toggle at the top of the interface. The video’s approach here matches the current docs exactly — the toggle is real and functions as described.
One naming note: the official UI labels this mode Cowork as a single word. The video uses the hyphenated form “Co-work” throughout. Same feature, different spelling — use the single-word form when searching docs or support resources.
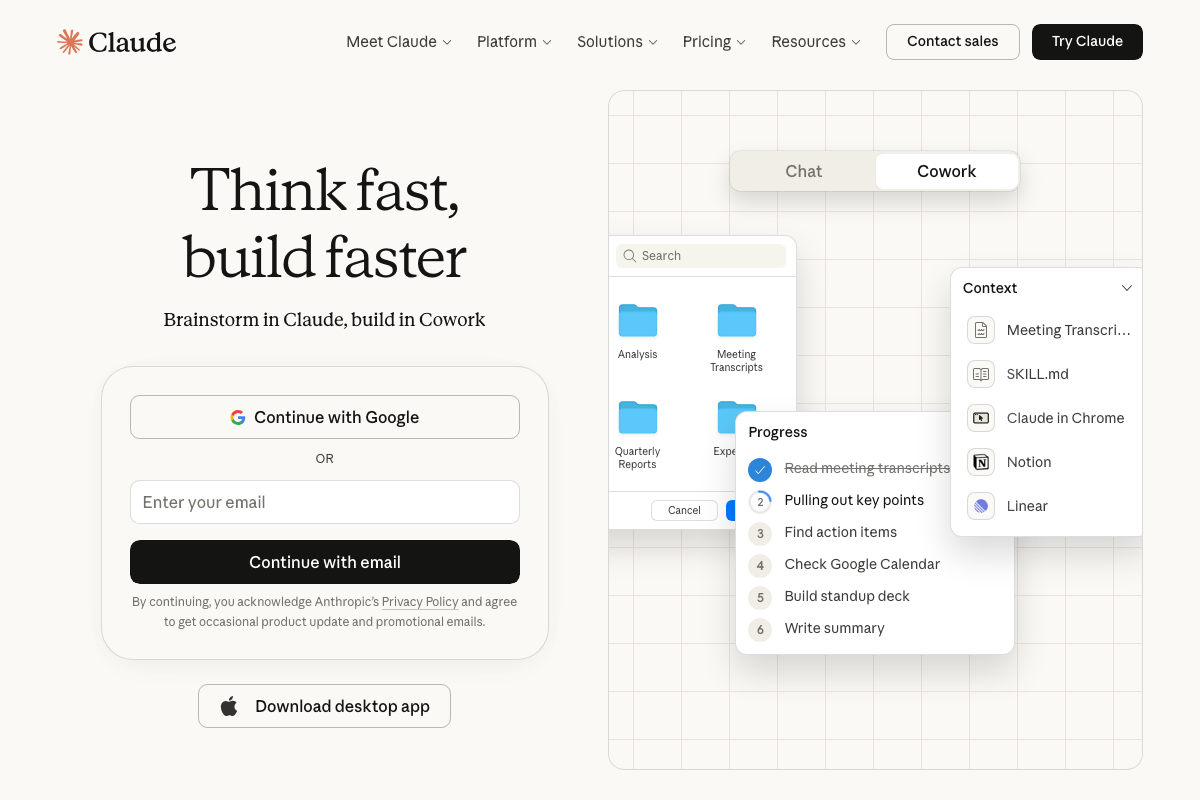
Anthropic’s own framing: “Brainstorm in Claude, build in Cowork” — Cowork is positioned as the task-execution layer, Chat as the ideation layer. That framing maps cleanly onto what the video describes.
Steps 3 & 4 — Connect Local Folders
The video’s approach here matches the current docs exactly. The Cowork sidebar confirms multiple folder icons (Analysis, Meeting Transcripts, Quarterly Reports are visible in the UI screenshot), consistent with the multi-folder capability described in Step 4.
Steps 5, 7, 8, 9, 10, and 13 — Projects Section, Outputs, Starred Chats, Scheduled Tasks, Cross-Project Management, Replication
No official documentation was found for these steps — proceed using the video’s approach and verify independently.
Steps 11 & 12 — The Context Panel and Project Instructions File
The Context panel exists as described, but there are two meaningful additions to what the video shows.
First, the filename: as of March 2026, the project instructions file is named SKILL.md in the official UI — the video refers to it as CLAUDE.md, which reflects an earlier version or a different configuration context.
Second, the Context panel surfaces more than just files and memory. The official UI shows third-party integration sources — Notion, Linear, and Claude in Chrome — listed alongside local files as available context inputs. The video’s Step 11 does not cover this dimension of context at all. If you’re connected to any of these tools, they can feed directly into your project’s standing context.
Step 6
No official documentation was found for this step — proceed using the video’s approach and verify independently.
Useful Links
- Claude — Official claude.ai interface, including the Cowork UI, desktop app download, and the Meet Cowork product introduction page.
- Documentation – Claude API Docs — Anthropic’s official API and product documentation, referenced as the source for all screenshot captures in this analysis.


0 Comments