Top 10 Claude Code Skills, Plugins & CLIs Worth Installing in April 2026
Claude Code’s defaults get you surprisingly far, but a handful of community-built plugins, skills, and CLI integrations push it into genuinely different territory. After completing this walkthrough, you’ll have an OpenAI Codex adversarial review pipeline active, an Obsidian-backed knowledge vault wired to your workspace, a design system that eliminates AI-generated UI slop, and Playwright browser automation running natively in your terminal — plus six additional tools covering ML optimization, web scraping, and NotebookLM integration.
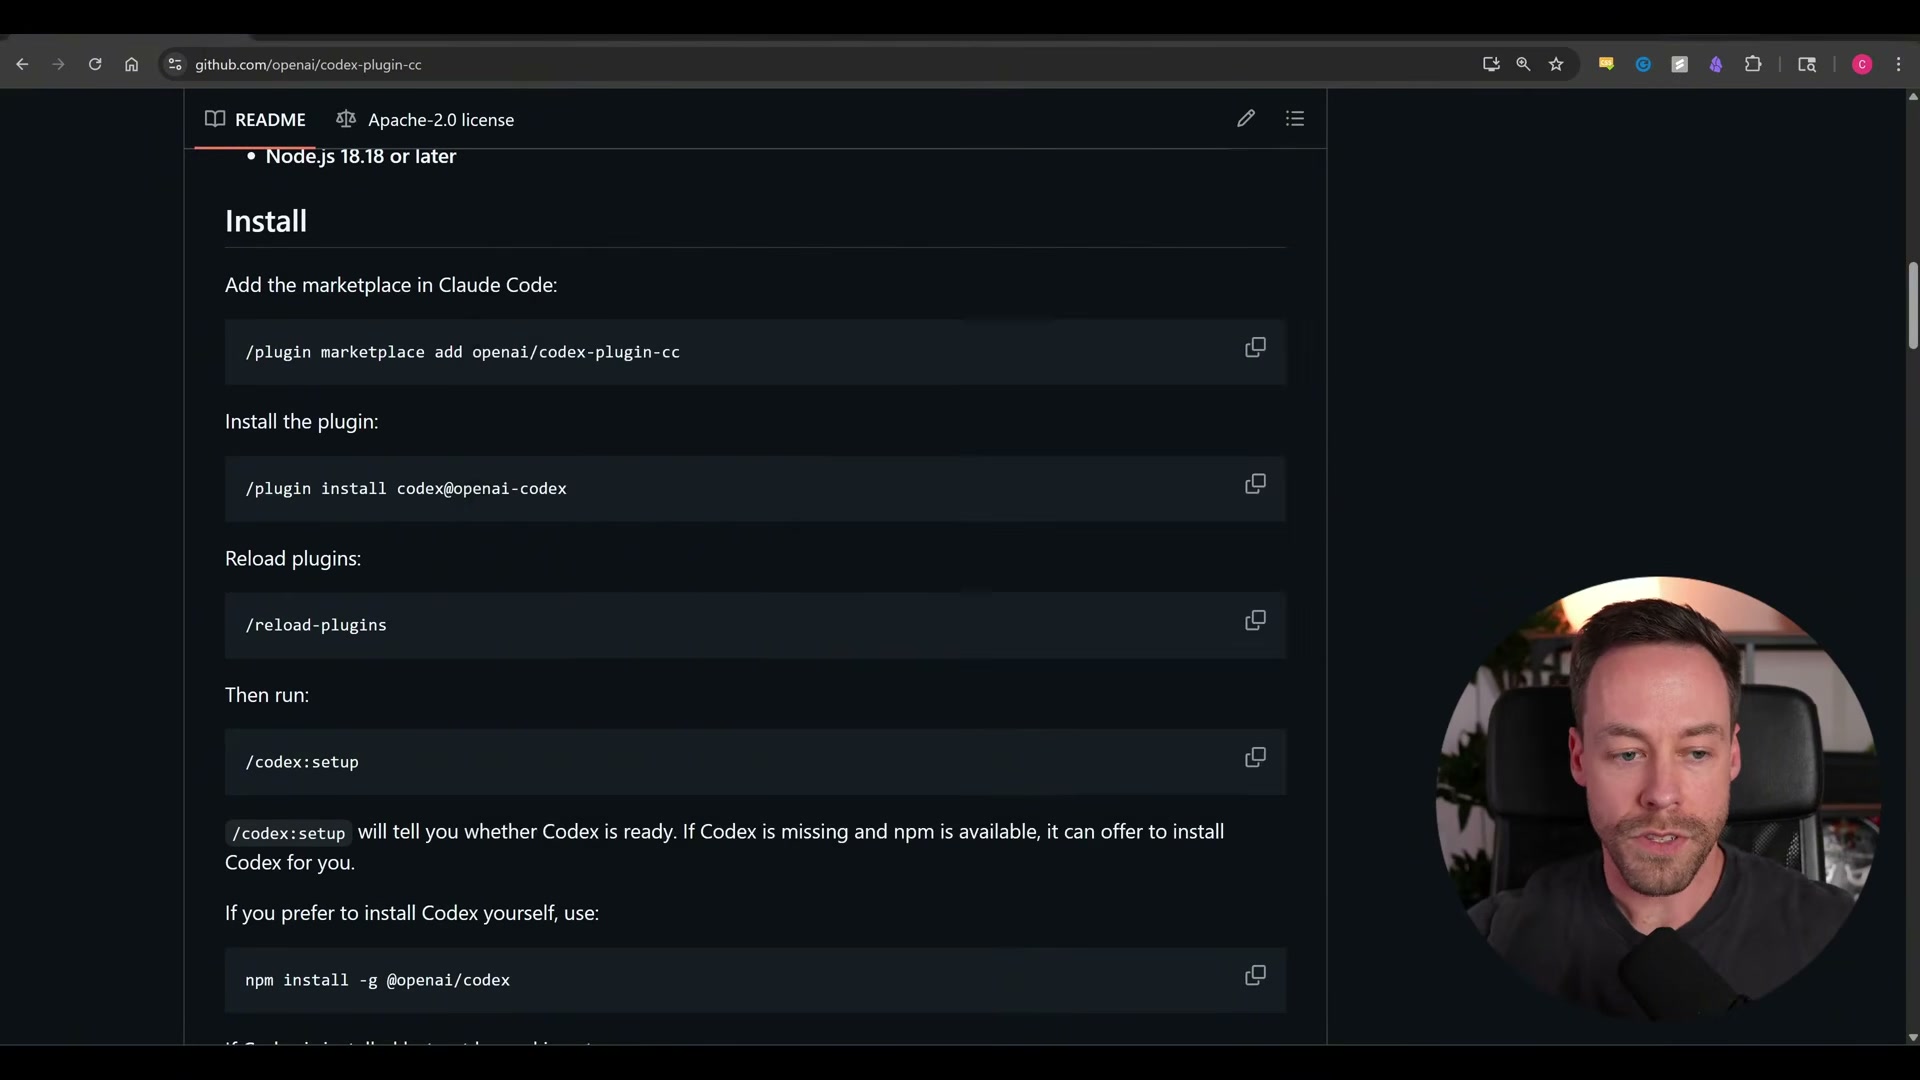
- Search “Codeex plugin Claude Code” on GitHub to locate the repository, copy the marketplace install commands from the README, and paste them directly into Claude Code.
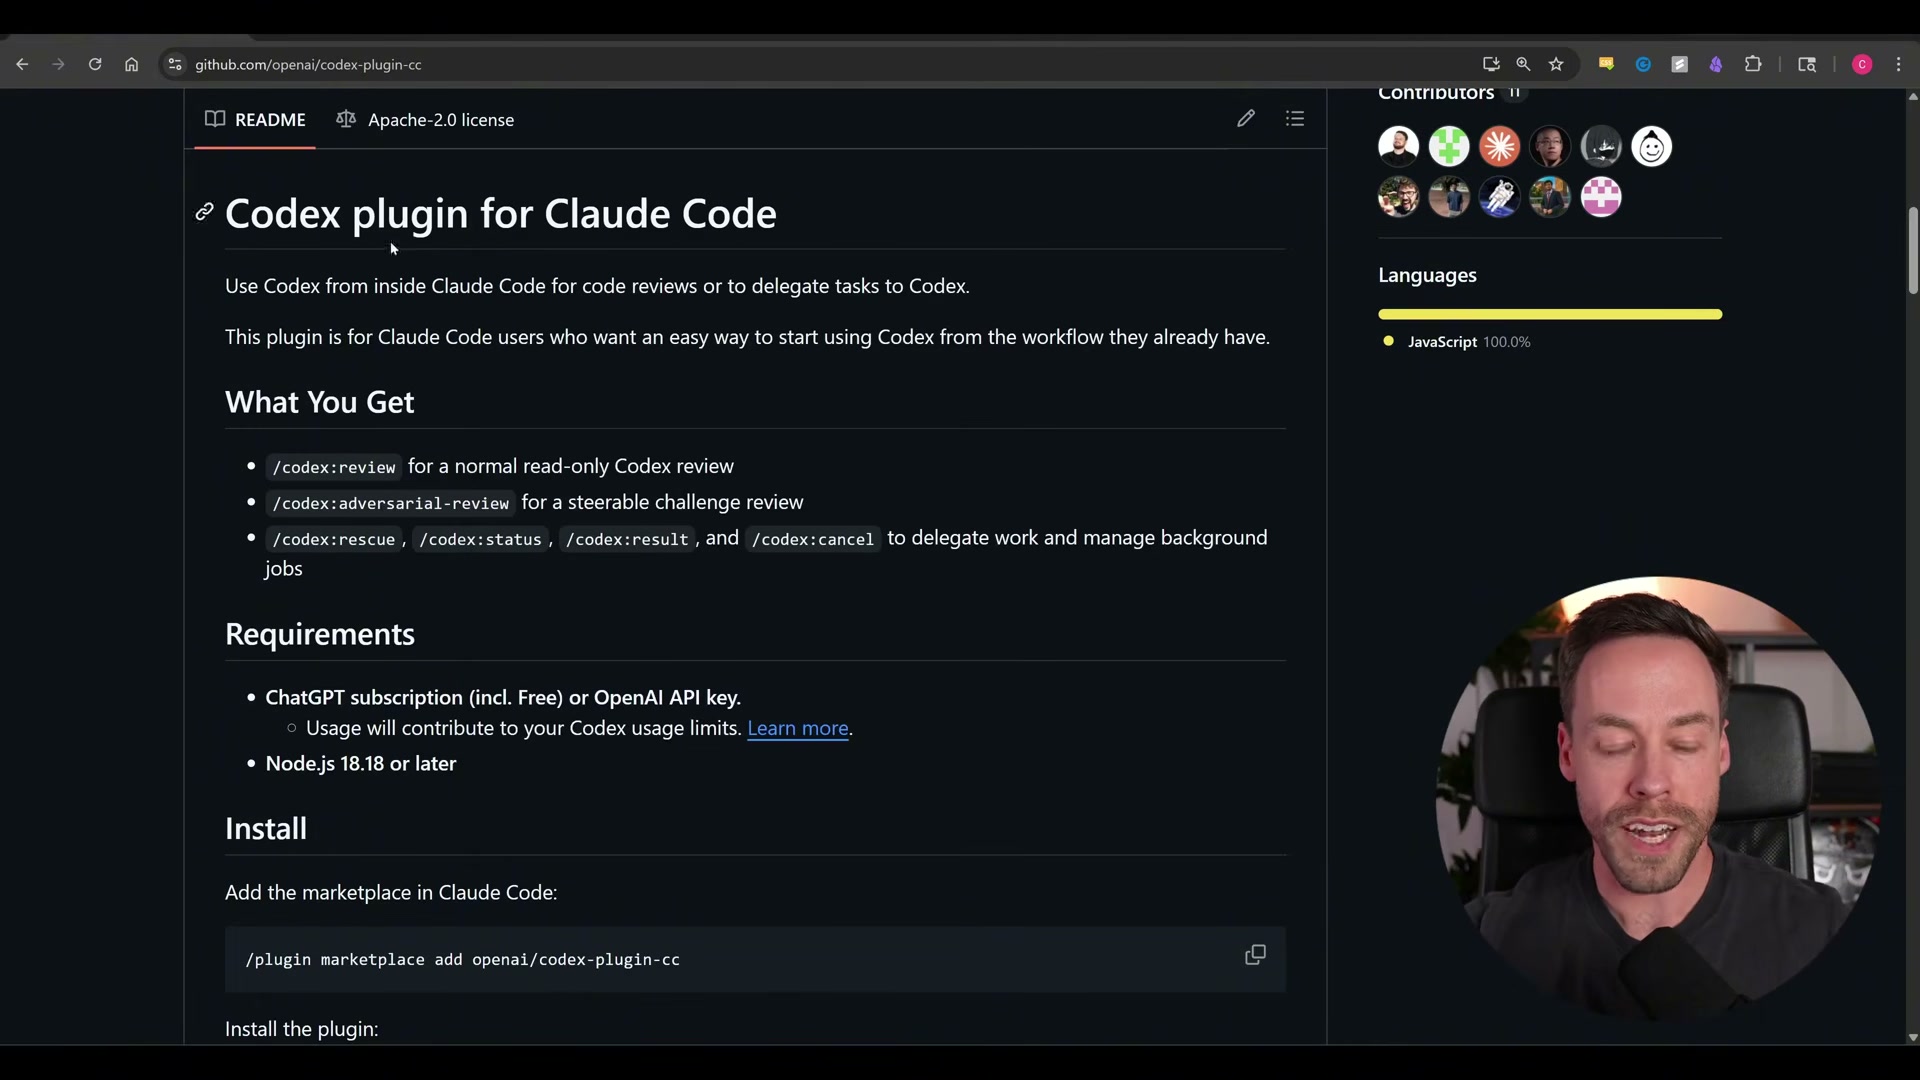
- Once the plugin installs, run
/reload pluginsinside Claude Code, then runcodeex setupto complete initialization.
- Authenticate Codex by connecting an OpenAI account — the ChatGPT Go plan at $7/month provides sufficient API access.
Warning: this step may differ from current official documentation — see the verified version below.
-
Inside any project, run
codeex adversarial-reviewto trigger a cross-model code audit. Usecodeex rescuewhen you want to delegate a specific feature or bug to Codex while staying inside the Claude Code environment. -
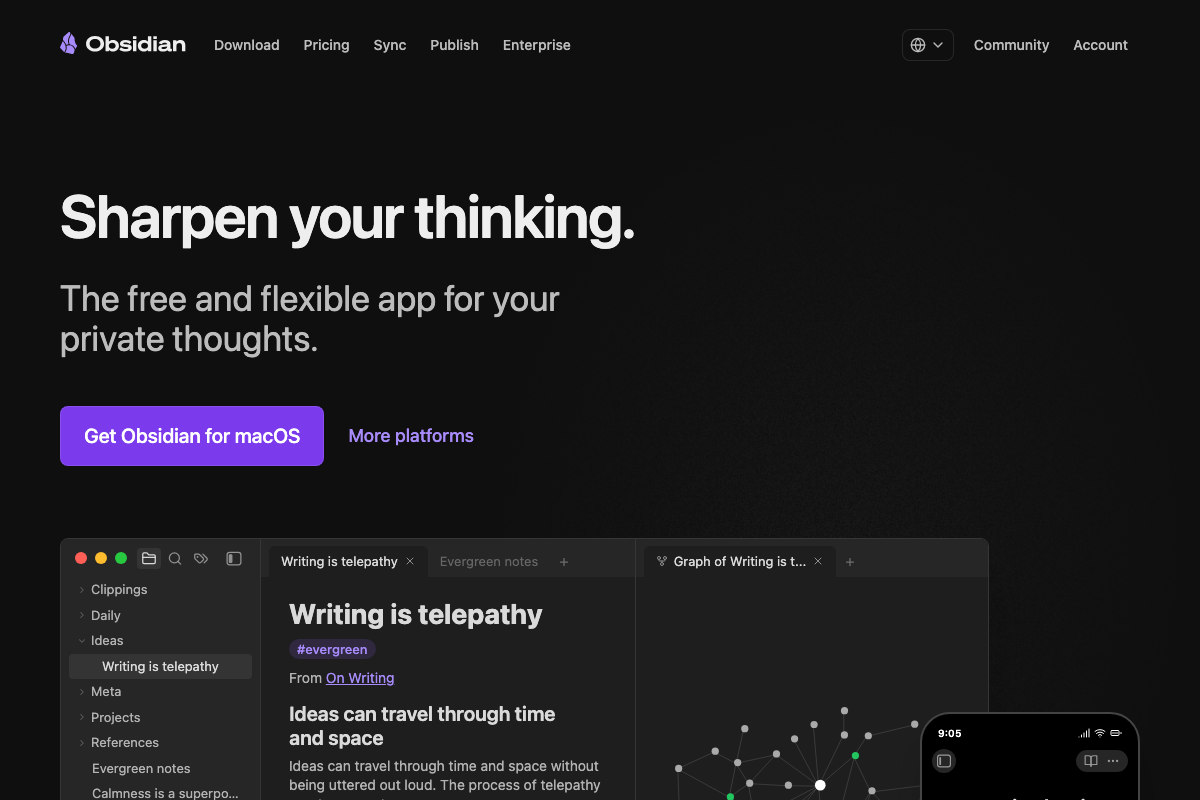
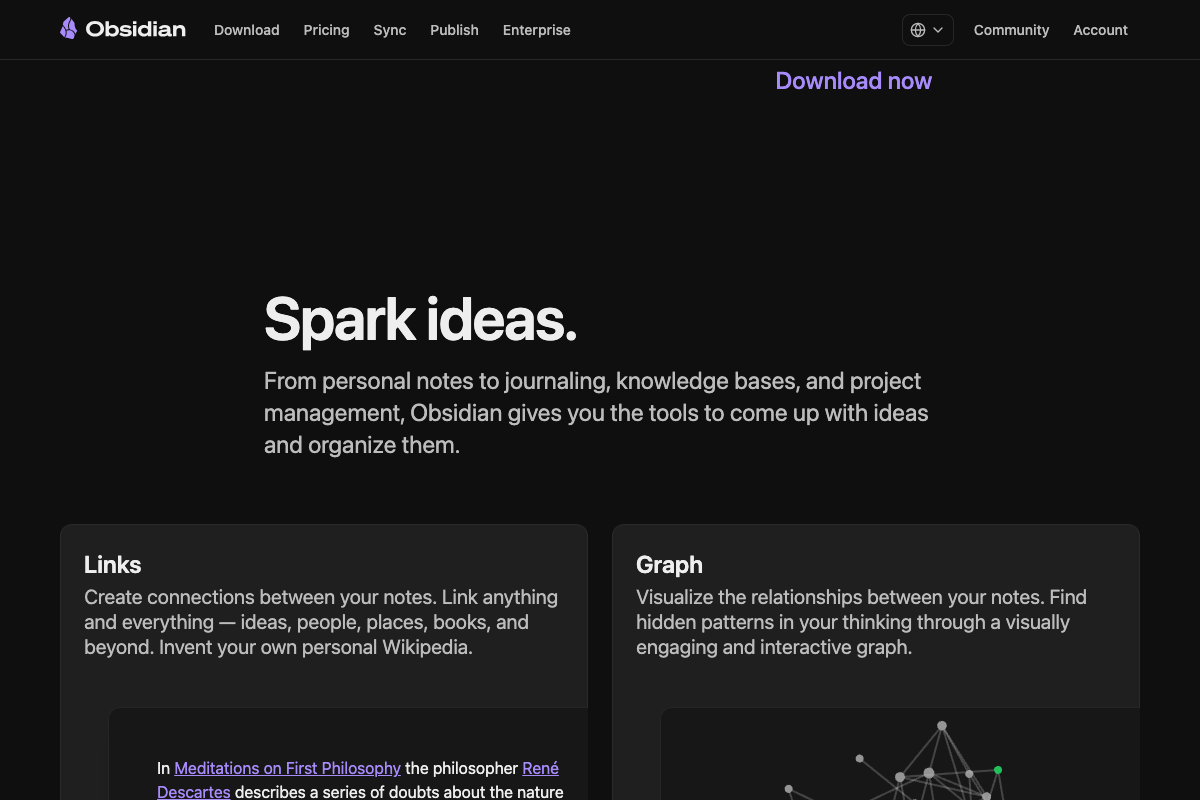
Download Obsidian from obsidian.md and designate a local folder as your vault — a single directory Obsidian treats as the root of your knowledge base.
-
Launch Claude Code from inside that vault directory. Every markdown file Claude Code writes from this point forward automatically becomes part of the Obsidian knowledge graph.
-
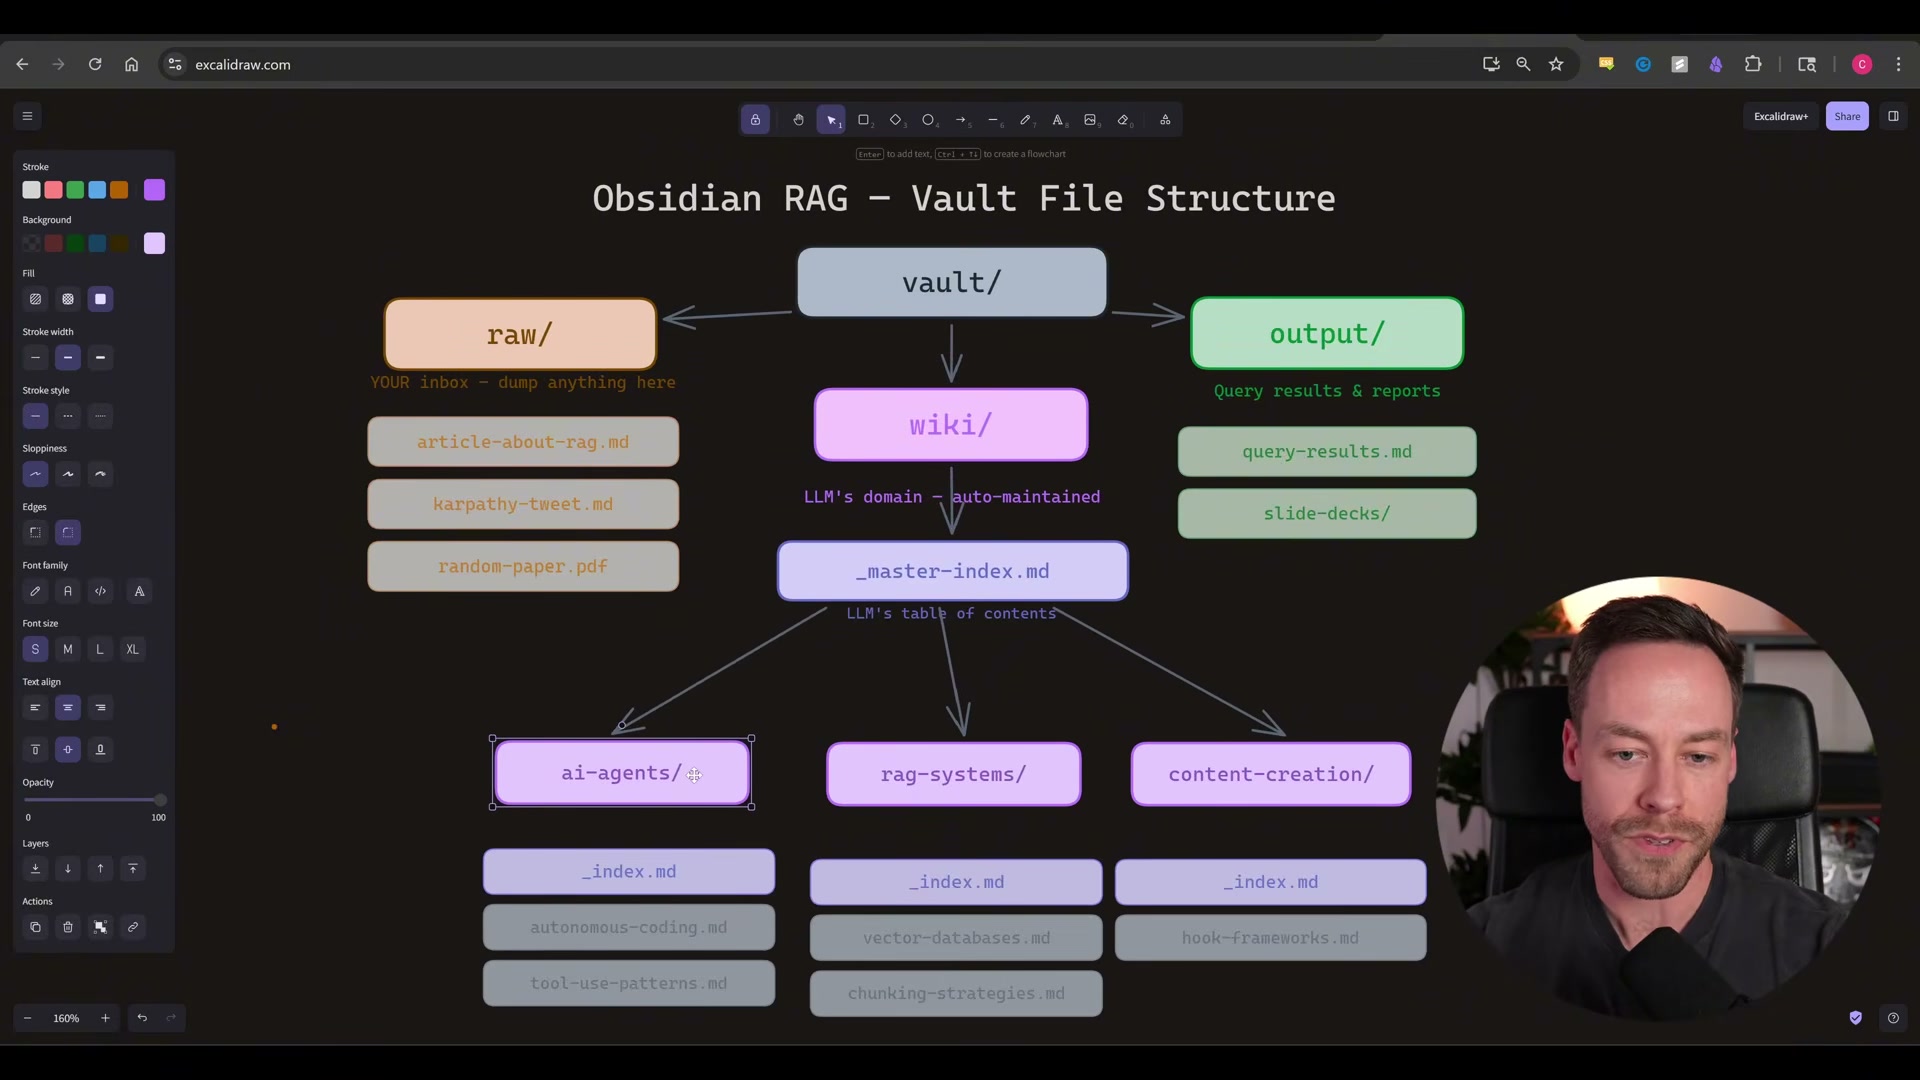
Install the Obsidian Skills GitHub repo into Claude Code. The skill set teaches Claude Code the folder conventions and query patterns that make the vault navigable at scale — particularly the
raw/,wiki/, andoutput/directory structure that mirrors a lightweight RAG pipeline.
-
Install Auto Research using the CLI commands in its GitHub README, then open Claude Code and point it at any program or skill you want to optimize. Auto Research runs iterative ML experiments automatically, commits improvements, and discards regressions — no additional input required once it’s running.
-
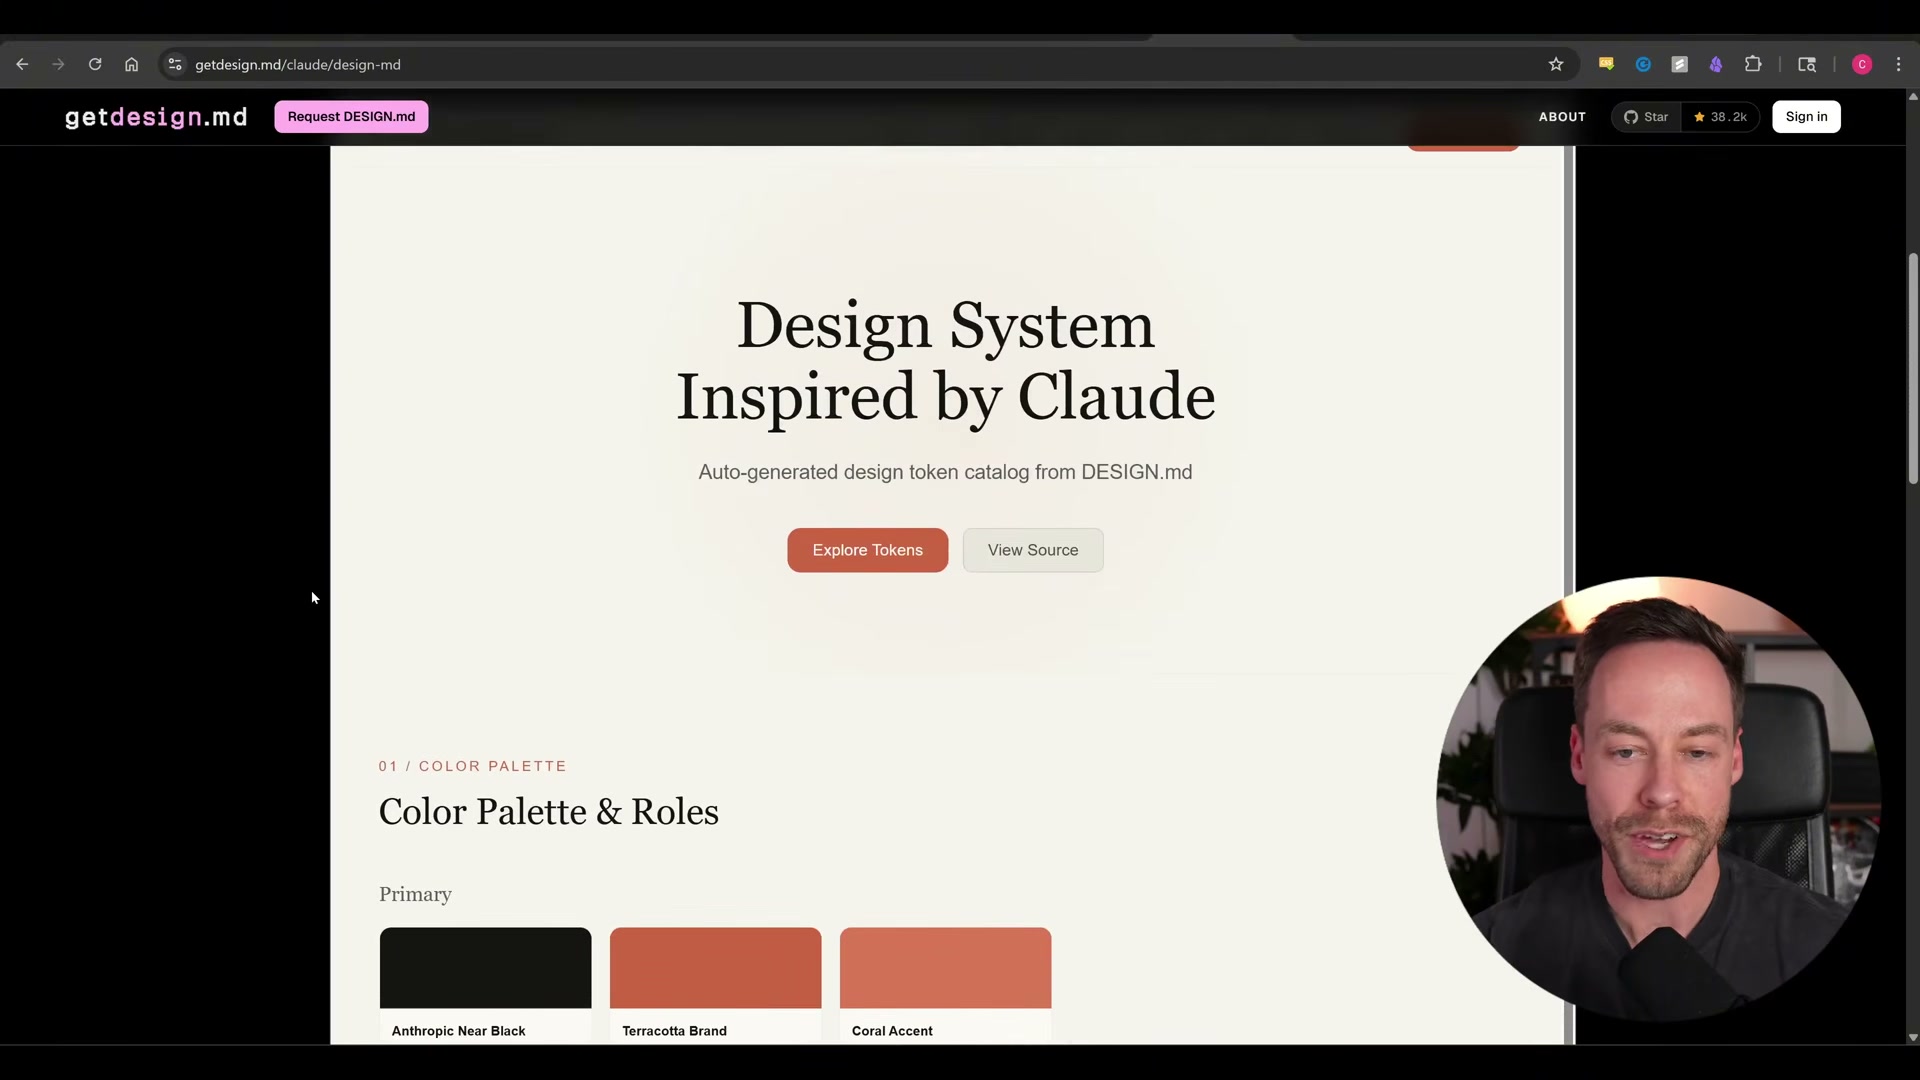
Copy the install command from the awesome-design.md GitHub repo into Claude Code. Browse the included design-spec markdown files — organized by brand and style category — and select one that matches your target aesthetic. Claude Code uses that file as the design foundation for any UI it generates.

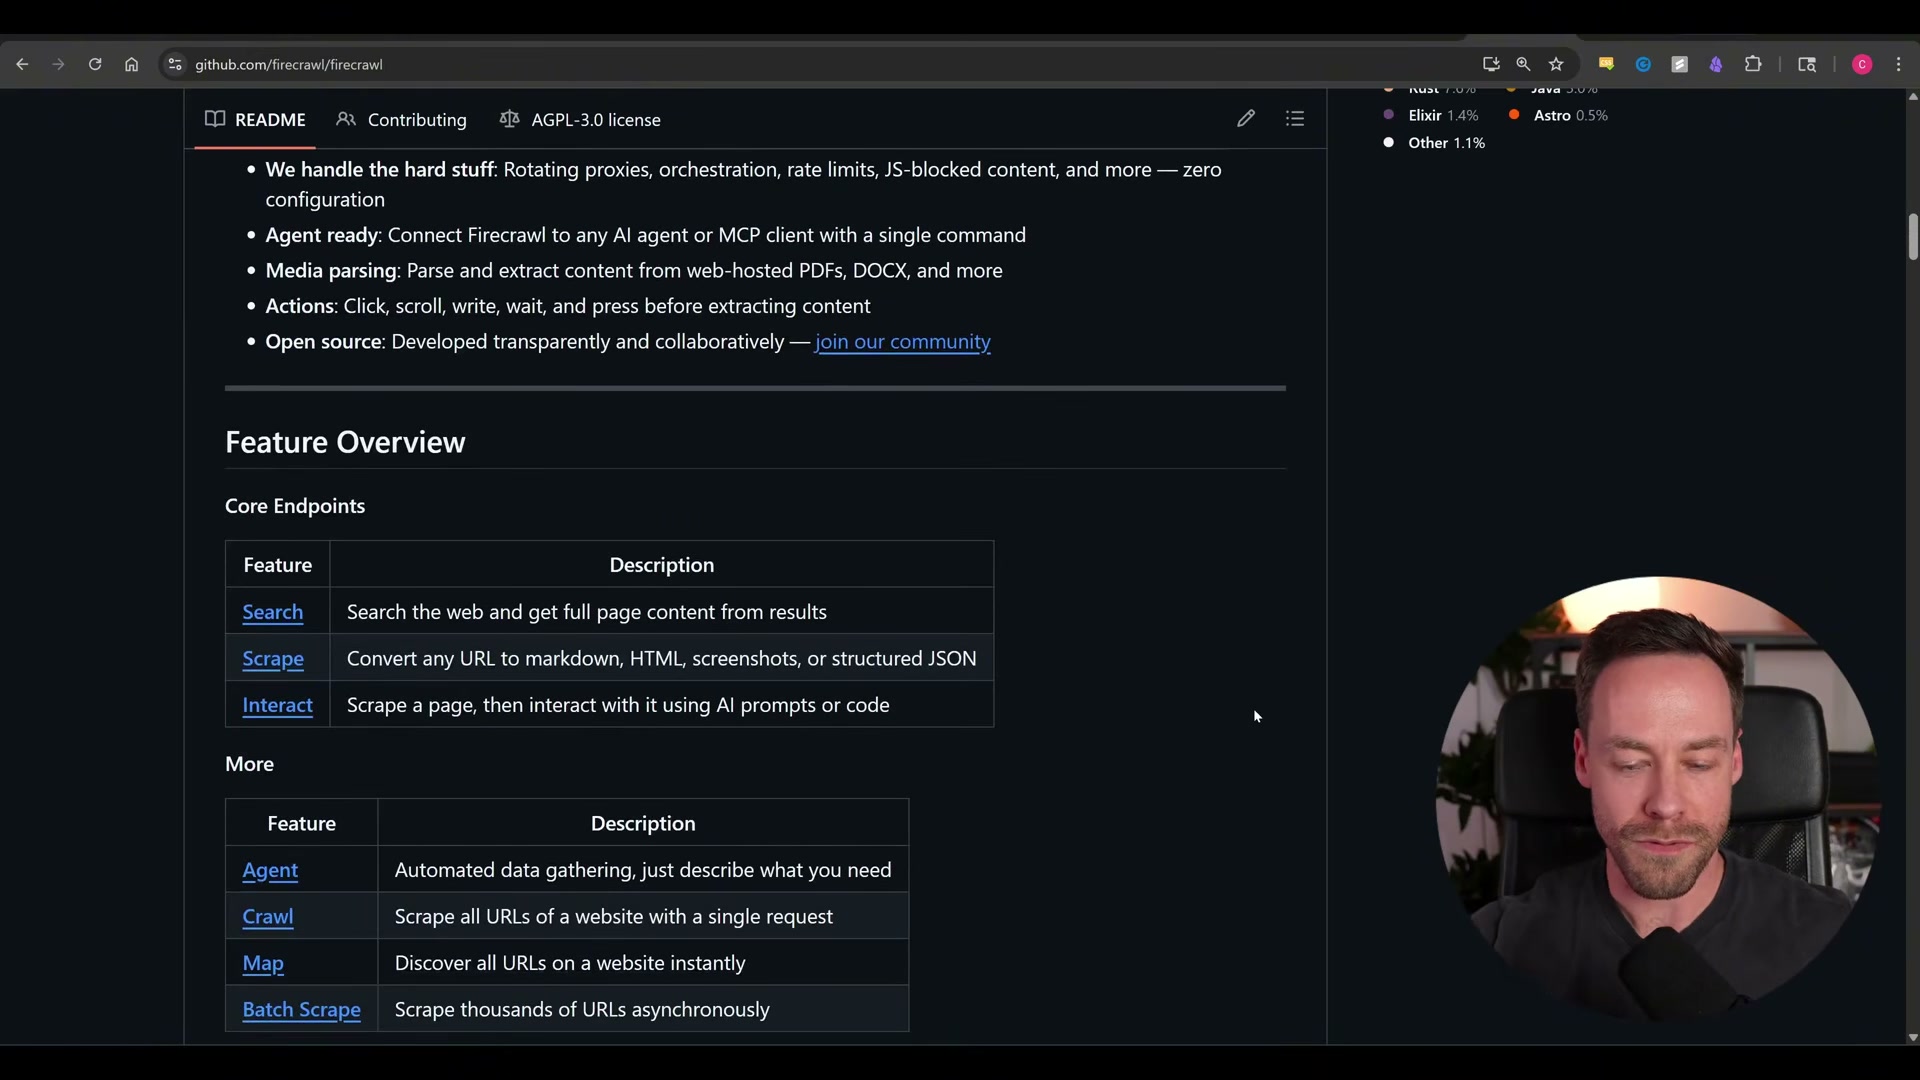
- Install the Firecrawl CLI with a single command. The open-source version handles standard scraping without the proprietary bot-bypass engine; reach for the paid API tier only when you’re hitting aggressive bot-protection walls.
-
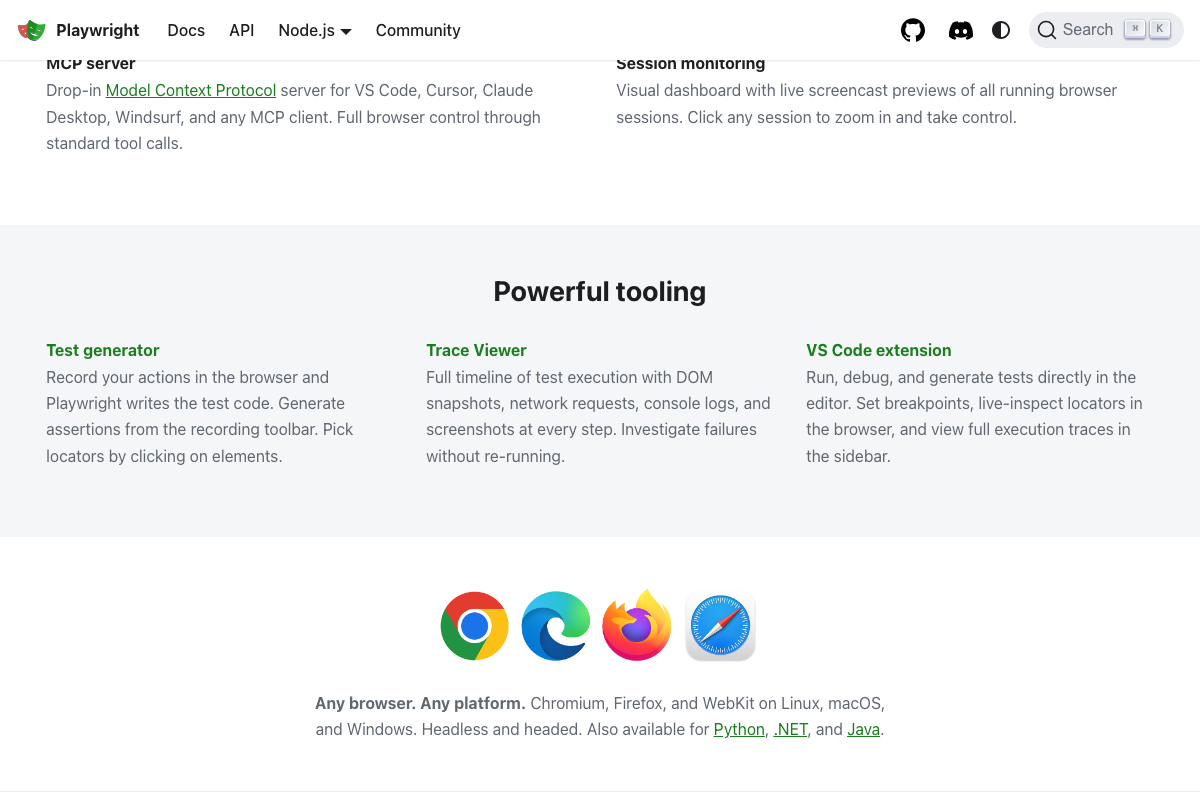
Install the Playwright CLI and prompt Claude Code in plain language to open Chrome instances and automate tasks — form submissions, login flows, end-to-end UI tests. Playwright reads the accessibility tree directly rather than relying on screenshots, which makes it materially faster and cheaper than the Claude-in-Chrome extension approach.
-
Install the NotebookLM-pine CLI with a few lines of code. From inside Claude Code, create Google NotebookLM notebooks, add sources, and generate audio or text artifacts routed through Google’s servers — without leaving your terminal.
-
Install the Skill Creator skill via
/pluginin Claude Code and use it to A/B test any new or edited skill against its predecessor before committing it to your permanent workflow.
How does this compare to the official docs?
Several install paths, authentication requirements, and command flags shown in the video have shifted since these repos first shipped — and that gap is exactly where Act 2 picks up.
Here’s What the Official Docs Show
The video covers a lot of ground efficiently, and the core install sequence holds up well. What follows layers in documentation grounding for the steps that have it, flags one step where the official source tells a materially different story, and surfaces two capability updates Firecrawl and Playwright have shipped since the walkthrough was recorded.
Steps 1–2: Codeex plugin and /reload
No official documentation was found for this step — proceed using the video’s approach and verify independently.
Step 3: Codex authentication
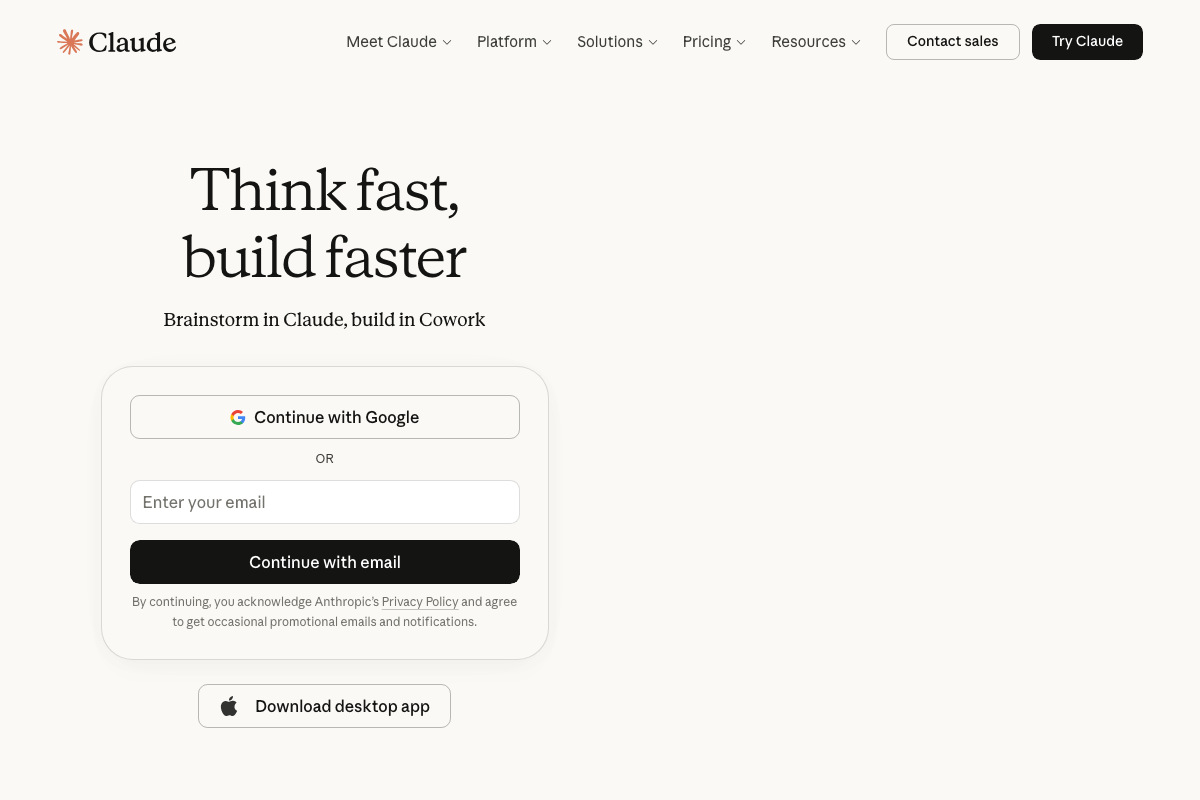
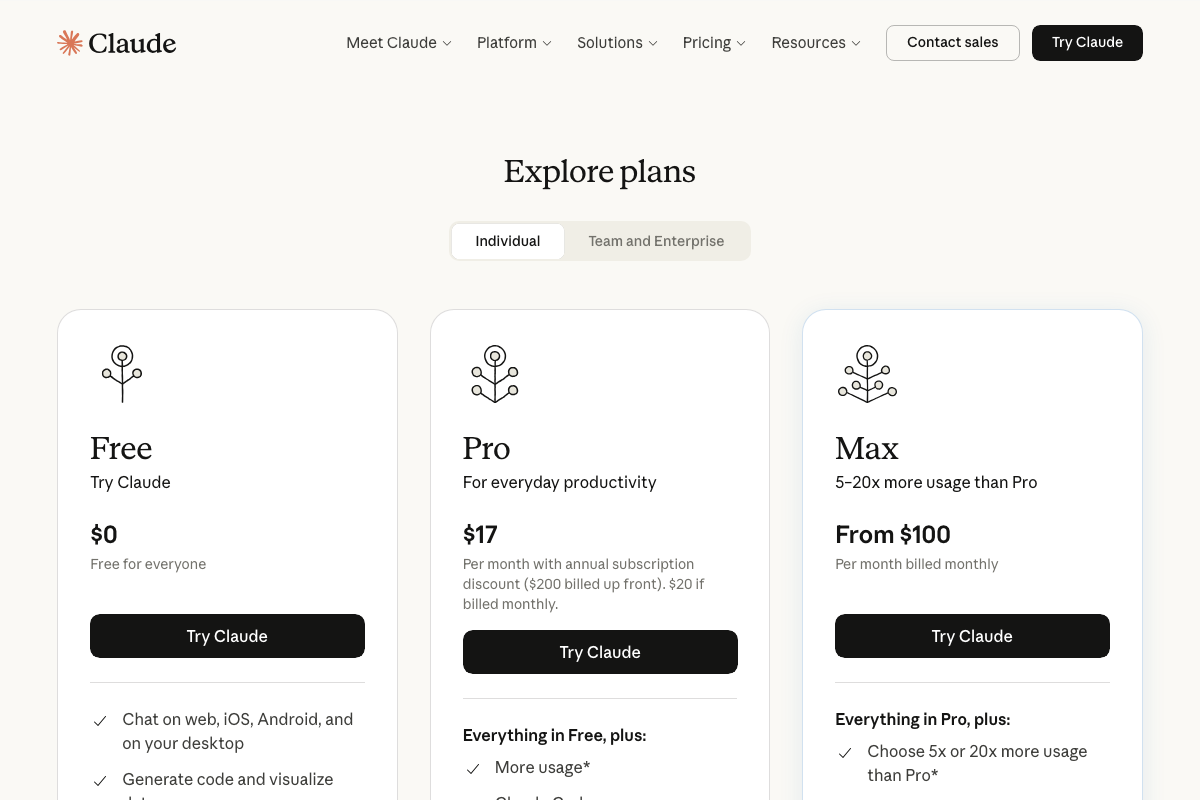
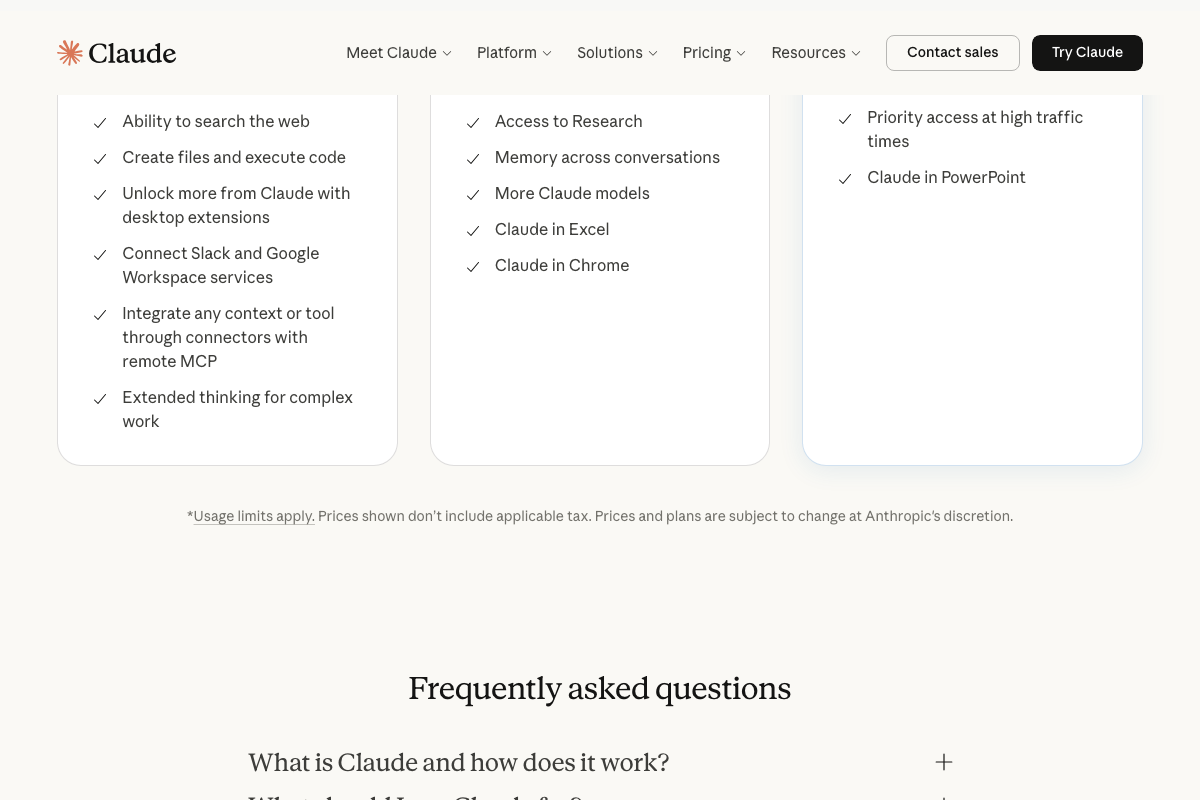
The official claude.ai pricing page documents Anthropic’s own plan tiers — Free, Pro ($17/month annual), and Max (from $100/month) — not OpenAI’s. As of April 9, 2026, no “ChatGPT Go plan” appears in any official Anthropic screenshot. If Codex requires a separate OpenAI account tier, verify that directly at platform.openai.com before purchasing.
Step 4: codeex adversarial-review and rescue
No official documentation was found for this step — proceed using the video’s approach and verify independently.
Step 5: Installing Obsidian
The video’s approach here matches the current docs exactly. Download at obsidian.md, free, multi-platform, and the local vault model — a single on-device folder, offline-accessible — is confirmed by the official site.

Step 6: Routing Claude Code output to the vault
No official documentation was found for this step — proceed using the video’s approach and verify independently.
Step 7: Obsidian Skills GitHub repo
No official documentation was found for this step — proceed using the video’s approach and verify independently.
Step 8: Auto Research
No official documentation was found for this step — proceed using the video’s approach and verify independently.
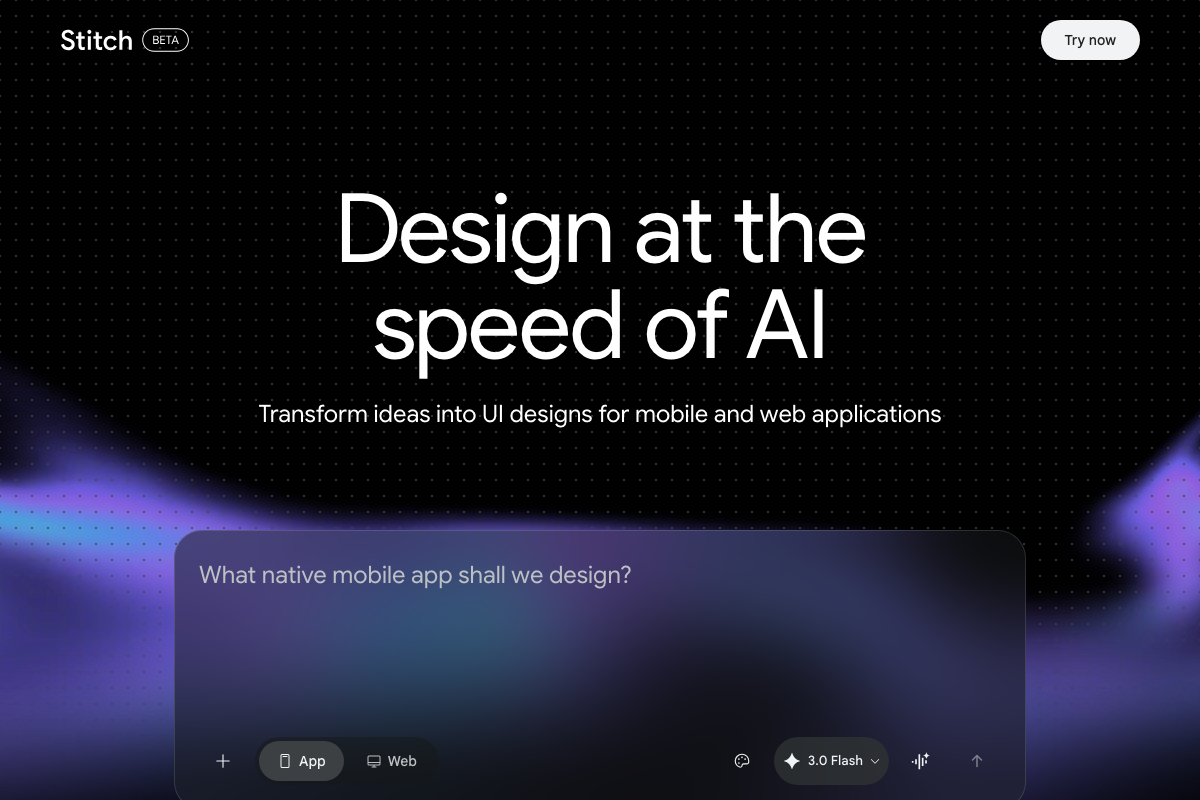
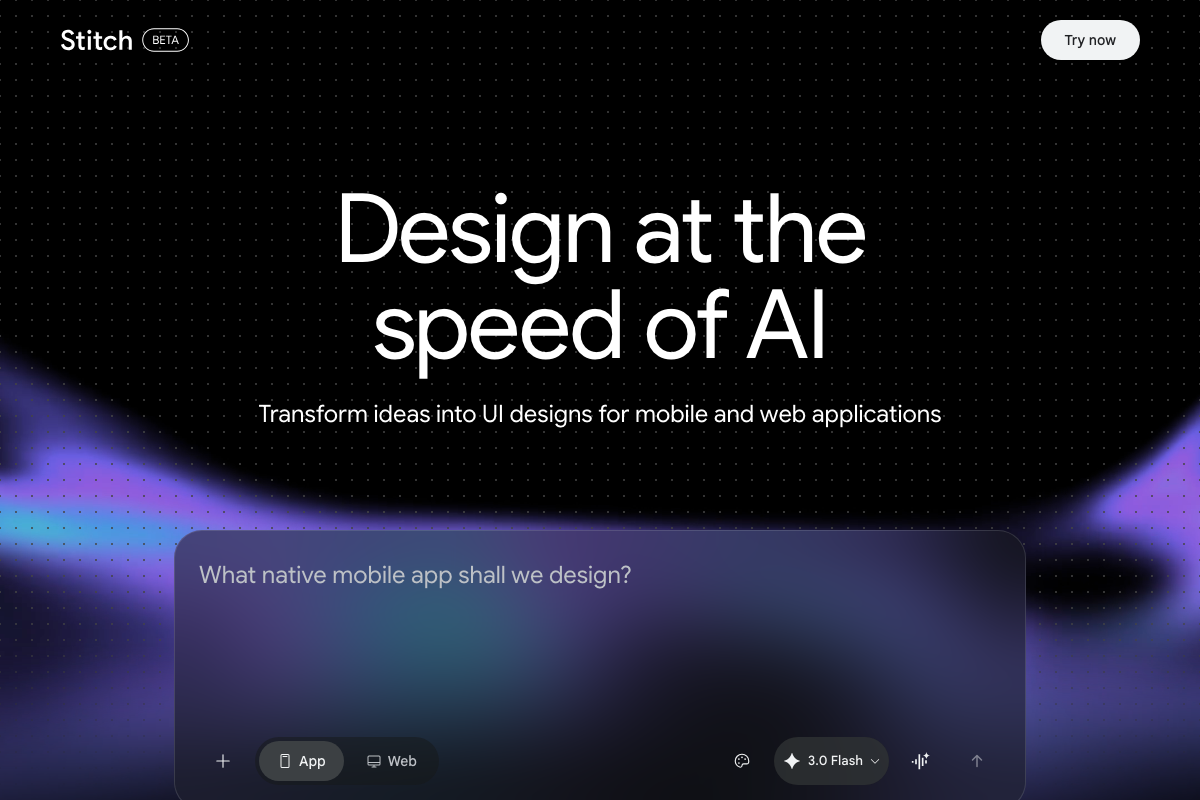
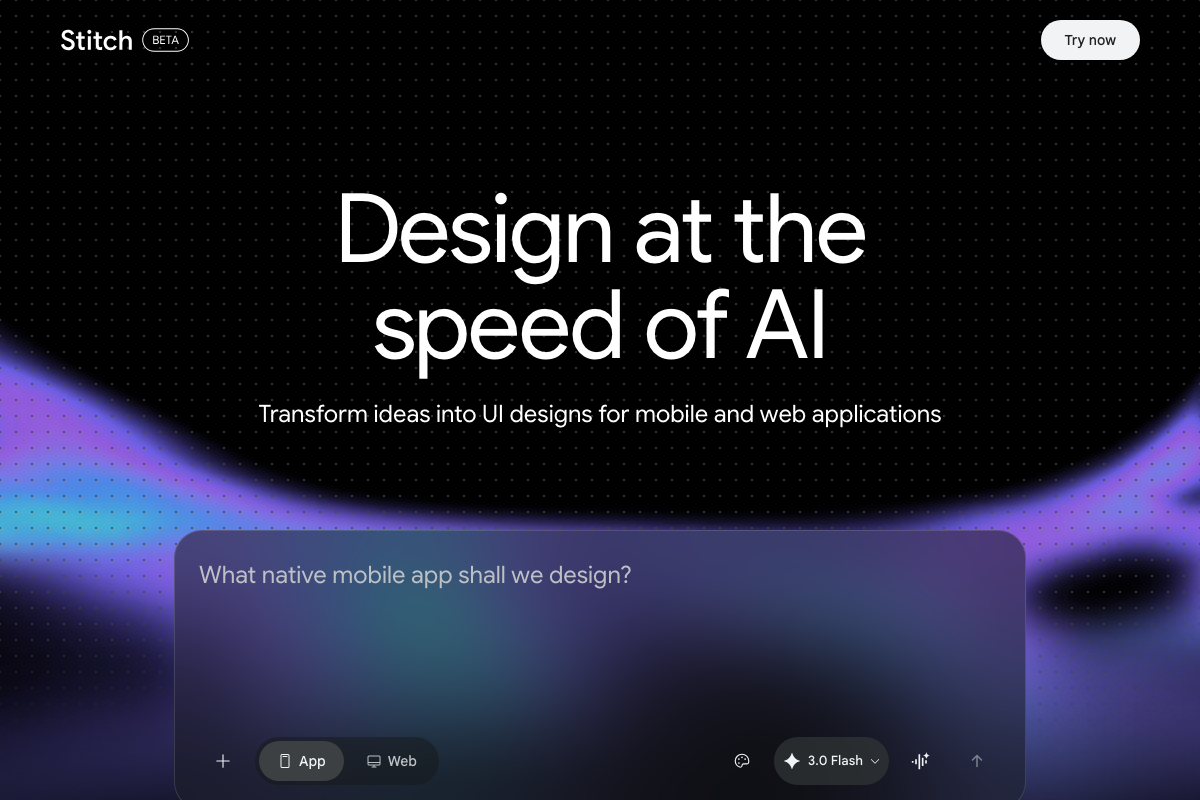
Step 9: Google Stitch design system
As of April 9, 2026, Google Stitch is a web-only tool in public BETA. No CLI install command, no markdown file input, and no documented Claude Code integration exist on the official site. The “awesome-design.md install command” described in the video does not correspond to anything in Stitch’s documented interface, which accepts natural language prompts in a browser only. Access Stitch directly at stitch.withgoogle.com and treat any Claude Code bridge as community-sourced and unverified. The tutorial also does not note Stitch’s beta status — features and availability may change without notice.
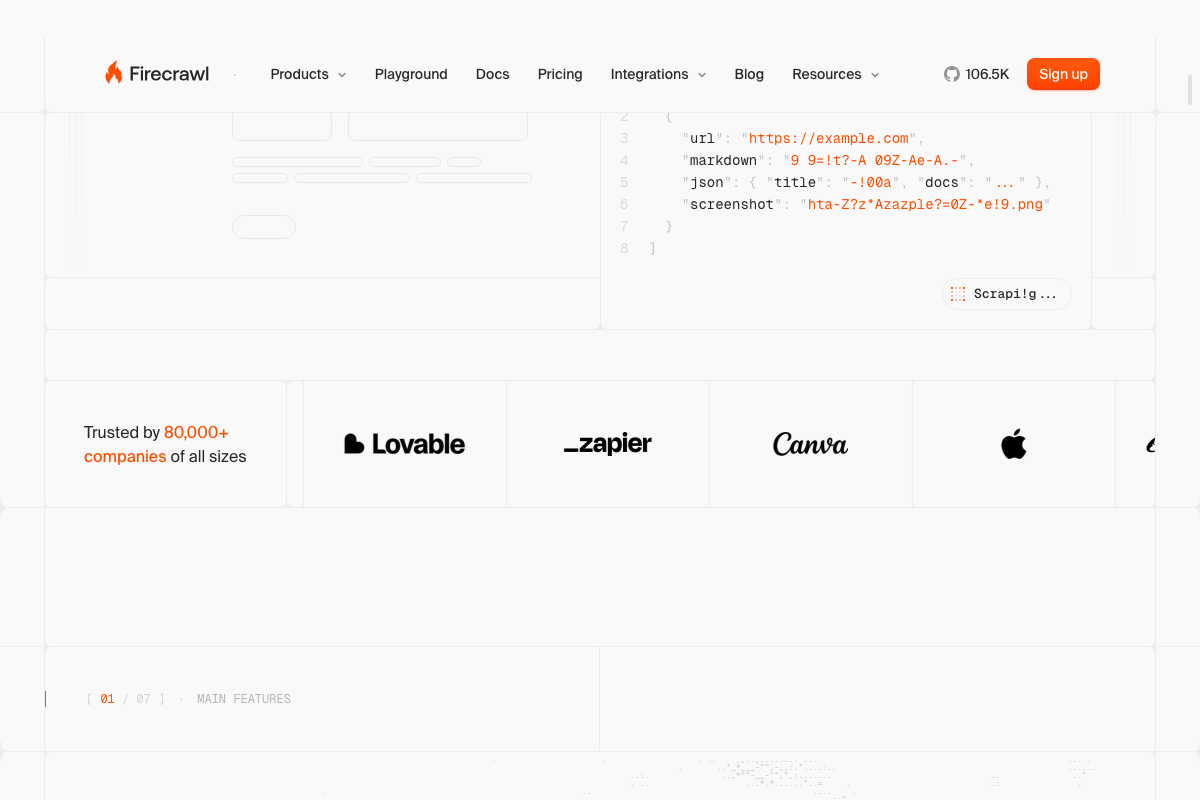
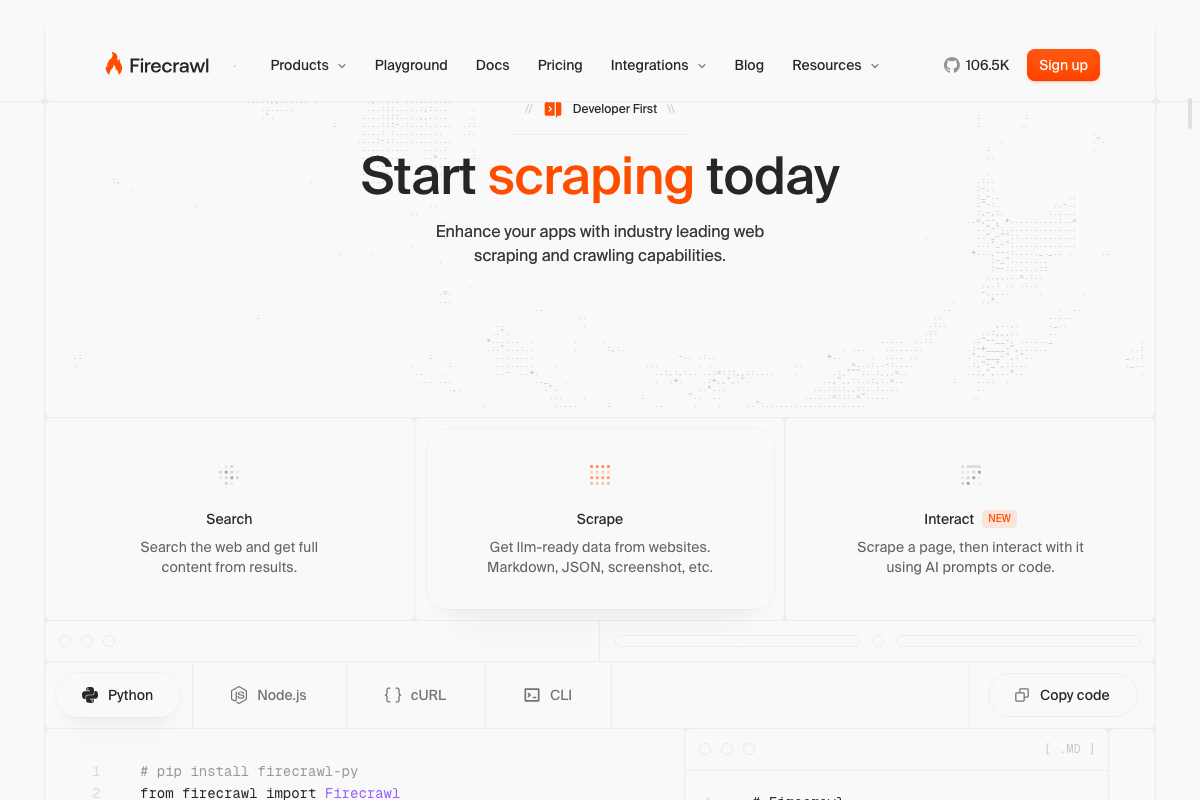
Step 10: Firecrawl CLI
The video’s approach here matches the current docs exactly — CLI is an officially documented install path alongside Python, Node.js, and cURL. One addition worth knowing: Firecrawl now ships /interact, labeled “NEW” on the official site, which lets your agent click, type, and extract data after the initial scrape. That extends its usefulness well beyond read-only scraping and is worth testing in agentic workflows.

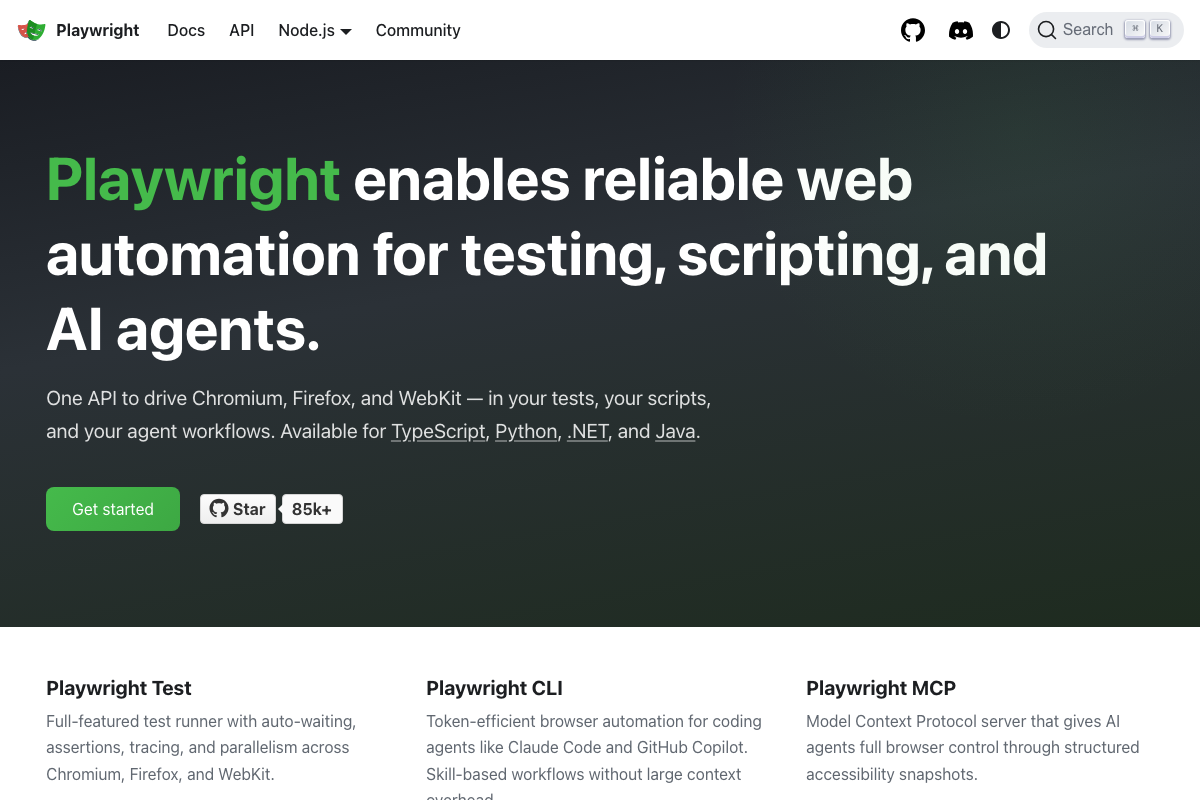
Step 11: Playwright CLI
The video’s approach here matches the current docs exactly — Playwright’s official homepage names Claude Code by name as a target platform. Two useful additions the video doesn’t cover: First, Playwright CLI operates on accessibility snapshots, not visual screenshots — structured element roles, names, and refs rather than pixel data. That’s the actual mechanism behind the token efficiency mentioned in the walkthrough. Second, Playwright drives Chromium, Firefox, and WebKit — Chromium is a separate binary from Google Chrome, and the video’s “Chrome instances” phrasing reflects common shorthand rather than technical precision. As of April 9, 2026, the correct term is Chromium. Bonus integration path: if you’re running Claude Desktop rather than Claude Code, Playwright MCP is a documented drop-in Model Context Protocol server also available for VS Code, Cursor, and Windsurf.

Steps 12–13: NotebookLM-pine CLI and Skill Creator
No official documentation was found for these steps — proceed using the video’s approach and verify independently.
Useful Links
- Claude Code — Anthropic’s Claude Code platform and plan overview, covering Free, Pro, and Max tier features including MCP and desktop extension availability.
- Obsidian – Sharpen your thinking — Official download page for the free, local-first note-taking app used as a Claude Code knowledge vault.
- Stitch – Design with AI — Google’s public BETA browser-based UI design tool powered by Gemini 3.0 Flash; web-only, no CLI or Claude Code integration documented.
- Firecrawl – Search, Scrape, and Interact with the Web for AI — Official home for the open-source web scraping CLI, including the newly shipped /interact agent feature.
- Fast and reliable end-to-end testing for modern web apps | Playwright — Official documentation for Playwright CLI (purpose-built for Claude Code) and Playwright MCP (for Claude Desktop and other MCP clients).


0 Comments