Claude Design: Prototype Landing Pages, Dashboards, and Decks Without Leaving the Browser
Claude Design turns a text prompt — and optionally a napkin sketch — into a production-ready visual prototype in minutes. By the end of this walkthrough, you’ll know how to set up a design system, generate high-fidelity UI variants, and iterate on palette, typography, and layout using the Tweaks panel, all without writing a line of code.
- Open your browser and navigate to
claude.ai/design. Claude Design runs exclusively in the Claude web app — it is not available in the CLI or the desktop app.
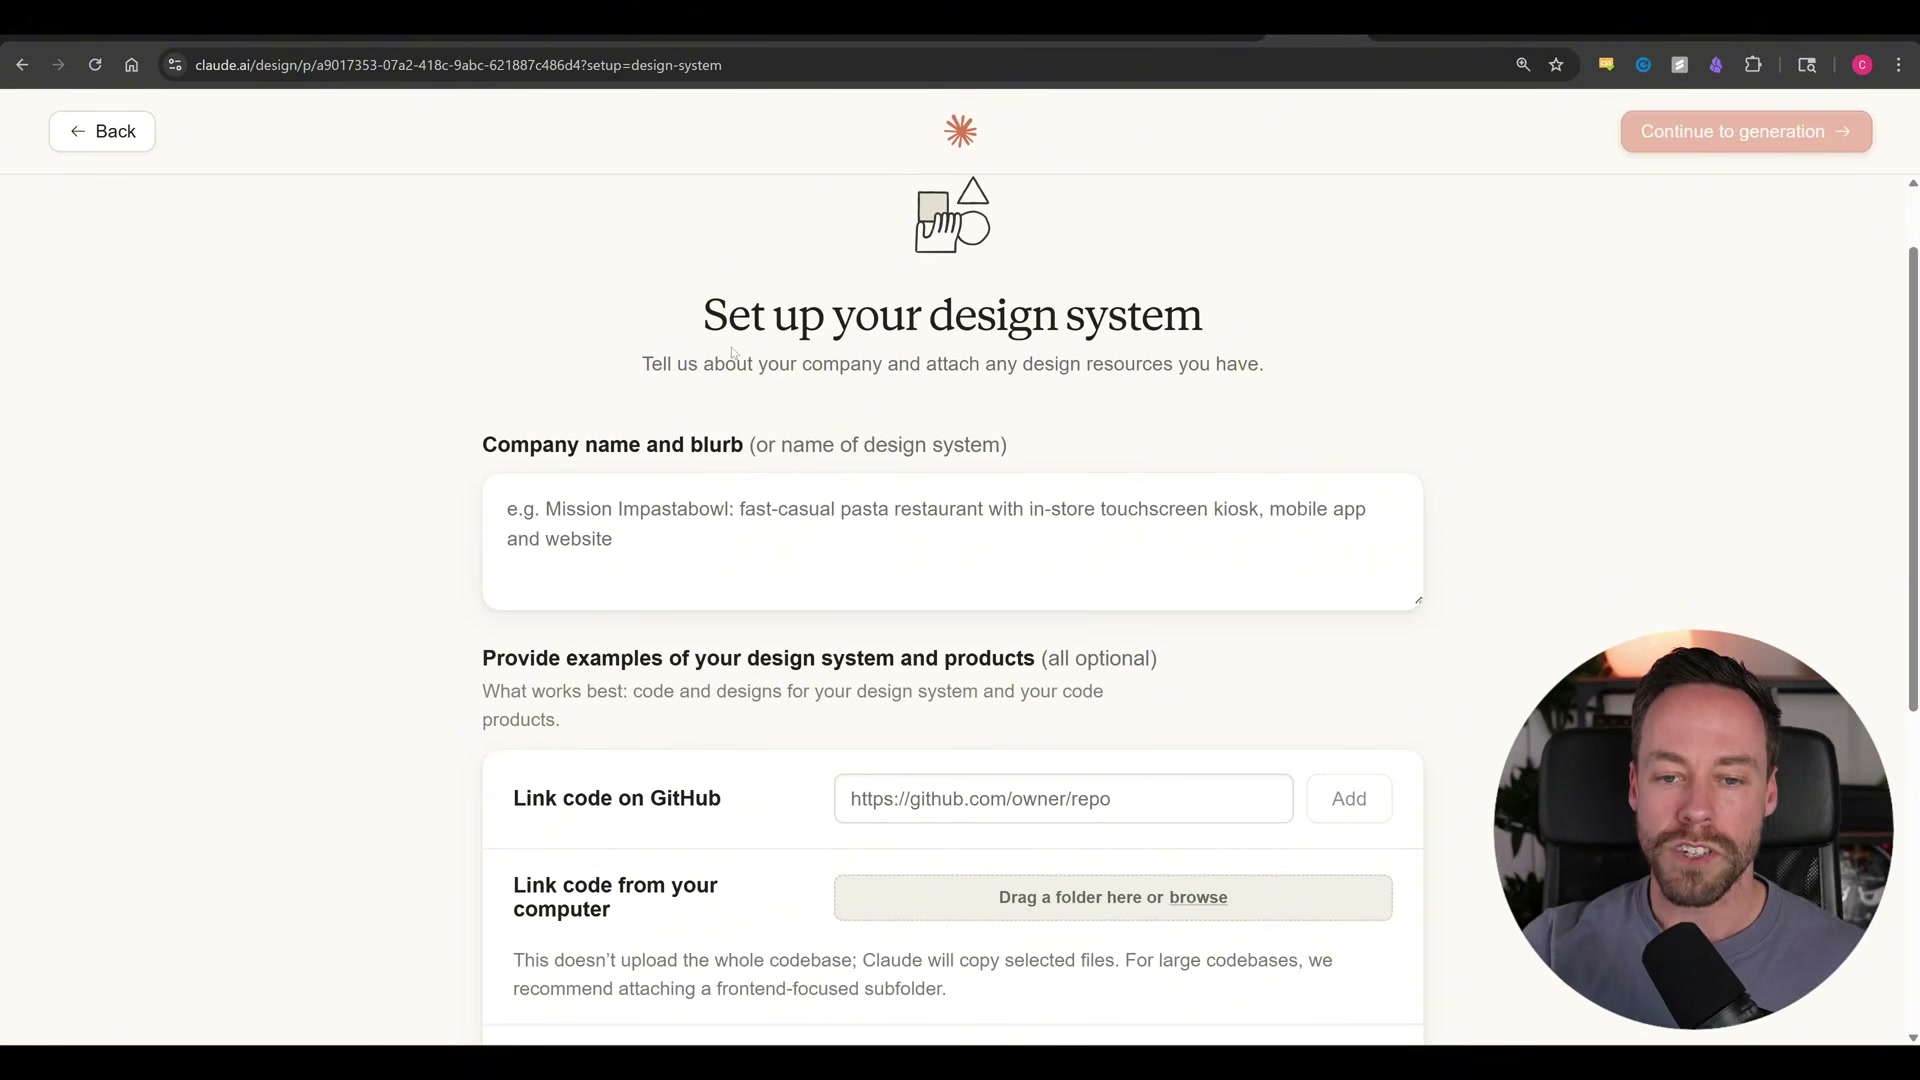
- Decide whether to build a design system before your first project. Go to Design Systems → Create and supply a company name, a GitHub repo link, local folder uploads, or font assets. Ingestion takes 5–15 minutes depending on asset size and consumes roughly 20–25% of your weekly quota. Treat this as a one-time brand investment — not a step to repeat for each new project.
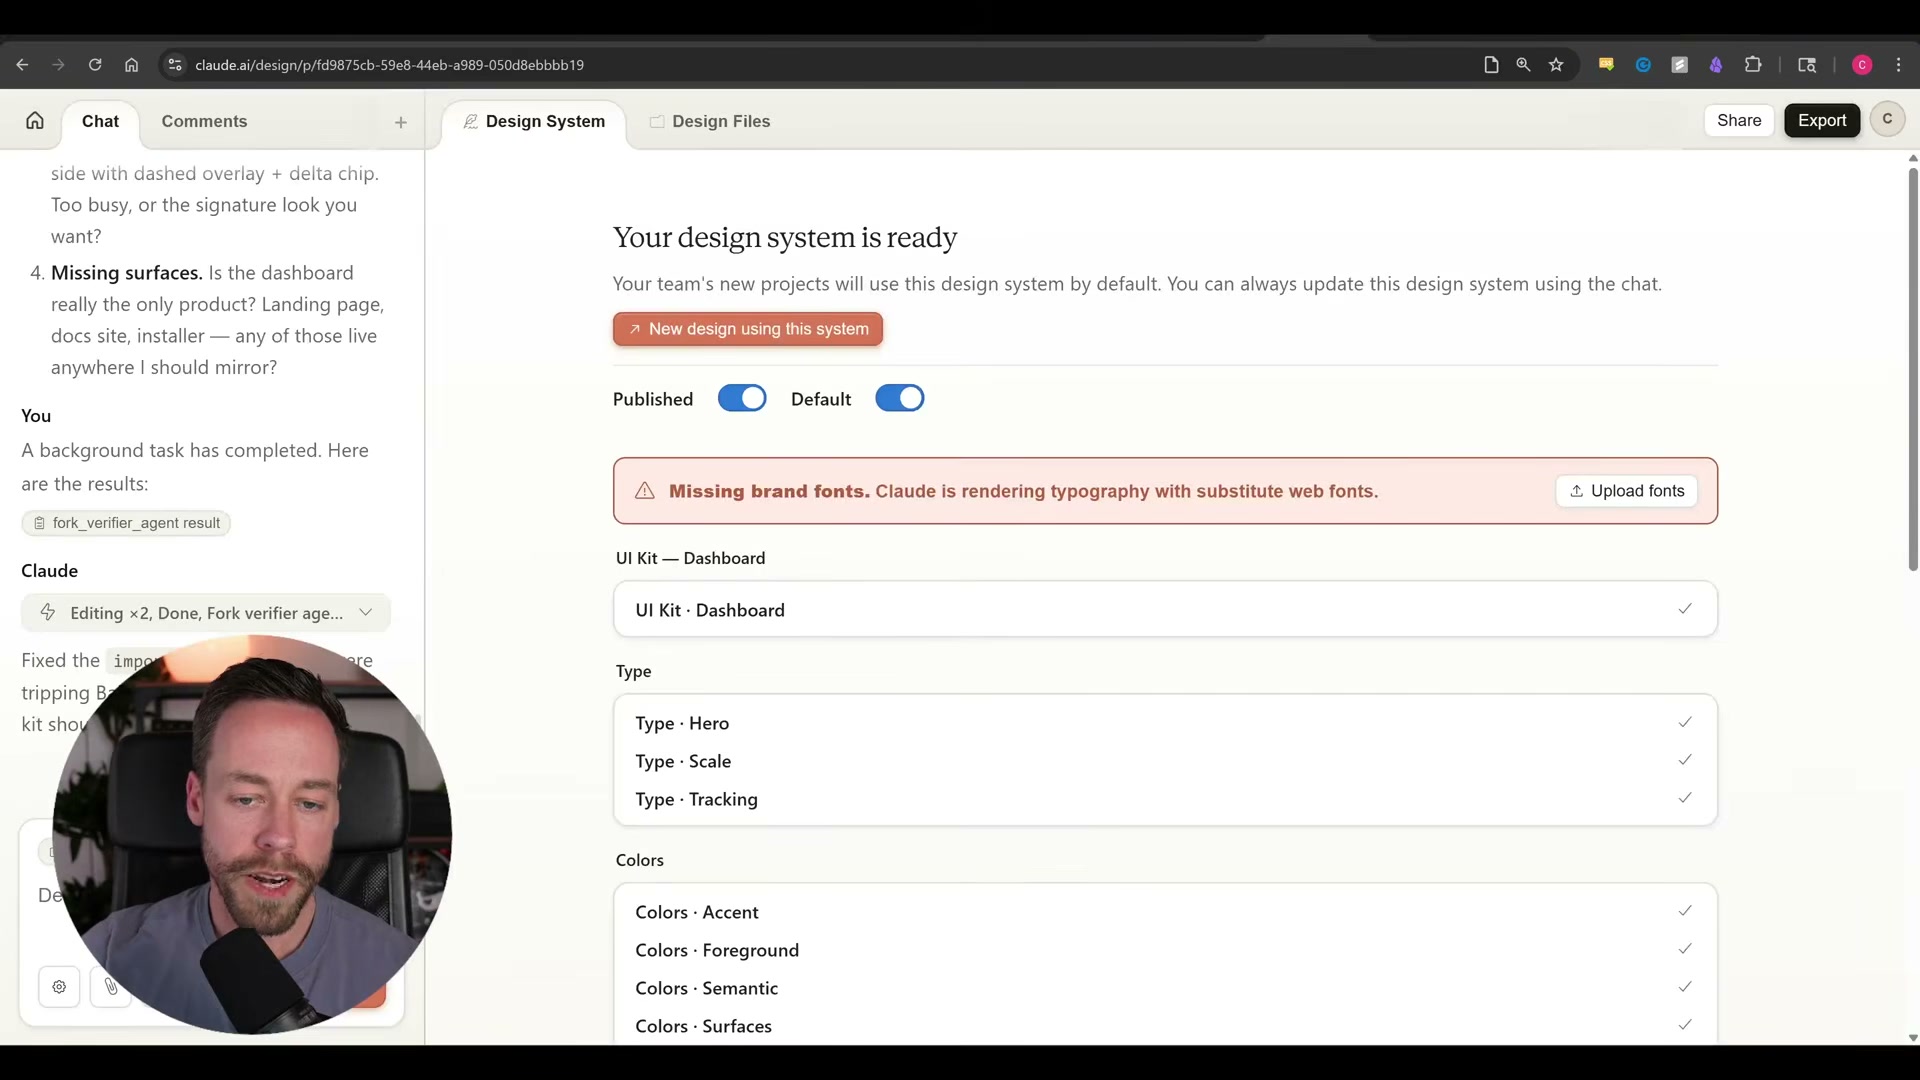
- Once ingestion completes, Claude surfaces a draft design system: colors, typography, and component specs broken into editable sections. Approve or revise each section. If brand fonts weren’t supplied, Claude surfaces a warning banner — upload your
.woffor.ttffiles at this stage to prevent substitute-font fallback.
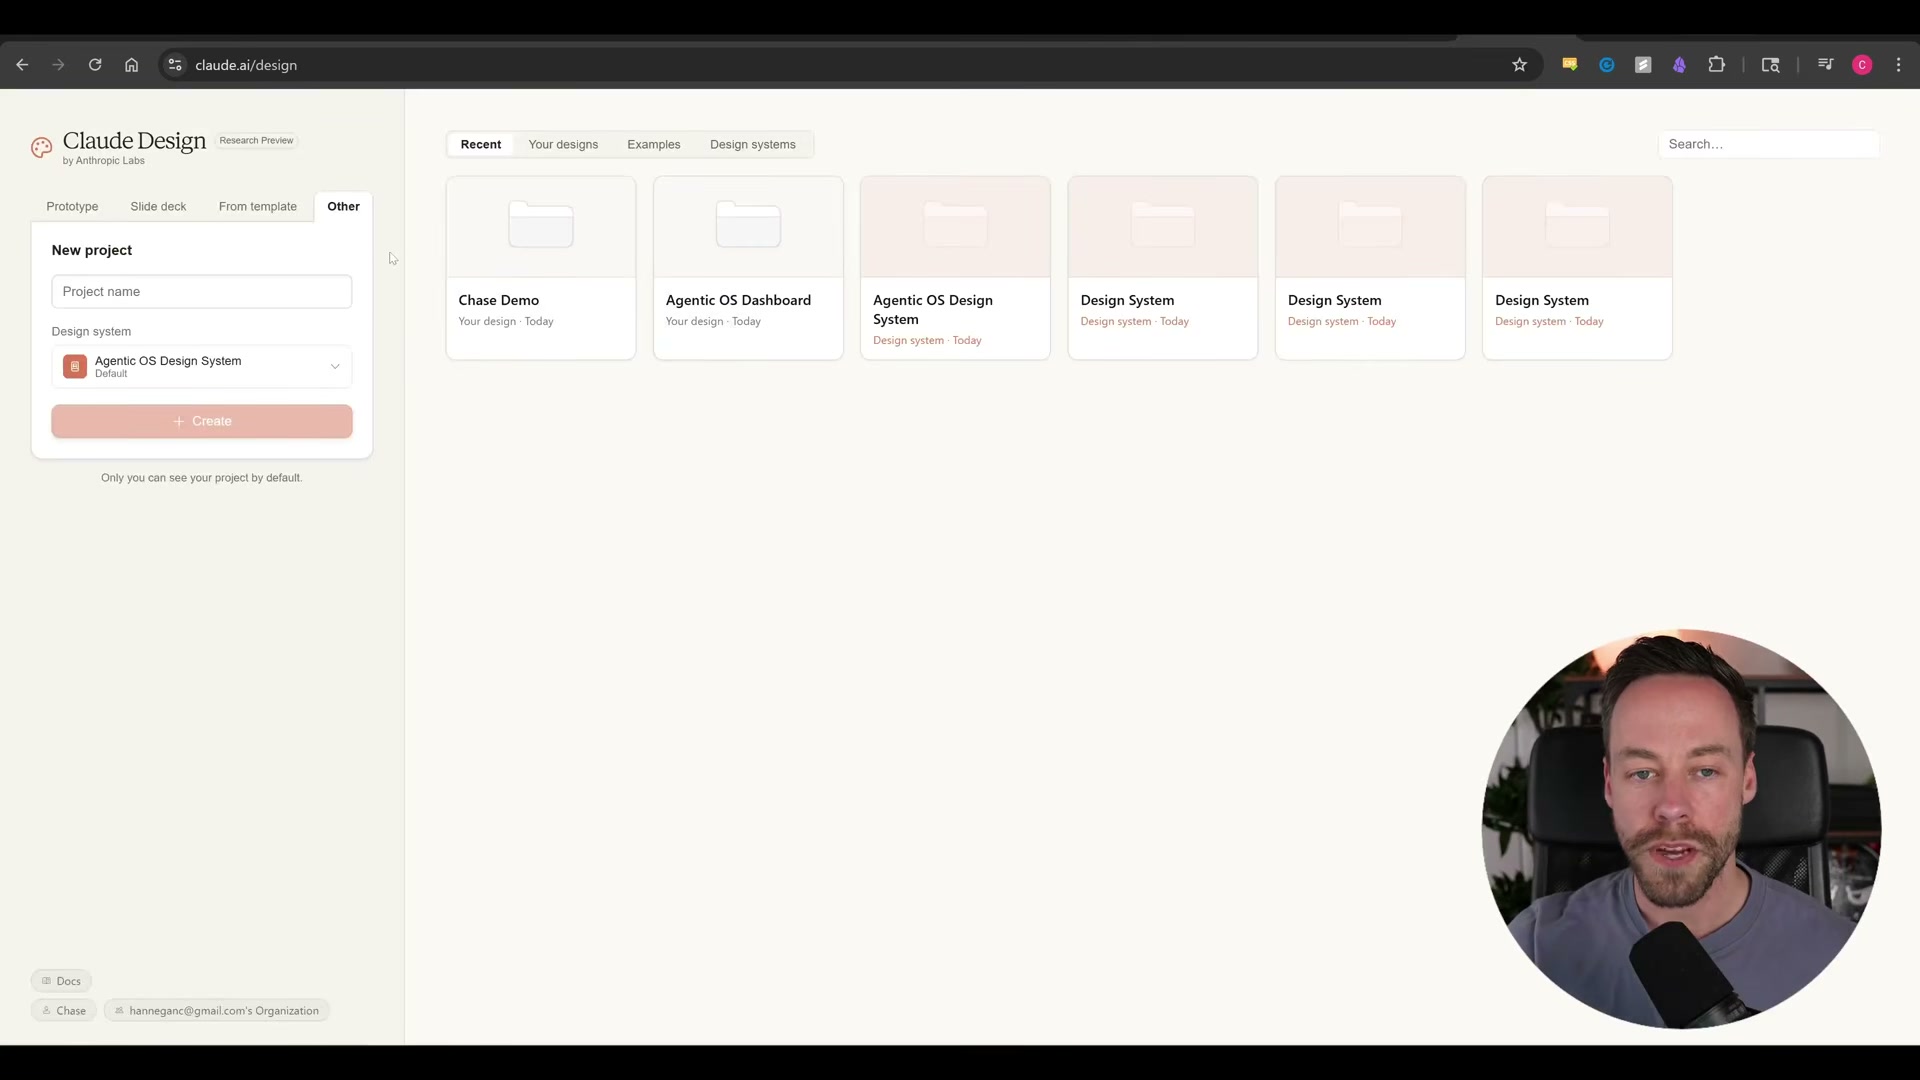
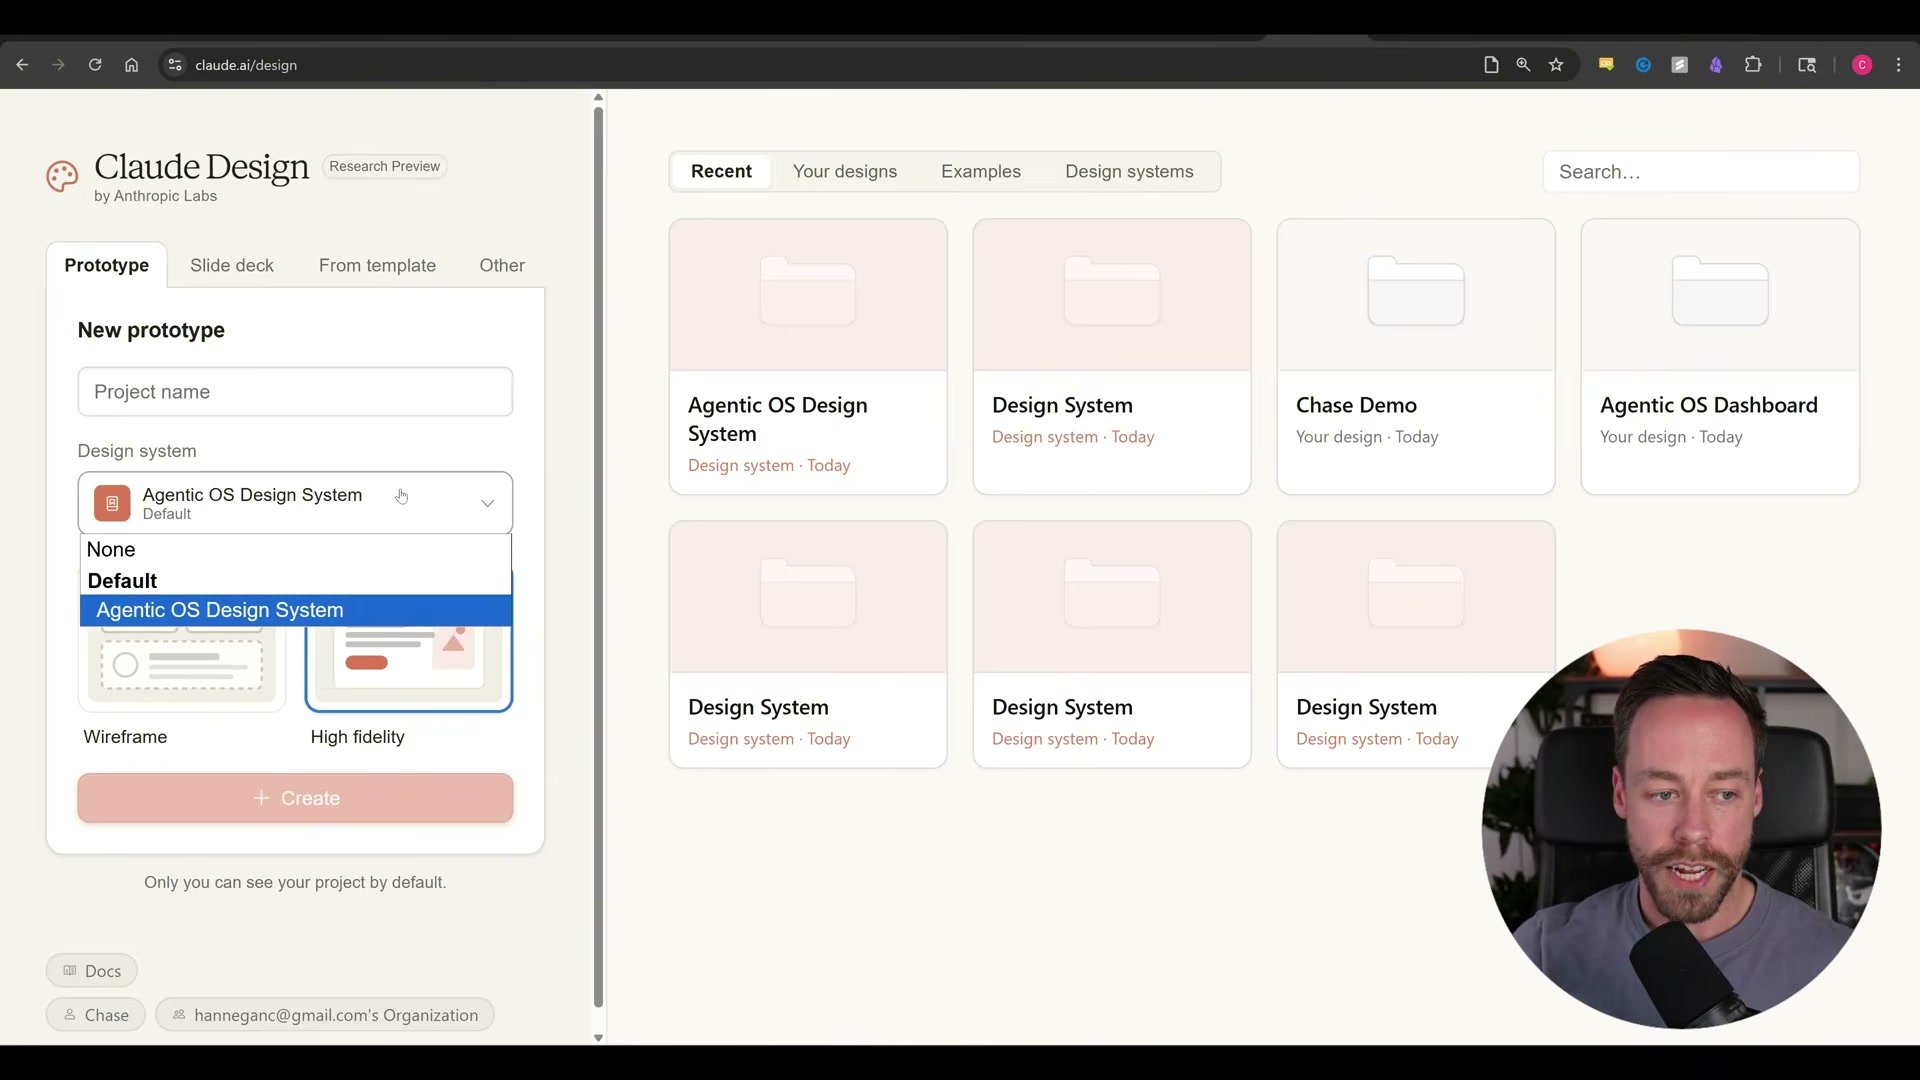
- Create a new project from the dashboard. Name it, select None or an existing design system from the dropdown, then choose Wireframe or High Fidelity. High Fidelity is the right default for stakeholder-ready visuals; Wireframe suits rapid layout exploration before committing to a visual direction.
- Before prompting, load context via the Start with context panel — a design system, screenshot, codebase, or Figma file all work. For blank-slate projects, open the sketch canvas and draw a rough layout: two labeled boxes is sufficient for Claude to interpret intent rather than default to a generic template.
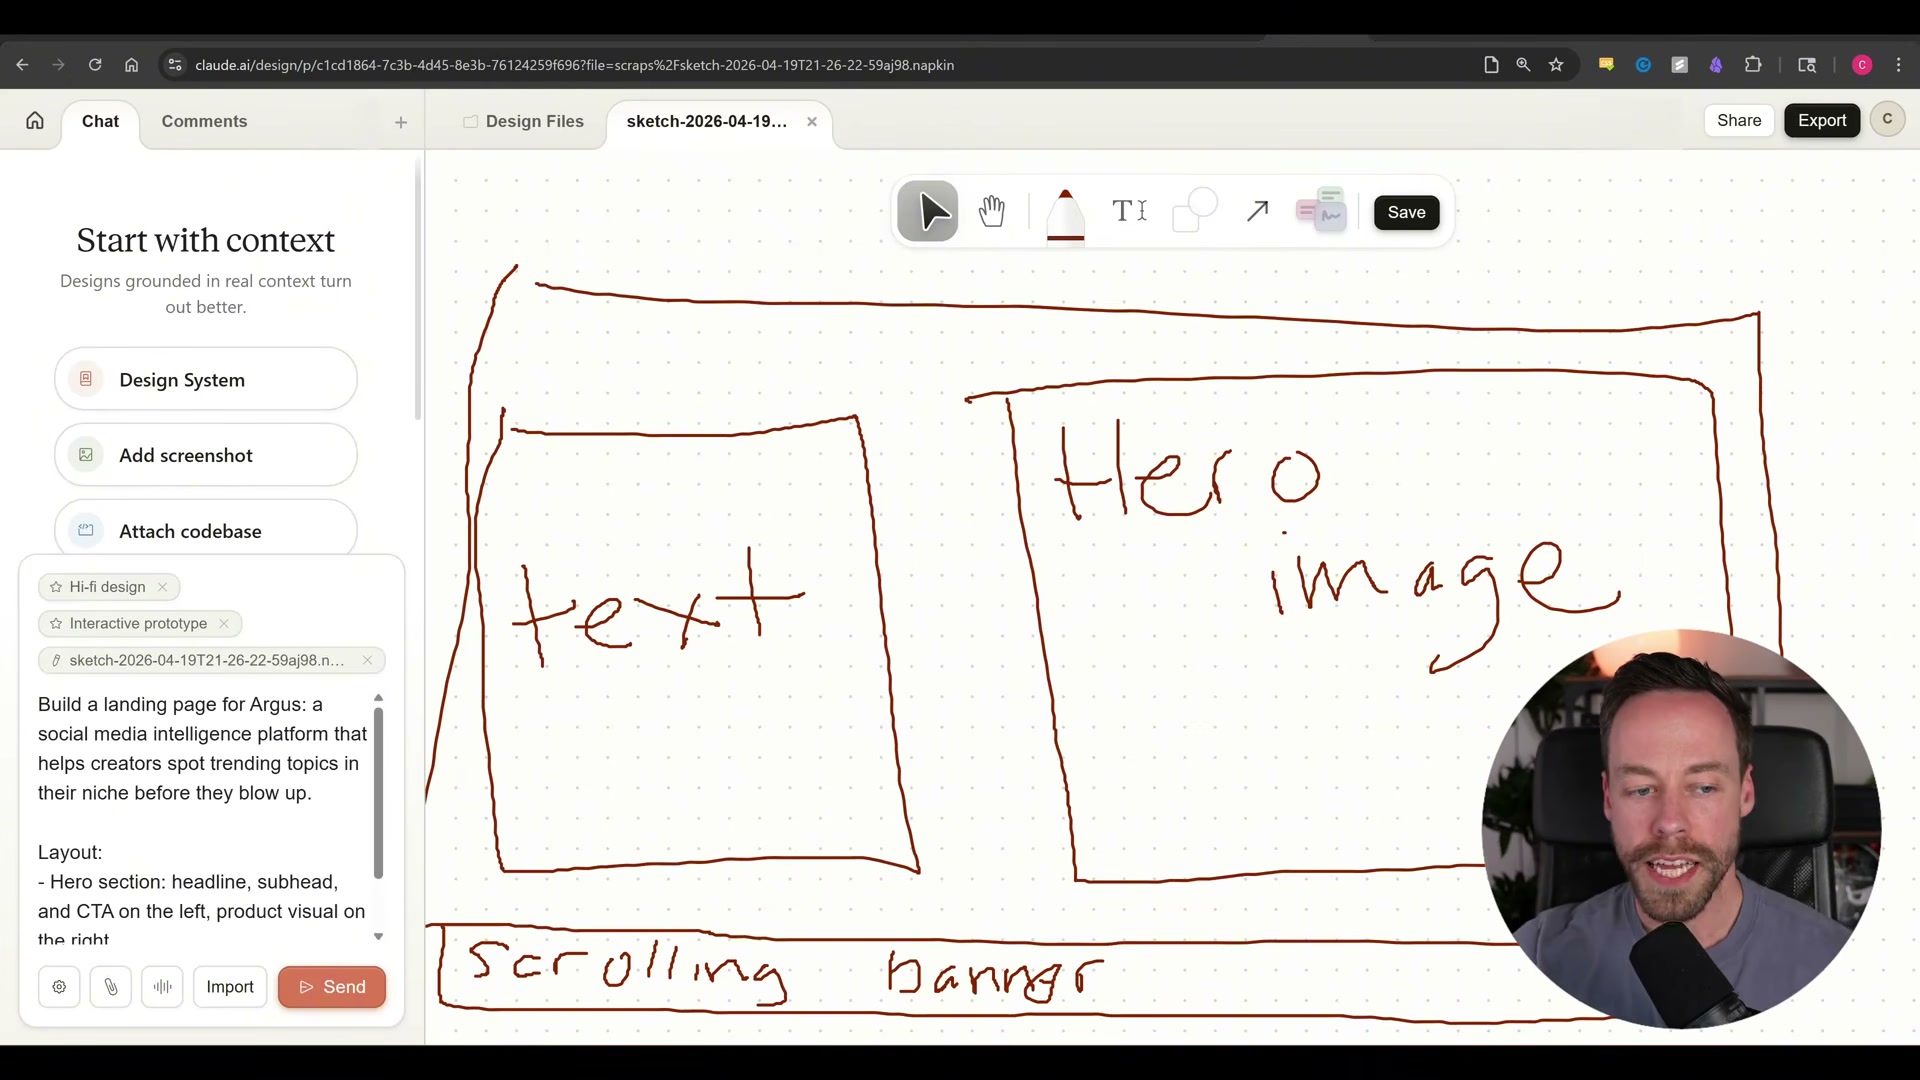
-
Write your generation prompt. The video uses: “Build a landing page for Argus, a social media intelligence platform that helps creators spot trending topics in their niche before they blow up.” Attach your sketch before submitting.
-
Set the model to Opus 4.7 before generating, particularly when your context includes screenshots. The video cites 3× resolution fidelity over Opus 4.6 for screenshot-heavy inputs.
Warning: this step may differ from current official documentation — see the verified version below.
-
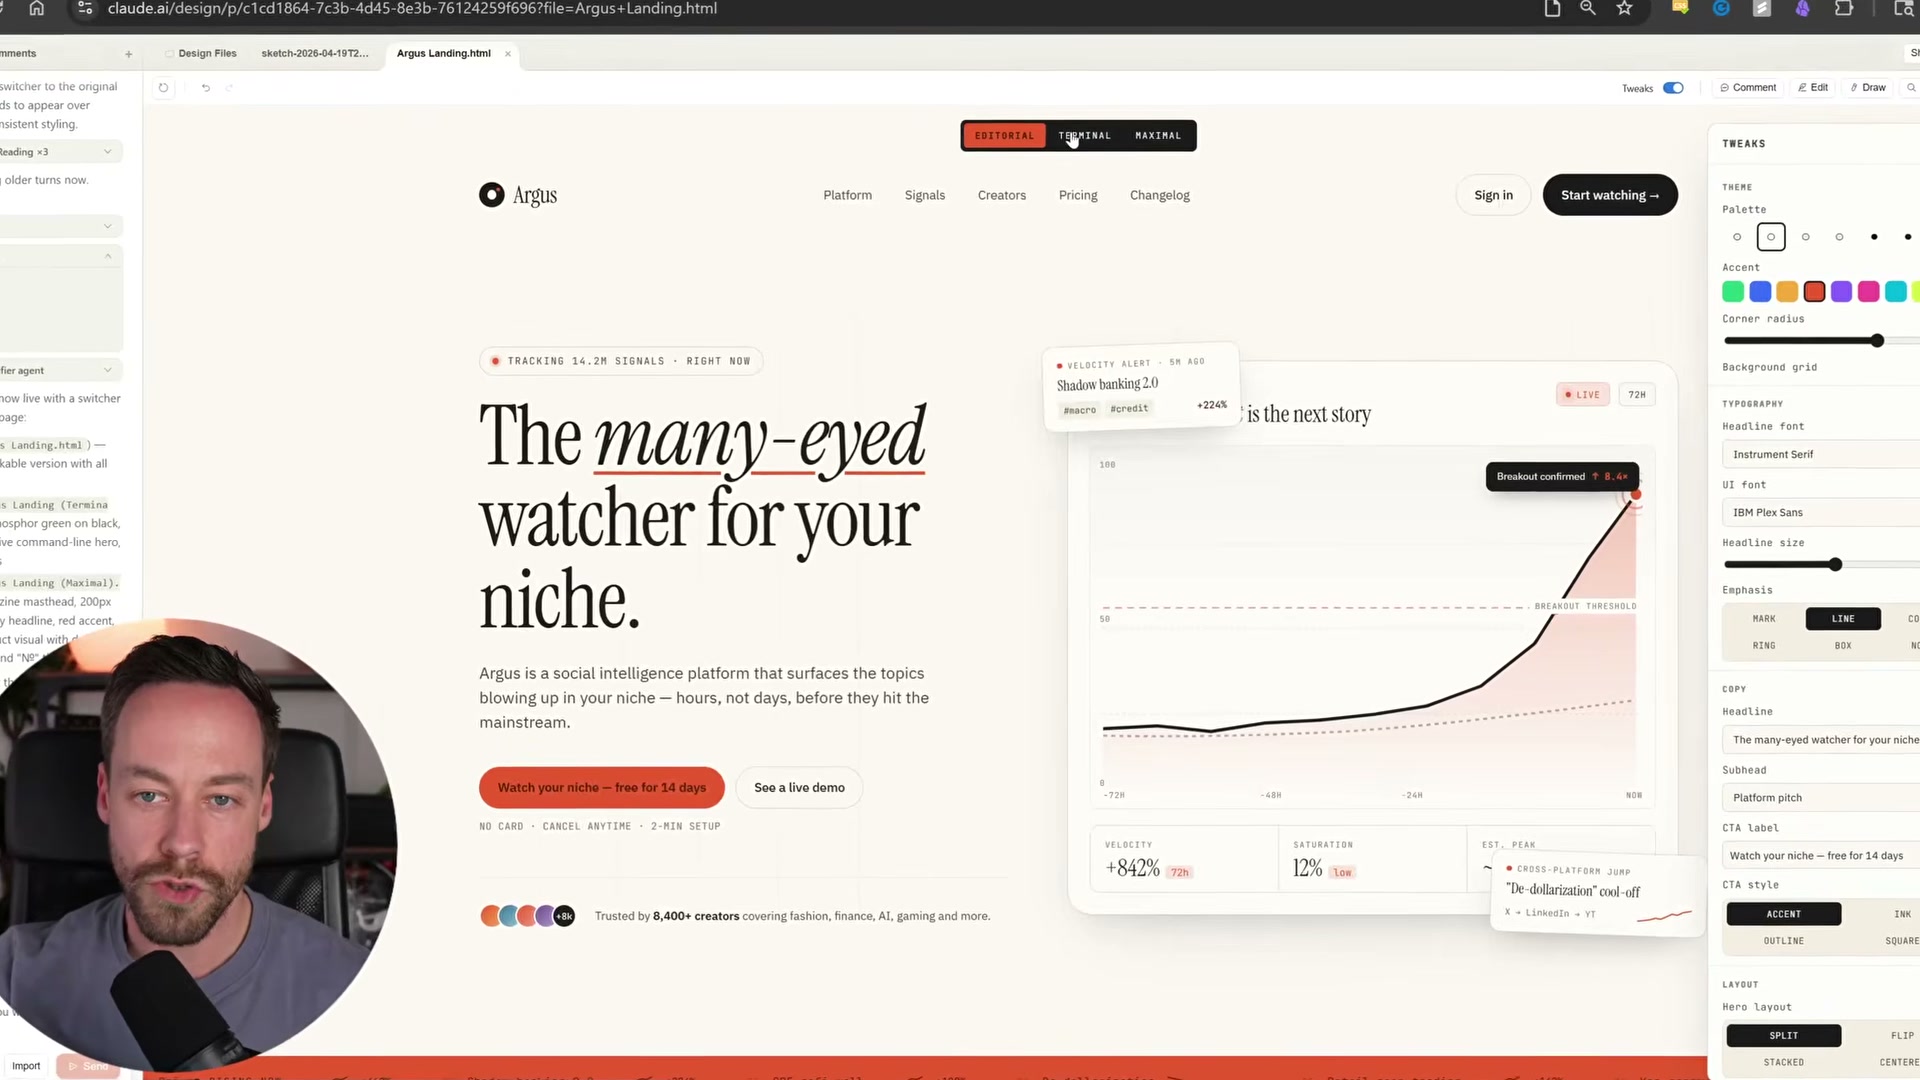
Review the generated design and check the Usage Alert percentage in the UI. A basic landing page from a minimal prompt consumed roughly 4% of weekly quota in the demo.
-
To benchmark output quality, run the identical prompt in Claude Code using a front-end design skill. First-pass results are comparable; the gap widens once you start iterating — which is where Claude Design’s tooling takes over.
-
Open the Tweaks panel to iterate without re-prompting. Swap the color palette, adjust accent colors, change corner radius, toggle a background grid, update headline copy, or rearrange the hero layout — changes render in real time.
-
Generate variants by prompting Claude Design for two or more full-page designs in contrasting styles — terminal, brutalist, synth wave, editorial. The variant switcher at the top of the canvas lets you toggle between them without losing your base design.
-
Export the final design via the one-click export menu to Claude Code, raw HTML, Canva, PDF, or PowerPoint.
How does this compare to the official docs?
The video moves quickly and leaves some important quota mechanics, export limitations, and design system edge cases unaddressed — Act 2 fills those gaps directly from Anthropic’s documentation.
Here’s What the Official Docs Show
The video gives you a solid working model for Claude Design — the steps below add what official product pages confirm, clarify, or simply couldn’t verify from captured documentation. Think of this as the version you’d want open in a second tab while following along.
Step 1 — Access claude.ai/design
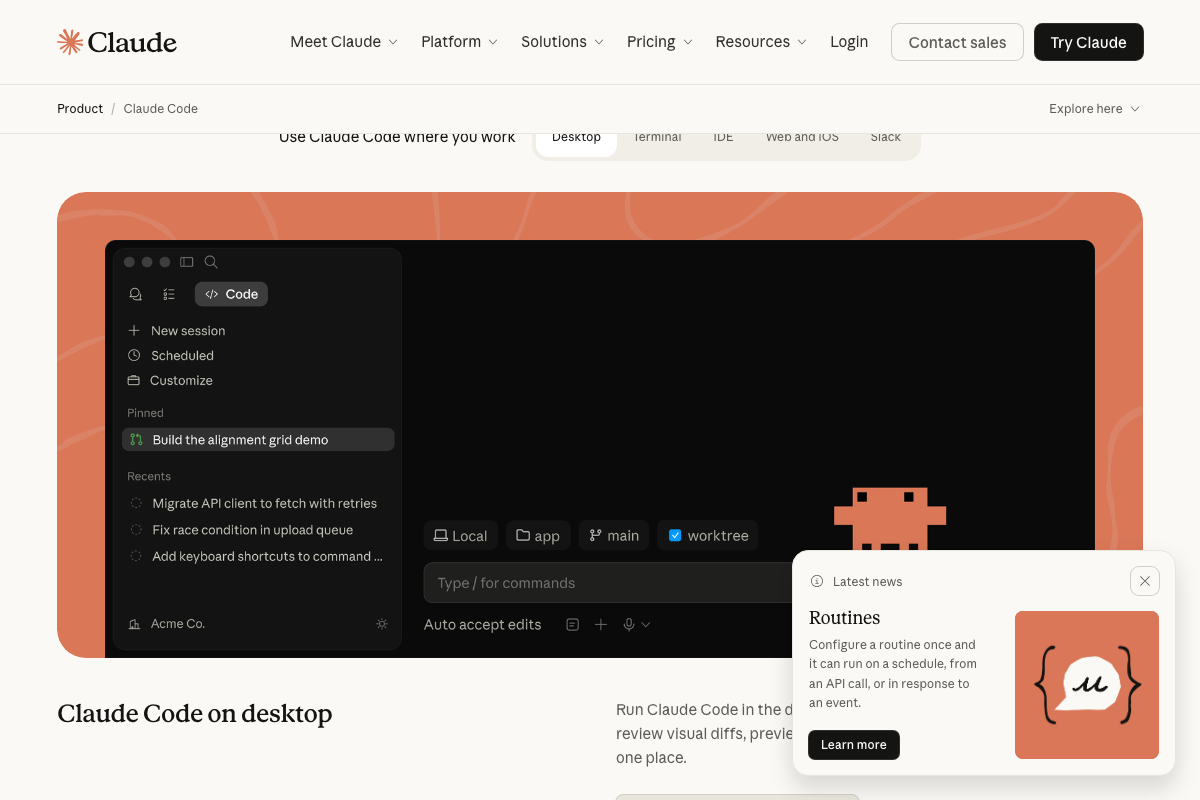
The video’s approach here matches the current docs exactly: Claude Design lives at claude.ai and requires an authenticated account. One clarification worth noting: the tutorial describes Claude Code as “CLI or desktop app,” but as of April 19, 2026, Anthropic’s official product page lists five surfaces — Terminal, Desktop, IDE, Web and iOS, and Slack. The web and Slack channels are omitted from the tutorial’s framing.

Step 2 — Design system ingestion and quota
No official documentation was found for this step — proceed using the video’s approach and verify independently.
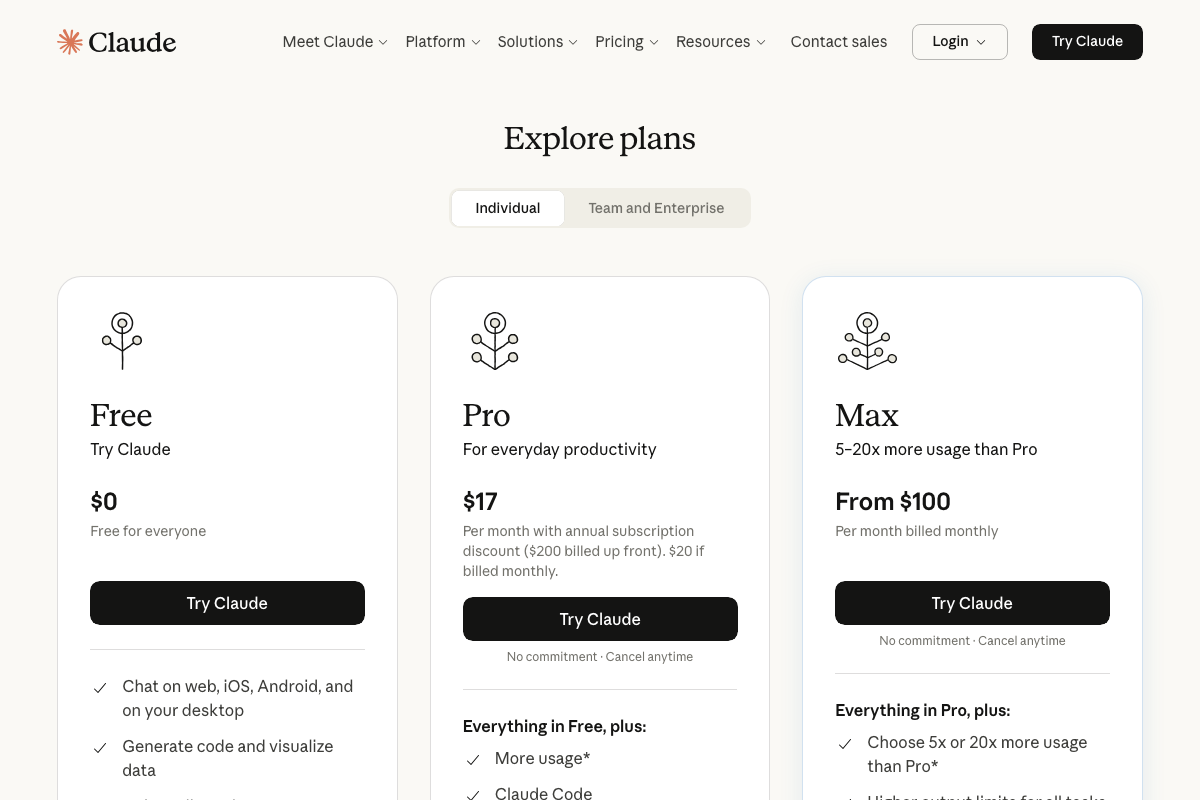
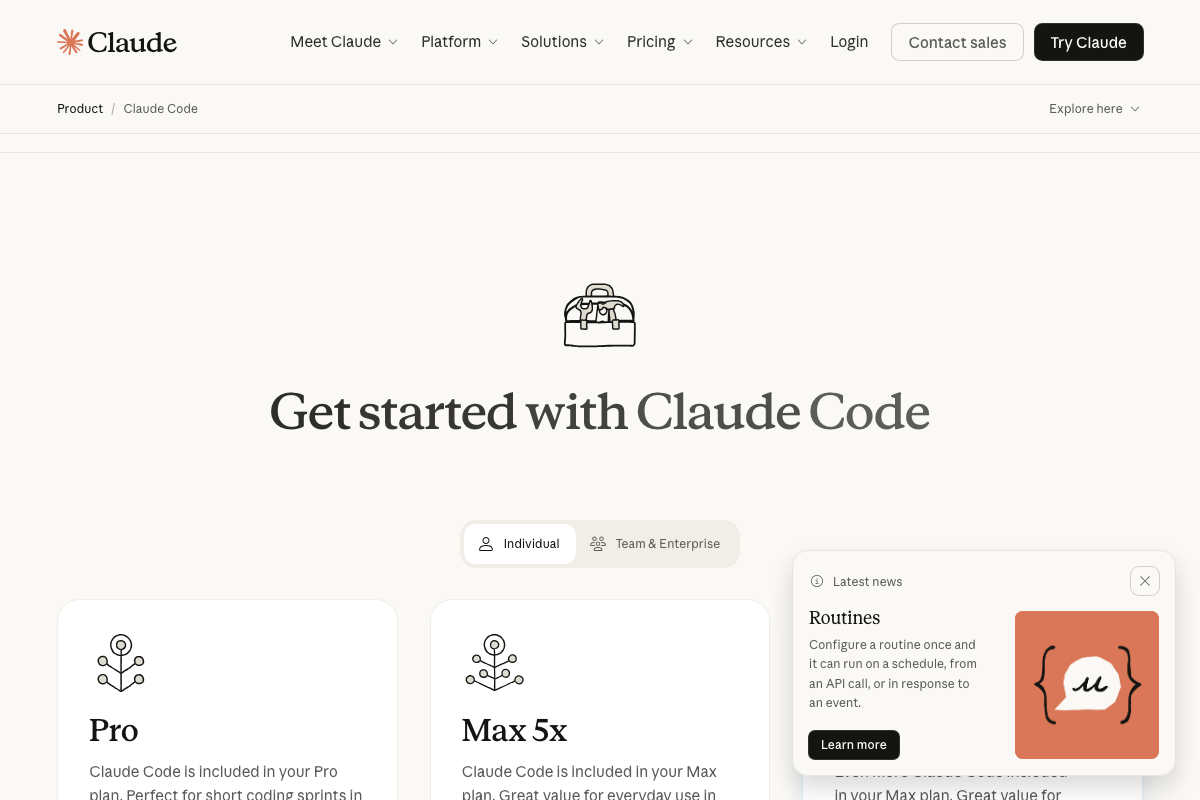
The pricing page does confirm that quota tiers exist — Pro at $17/month (billed annually) and Max from $100/month offering 5–20× more usage — but the specific “20–25% weekly quota” figure for design-system ingestion does not appear in any screenshot.
Steps 3–6 — Design system review, project setup, context loading, and prompt writing
No official documentation was found for these steps — proceed using the video’s approach and verify independently.
Step 7 — Model selection (Opus 4.7)
No official documentation was found for this step — proceed using the video’s approach and verify independently.
No Anthropic product page confirms a model version designated “Opus 4.7.” Verify the current model roster inside your Claude account before selecting.
Step 8 — Usage alert and quota check
No official documentation was found for this step — proceed using the video’s approach and verify independently.
Step 9 — Claude Code benchmark comparison
The video’s approach here matches the current docs exactly. One addition: Claude Code’s desktop surface is documented as supporting visual diffs and previews in one place — useful context if you’re running the step 9 comparison from the desktop app specifically.
Steps 10–12 — Tweaks panel, variants, and export
No official documentation was found for these steps — proceed using the video’s approach and verify independently.
Specific flag for step 12: the export targets named in the video (Canva, PowerPoint) are not confirmed by any documentation screenshot — no Claude Design export UI was accessible during documentation review. Verify available export formats inside your account before building a delivery workflow around them.
Two things the video doesn’t cover
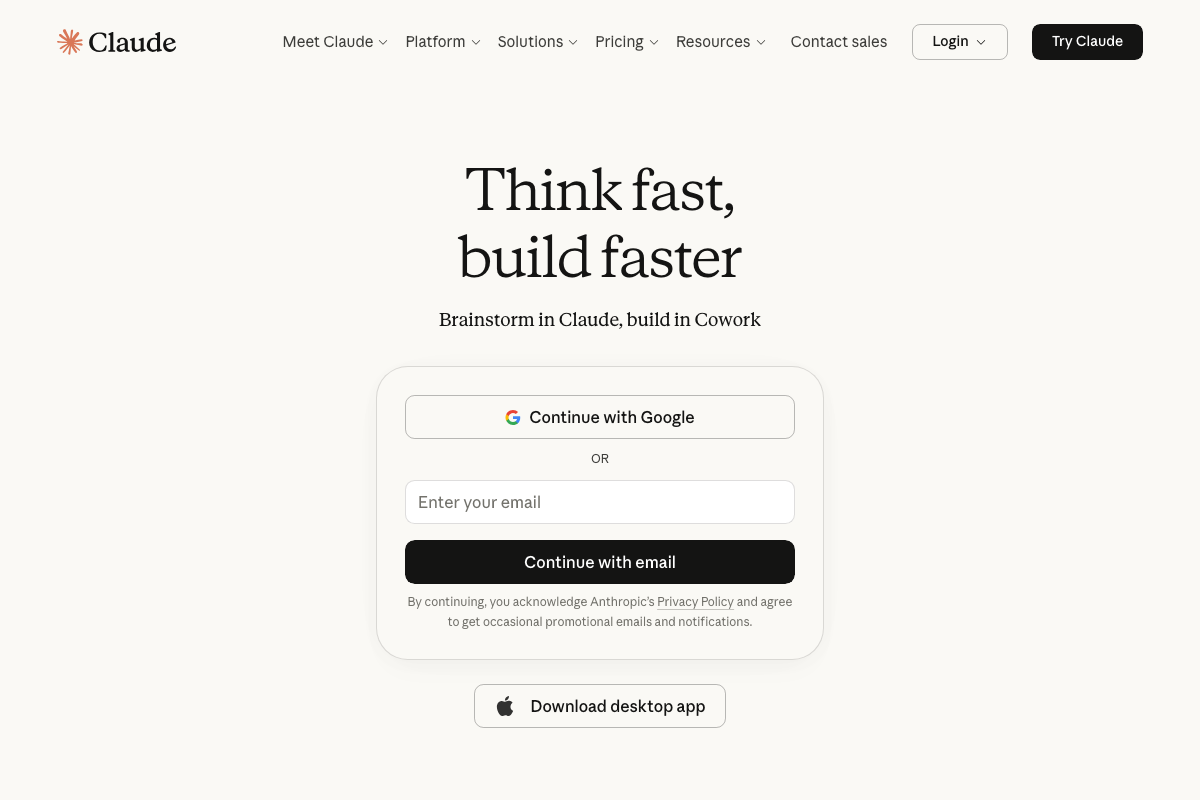
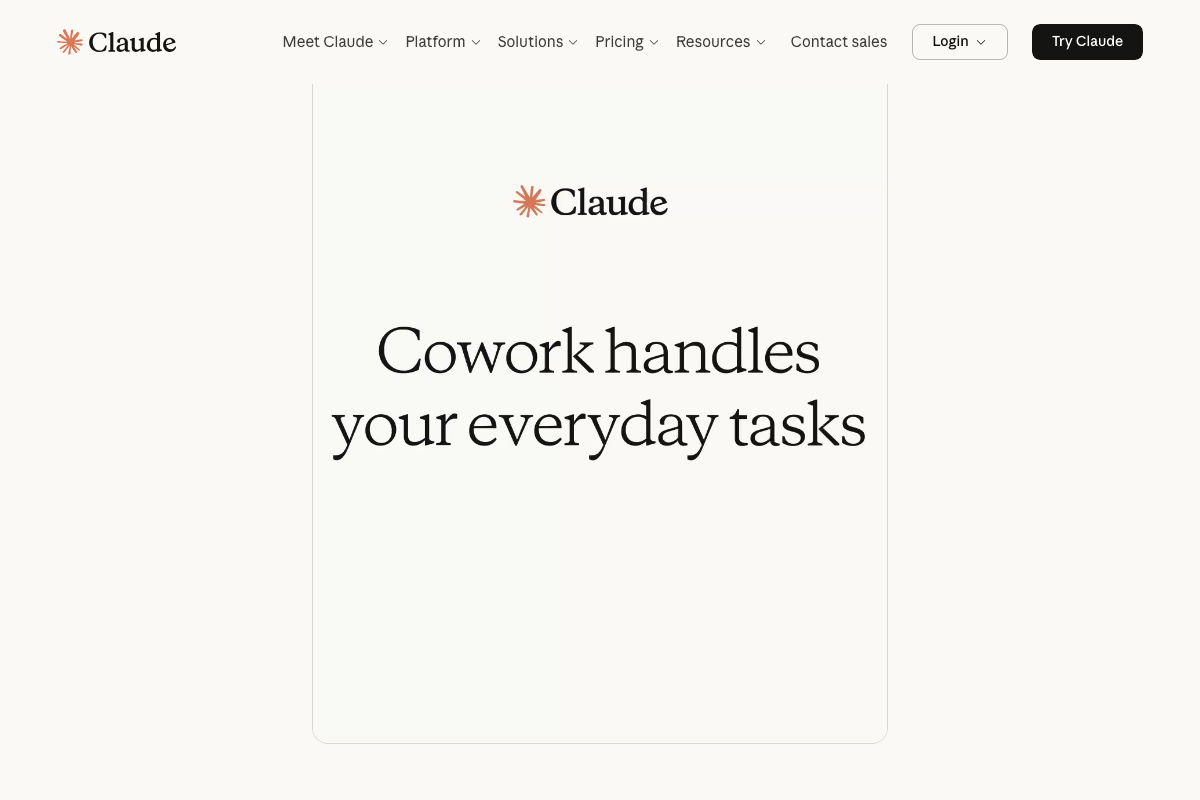
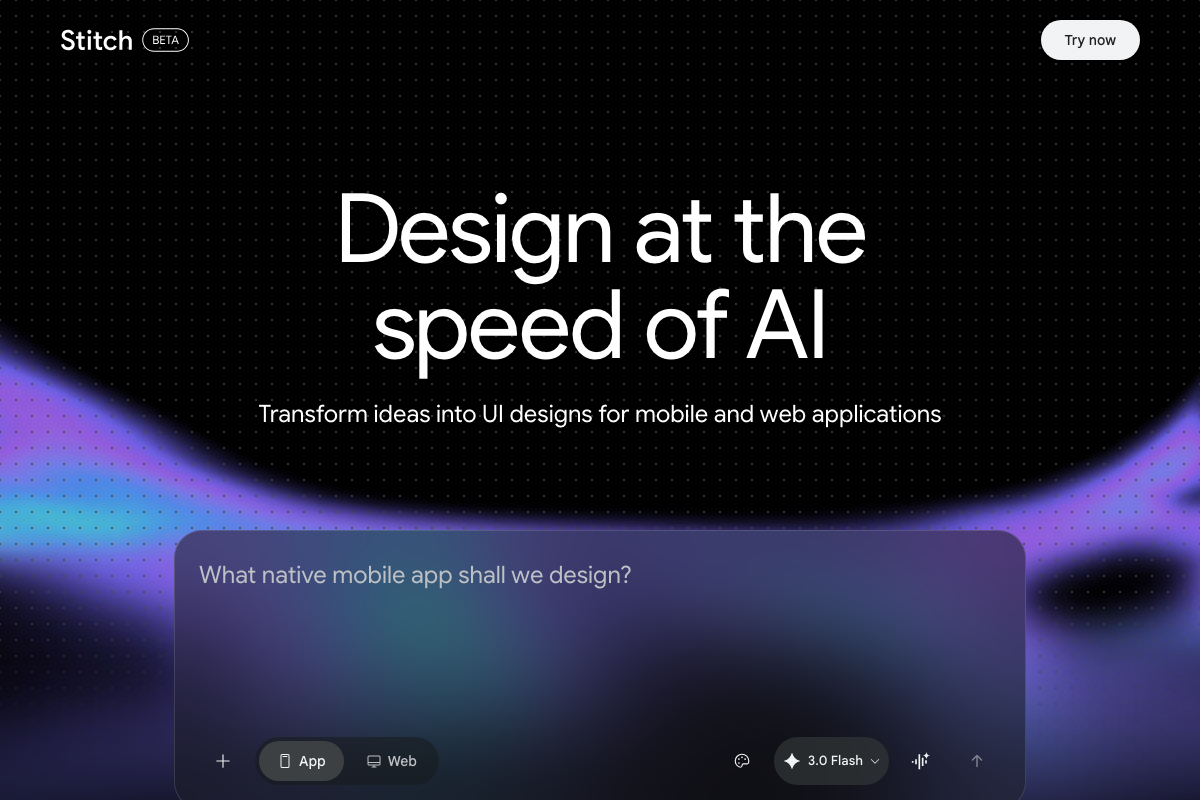
Claude.ai’s homepage promotes a companion product called Cowork (“Brainstorm in Claude, build in Cowork”) that may be relevant to build-to-deployment workflows — it is not Claude Design, and its role in a prototyping pipeline is worth understanding before you commit to one. Separately, Google Stitch (stitch.withgoogle.com) is a live public-beta competitor running on Gemini 3.0 Flash with App and Web output modes — a natural addition to the step 9 benchmark the video runs.
Useful Links
- Claude — Entry point for Claude Design; unauthenticated visits to /design resolve to the standard Claude login screen
- Claude Code by Anthropic | AI Coding Agent, Terminal, IDE — Official product page listing all five Claude Code deployment surfaces, install instructions, and current plan pricing
- Stitch – Design with AI — Google’s public-beta AI UI design tool powered by Gemini 3.0 Flash, with selectable App and Web output modes


0 Comments