Deindexed Overnight: How a DNS Hijack Took Down a YMYL Site
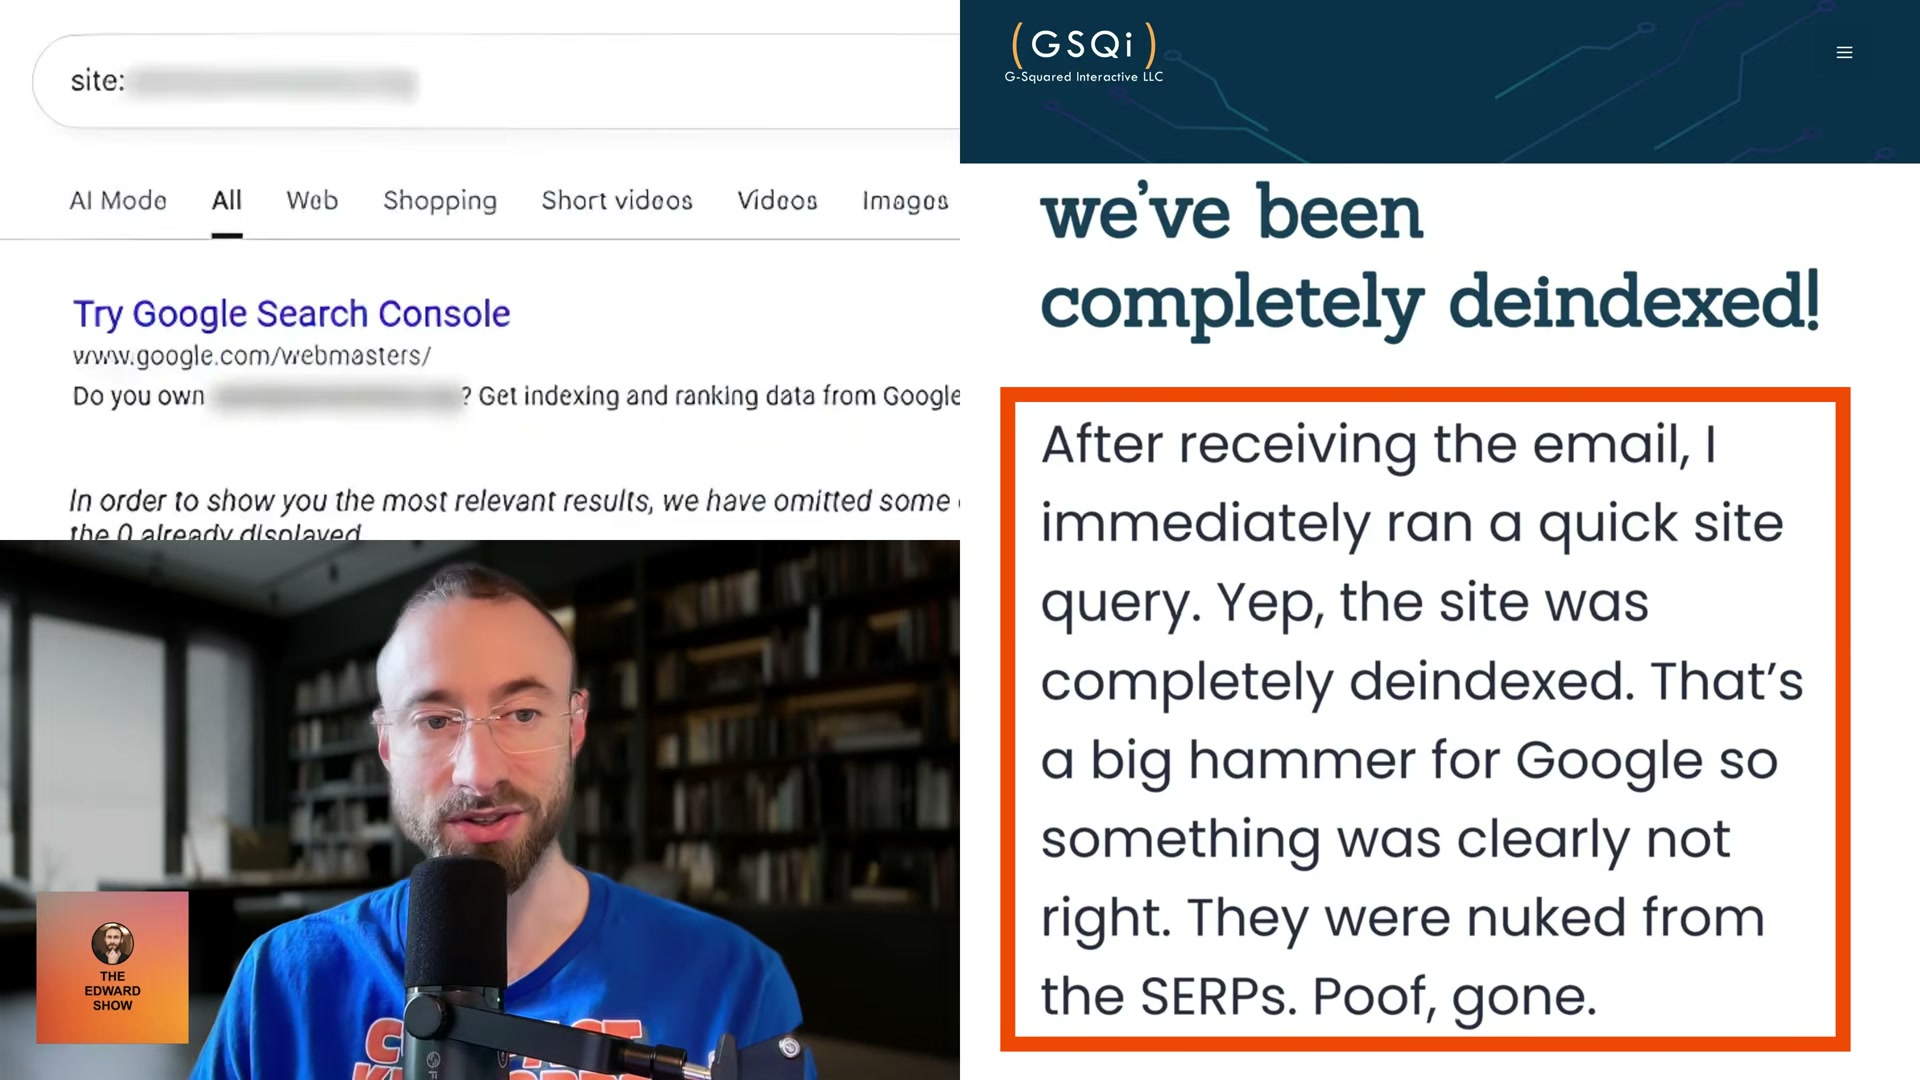
When an email arrives with the subject line “We are not in Google’s index,” the instinct is to blame content. This case study, documented by SEO consultant Glenn Gabe, follows a 20,000-URL YMYL site that vanished from Google overnight — not because of an algorithm update or an AI content penalty, but because a decommissioned Azure subdomain was re-registered by a malicious actor. You’ll learn to use Search Console’s domain property to catch a DNS hijack, document the evidence before cleanup, and file a reconsideration request that clears in under 48 hours.
- Run a
site:operator query in Google using the site’s root domain. Zero results alongside the message “Try Google Search Console if you own this site” confirms a full deindexing — not a page-level filter or ranking drop.
-
Open Google Search Console and navigate to Security & Manual Actions → Manual Actions. A clear panel does not rule out a pending action — Google’s notifications can lag the actual deindexing by hours or more.
-
Check the Security Issues viewer. A clean report rules out flagged malware but still doesn’t explain the deindexing. Without a visible signal, the investigation moves into performance data.
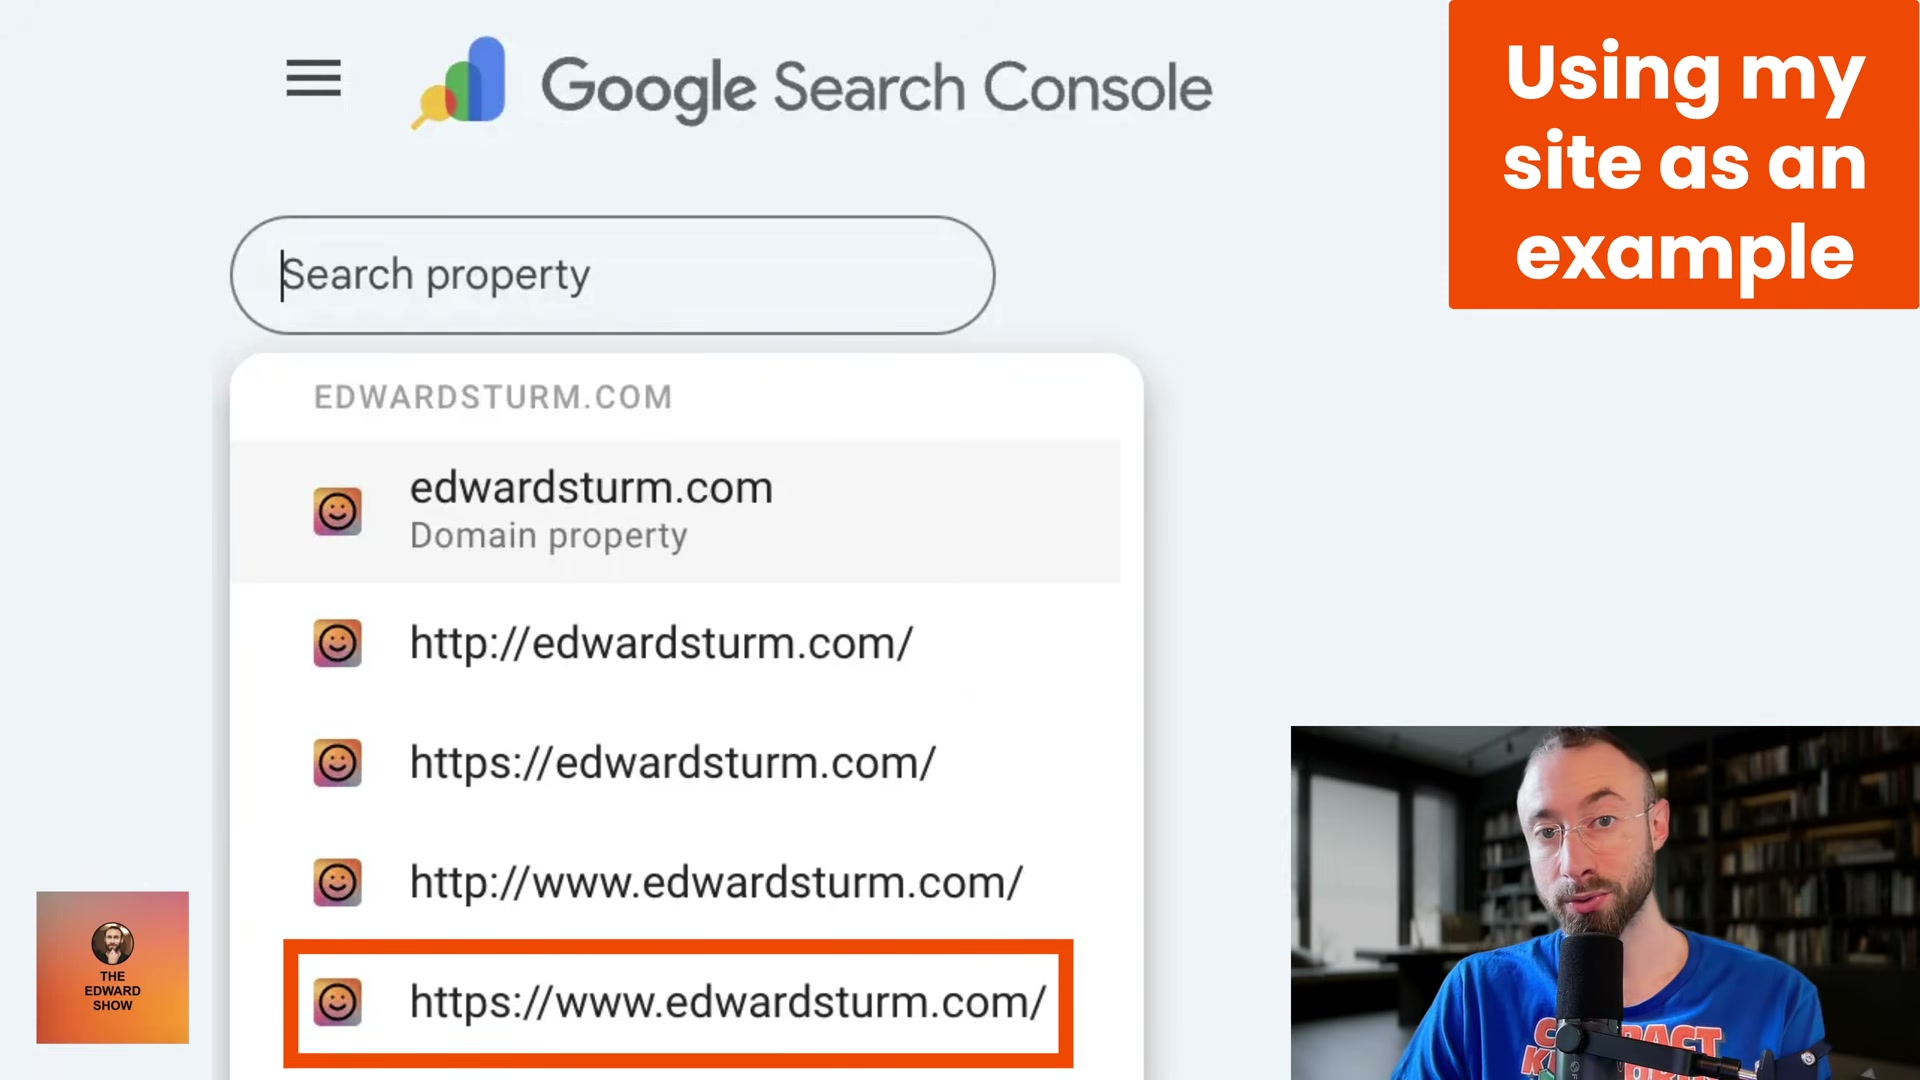
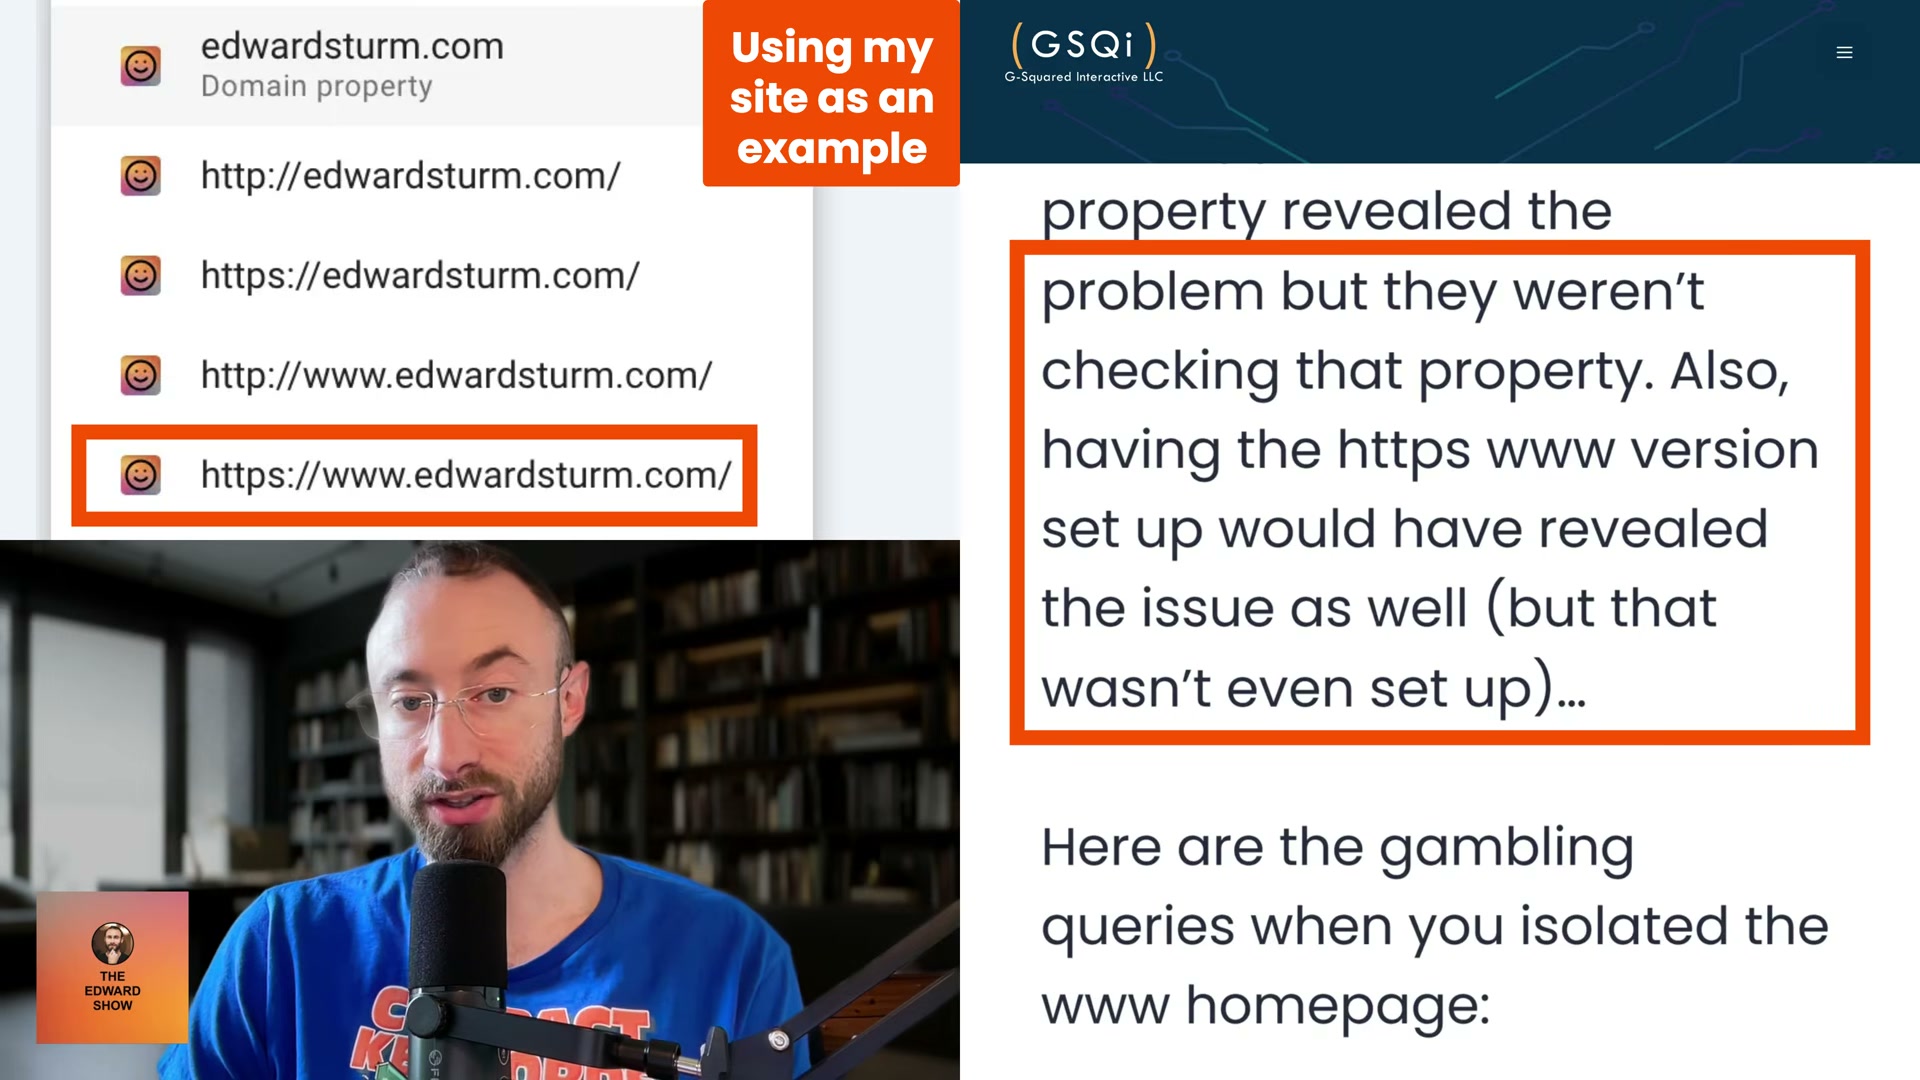
- Audit every Search Console property associated with the domain: the HTTPS non-www URL prefix, the HTTPS www URL prefix, the domain property (which covers all protocols and subdomains), and any directory-level properties. The www URL-prefix property was absent in this case — a gap that would have surfaced the attack the moment it happened.
-
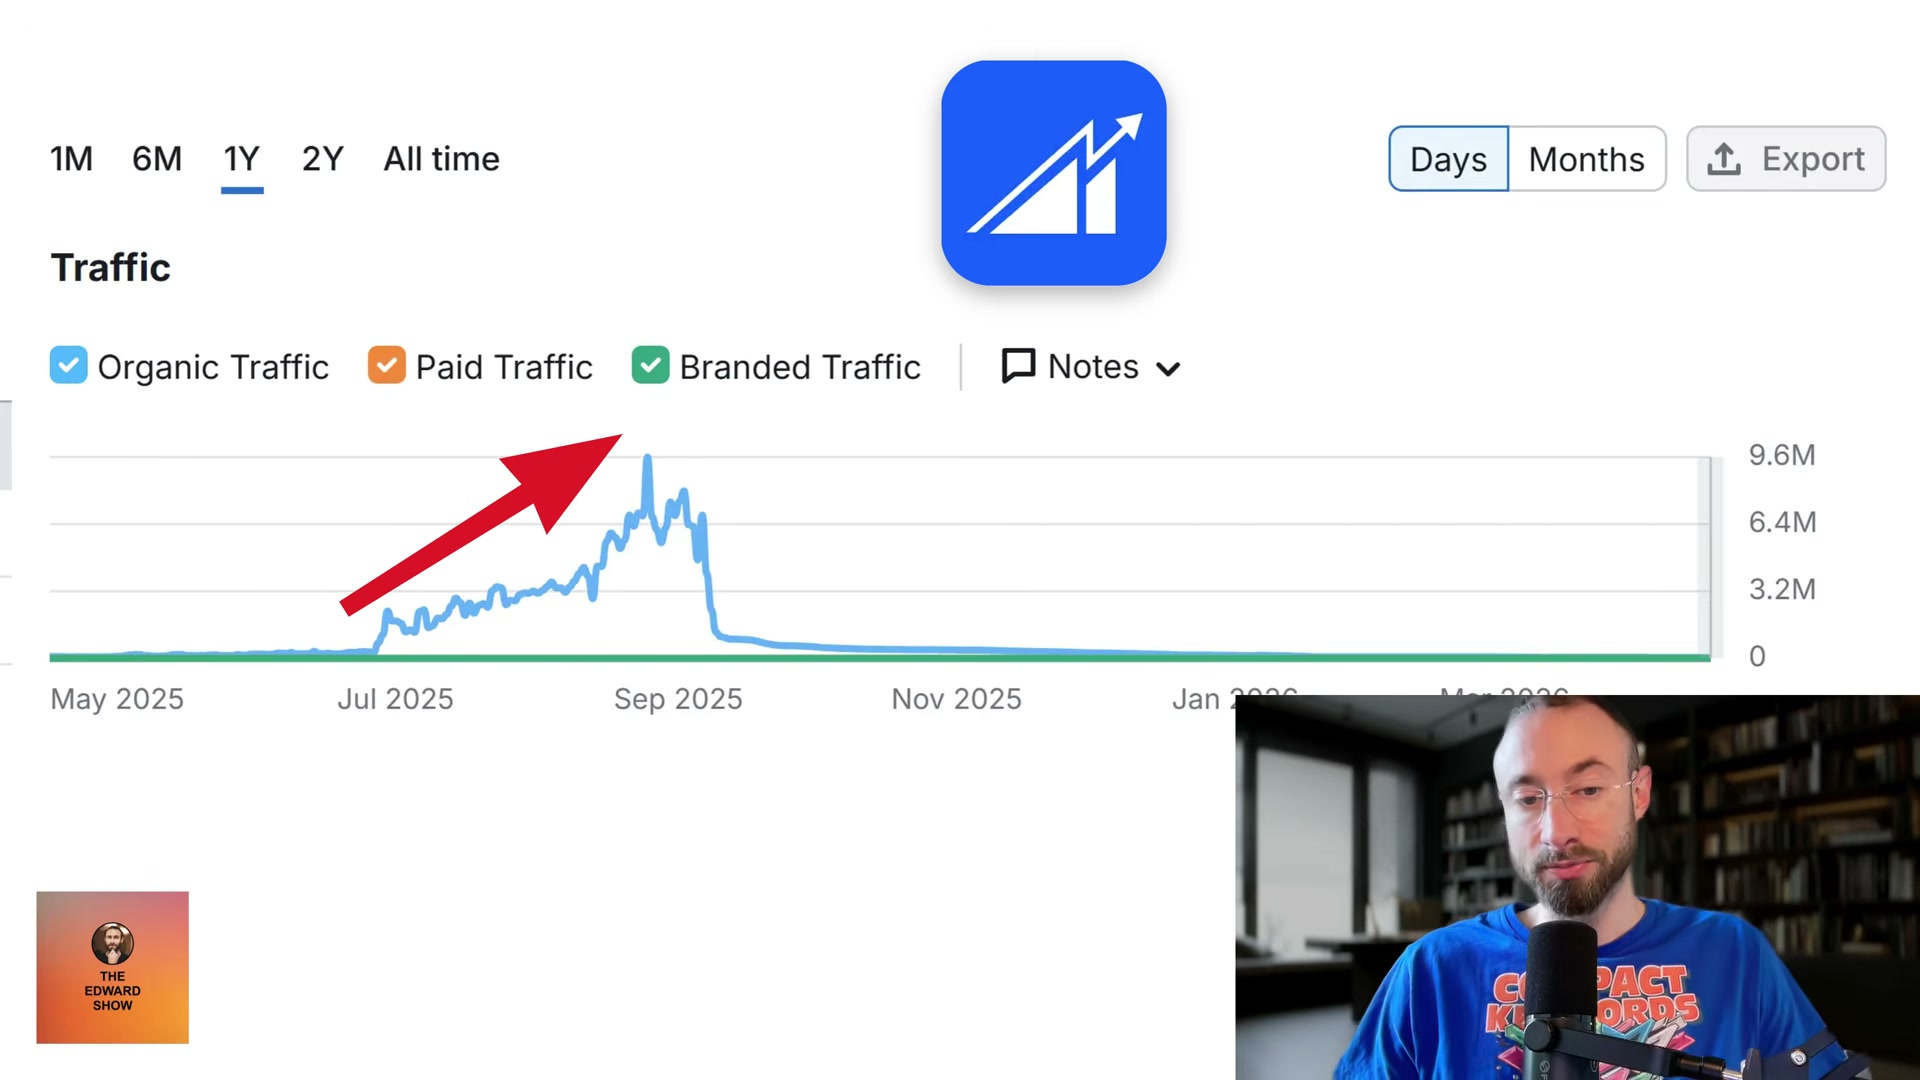
Open the domain property and scan the Performance report for any single-day spike in impressions or clicks that breaks the normal trend. Here, one day showed nearly 12,000 clicks attributed to the www homepage — a URL that should have been essentially inactive.
-
Filter Performance by Page to isolate which URL is driving the anomaly, then filter by Queries for that URL. Every query returned in this case was gambling-related, confirming a redirect-based DNS hijack rather than an on-site content problem.

-
Before touching anything on the server, capture screenshots of the hacked page using a third-party SERP visibility tool. These tools cache the indexed state of a page, giving you timestamped proof of exactly what Google saw — documentation essential for the reconsideration request.
-
Notify the client immediately with those screenshots and direct them to remediate the hack and close the security hole before anything else.
-
Identify the DNS root cause. The client had decommissioned an Azure web app, but the released hostname was re-registered by a malicious actor who pointed it at a gambling site — and the www DNS record still resolved to that old Azure endpoint.
-
Correct the www DNS entry to remove the redirect, then wait for propagation to complete.
-
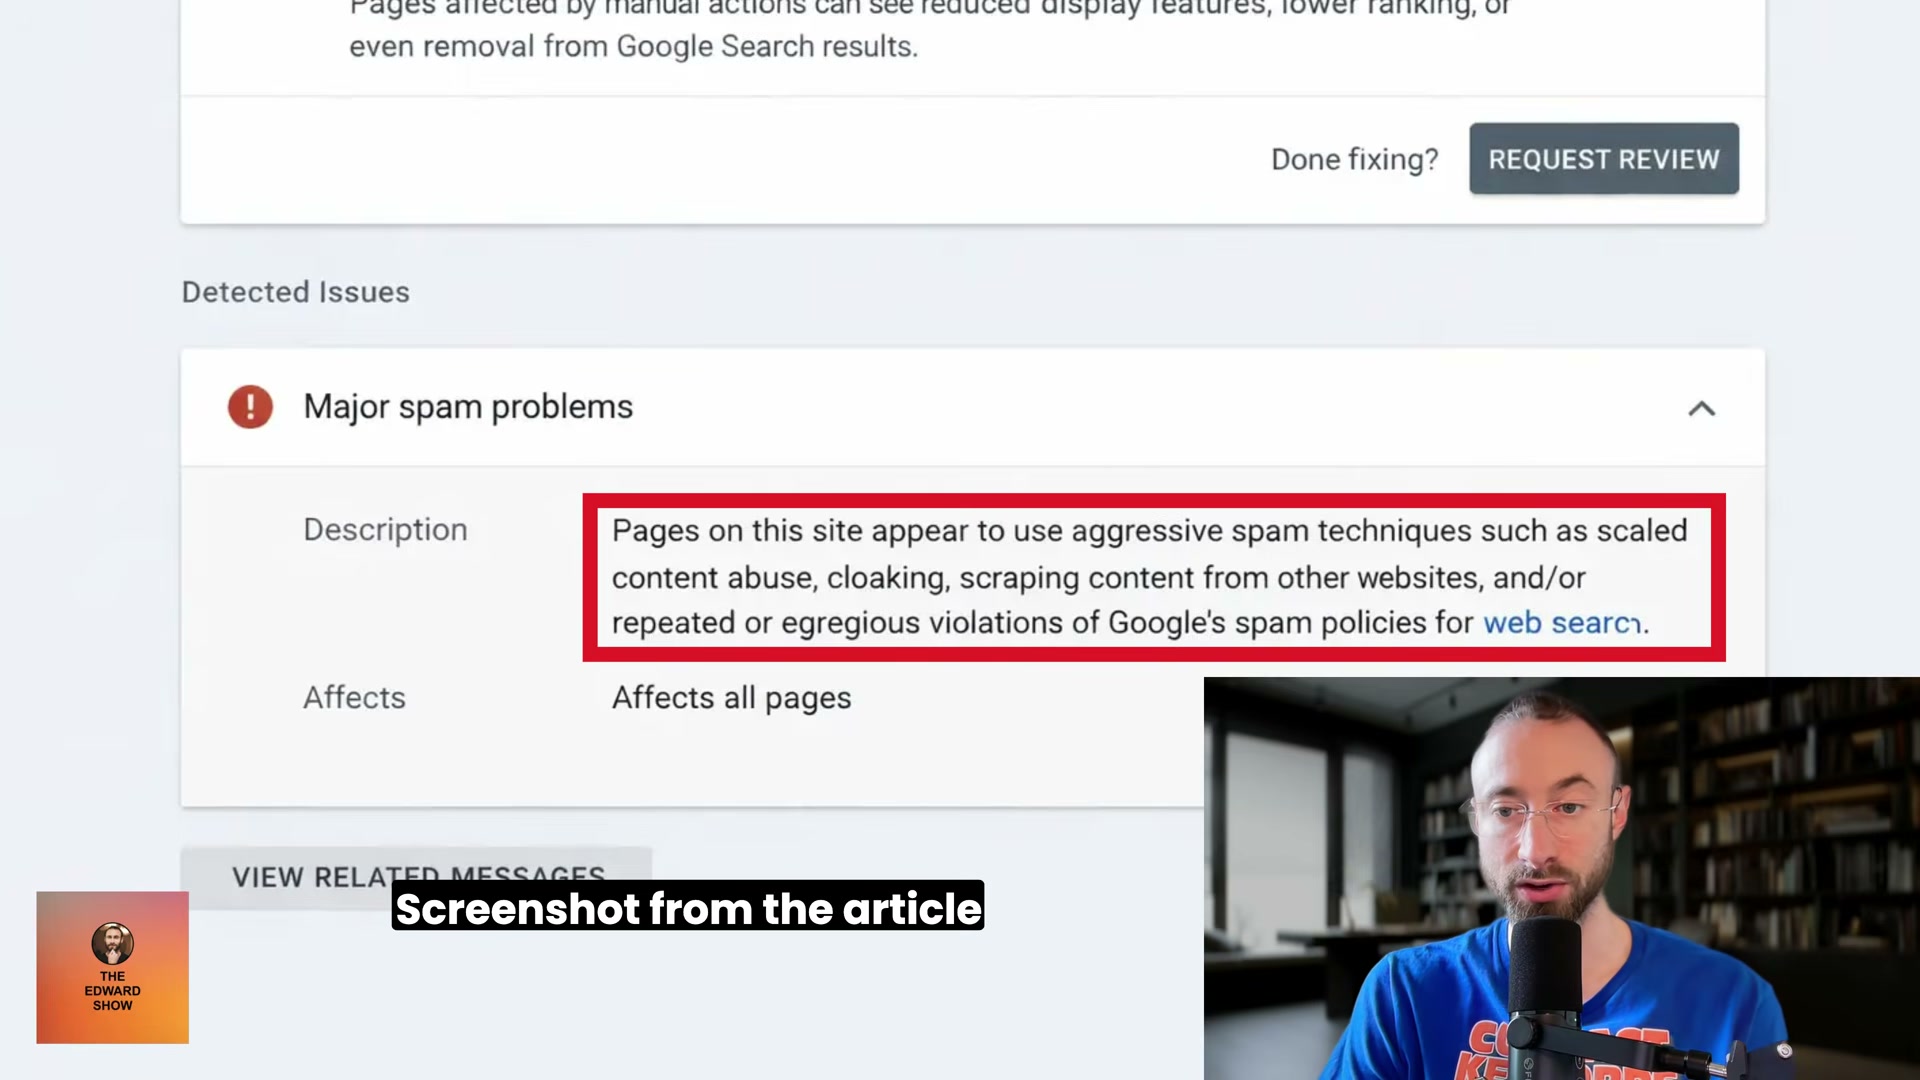
Expect the manual action notification to arrive after DNS propagation — here it landed at 3:00 a.m. ET, hours after cleanup, classified as “Major spam problems — Affects all pages.”
-
File a reconsideration request through the Manual Actions panel. The request should name the specific DNS vulnerability exploited, detail every remediation step taken, and confirm the security hole is closed.
- Run a fresh
site:query the following morning. Pages reappeared in results before the formal approval email arrived — re-indexing was confirmed roughly 48 hours after the initial event, with the Search Console approval message arriving a few hours later.
How does this compare to the official docs?
Google’s documentation on manual actions, Search Console property verification, and reconsideration requests each covers a distinct piece of this workflow — and the official guidance on several of these steps includes specifics that change how you execute them under pressure.
Here’s What the Official Docs Show
The video’s diagnostic sequence is sound, and the available documentation confirms the core of the workflow. Where the screenshots fall short of the authenticated Search Console interface, those gaps are flagged clearly below — so you can execute each step with accurate expectations rather than surprises.
Step 1 — Run a site: operator query to confirm full deindexing
The video’s approach here matches the current docs exactly. The current Google Search homepage — the same interface you’ll use — is unchanged in function. One note worth flagging: as of April 2026, Google’s search bar now displays an AI Mode button alongside the standard search inputs. This UI change doesn’t affect how site: operator queries execute or return results, but the zero-result confirmation screen may be surfaced differently if AI Mode intercepts navigational queries. Type your query in the standard bar and switch to All results if the default view returns AI-generated content instead of an index count.

Steps 2–4 — Manual Actions panel, Security Issues viewer, and property audit
No official documentation was found for these steps —
proceed using the video’s approach and verify independently.
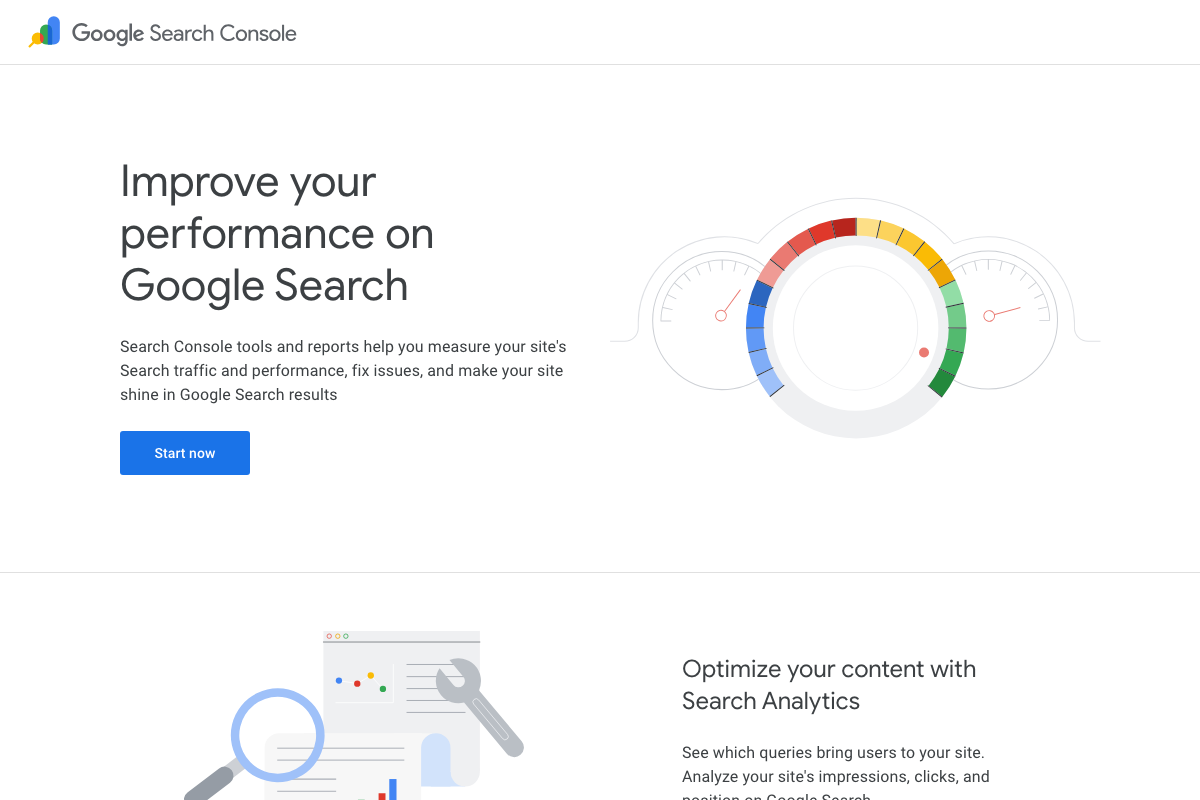
The Search Console about page confirms the tool is designed to “measure your site’s Search traffic and performance, fix issues” — consistent with its diagnostic use here — but the authenticated panel navigation for Security & Manual Actions, the Security Issues report, and the property type selector are not visible in any available screenshot.

Steps 5–6 — Domain property Performance spike and query filtering
The video’s approach here matches the current docs exactly. Search Console’s documented capabilities explicitly include impressions, clicks, and query-level filtering — the exact data chain the video uses to surface gambling-related queries on the www property.
Step 7 — Third-party SERP screenshots before cleanup
No official documentation was found for this step —
proceed using the video’s approach and verify independently.
Steps 8–9 — Client notification and DNS root cause identification
No official documentation was found for these steps —
proceed using the video’s approach and verify independently.
Step 10 — Azure Web App subdomain takeover as the attack vector
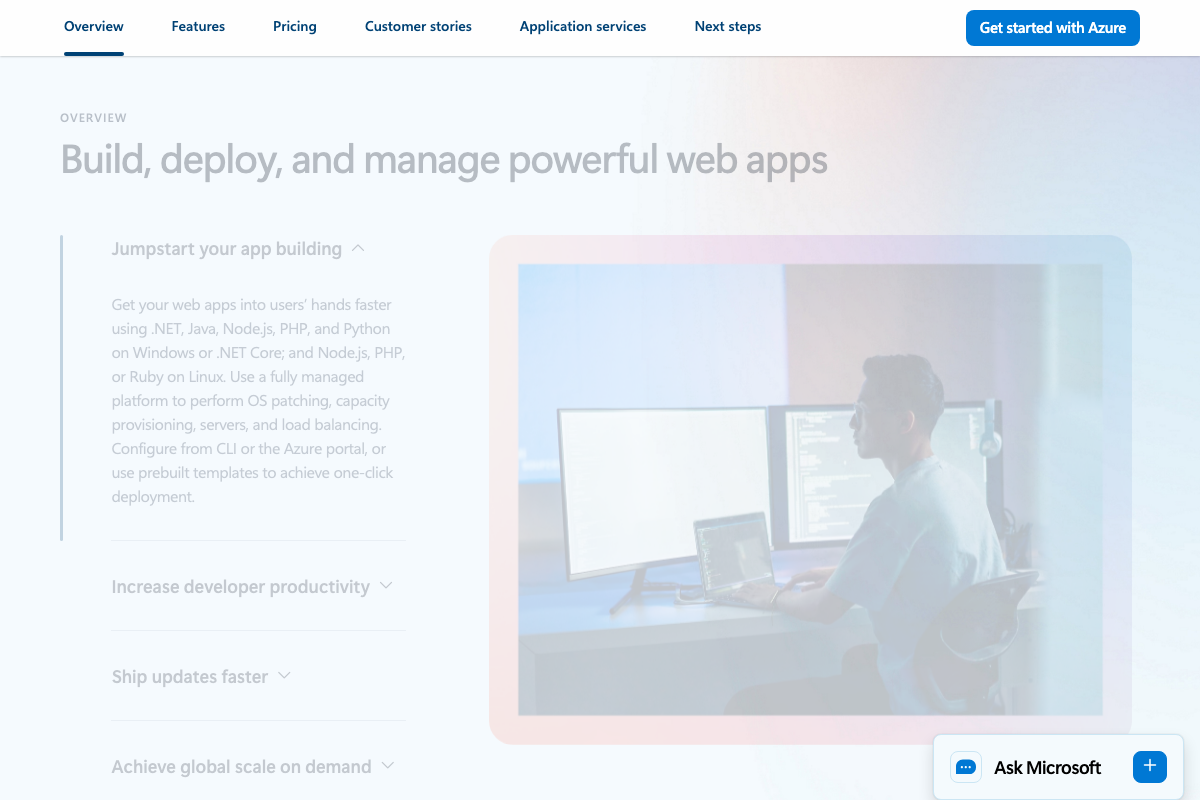
The video’s approach here matches the current docs exactly. Azure Web Apps is confirmed as an active PaaS service. When a web app is deleted, its azurewebsites.net hostname is released to a shared pool and can be re-registered by any Azure user — this is the mechanism the tutorial describes. The Azure product page confirms portal-based provisioning and deletion as the standard workflow, making DNS cleanup an easy step to miss. Microsoft’s dedicated subdomain takeover guidance is documented separately at docs.microsoft.com and is worth reviewing before decommissioning any Azure resource with an external DNS record pointing to it.
Steps 11–14 — DNS remediation, manual action notification, reconsideration request, and re-indexing confirmation
No official documentation was found for these steps —
proceed using the video’s approach and verify independently.
Useful Links
- Google Search Console — Official about page confirming Search Console’s capabilities for measuring traffic, detecting issues, and accessing impressions, clicks, and query data
- Google Search — The current search homepage where
site:operator queries are executed, now featuring an AI Mode button in the search bar - Web App Service | Microsoft Azure — Azure Web Apps product page confirming the PaaS service model whose hostname lifecycle creates the subdomain takeover risk described in step 10


0 Comments