Five Claude Code Workflow Patterns for Parallel and Multi-Agent Tasks
Claude Code already runs agents behind the scenes without any configuration — most users just never see it. After working through these five patterns, you’ll know when to let Claude handle parallelism automatically, when to orchestrate multiple sessions yourself, and when to build custom pipelines that fan out and merge results without you touching a terminal. Choosing the right pattern is the difference between running Claude Code as a chatbot and running it as a workforce.
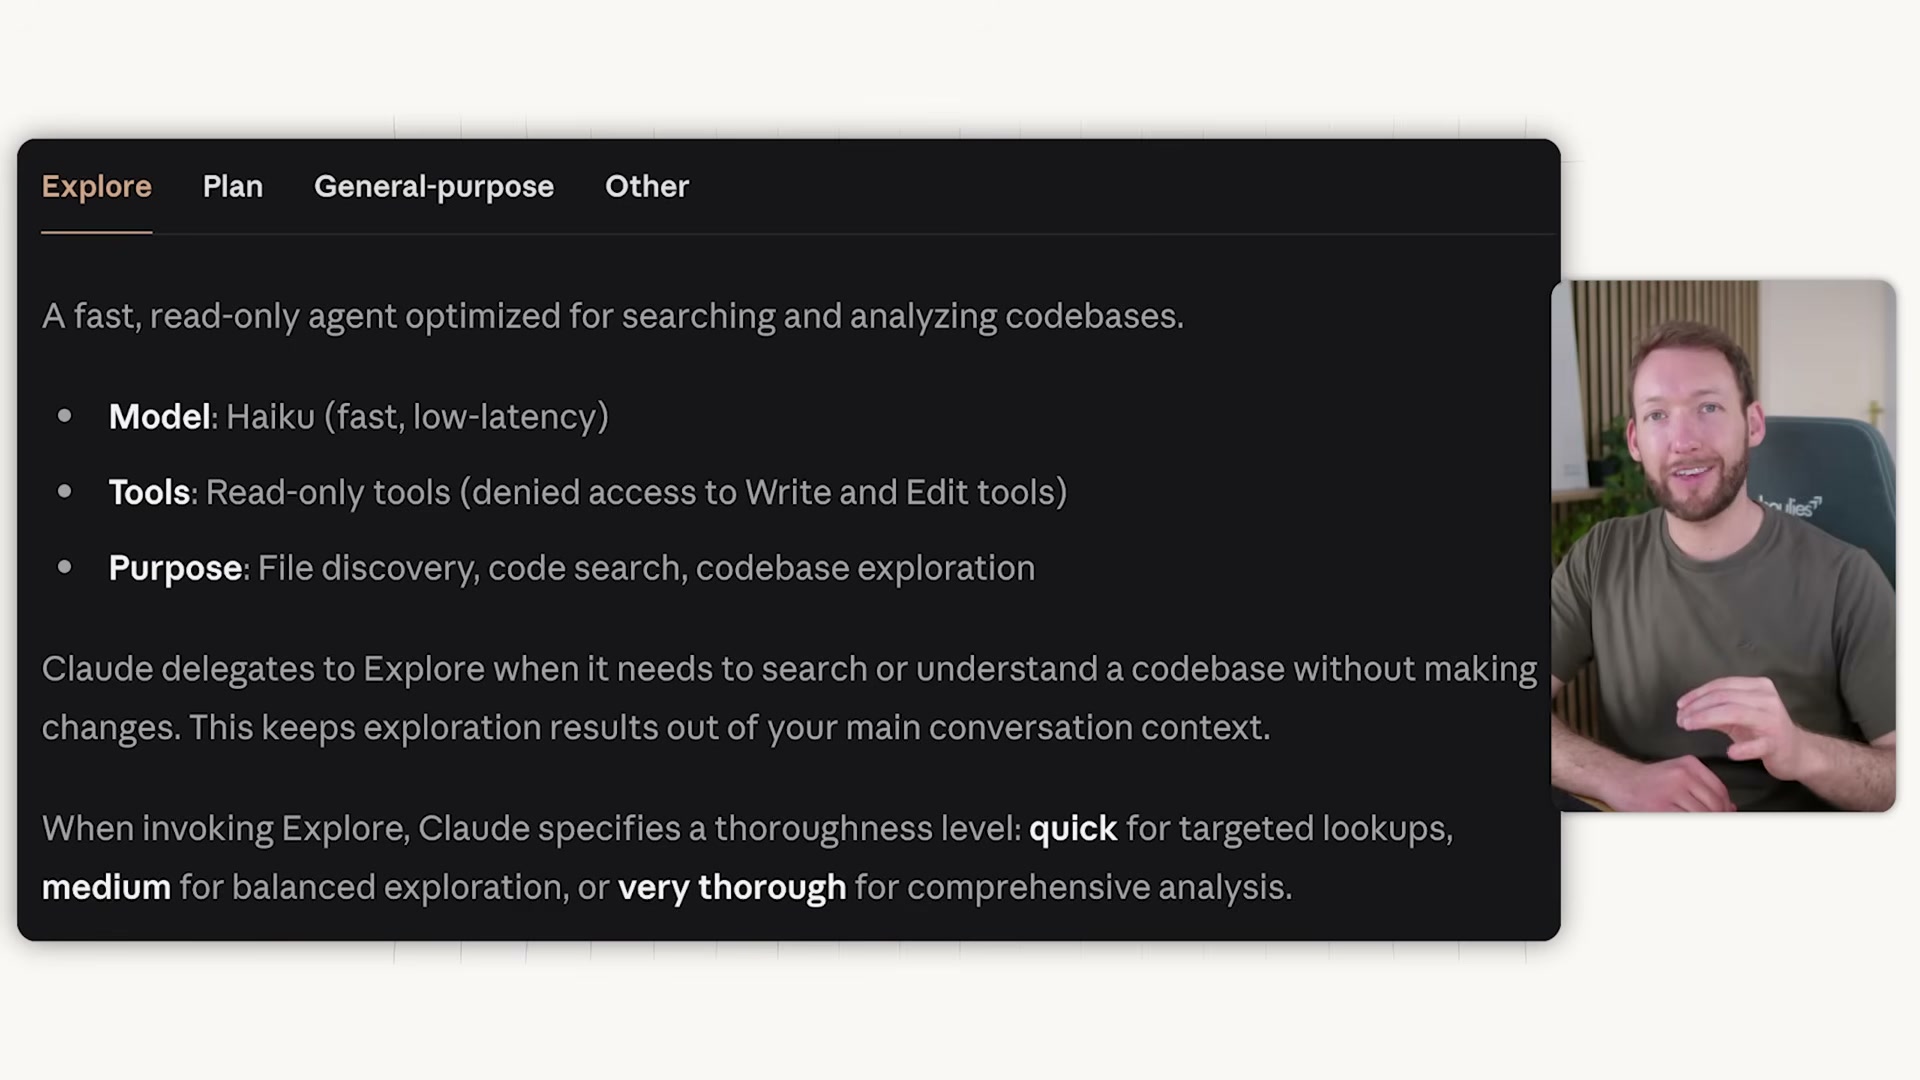
- Before picking a pattern, understand the three sub-agents Claude Code activates automatically. The Explore agent runs on Haiku, is read-only, and scouts your file system in its own context window without bloating your main session. The Plan agent activates when you enter plan mode — type
/planor press Shift+Tab twice — and researches your codebase before presenting a strategy. The General Purpose agent runs on Sonnet with full tool access for complex multi-step operations that require both reading and writing across files. Claude routes tasks to these agents based on complexity; no configuration required.
- Pattern 1 — Sequential Flow: open one terminal and issue tasks that build on prior context. Use
/compactto compress conversation history as the context bar fills, or/clearto reset it entirely. Claude’s built-in sub-agents continue running in the background, offloading file reads to separate context windows to keep the main session clean. This pattern has a hard ceiling — once the context window saturates, Claude starts losing track of earlier work, a condition the transcript calls context rot. That ceiling is the signal to move to the next pattern.

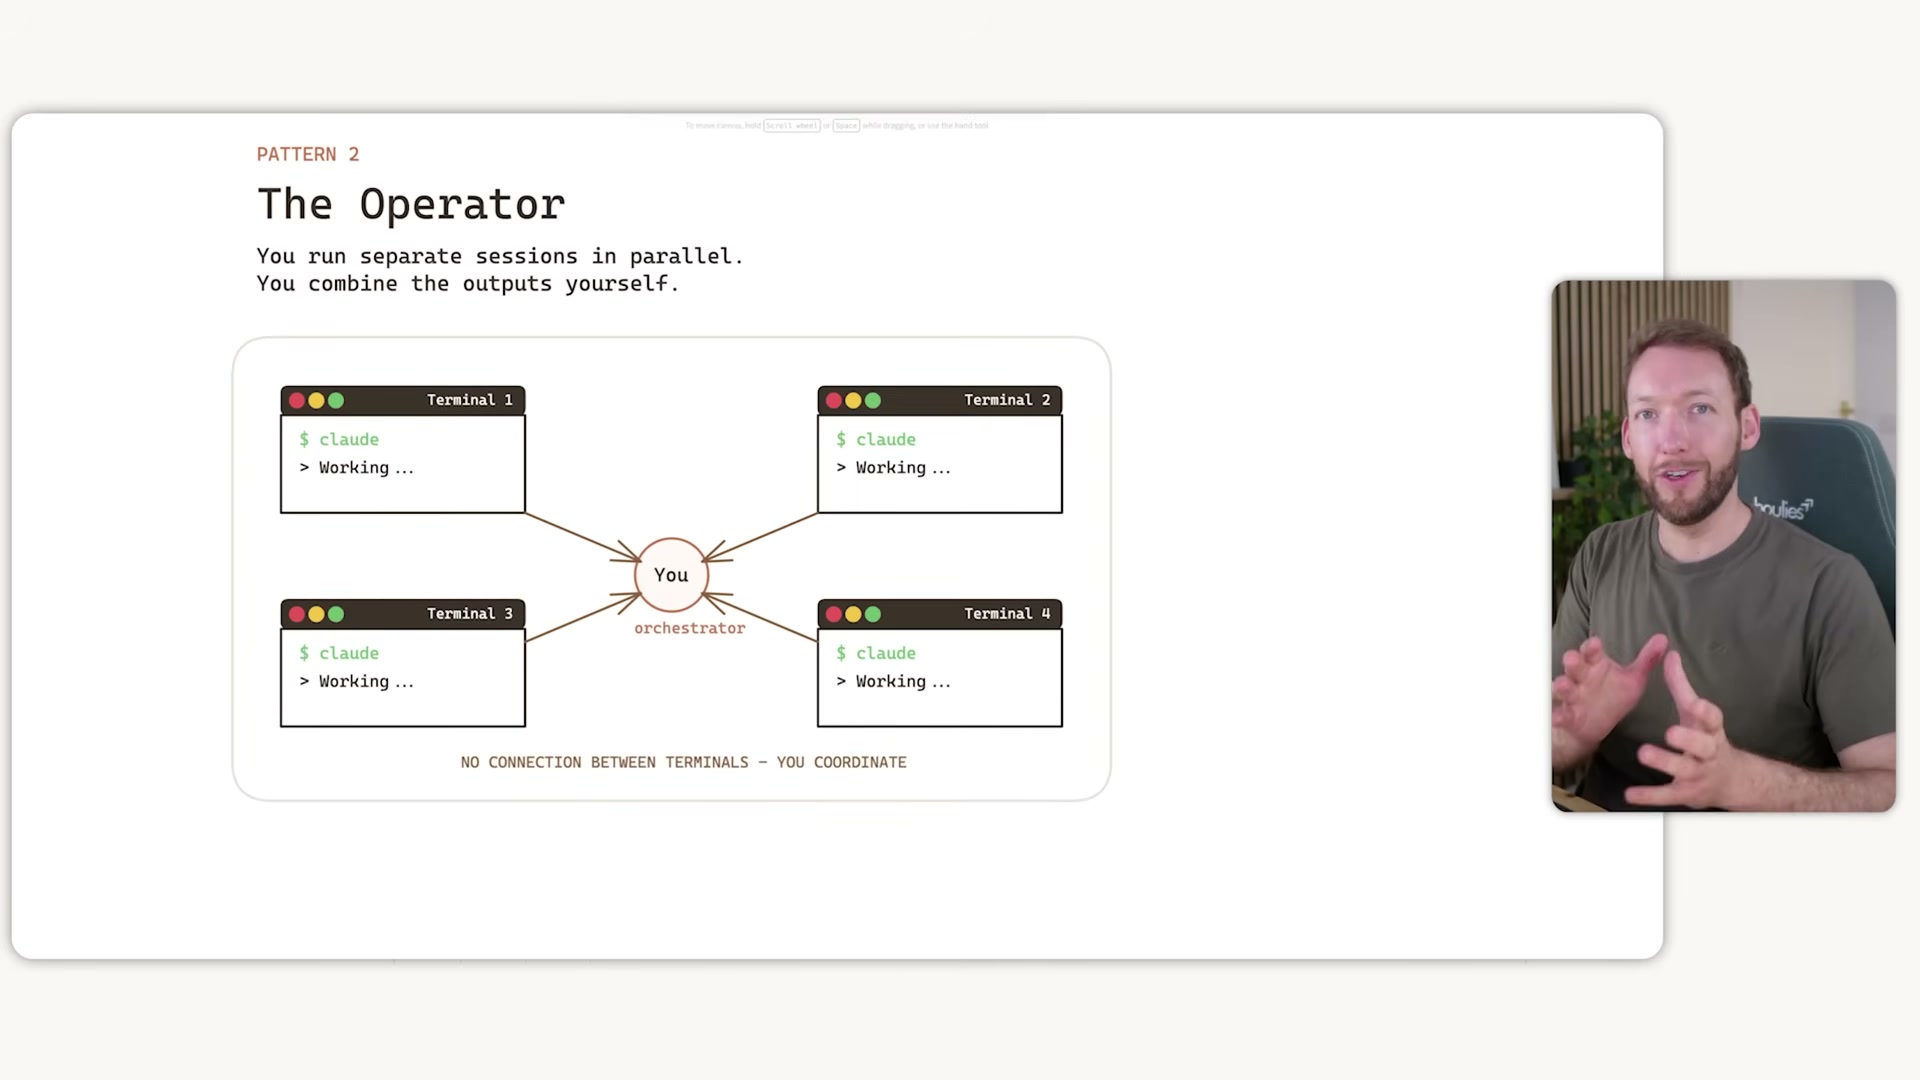
- Pattern 2 — The Operator: run
claude -w <description>to spin up an isolated git worktree per task, each with its own branch and clean context window. Open one VS Code terminal per task, then coordinate manually — check in on each session, copy findings between them as needed, and decide when each branch is ready to merge. Tasks must be independent; any dependencies between them break the isolation model.
- When you close a worktree session with no changes, Claude removes the workspace automatically. If changes exist, it prompts for a decision before cleanup. The live demo shows two sessions running simultaneously —
claude -w fix-checkout-bugandclaude -w redesign-user-settings— each operating against its own worktree path with zero cross-contamination.

- Pattern 3 — Split and Merge: give Claude a complex, parallelizable task and let it manage the fan-out. Claude analyzes the task, spawns up to 10 simultaneous sub-agents each with isolated context windows, then merges all results into a single output automatically. Sub-agents cannot communicate with each other — all coordination runs through the main agent in a hub-and-spoke model. Any tasks beyond the 10-agent limit are queued automatically.

-
Create custom sub-agents by adding definition files to the
.claude/agentsfolder. Each file specifies a name, description, and tool access list. Claude reads these at runtime and routes tasks to the appropriate agent automatically, or you can invoke one by name in your prompt. -
Chain agents into a builder-validator pipeline: sub-agent 1 builds an artifact and returns it to the main agent, which routes the result to sub-agent 2 for review. The validator’s findings return to the main agent for final action. This keeps quality checks out of the builder’s context and makes review steps explicit and repeatable.
-
Pattern 4 — Agent Teams: enable the experimental multi-agent flag to allow sub-agents to share a task list and communicate directly with each other rather than routing everything through the main orchestrator. Direct peer coordination carries significantly higher token costs — reserve it for genuinely complex projects where the communication overhead is justified.
Warning: this step may differ from current official documentation — see the verified version below.
How does this compare to the official docs?
The official Claude Code documentation covers specifics around the -w flag behavior, agent definition schema, and the experimental multi-agent flag that fill in gaps the video leaves open — and those details matter before you build anything you plan to run in production.
Here’s What the Official Docs Show
The tutorial’s five-pattern mental model holds up well in broad strokes. The docs fill in model-specific constraints and surface one currently promoted feature — Auto mode — that’s directly relevant to long-running pipelines like the ones covered in Patterns 3 through 5.
Step 1: The three built-in sub-agents
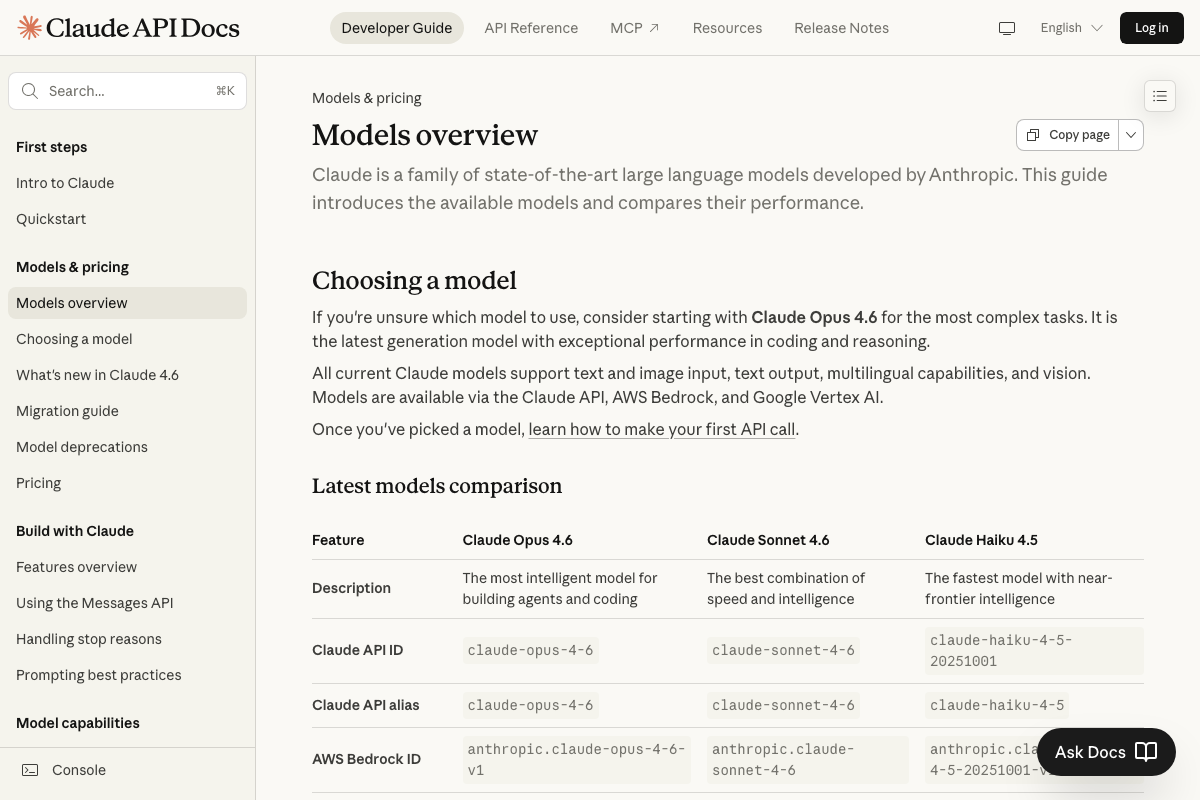
The video’s approach here matches the current docs exactly on role alignment. Haiku is “the fastest model with near-frontier intelligence”; Sonnet is “the best combination of speed and intelligence.” Where the docs add precision: the current versions are Claude Haiku 4.5 and Claude Sonnet 4.6, not generic family names. That distinction matters for billing — Haiku 4.5 costs $1/input MTok versus Sonnet 4.6’s $3/input MTok.
The sharper constraint is context: Haiku 4.5 carries a 200K token context window, one-fifth of Sonnet 4.6’s 1M. If the Explore sub-agent is scanning a large codebase, that ceiling will matter before you expect it to. The docs also list Claude Opus 4.6 as “the most intelligent model for building agents and coding” — a tier the tutorial’s sub-agent breakdown doesn’t reference at all. The mapping of Claude Code’s internal routing to these specific model versions is plausible given the model descriptions but is not directly confirmed by the screenshots provided.

Step 2: Pattern 1 — Sequential Flow
No official documentation was found for this step — proceed using the video’s approach and verify independently.
Step 3: Pattern 2 — The Operator
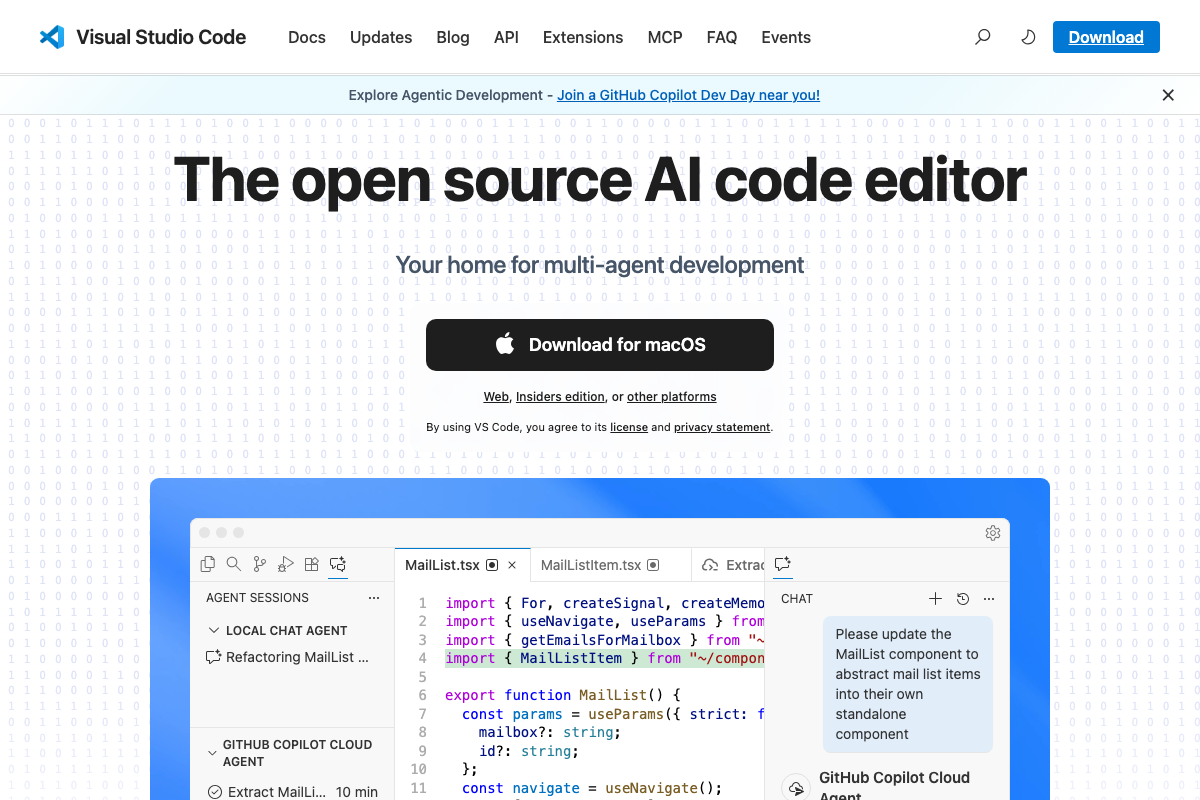
The claude -w <description> worktree syntax is not addressed by the available screenshots. What the docs do show is a meaningful ergonomic alternative: VS Code now ships a native AGENT SESSIONS panel that manages parallel sessions in a single unified view — no manual coordination across separate terminal windows required. If you’re already working inside VS Code, that panel is worth evaluating alongside the multi-terminal approach the tutorial demonstrates.
No official documentation was found for the
claude -wworktree command syntax — proceed using the video’s approach and verify independently.
Step 4: Worktree session cleanup
No official documentation was found for this step — proceed using the video’s approach and verify independently.
Step 5: Pattern 3 — Split and Merge
No official documentation was found for this step — proceed using the video’s approach and verify independently.
Step 6: Custom sub-agents via .claude/agents
No official documentation was found for this step — proceed using the video’s approach and verify independently.
Step 7: Builder-validator pipeline
No official documentation was found for this step — proceed using the video’s approach and verify independently.
Step 8: Pattern 4 — Agent Teams (experimental)
No official documentation was found for this step — proceed using the video’s approach and verify independently.
One feature the tutorial skips: Auto mode
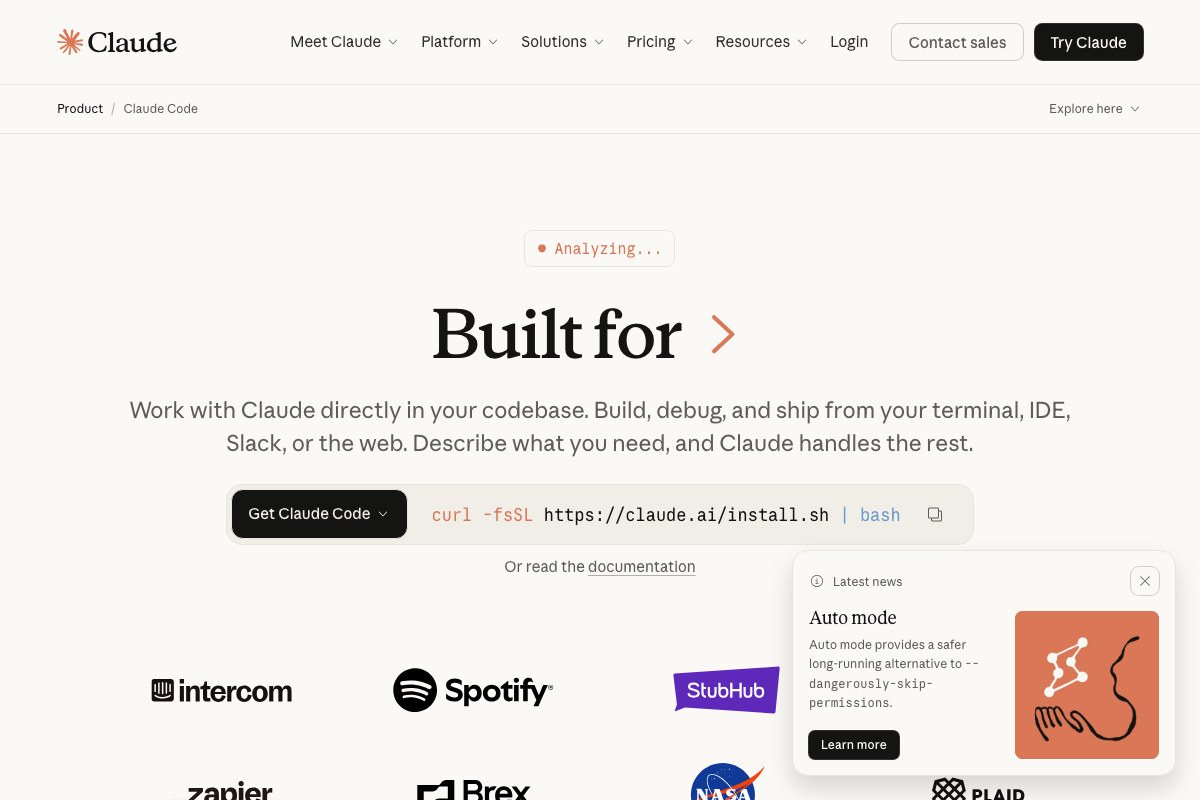
The Anthropic site’s current news banner promotes Auto mode as “a safer long-running alternative to --dangerously-skip-permissions.” If you’re wiring up any of Patterns 3 through 5 into a production pipeline, review Auto mode before you reach for the permissions flag — it’s the officially promoted path for exactly this class of long-running task.
Useful Links
- Claude Code by Anthropic | AI Coding Agent, Terminal, IDE — Official Claude Code product page with install instructions, plan tier details, and the Auto mode announcement.
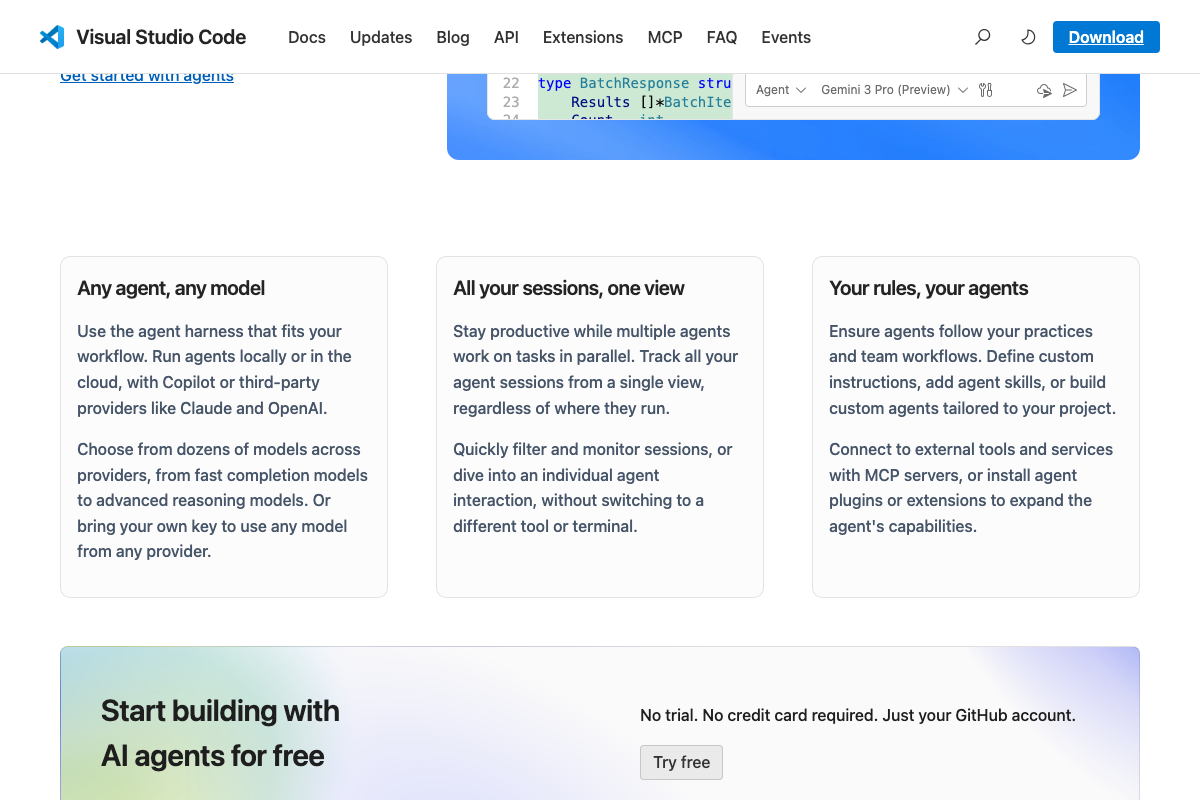
- Visual Studio Code – The open source AI code editor — VS Code homepage documenting the native AGENT SESSIONS panel and parallel multi-agent session management capabilities.
- Models overview – Claude API Docs — Current model versions, context window sizes, per-token pricing, and training cutoff dates for Claude Haiku 4.5, Sonnet 4.6, and Opus 4.6.


0 Comments