

Build a Functional Multi-Page Website with Google Stitch and AI Studio
Google’s Stitch turns a single text prompt into a complete design system — then hands the output directly to AI Studio, where Gemini scaffolds a working React app in minutes. By the end of this walkthrough, you’ll be able to go from a blank canvas to a published, multi-page website with live filtering, without touching a line of code or briefing a designer.
-
Navigate to Google Stitch and open a new project. The canvas interface resembles Figma: a large workspace where designs live as discrete screens you can arrange, compare, and iterate on.
-
In the prompt bar, describe your desired site in plain language — or paste the URL of an existing site you want to reference. When given a URL, Stitch analyzes the live page and reverse-engineers its visual identity before generating anything.
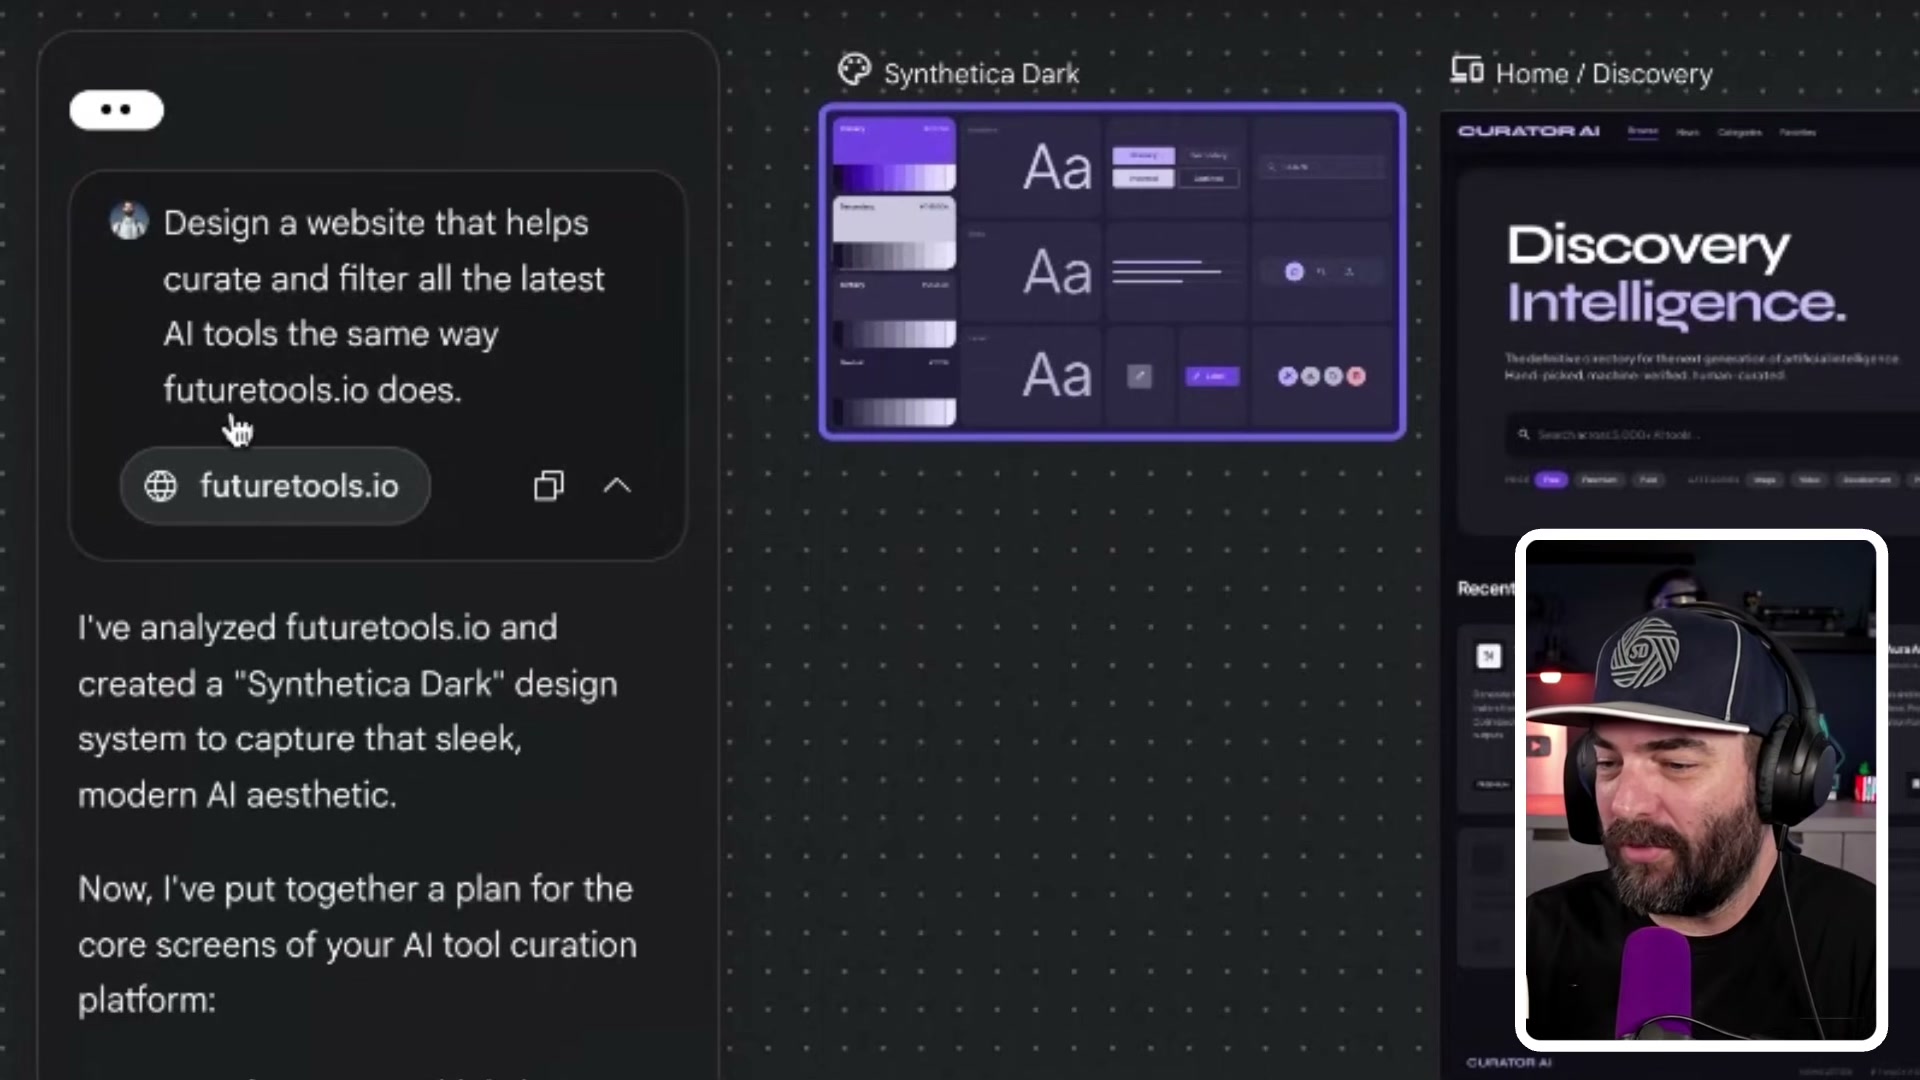
- Stitch returns a named design system — color palette, typography scale, button states — alongside an initial screen render. Review the stylesheet rationale in the left panel, then examine the rendered output on the right. This is your starting point for iteration.
- To generate variations, reference the screen by name in a follow-up prompt. Ask for two more versions with a changed hero image, or request headline copy swaps for split-testing — Stitch treats each screen as an addressable object. The canvas then populates with side-by-side variants in dark and light modes, sidebar and full-width layouts.
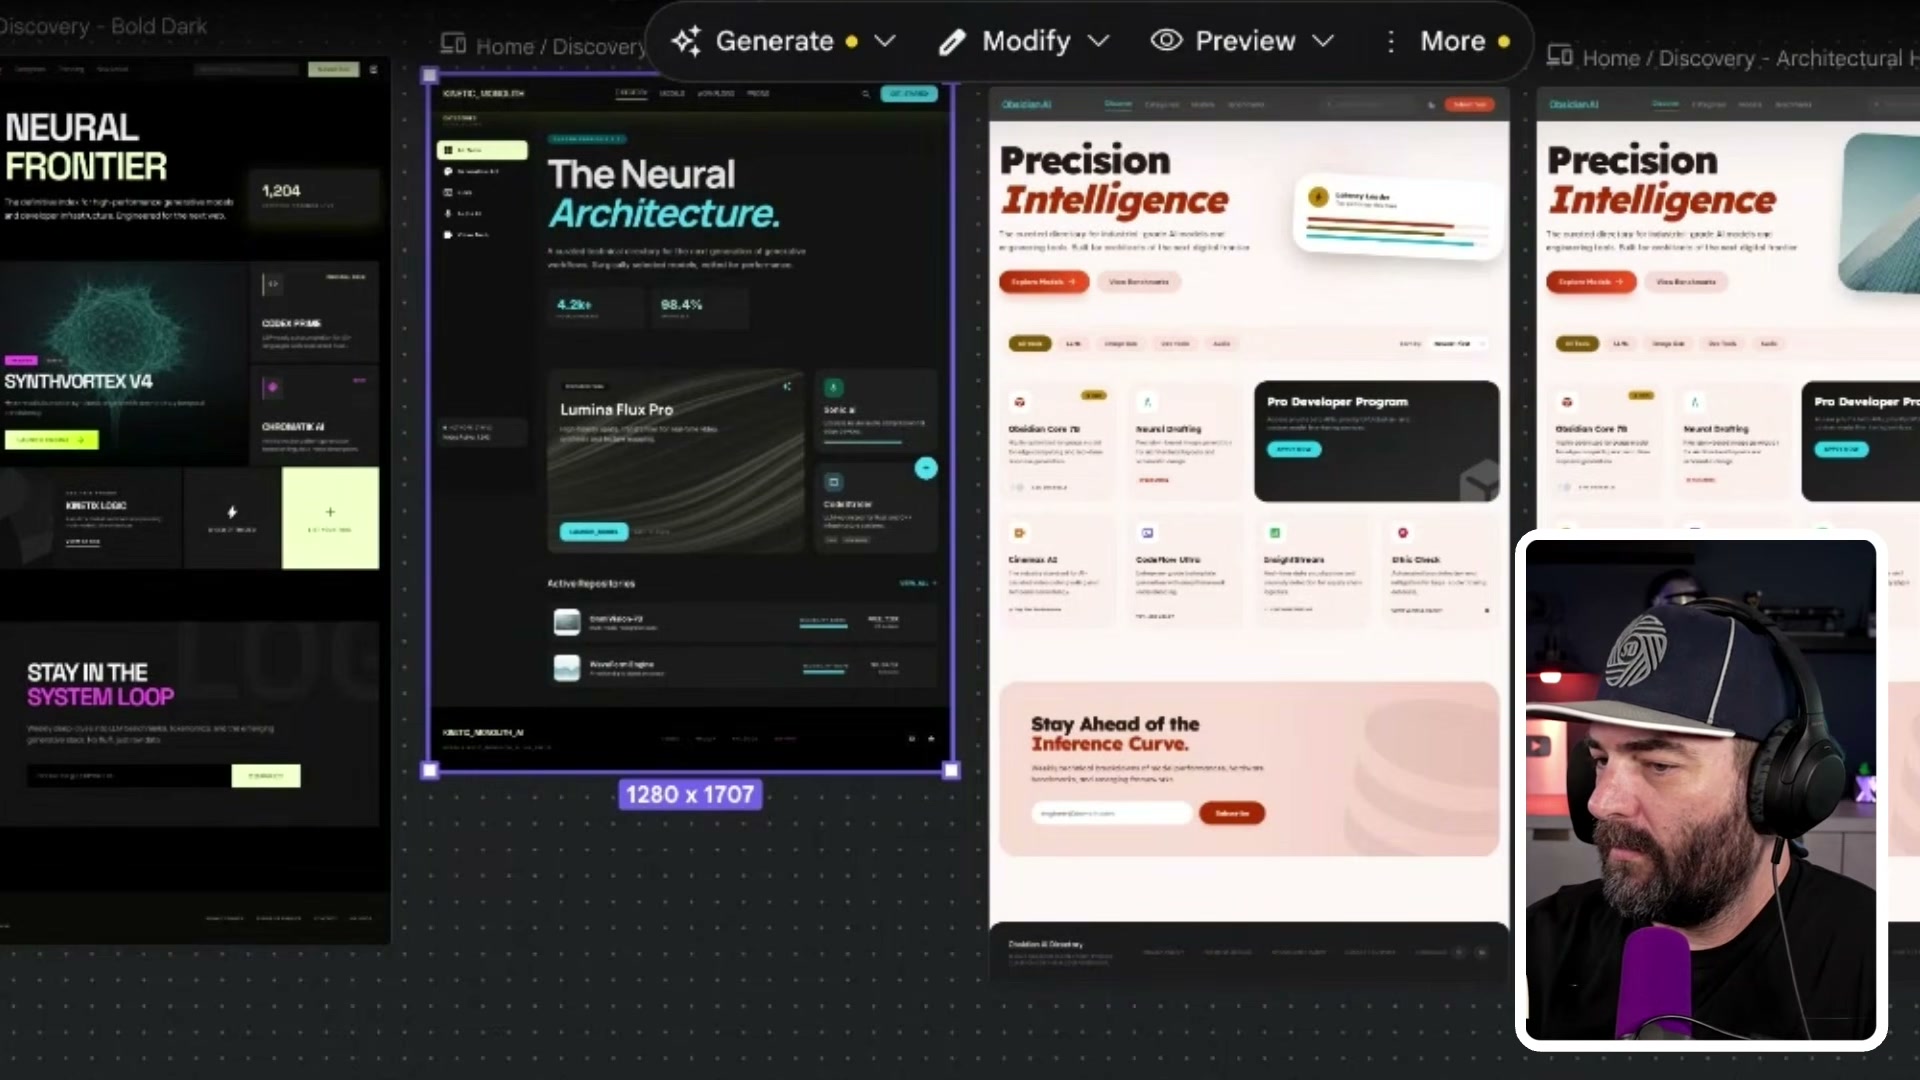
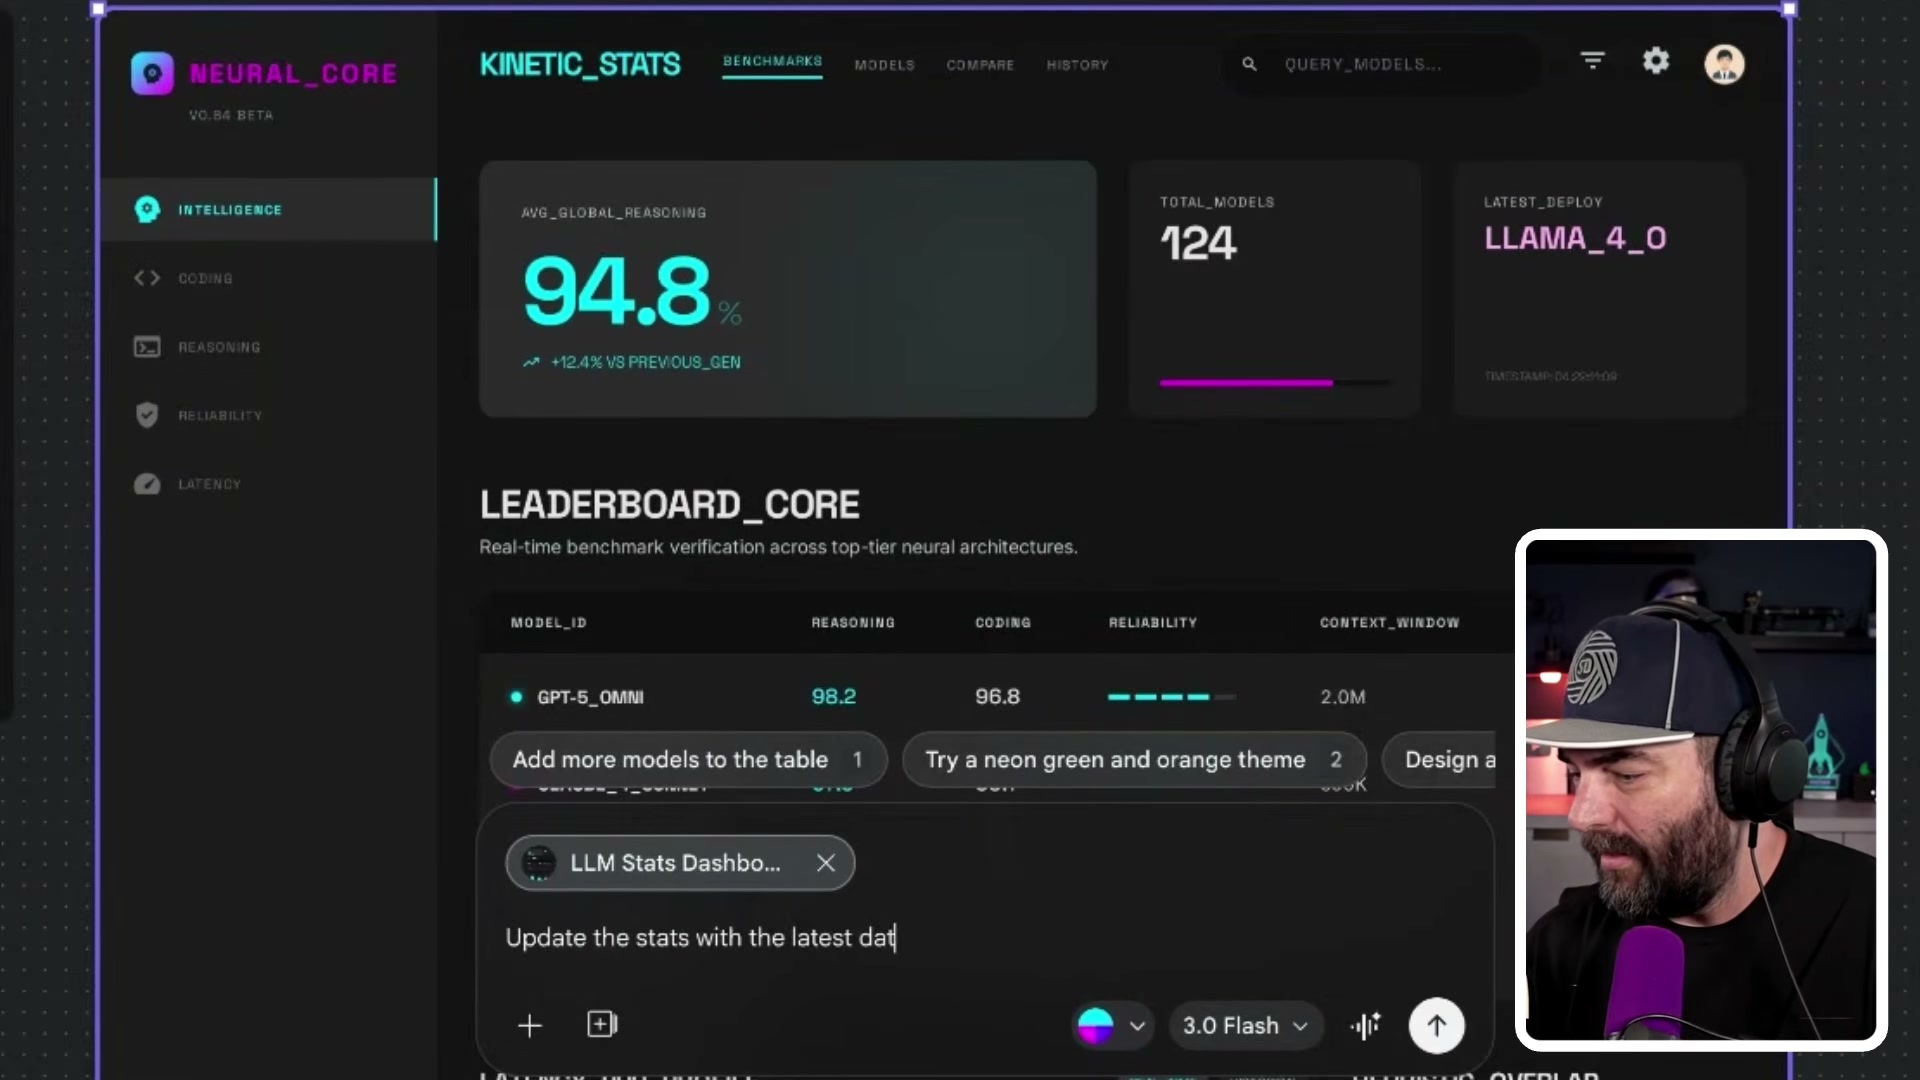
- Refine any screen by typing directly into the chat. Stitch surfaces suggestion chips for the most common next actions. For data-heavy designs like dashboards, you can paste an external URL (such as a leaderboard page) in an attempt to ground the displayed data.
Warning: this step may differ from current official documentation — see the verified version below.
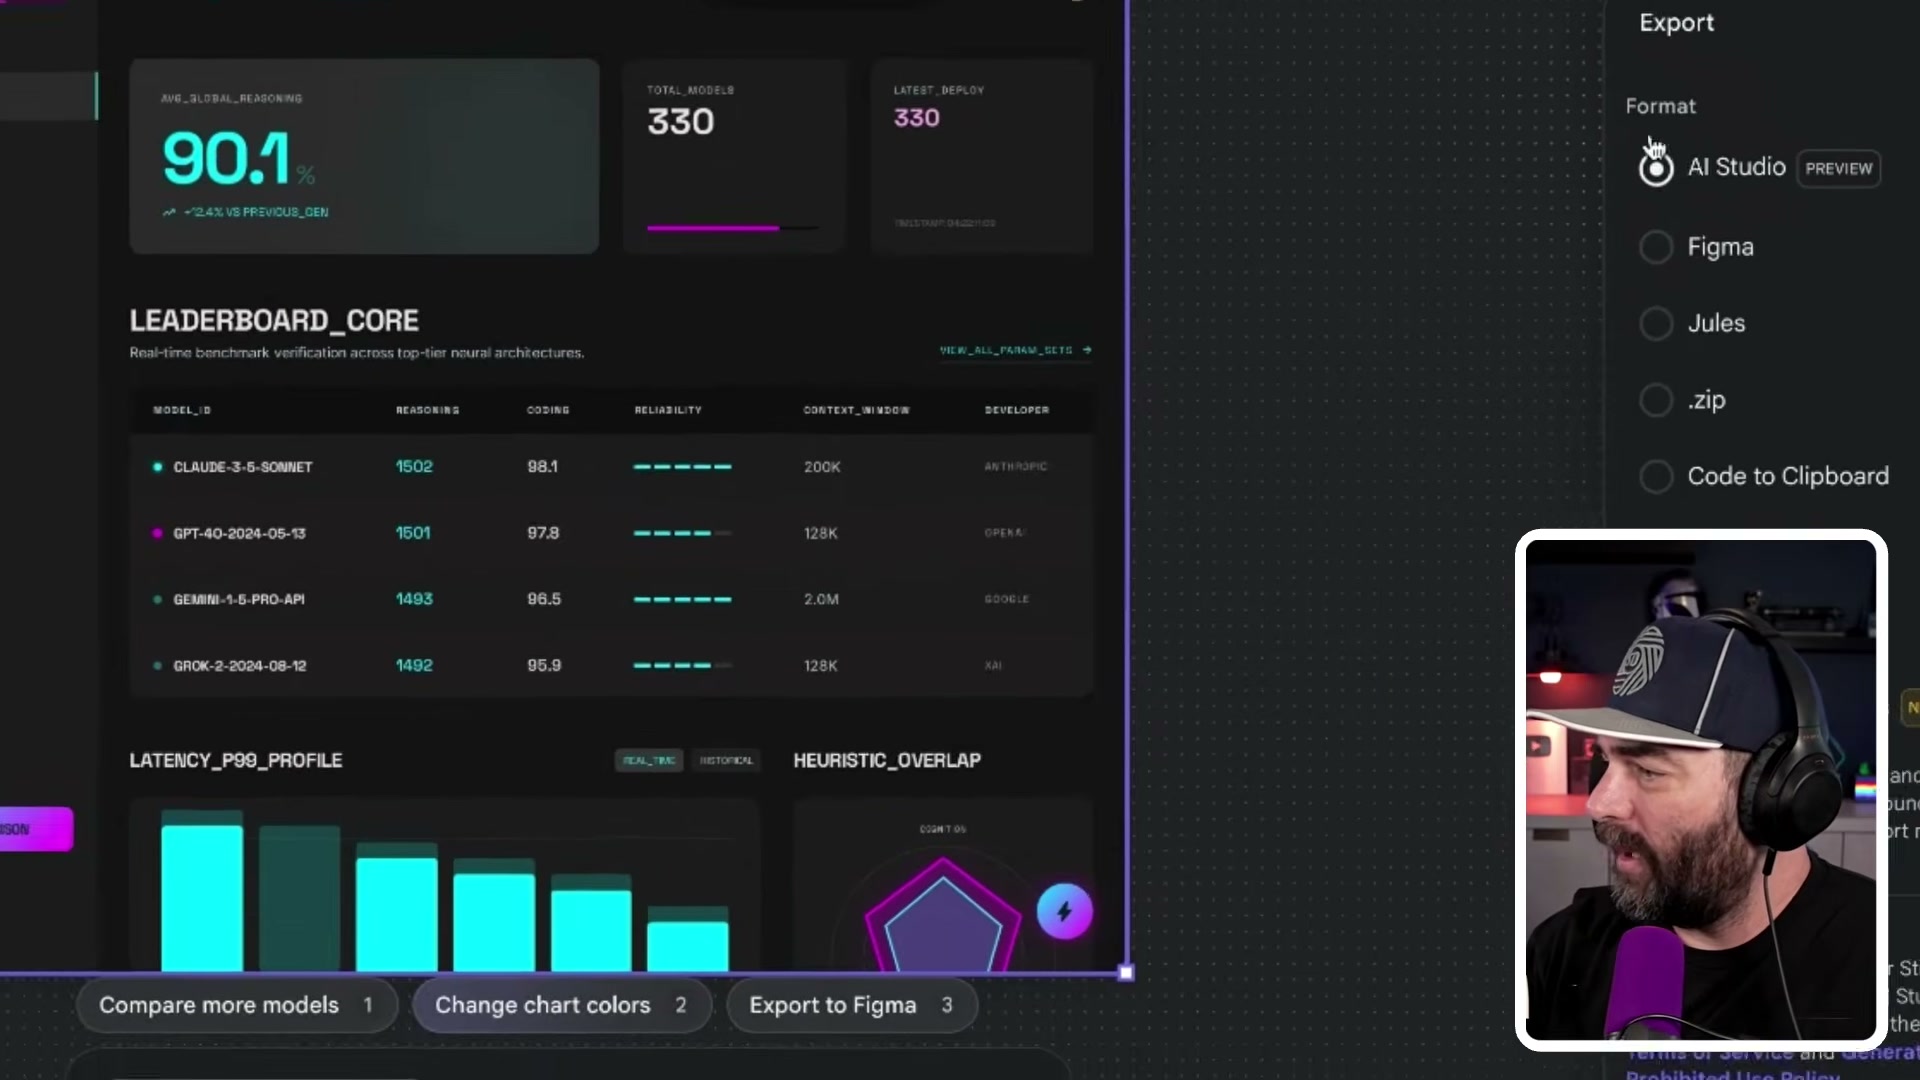
- Right-click the finished design on the canvas and select Export → AI Studio (Preview). The export panel also offers Figma, Jules,
.zip, and clipboard options — AI Studio is the path to a functional, deployable app.
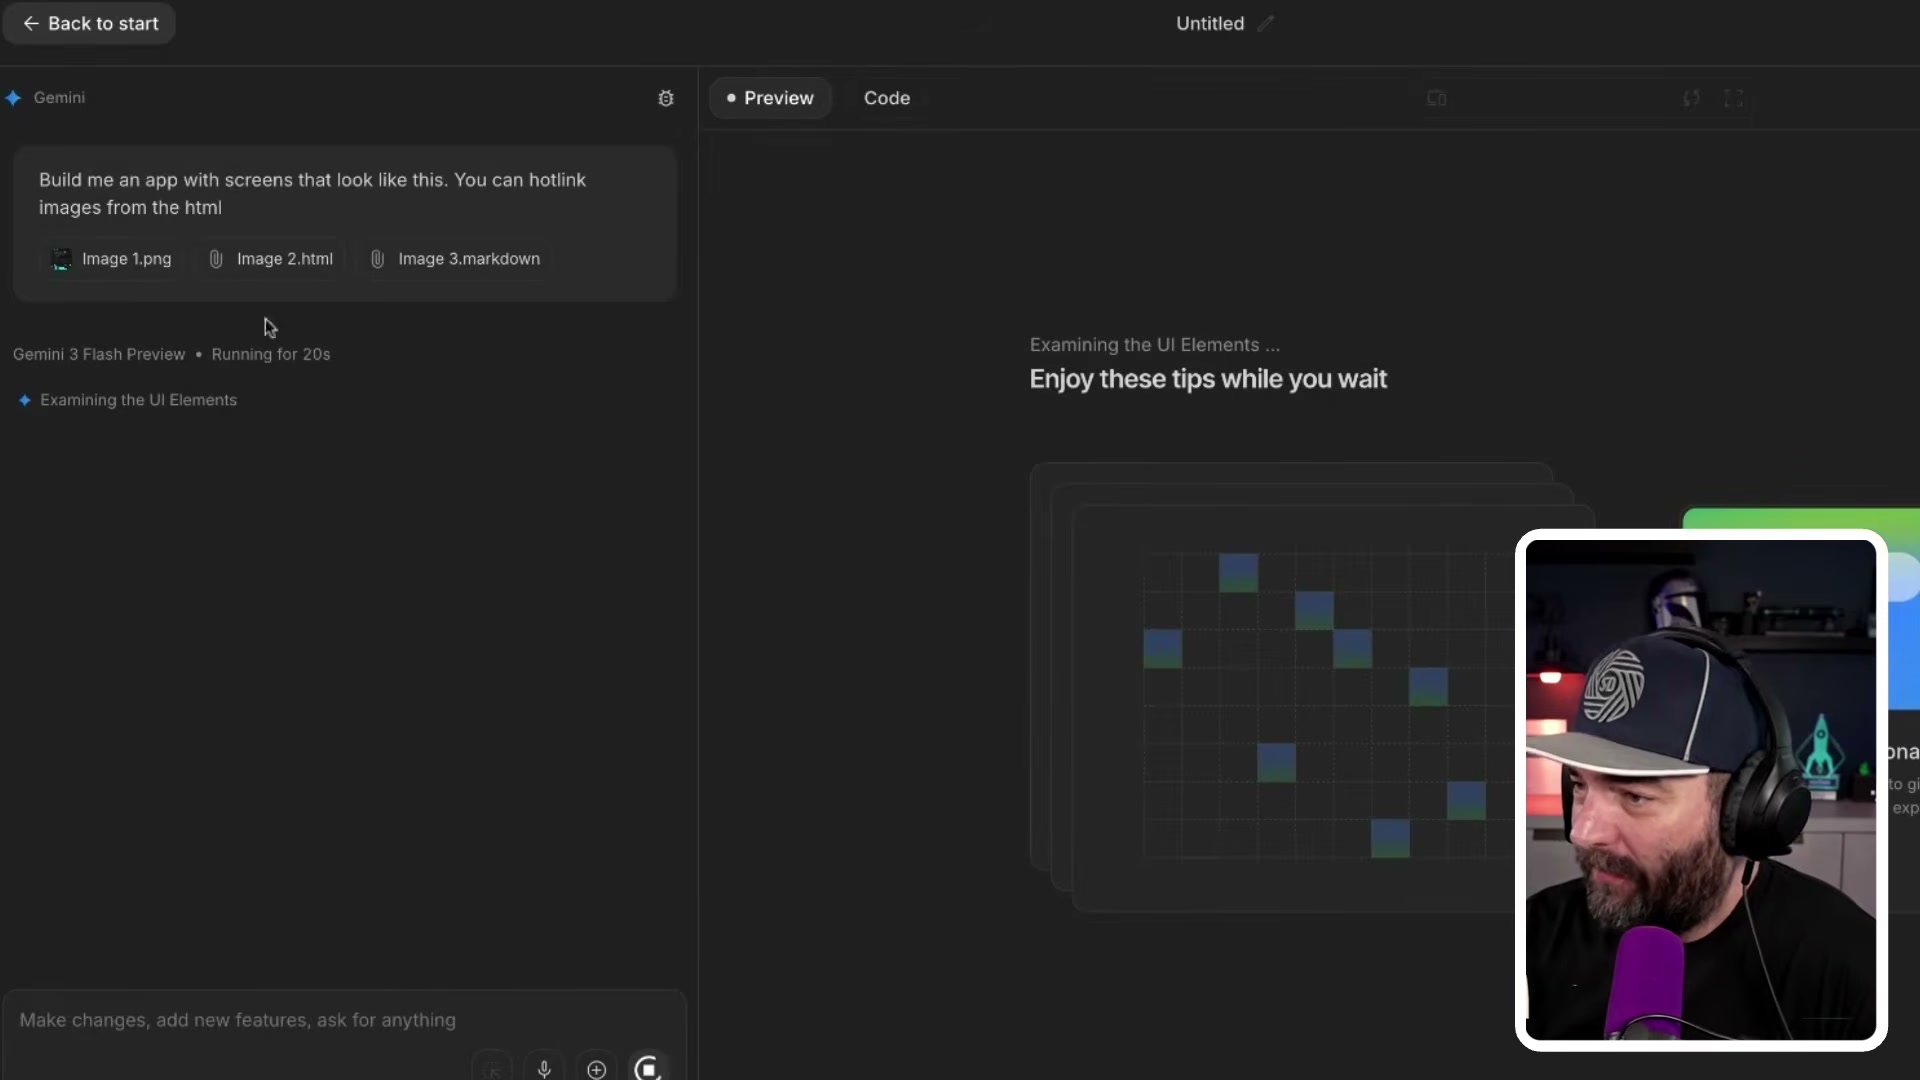
- AI Studio opens with the Stitch export already attached: a PNG screenshot, an HTML file, and a Markdown file. Confirm the assets are present, then prompt Gemini to build the app — for example, “Build me an app with screens that look like this. You can hotlink images from the HTML.” Gemini begins examining the UI elements and scaffolds a React + Tailwind project with a full file tree.
-
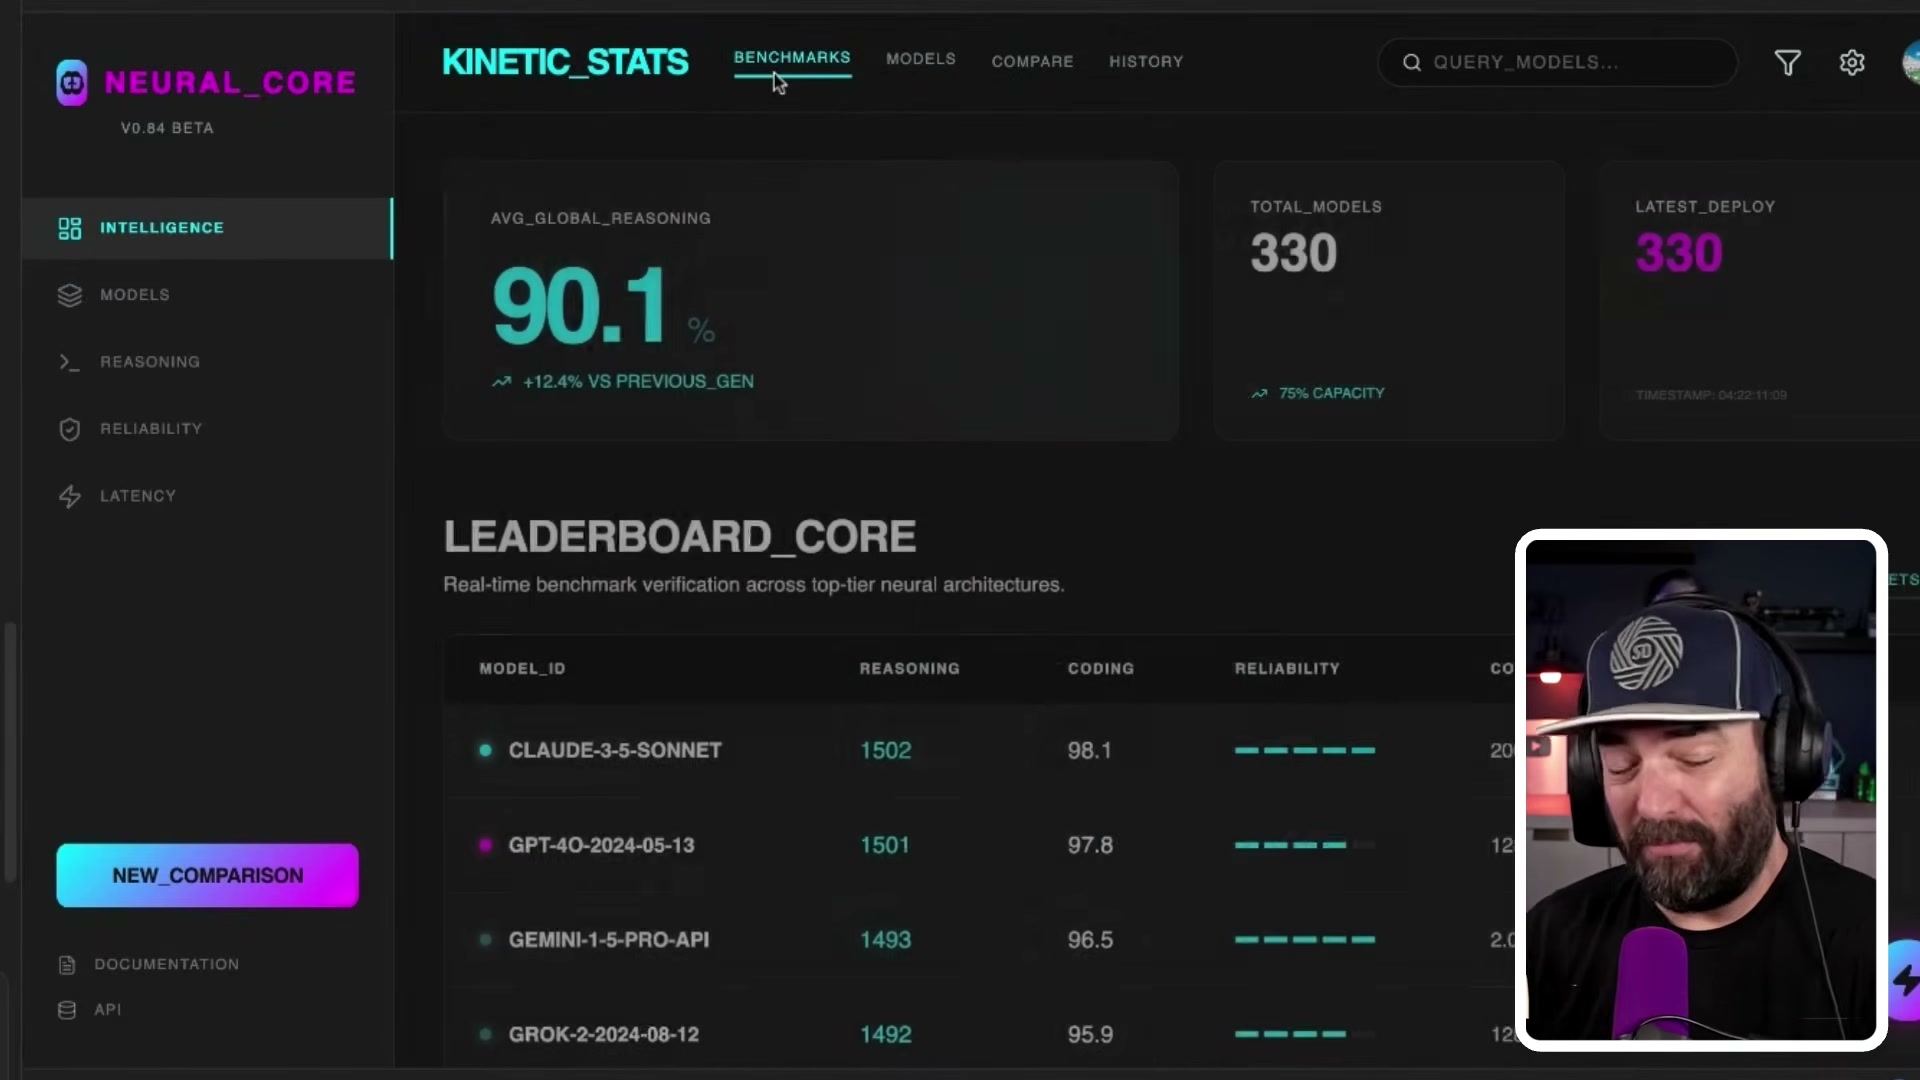
Once the initial page is live in the preview panel, continue prompting additional pages by name — models page, compare page, history page. AI Studio preserves the existing layout, sidebar, and header across every new page it generates. Filtering and sorting logic is built in automatically; test it against your categories before moving to publish.
-
Click Publish, select a Google Cloud project with billing enabled, and deploy to a public URL. The app goes live immediately under a generated URL. To connect a custom domain, manage that from inside Google Cloud after deployment.
How does this compare to the official docs?
The workflow the video demonstrates moves fast, but several steps — especially around data grounding and the AI Studio publishing flow — behave differently depending on which Gemini model and Cloud configuration you’re using, and the official documentation draws some important distinctions worth knowing before you ship.
Here’s What the Official Docs Show
The video moves through this workflow at demonstration speed, and Act 1 captures that energy well. This act layers in what the official documentation confirms, clarifies, and — in a few places — updates.
Step 1: Open a new Stitch project
No official documentation was found for this step — proceed using the video’s approach and verify independently.
Step 2: Prompt bar and reference URL
No official documentation was found for this step — proceed using the video’s approach and verify independently.
Step 3: Design system output
No official documentation was found for this step — proceed using the video’s approach and verify independently.
Step 4: Generate variations
No official documentation was found for this step — proceed using the video’s approach and verify independently.
Step 5: Refine in chat and paste the leaderboard URL
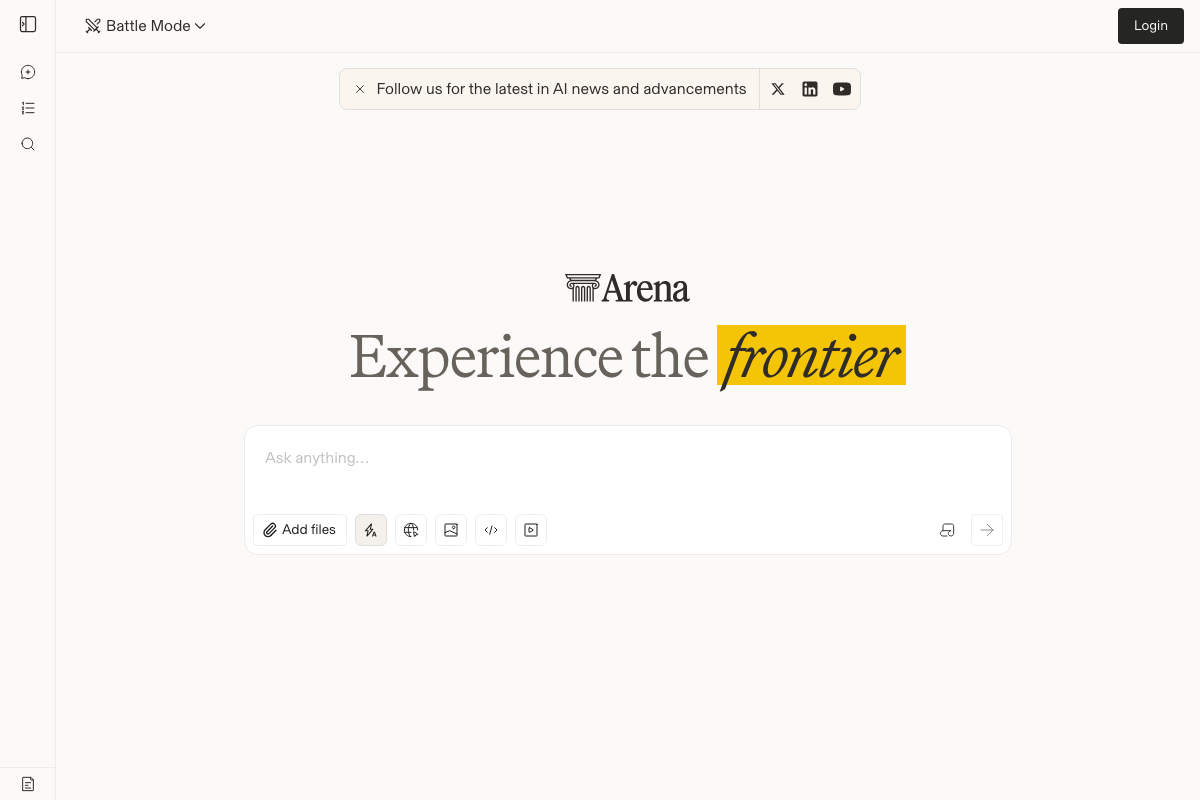
The site the video calls “LM Arena leaderboard” is currently branded Arena AI at lmarena.ai. As of March 31, 2026, the correct name is Arena AI — the URL is unchanged, but the name used in the tutorial is outdated. The default landing page is a chat/battle interface; the leaderboard is a separate sub-page accessed from the left sidebar navigation.
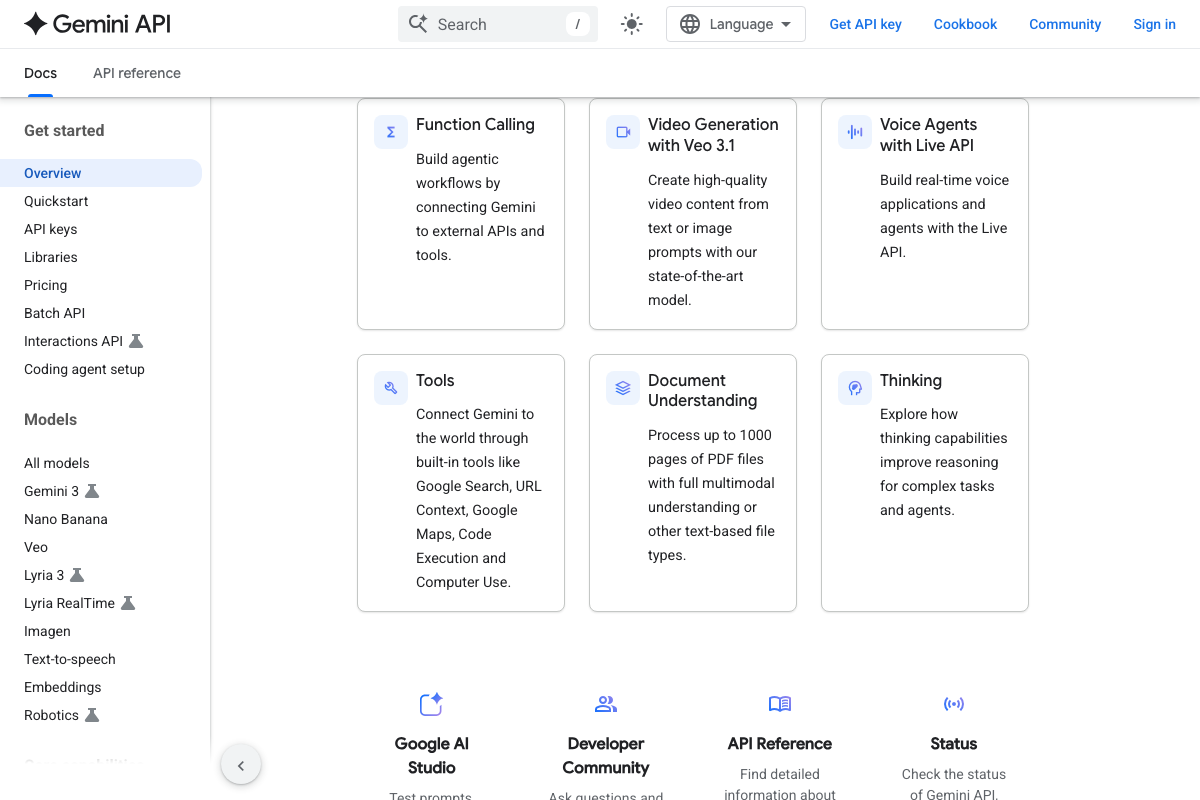
On the URL-grounding behavior: the Gemini API documentation lists URL Context as a named built-in tool that must be explicitly invoked — it appears alongside Google Search and Code Execution in the capability list. As of March 31, 2026, URL grounding is not described as a passive paste behavior; it is a discrete tool you activate.
No official documentation was found for how this URL-grounding behavior works inside the Stitch interface specifically — proceed using the video’s approach and verify independently.
Step 6: Export → AI Studio
No official documentation was found for this step — proceed using the video’s approach and verify independently.
Step 7: AI Studio opens with assets; prompt Gemini to build
The screenshots captured for these steps are from the Gemini API developer documentation at ai.google.dev — not from the AI Studio product interface at aistudio.google.com. These are separate properties: the API docs describe programmatic access, while AI Studio is the browser-based build environment the tutorial uses.

The tutorial does not specify which Gemini model AI Studio uses when scaffolding your app. As of March 2026, documented options include Gemini 3.1 Pro, Gemini 3 Flash, and Gemini 3.1 Flash-Lite — each with different capability and cost profiles worth checking before generating multiple pages.
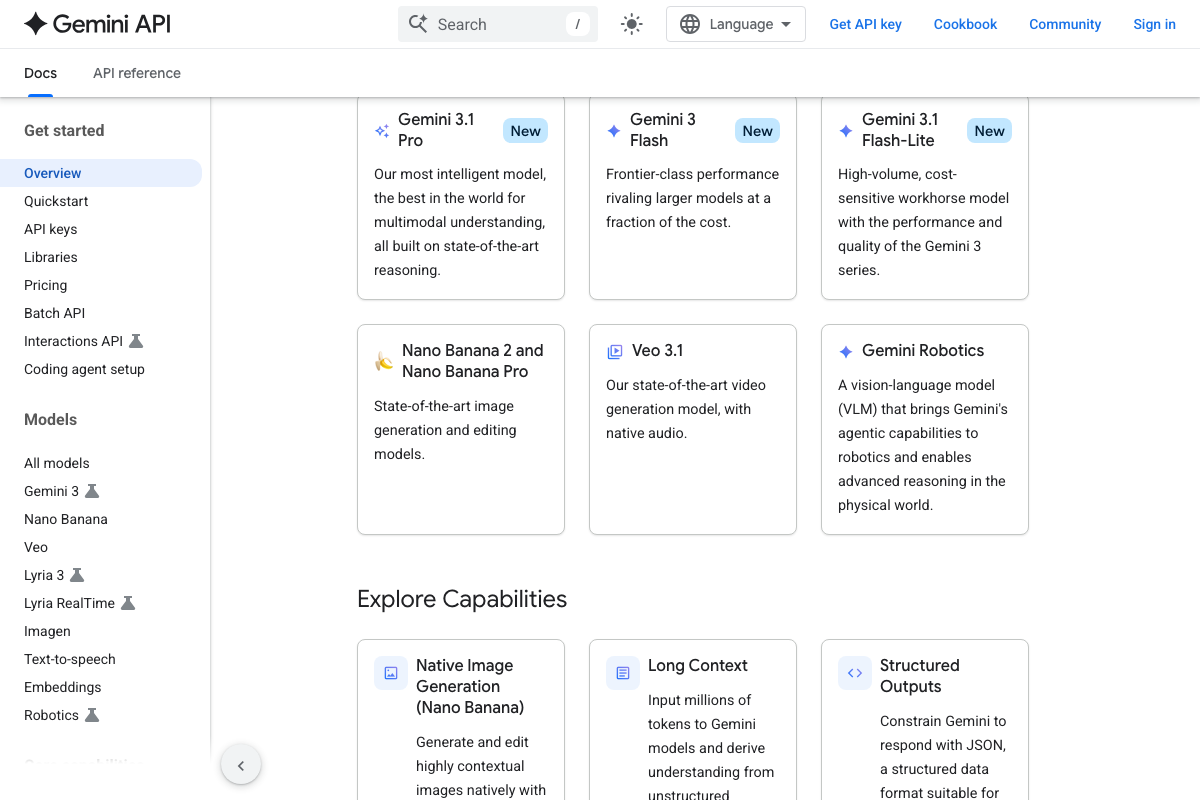
No official documentation was found for the export import flow or the prompting workflow inside the AI Studio product interface — proceed using the video’s approach and verify independently.
Step 8: Generate additional pages with filtering
One gap the tutorial leaves open: Google AI Studio (aistudio.google.com) and Vertex AI Studio (part of Google Cloud’s Vertex AI platform) are distinct products. AI Studio is the free-tier developer interface the tutorial uses; Vertex AI Studio is enterprise-oriented with separate billing and access controls through Google Cloud. If you encounter documentation referencing Vertex AI Studio, it does not describe the same tool.
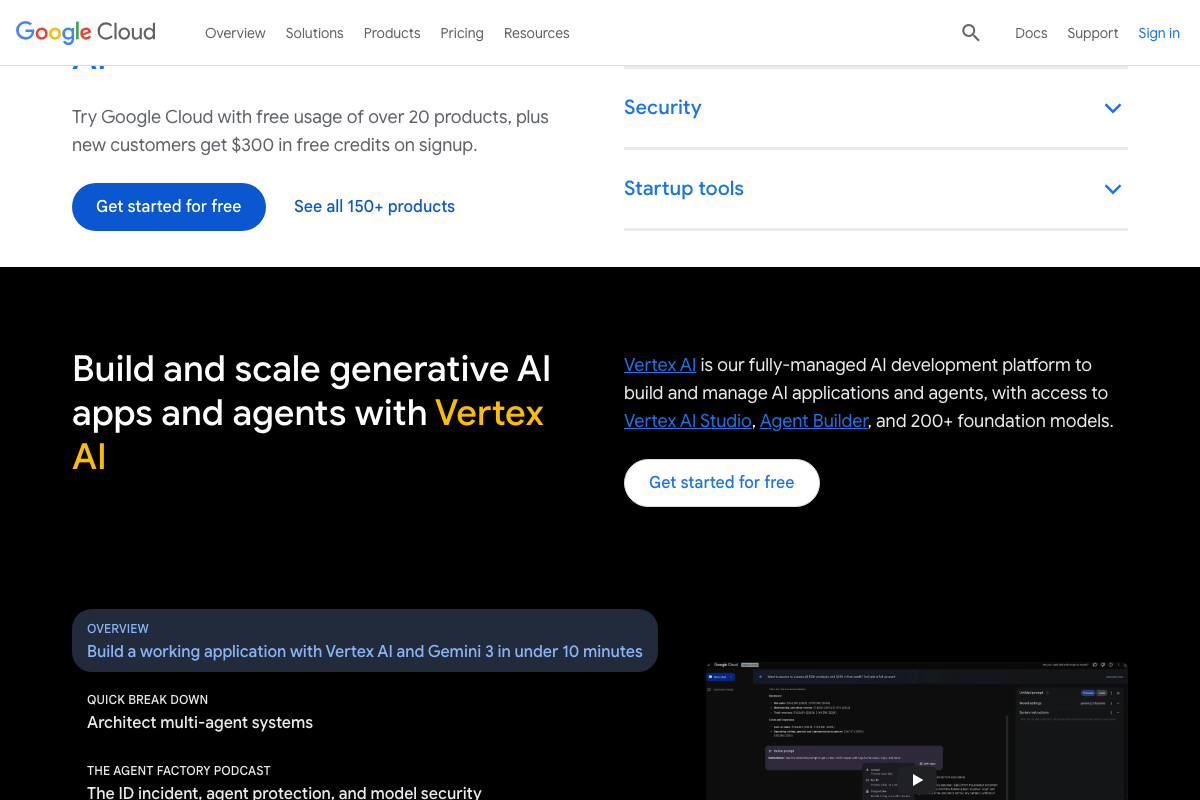
No official documentation was found for AI Studio’s page-generation or filtering logic — proceed using the video’s approach and verify independently.
Step 9: Publish and connect a custom domain
Billing setup is required to deploy on Google Cloud — the $300 free-credit offer on the homepage does not eliminate that requirement. Attaching a billing account is part of the onboarding flow even when using free credits, which is consistent with the tutorial’s instruction to connect a project with billing enabled.
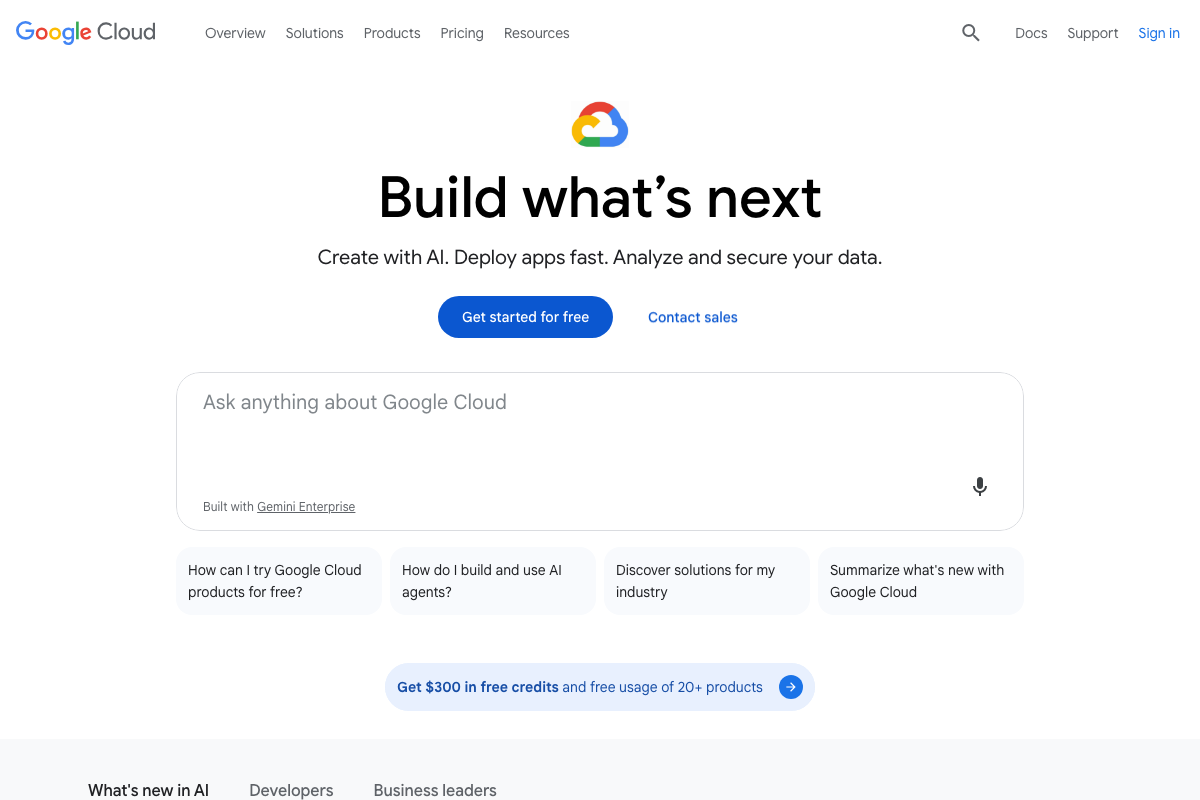
As of March 31, 2026, connecting a custom domain on Google Cloud is not a single in-product step. Depending on your deployment target, it requires navigating to Cloud Domains, Firebase Hosting settings, or Cloud Run domain mapping — three distinct products. The tutorial implies a more unified flow than what the platform currently exposes.
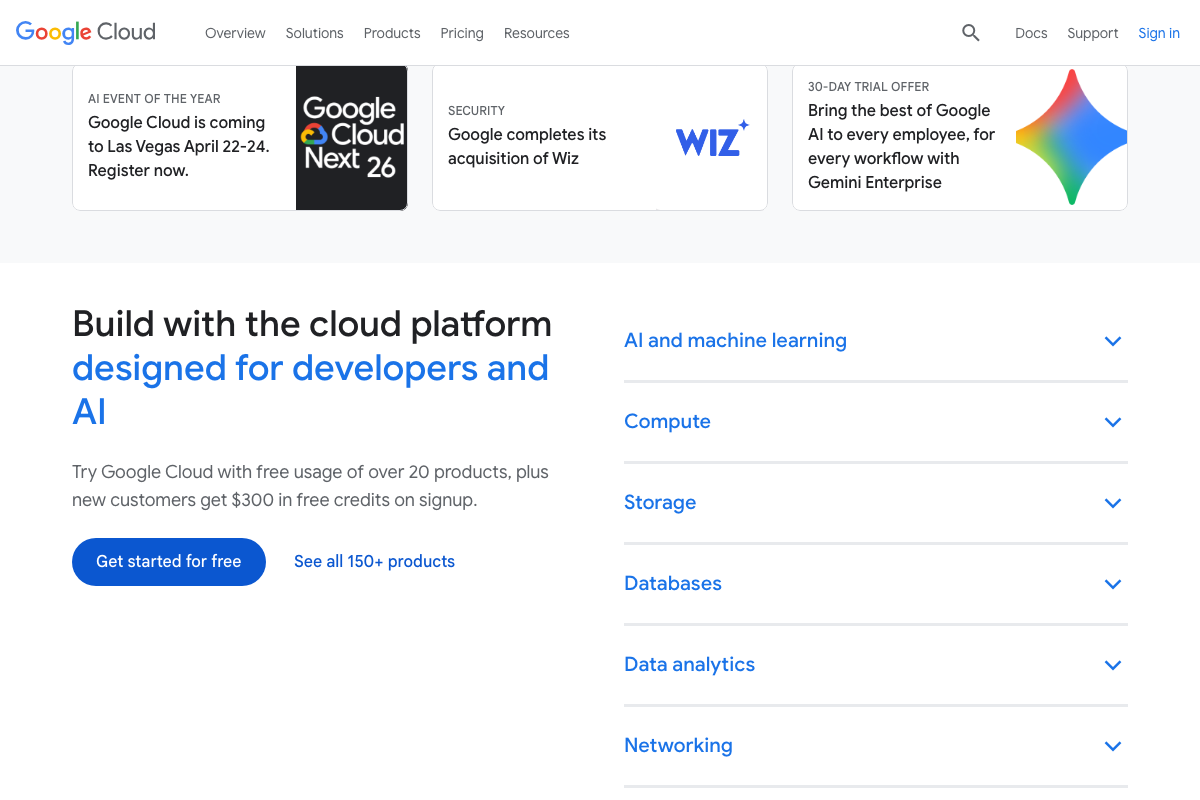
No official documentation was found for the specific publish workflow or domain connection flow inside AI Studio — proceed using the video’s approach and verify independently.
Useful Links
- Gemini API | Google AI for Developers — Official Gemini API documentation covering current models, built-in tools including URL Context, and the distinction between the API reference and the AI Studio product interface.
- Arena AI: The Official AI Ranking & LLM Leaderboard — Current home of the AI model leaderboard referenced in step 5, now officially branded as Arena AI; the leaderboard is a sub-page navigated from the left sidebar.
- AI and Cloud Computing Services | Google Cloud — Google Cloud’s main platform page covering billing onboarding, Vertex AI Studio as a distinct enterprise product, and the separate hosting and domain management products relevant to step 9.


0 Comments