Build a Fully Automated Short-Form Clip Pipeline with Claude Code
You’ll finish this tutorial able to run a 9-stage pipeline that ingests a long-form video URL, autonomously selects the strongest viral moments, reframes footage to 9:16 vertical, applies caption and retention effects, and publishes a finished Short to YouTube — triggered by a single natural-language prompt. The stack combines ffmpeg, a locally-run Whisper model, YOLO, Light ASD, Remotion, and Claude Code running Opus 4.7. One channel running this pipeline has a Short sitting at 8.9 million views.

-
Identify your source video. The pipeline accepts your own recorded content, a client-delivered file, or any YouTube URL. Long-form podcast episodes in the 60–90 minute range work particularly well — they’re content-dense enough that the model has real material to evaluate when scoring clip candidates.
-
Extract the audio track from the source video using ffmpeg. A single ffmpeg command strips the audio into a standalone file, which reduces the data payload the transcription step needs to process and keeps the pipeline fast on consumer hardware.
-
Transcribe the audio to timestamped text using a Whisper model running locally on your Mac. Running Whisper locally avoids API latency and cost, and the output — words paired with precise start/end timestamps — is exactly the format the moment-selection stage requires.
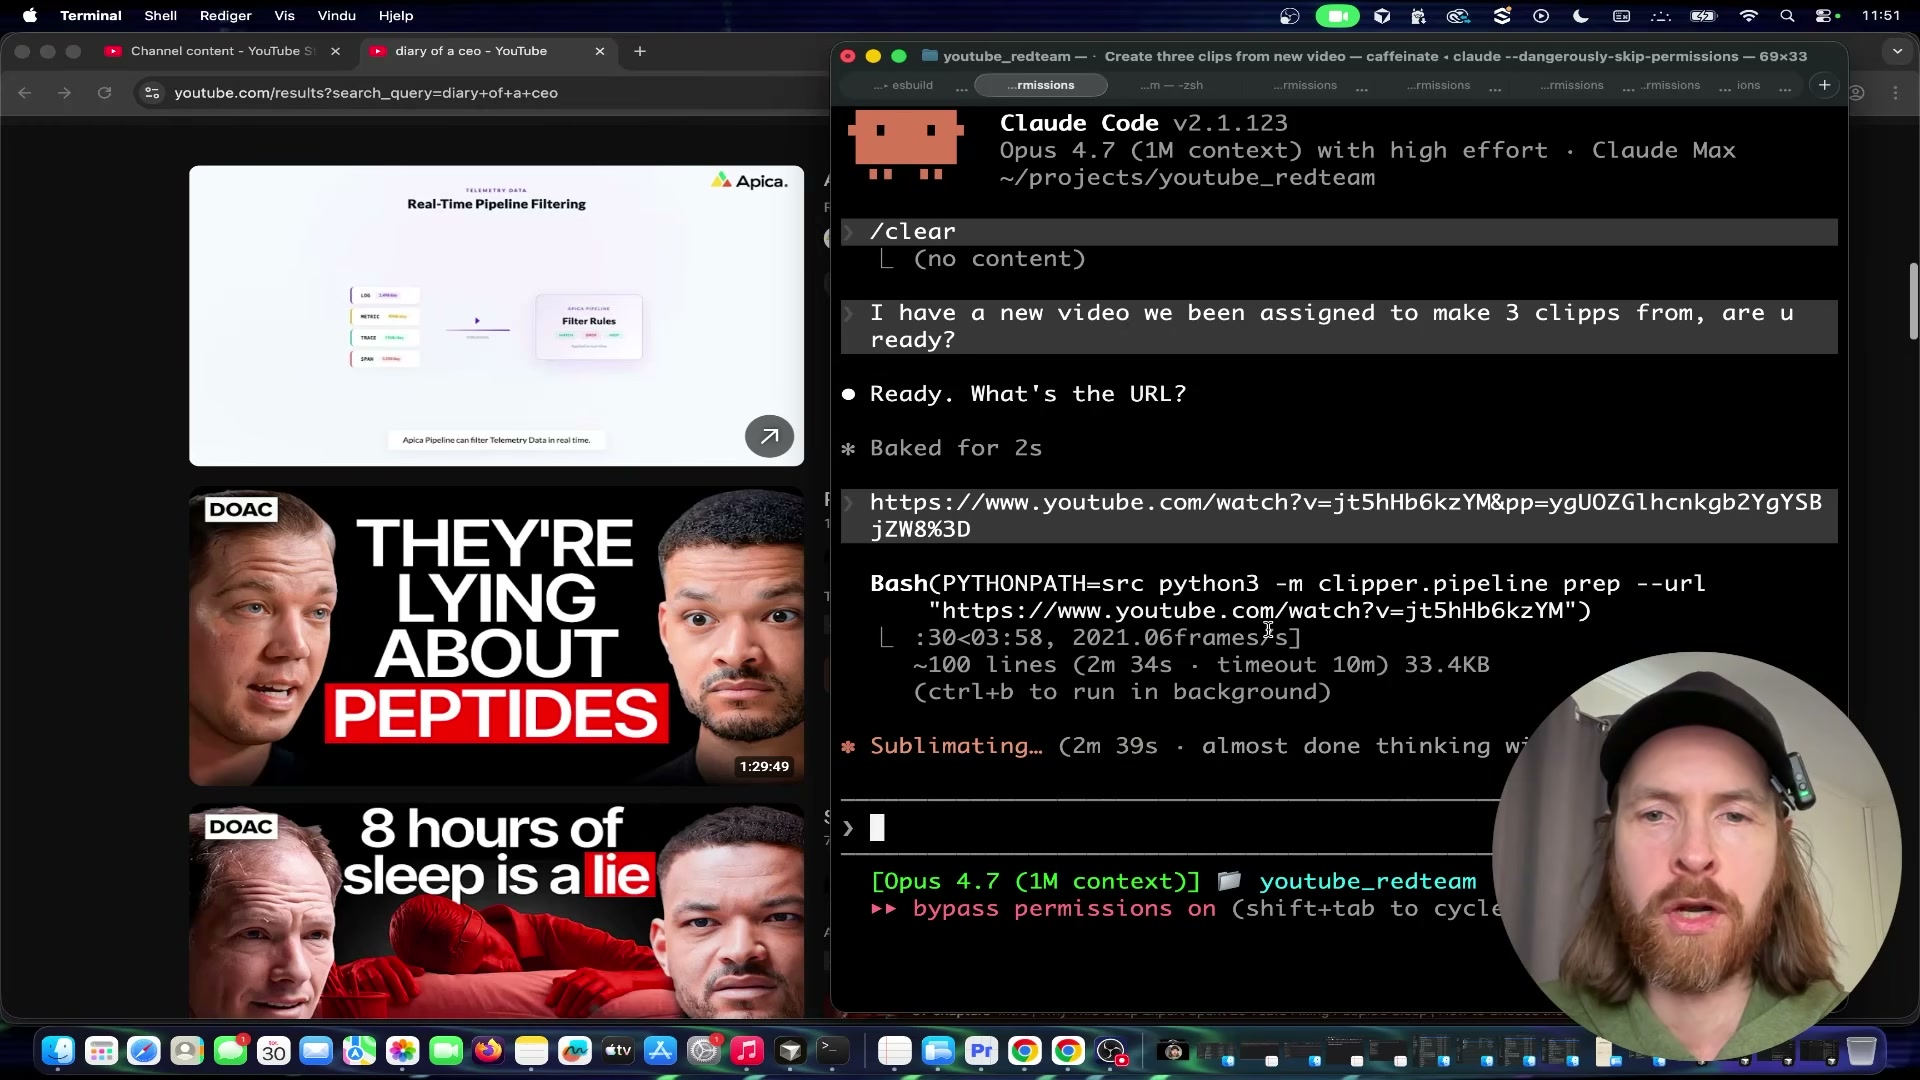
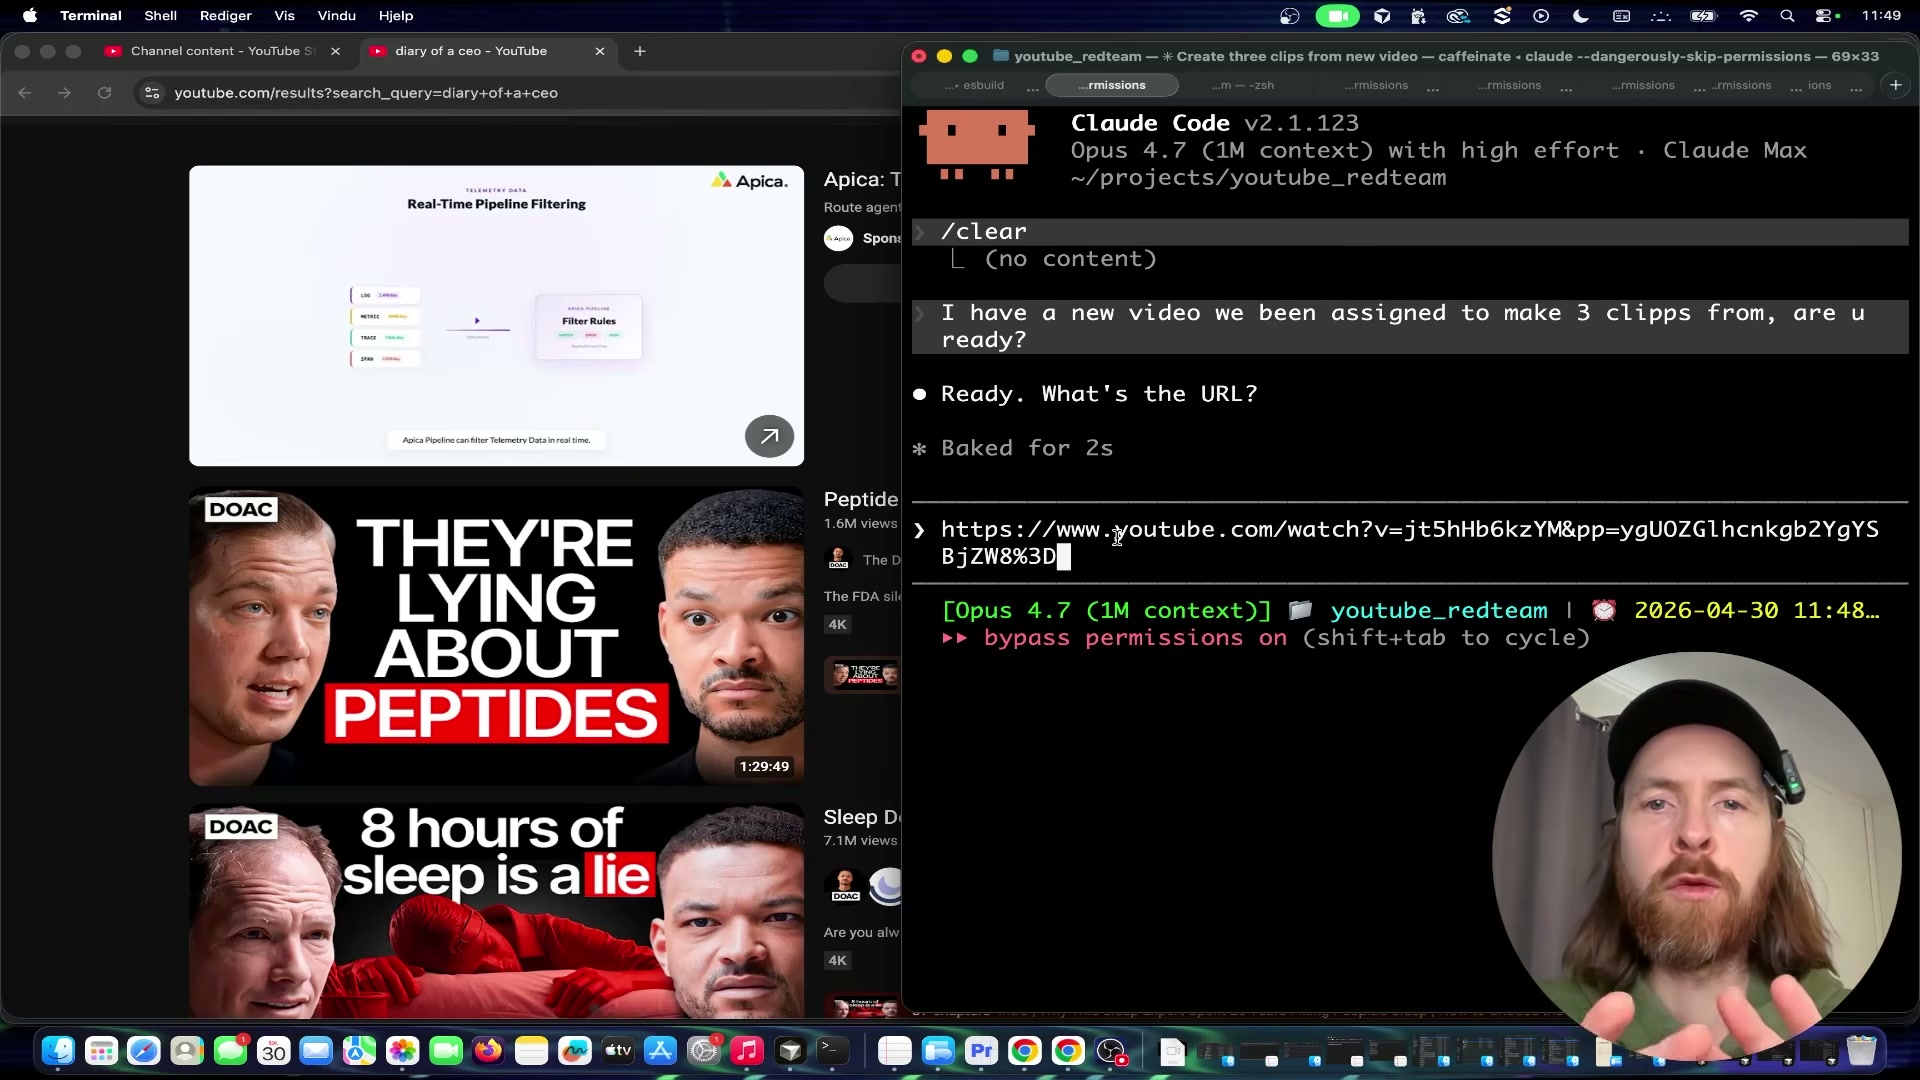
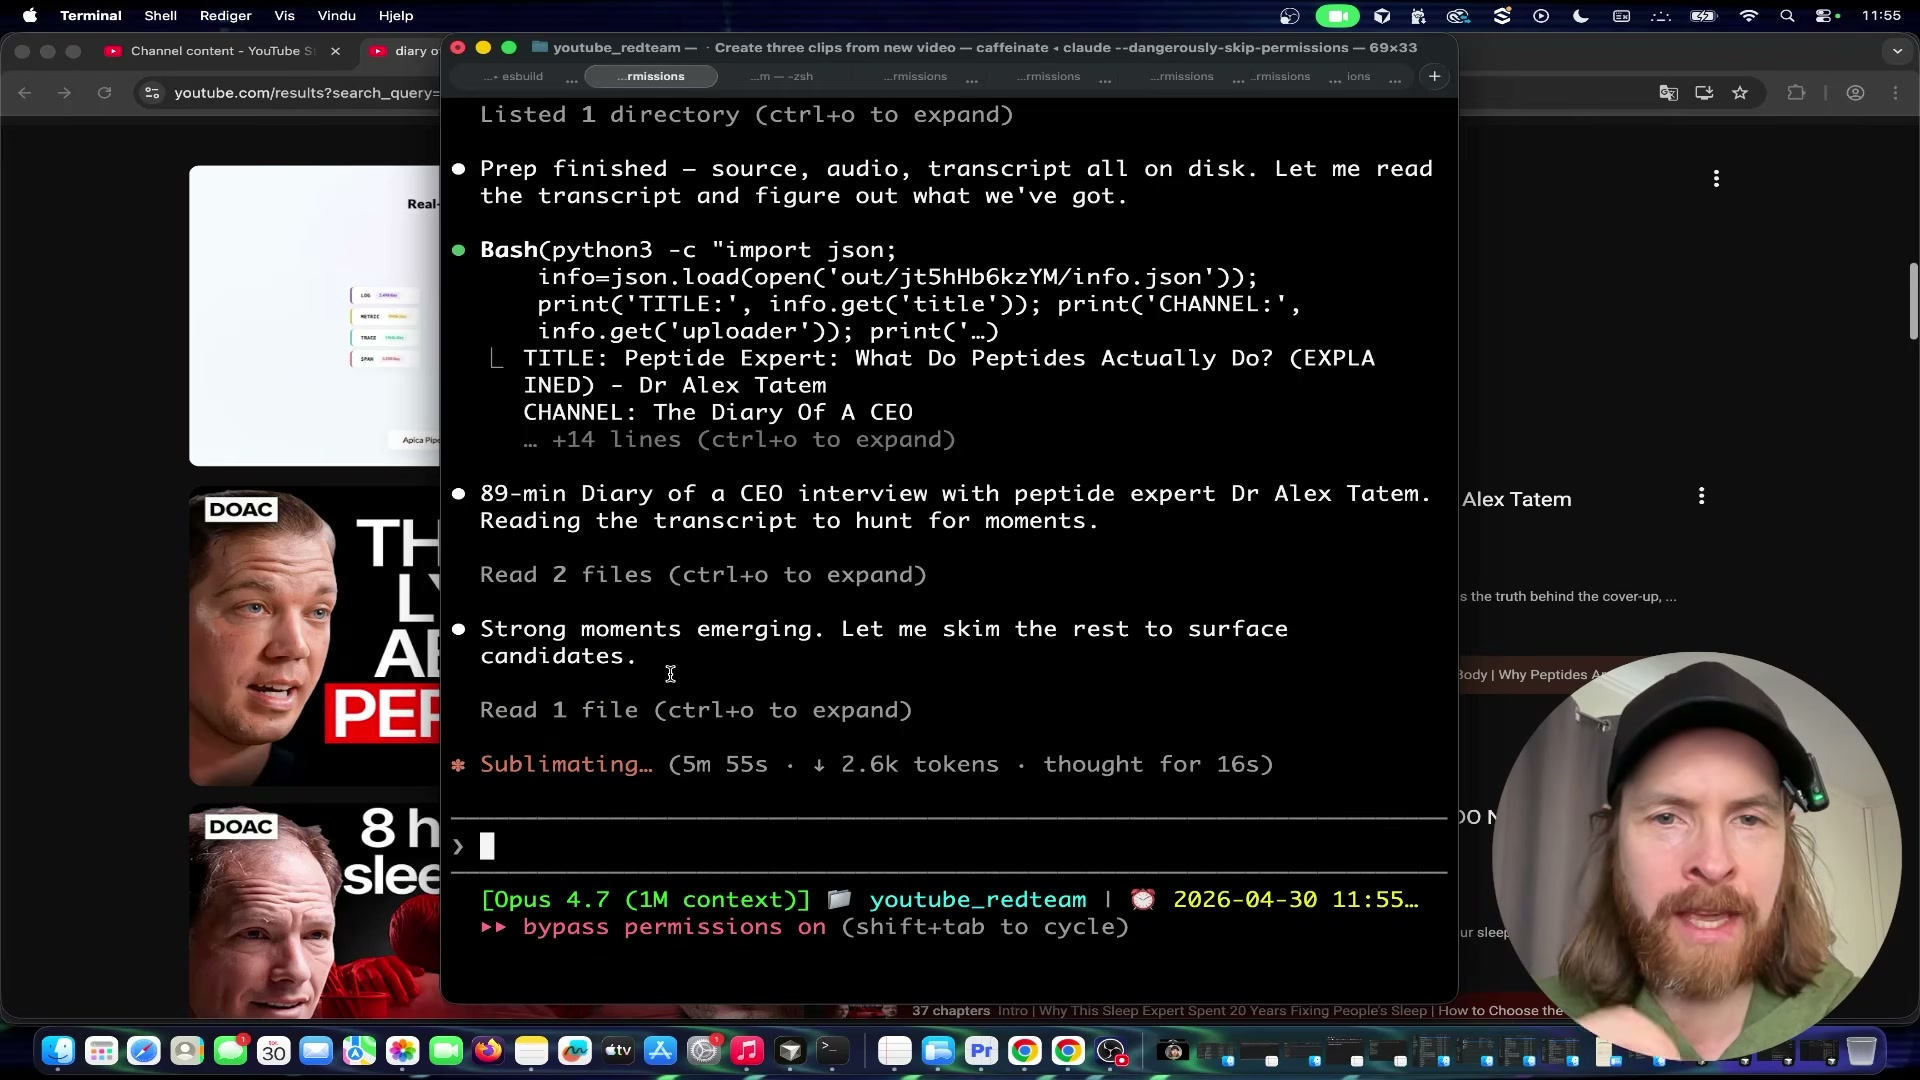
- Trigger the pipeline by pasting your YouTube URL into Claude Code and instructing it to produce the number of clips you want. Claude Code runs the
clipper.pipeline prepcommand, downloads the video, processes the frames, reads the full timestamped transcript, and surfaces the strongest viral moment candidates — narrating its scoring reasoning in the terminal in real time.
-
Run the YOLO face detection model across the selected clip segments. YOLO identifies every visible face in every frame, producing the bounding-box data the reframing stage uses to position the virtual camera.
-
Run Light ASD (Active Speaker Detection) on those same segments. Light ASD determines which detected face is speaking at each moment — critical for podcast content where cutting to the wrong face instantly signals amateur editing to a short-form audience.
-
Reframe each clip from 16:9 to 9:16 vertical by programmatically following the active speaker identified in the previous step. The virtual camera repositions dynamically throughout the clip to keep the speaking face centered in the frame.
-
Apply retention editing through Remotion. Captions, zoom cuts, flash transitions, and meme sound effects are composed in code rather than a timeline editor — Remotion’s React-based renderer keeps this step fully reproducible and automation-compatible.
-
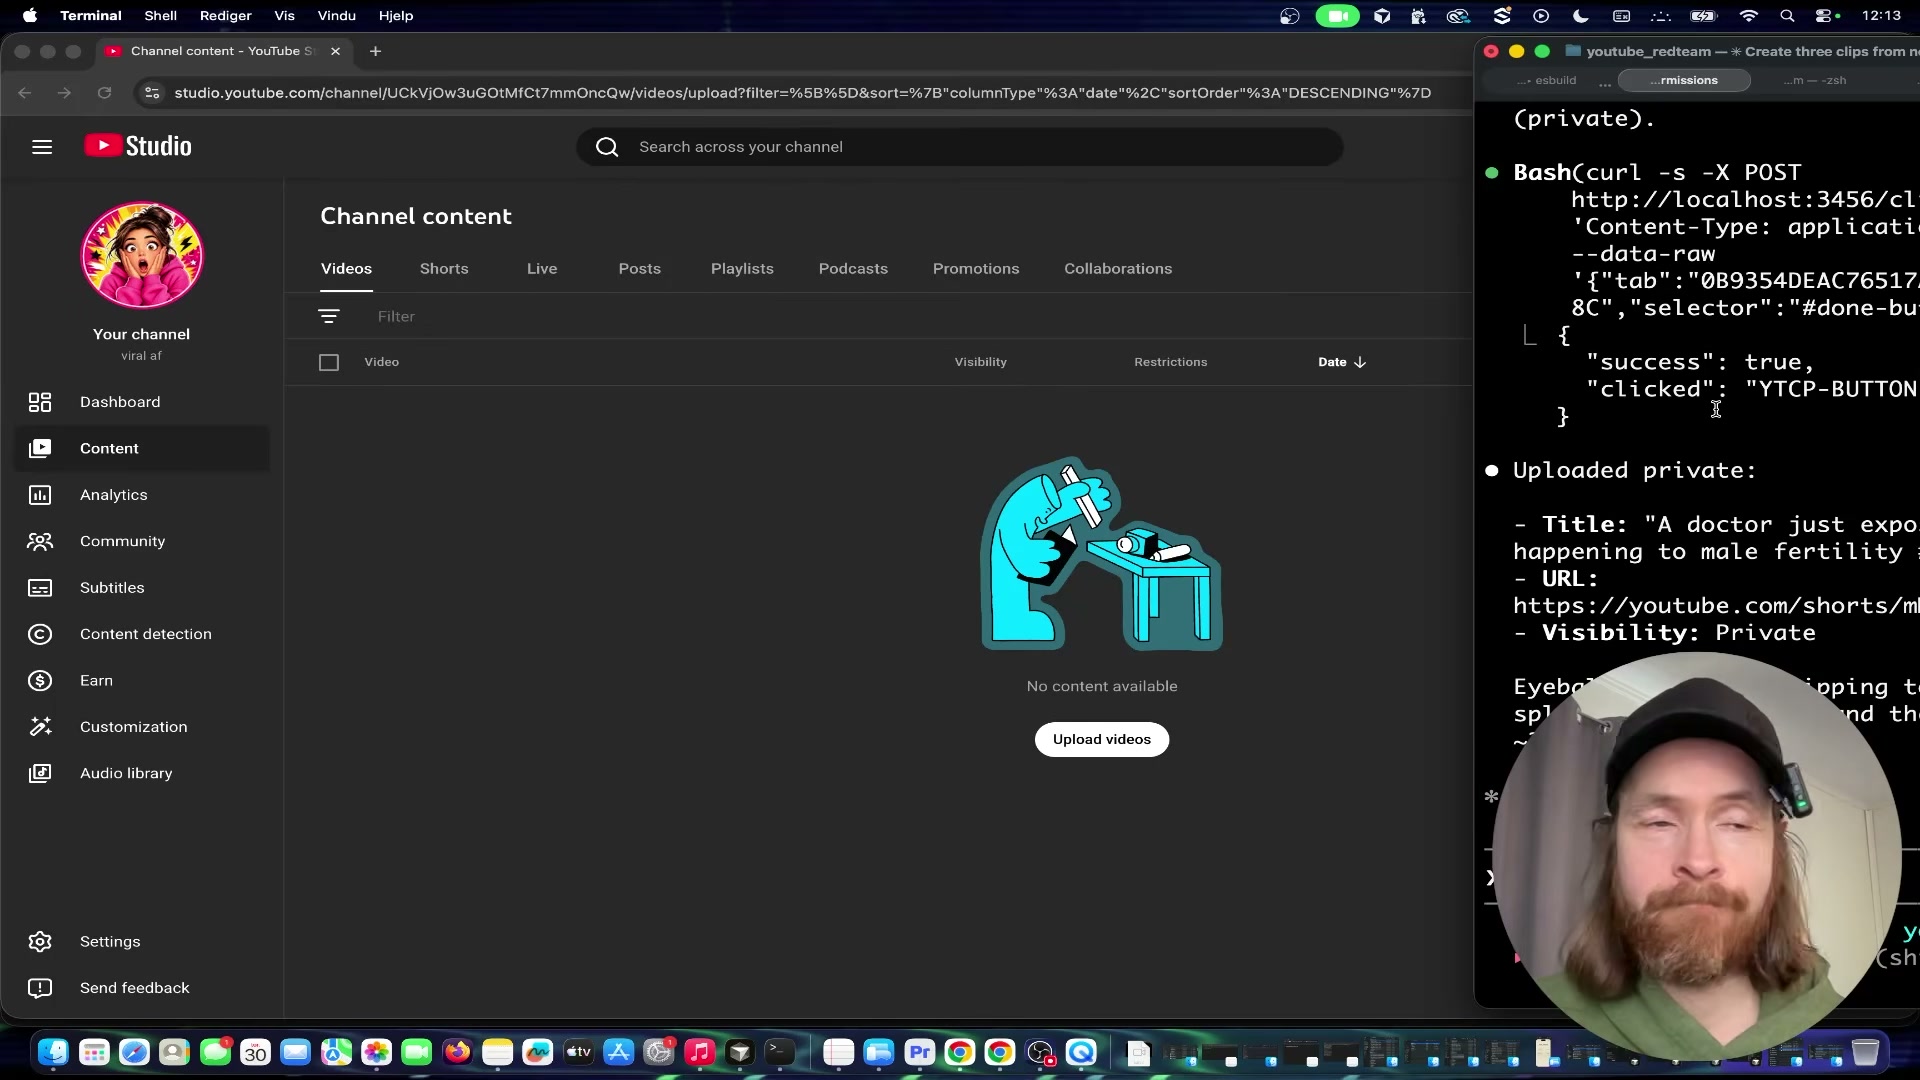
Instruct the Surf Agent in plain language to open YouTube Studio in a browser, upload the clip file, generate a title, set visibility to private, and save. Claude Code drives the browser session and returns the live Shorts URL plus confirmation of visibility status when the upload completes.
Warning: this step may differ from current official documentation — see the verified version below.

How does this compare to the official docs?
The pipeline routes YouTube uploads through browser automation rather than the YouTube Data API — a deliberate architectural choice whose tradeoffs around reliability, rate limits, and credential management look quite different when you check what Google’s official documentation actually recommends.
Here’s What the Official Docs Show
The core tool choices in this pipeline are well-grounded — official documentation confirms the ML and rendering stack is sound. What follows layers in version details, configuration specifics, and a few gaps the docs couldn’t close.
Step 1 — Identify your source video
No official documentation was found for this step — proceed using the video’s approach and verify independently.
Step 2 — Extract audio with FFmpeg
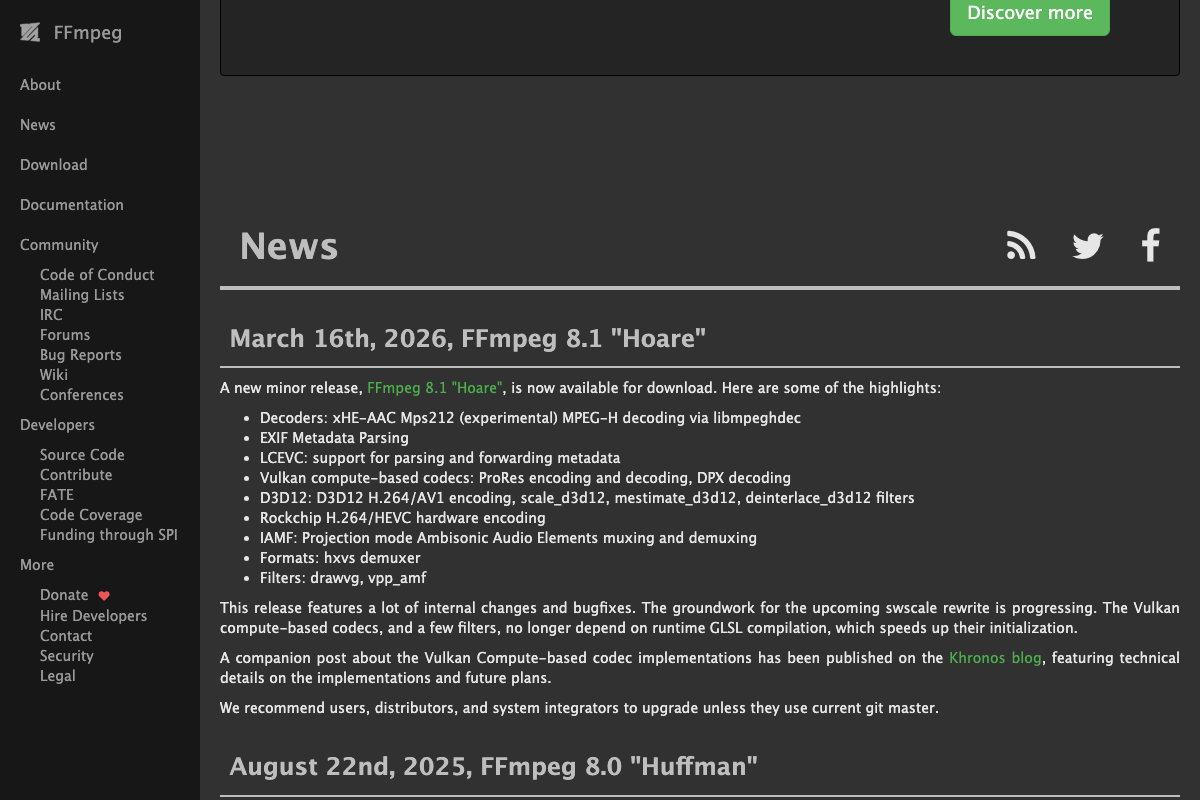
The video’s approach here matches the current docs exactly. FFmpeg is actively maintained; FFmpeg 8.1 “Hoare” is the current stable release as of March 16, 2026. One useful addition: audio-only extraction requires the -vn flag and an audio output format (e.g., -vn -acodec pcm_s16le output.wav) — the homepage example shows container conversion, not audio stripping, but both are standard FFmpeg usage.
Step 3 — Transcribe with local Whisper
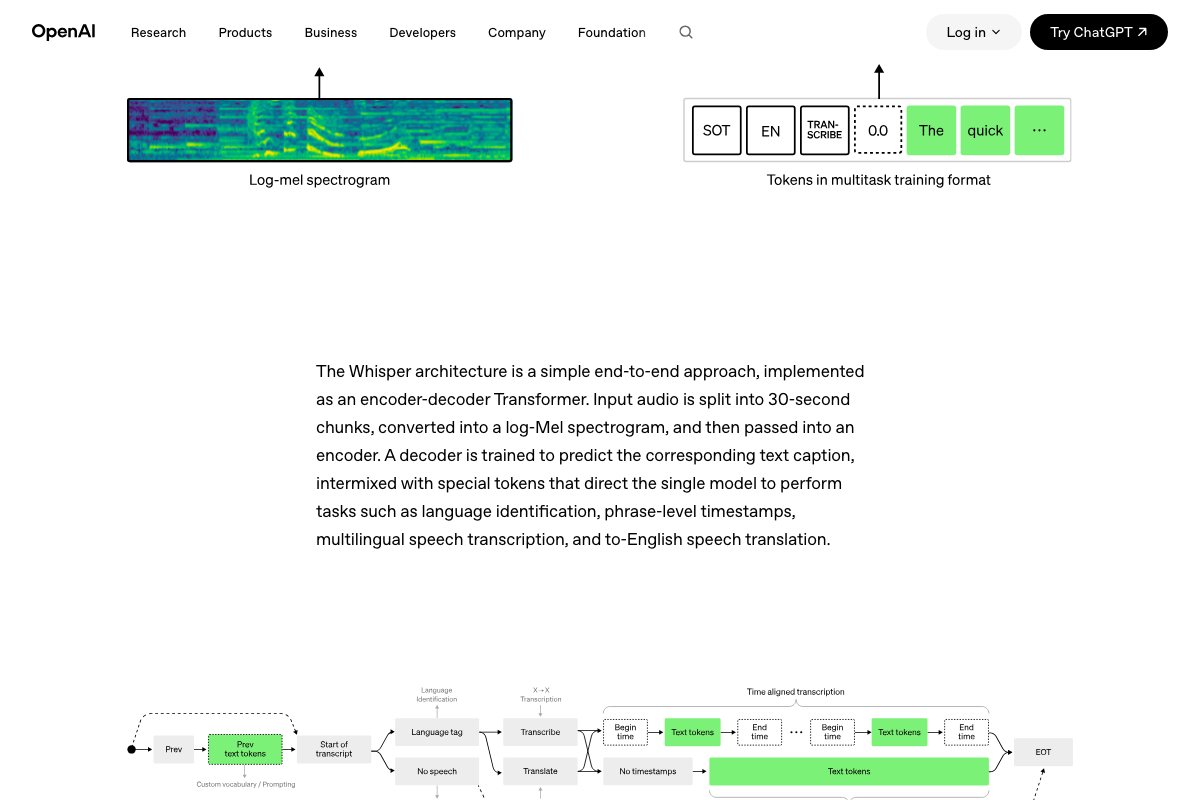
The video’s approach here matches the current docs exactly. OpenAI’s architecture diagrams confirm that phrase-level timestamps are a native model output — Begin/End time tokens produced by Whisper’s TRANSCRIBE task branch directly, requiring no post-processing.
Step 4 — Trigger the pipeline via Claude Code
No official documentation was found for this step — proceed using the video’s approach and verify independently.
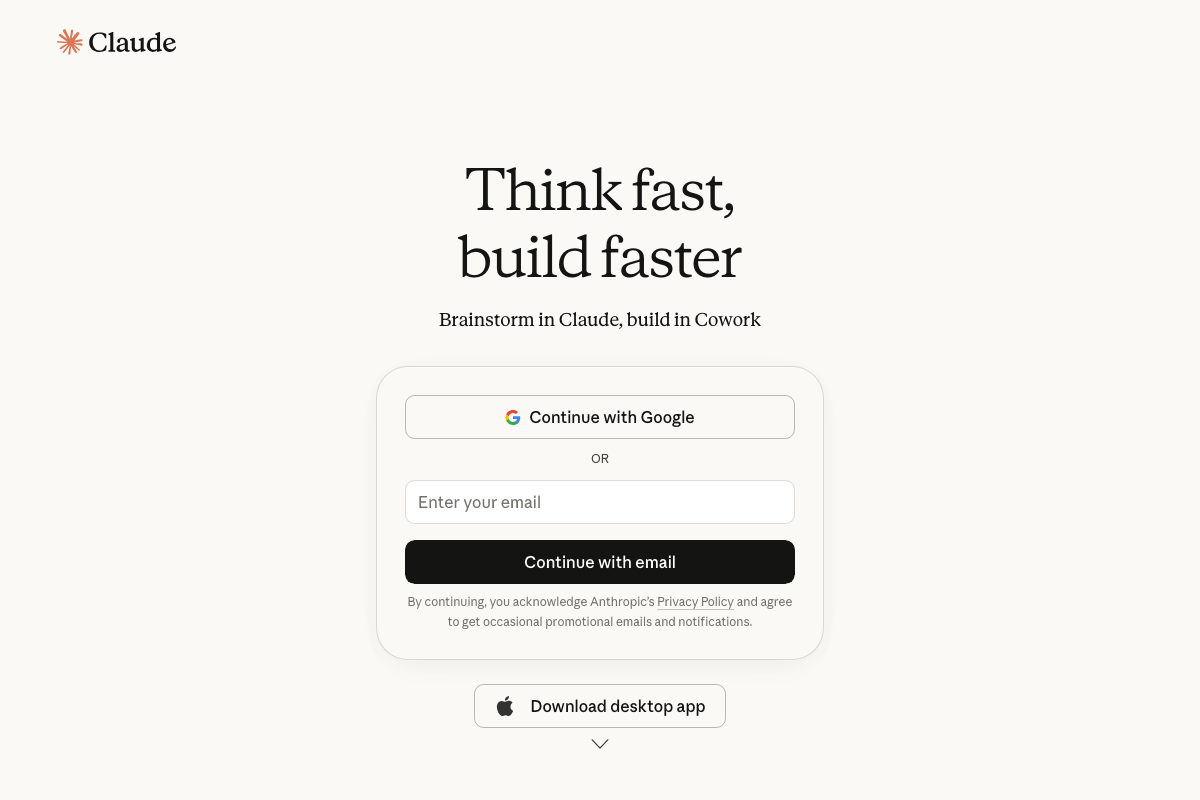
Worth noting: claude.ai/code resolves to a consumer sign-in page. Claude Code is a separate terminal-based CLI tool documented at docs.anthropic.com/en/docs/claude-code. As of April 30, 2026, the model identifier “Opus 4.7” does not appear in any current documentation — confirm available model names against the Anthropic API reference before building.
Step 5 — Run YOLO face detection
The video’s approach here matches the current docs exactly at the platform level. YOLO11 is the current Ultralytics model generation. One gap to close: the tutorial doesn’t specify which checkpoint is used. General-purpose YOLO weights detect objects broadly; face detection specifically requires a face-trained checkpoint such as YOLOv8-face.

Step 6 — Run Light-ASD active speaker detection
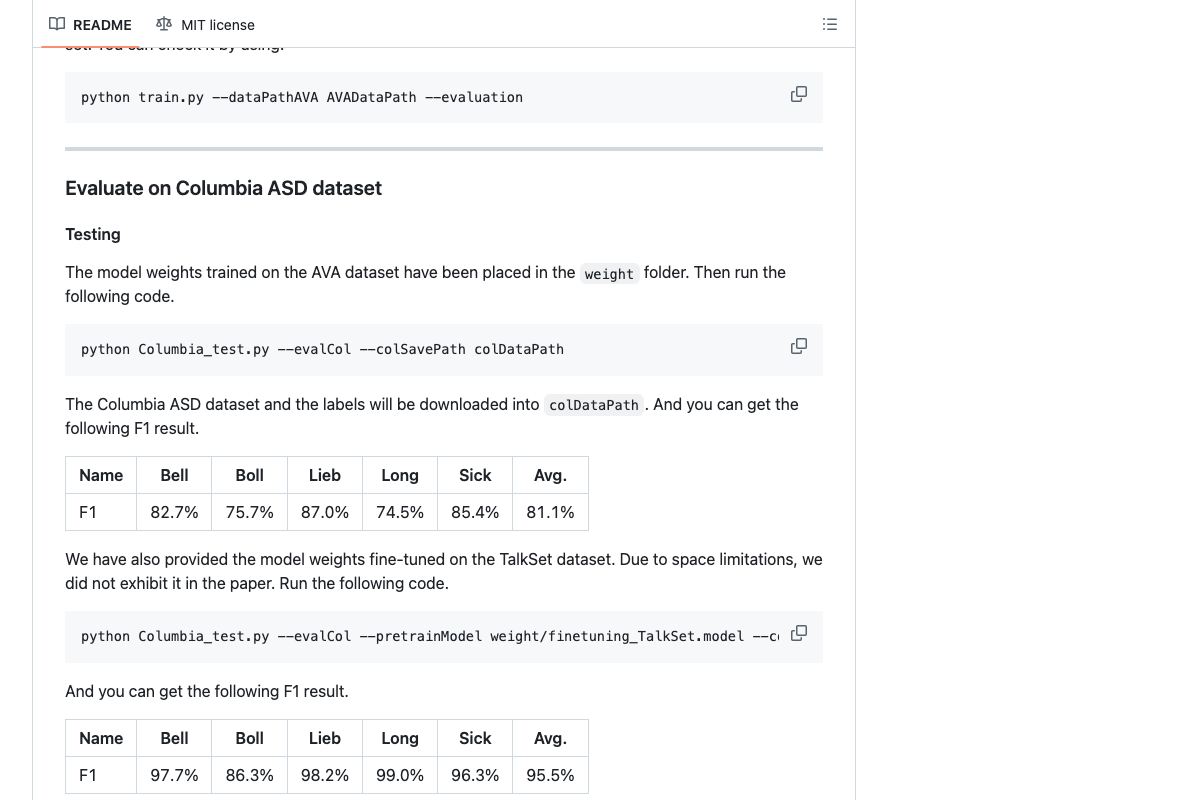
The video’s approach here matches the current docs exactly. Light-ASD (CVPR 2023) is publicly available at github.com/Junhua-Liao/Light-ASD with pretrained weights. Benchmark accuracy: 81.1% avg F1 on Columbia ASD base, 95.5% with TalkSet fine-tuning. An extended version, LR-ASD (IJCV 2025), also exists — the tutorial doesn’t specify which is used. There are no packaged releases; integration requires the Python scripts and weight directory directly.
Step 7 — Reframe 16:9 to 9:16
No official documentation was found for this step — proceed using the video’s approach and verify independently.
Step 8 — Apply retention editing via Remotion
The video’s approach here matches the current docs exactly. Remotion’s homepage shows a vertical video mockup with a <Captions /> React component labeled “engaging reels” and lists Captions as a named use-case tab — confirming 9:16 captioned output as a first-party documented capability. Rendering can run locally, on a server, or via Remotion Lambda; the tutorial doesn’t specify which mode.
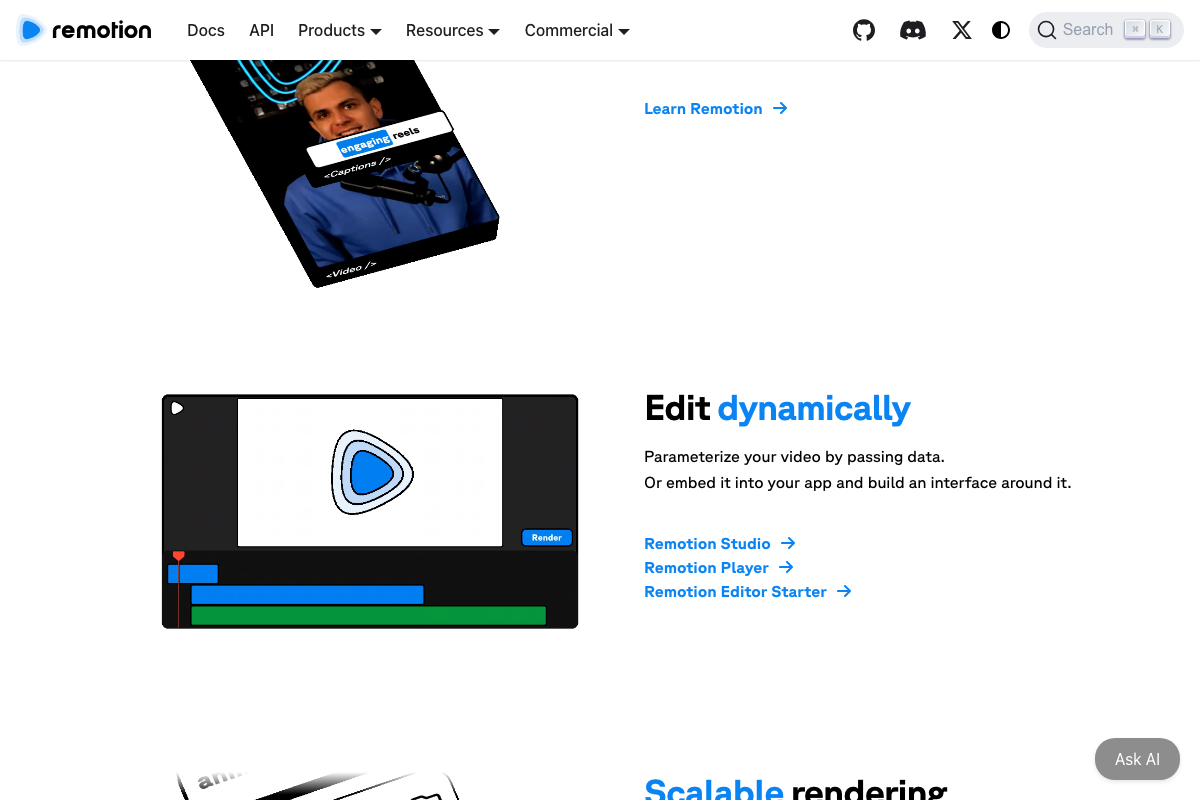 📄 Remotion homepage showing vertical video mockup with \
Step 9 — Upload via Surf Agent browser automation
No official documentation was found for this step — proceed using the video’s approach and verify independently.
Step 10 — Orchestrate delivery with n8n
The video’s approach here matches the current docs exactly for the n8n layer. A native “Anthropic Chat Model” node appears in n8n’s workflow canvas, and Gmail is confirmed in the 500+ integrations catalog — the full schedule → model → Gmail workflow assembles from pre-built nodes, no custom code required. The Hostinger-specific claims (KVM2 VPS tier, n8n one-click catalog install) cannot be confirmed from the available screenshots; verify those details against Hostinger’s current VPS product pages directly.

Useful Links
- FFmpeg — Official project homepage for the cross-platform audio/video processing tool used in step 2.
- Introducing Whisper | OpenAI — Original OpenAI research page documenting Whisper’s architecture, training data, and timestamped transcription capabilities.
- Ultralytics | Revolutionizing the World of Computer Vision — Ultralytics platform homepage covering YOLO model generations, training, and deployment options.
- GitHub — Junhua-Liao/Light-ASD — Source repository for the Light-ASD CVPR 2023 active speaker detection model, including pretrained weights and benchmark results.
- Remotion | Make videos programmatically — Remotion framework homepage documenting React-based programmatic video rendering, including the Captions use case.
- AI Workflow Automation Platform — n8n — n8n platform homepage confirming self-hosted deployment, the Anthropic Chat Model node, and the 500+ integration catalog.
- Hostinger — Bring Your Idea Online With a Website — Hostinger general hosting homepage; VPS and n8n-specific product details require direct navigation to their VPS catalog pages.


0 Comments