AI-Generated YouTube Intros, Silence Removal, and DaVinci Resolve Zoom Effects
Matt Wolfe’s production workflow is built to minimize editing time by front-loading decisions into the recording itself. After working through this tutorial, you’ll be able to generate a custom AI video intro using start/end frame interpolation in Leonardo AI, compress a 60-minute raw recording down to broadcast length with a single click in Recut, and apply dynamic text-zoom effects inside DaVinci Resolve using a preset-based Fusion overlay.
-
Before rolling camera, plan for two anchor states: talent off-camera (the “start” frame) and talent seated at the desk (the “end” frame). Hit record with no one in the frame, then walk in and sit down. For a transition like the claw intro, sit in a corner of the room first — that becomes your start frame — then move to your chair as normal.
-
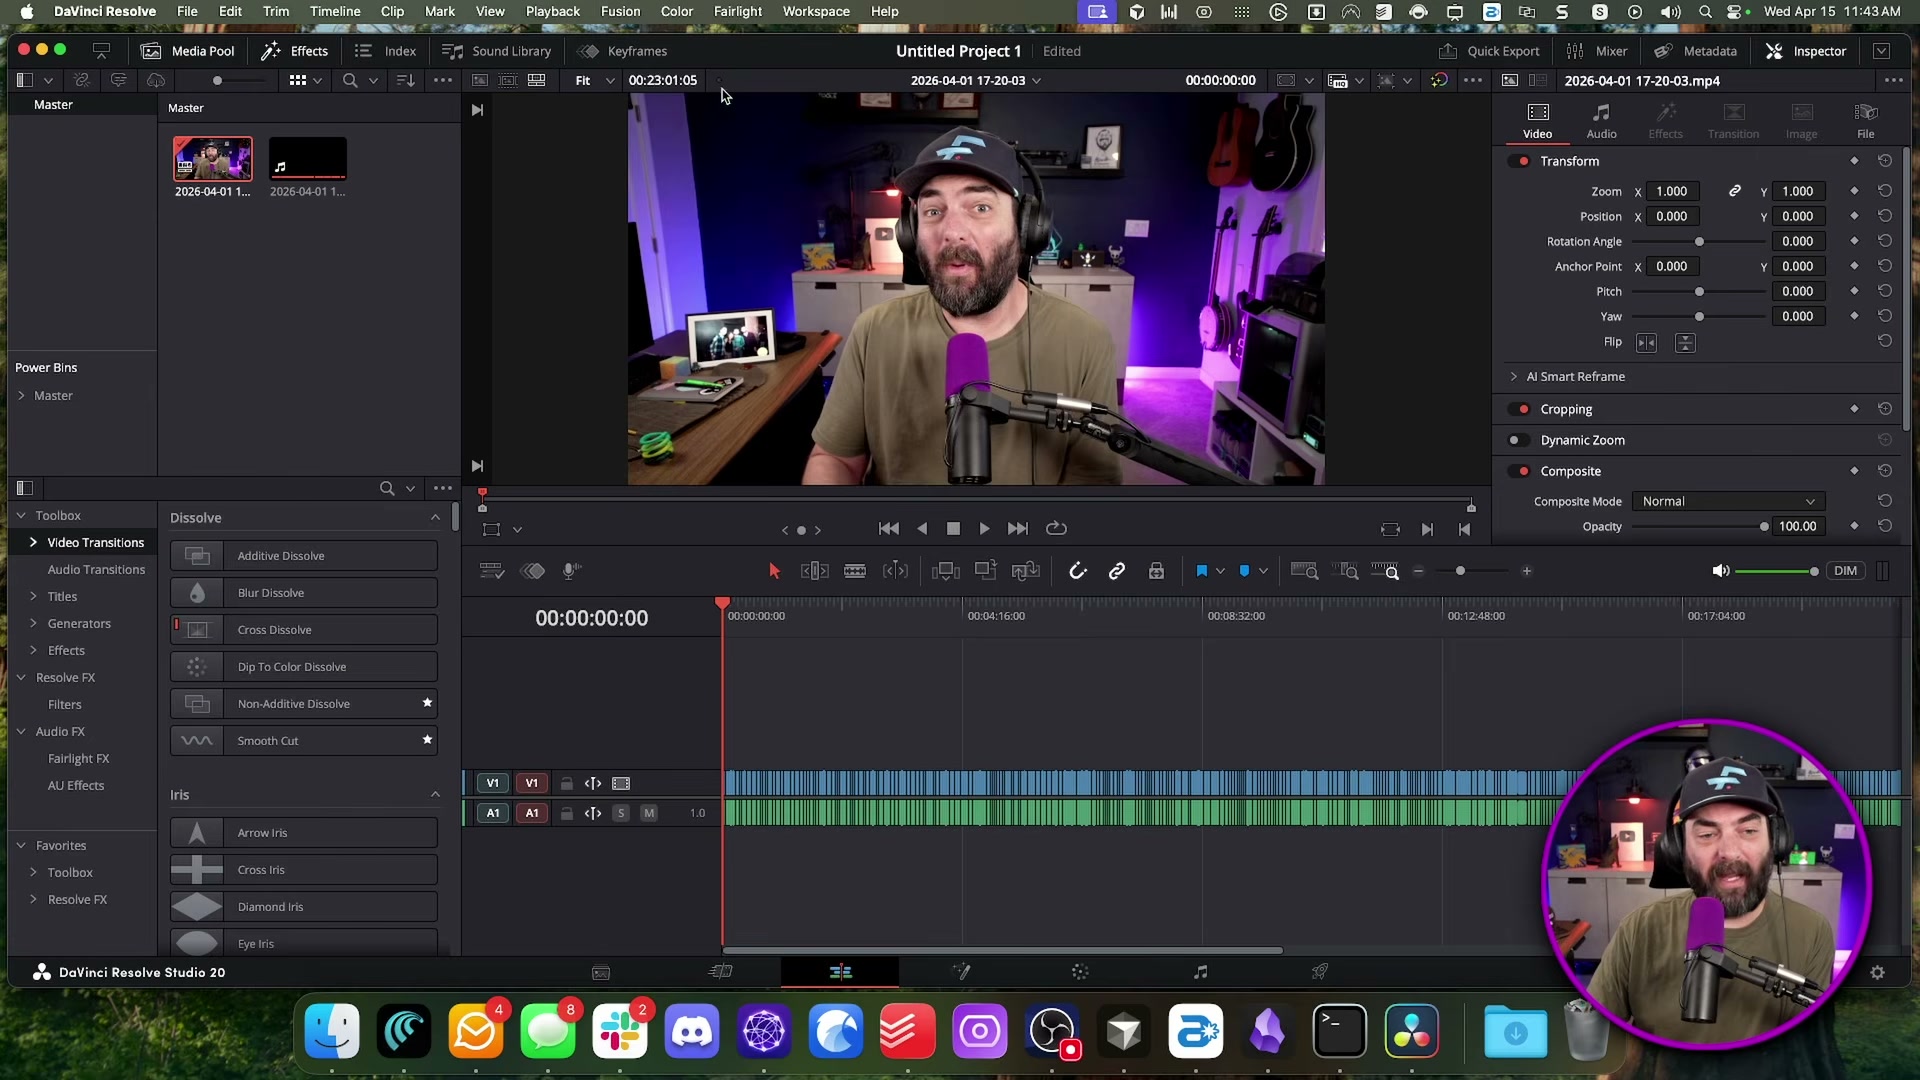
Import the raw recording into DaVinci Resolve. Scrub to a frame where you’re off-camera, then go to File > Export > Current Frame as Still to save the start image. Scrub forward to the first frame of on-camera talking and repeat the export. You now have two stills that will anchor the AI generation.
-
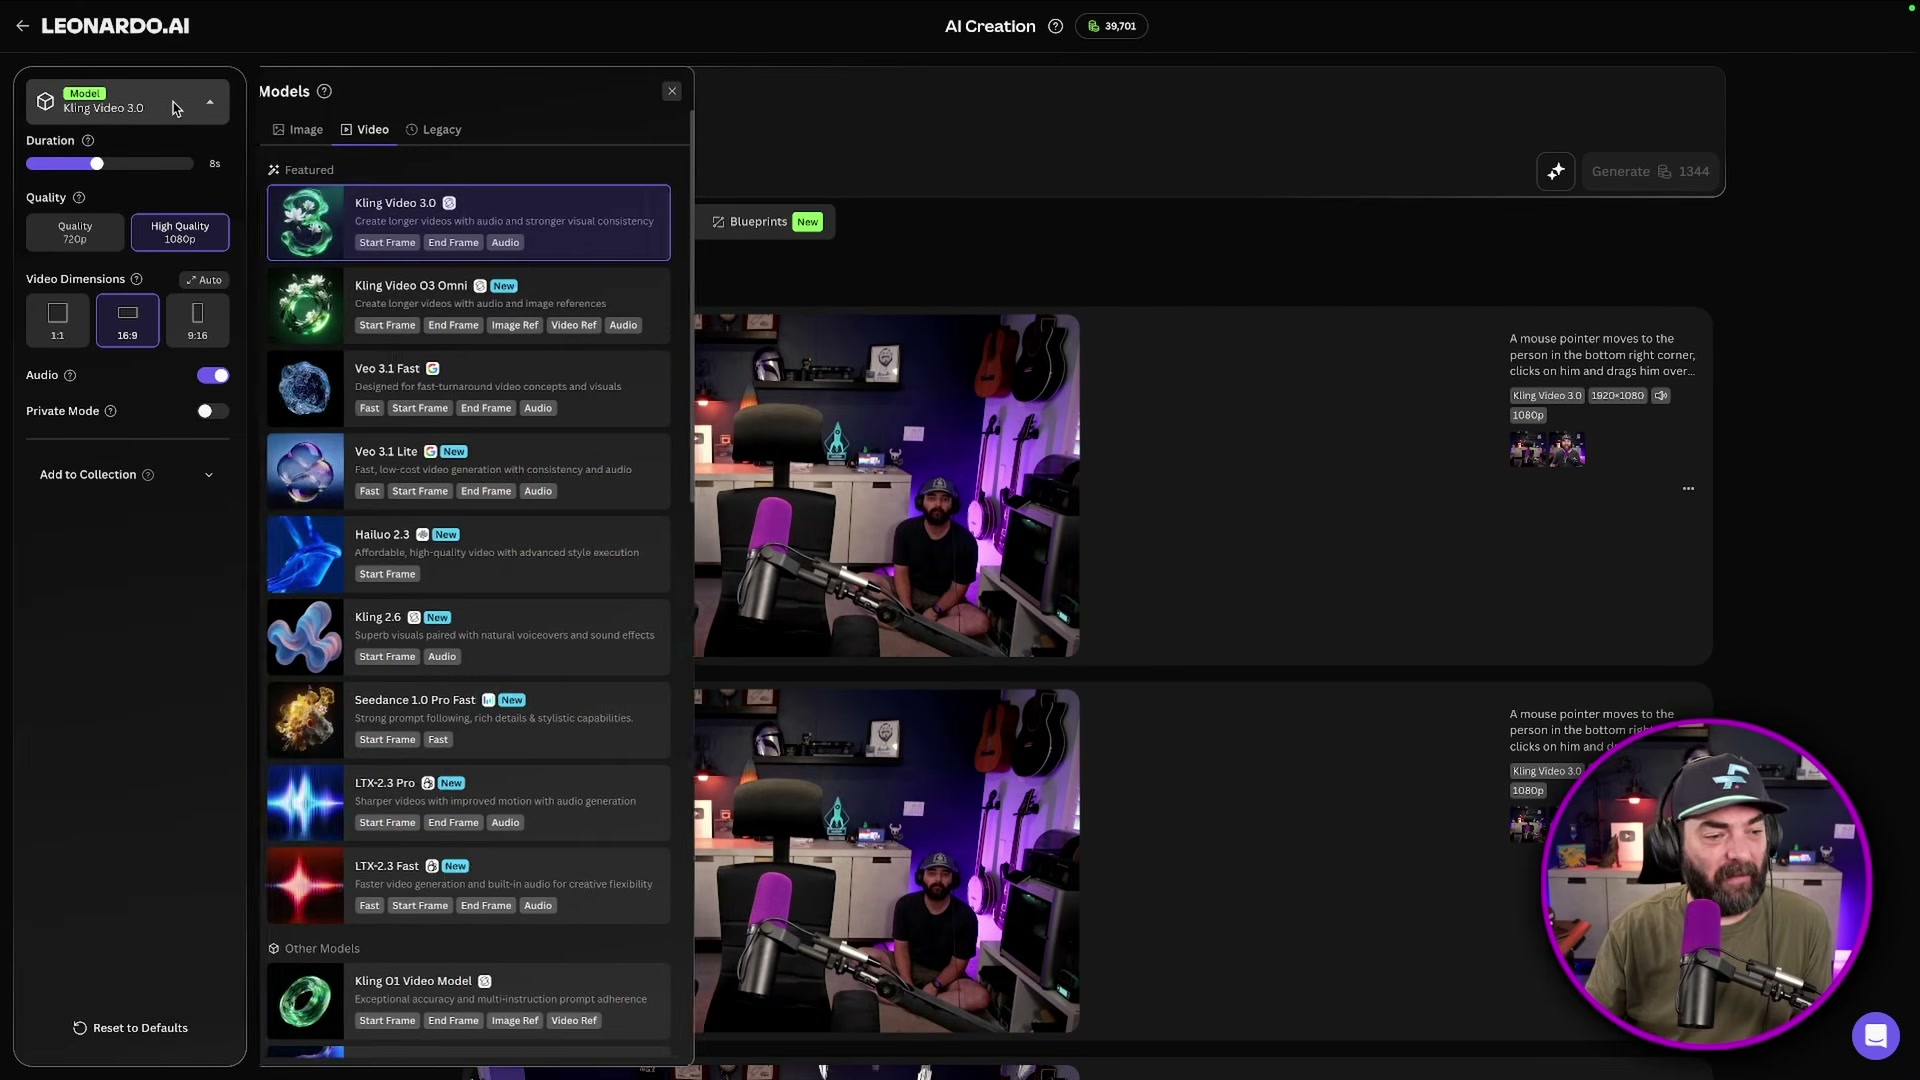
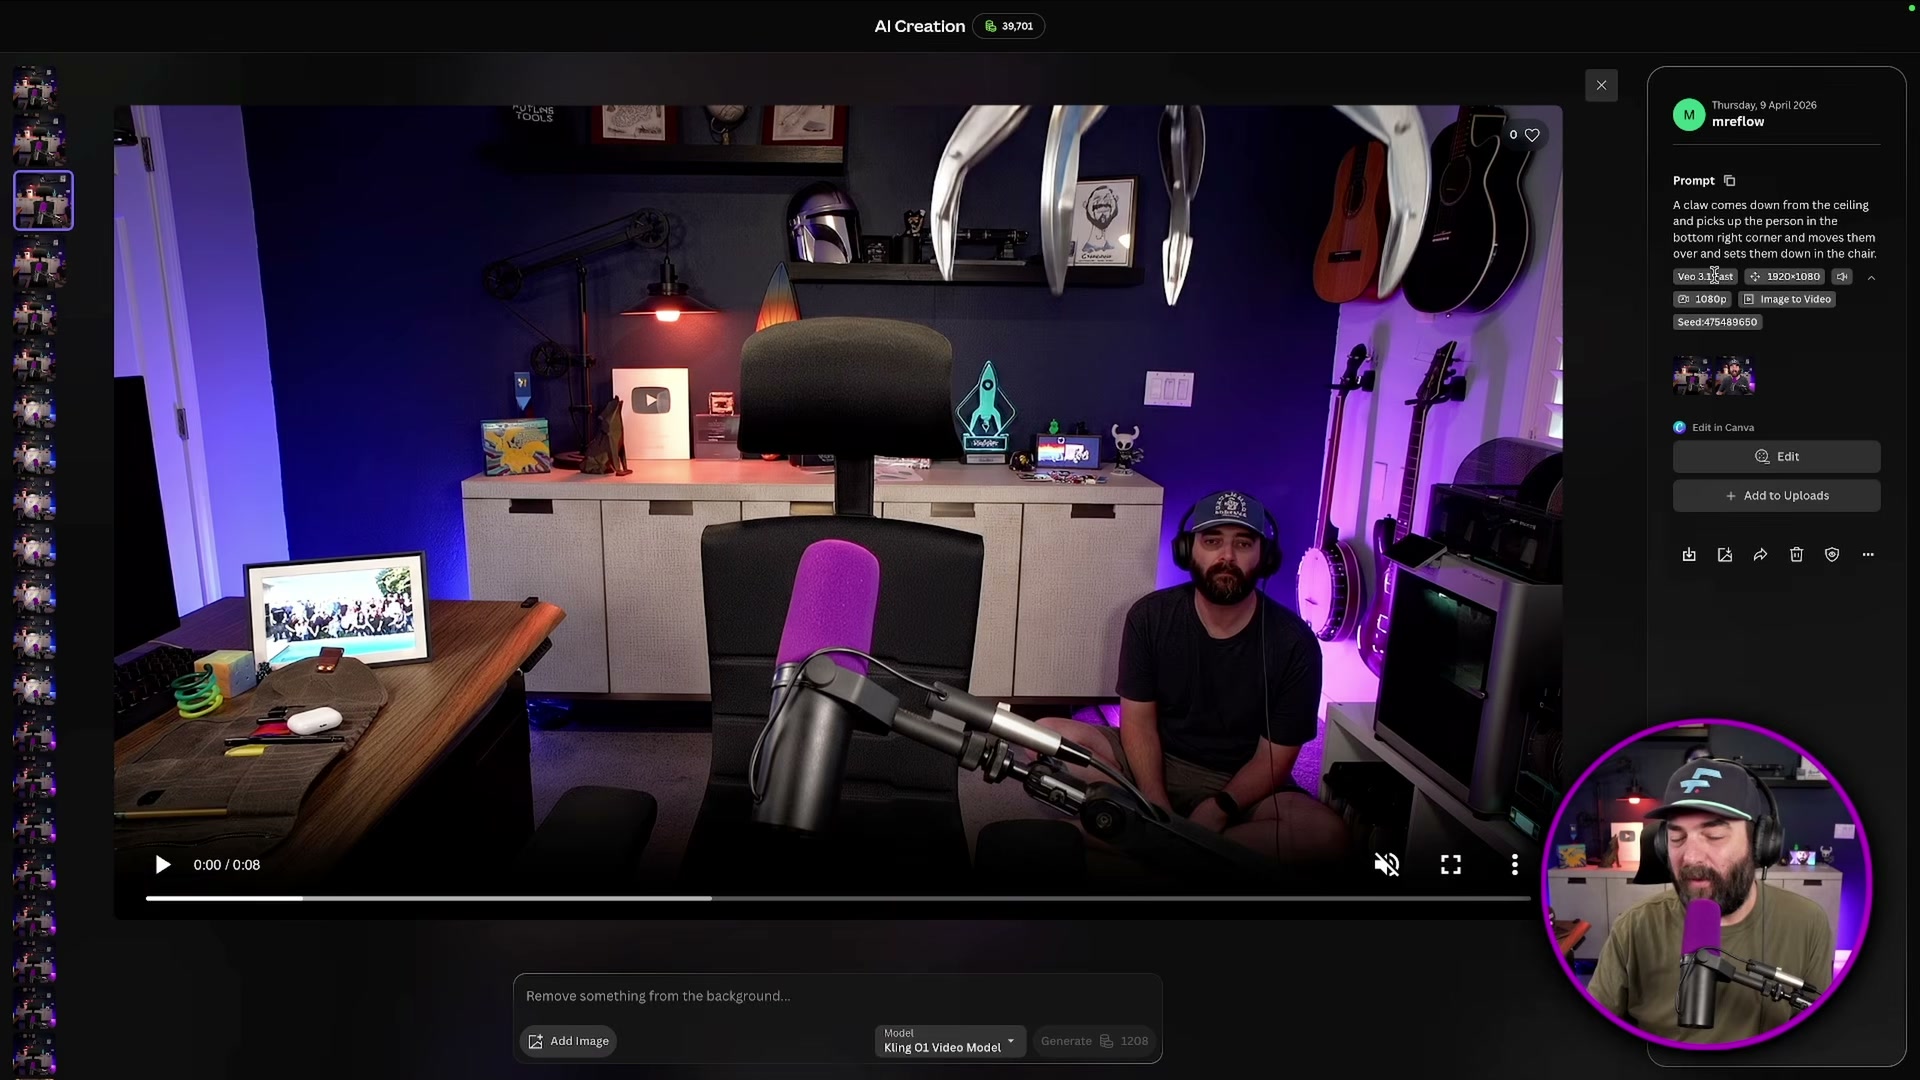
Open Leonardo AI and switch to Video mode. Upload the start frame as the “first frame” input and the end frame as the “last frame” input. Write a prompt describing the action connecting the two states — something like: “A claw comes down from the ceiling and picks up the person in the bottom right corner and moves them over and sets them down in the chair.”
- Generate the clip across multiple models from the same interface. Leonardo’s video mode surfaces Veo 3.1 Fast, Kling Video 3.0, Hailuo 2.3, Seed Dance, and LTX without switching platforms. Run the prompt through at least two models and compare results side by side.
- Select the best output. Both Veo 3.1 and Kling 3.0 generate audio natively, so the generated sound can go straight into the final cut without replacement. If neither model delivers a usable result, take the same two frames into Runway ML and run them through Seed Dance 2.0 as a third option.
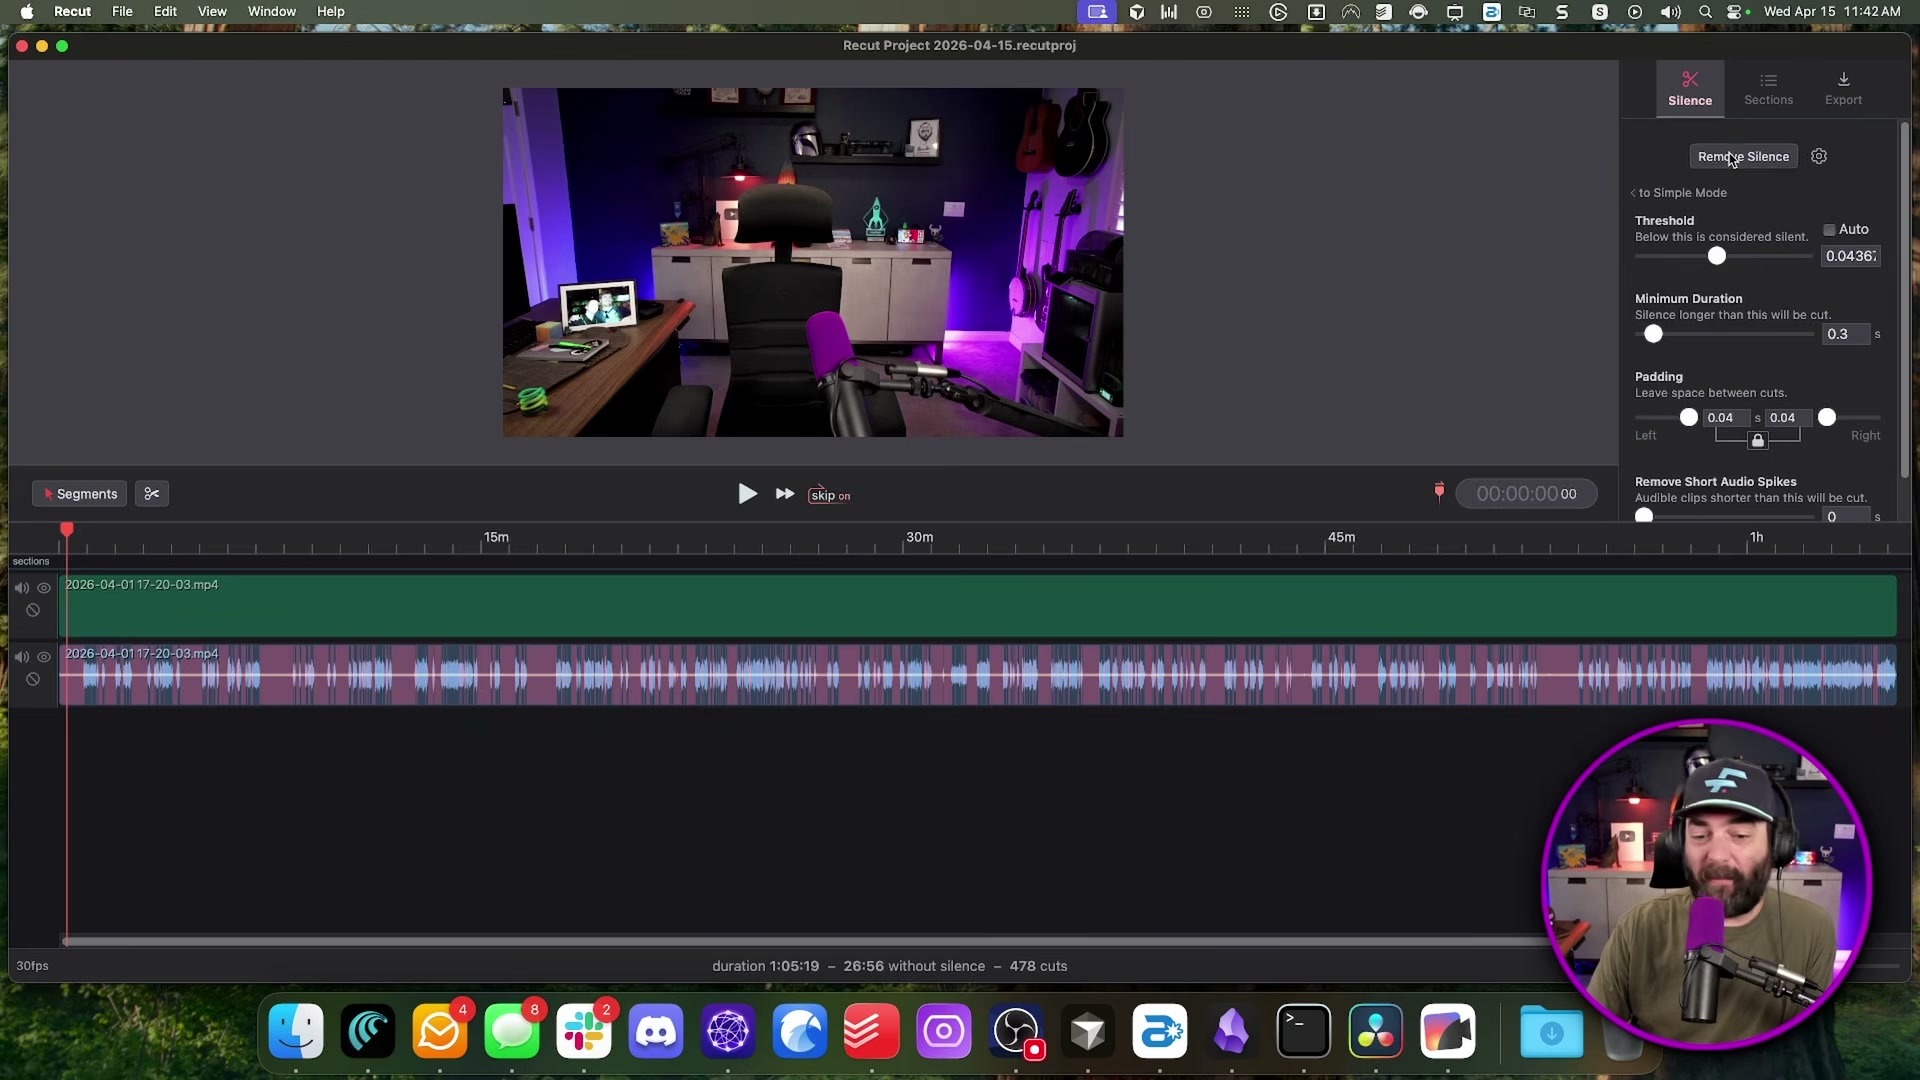
- Drag the raw recording into Recut. Click the Remove Silence button at the top of the interface. The app scans the waveform and strips every gap automatically — at a threshold of 0.04, minimum silence duration of 0.3s, and 0.04s of padding on each side, a 65-minute recording becomes roughly 27 minutes and 478 individual cuts.
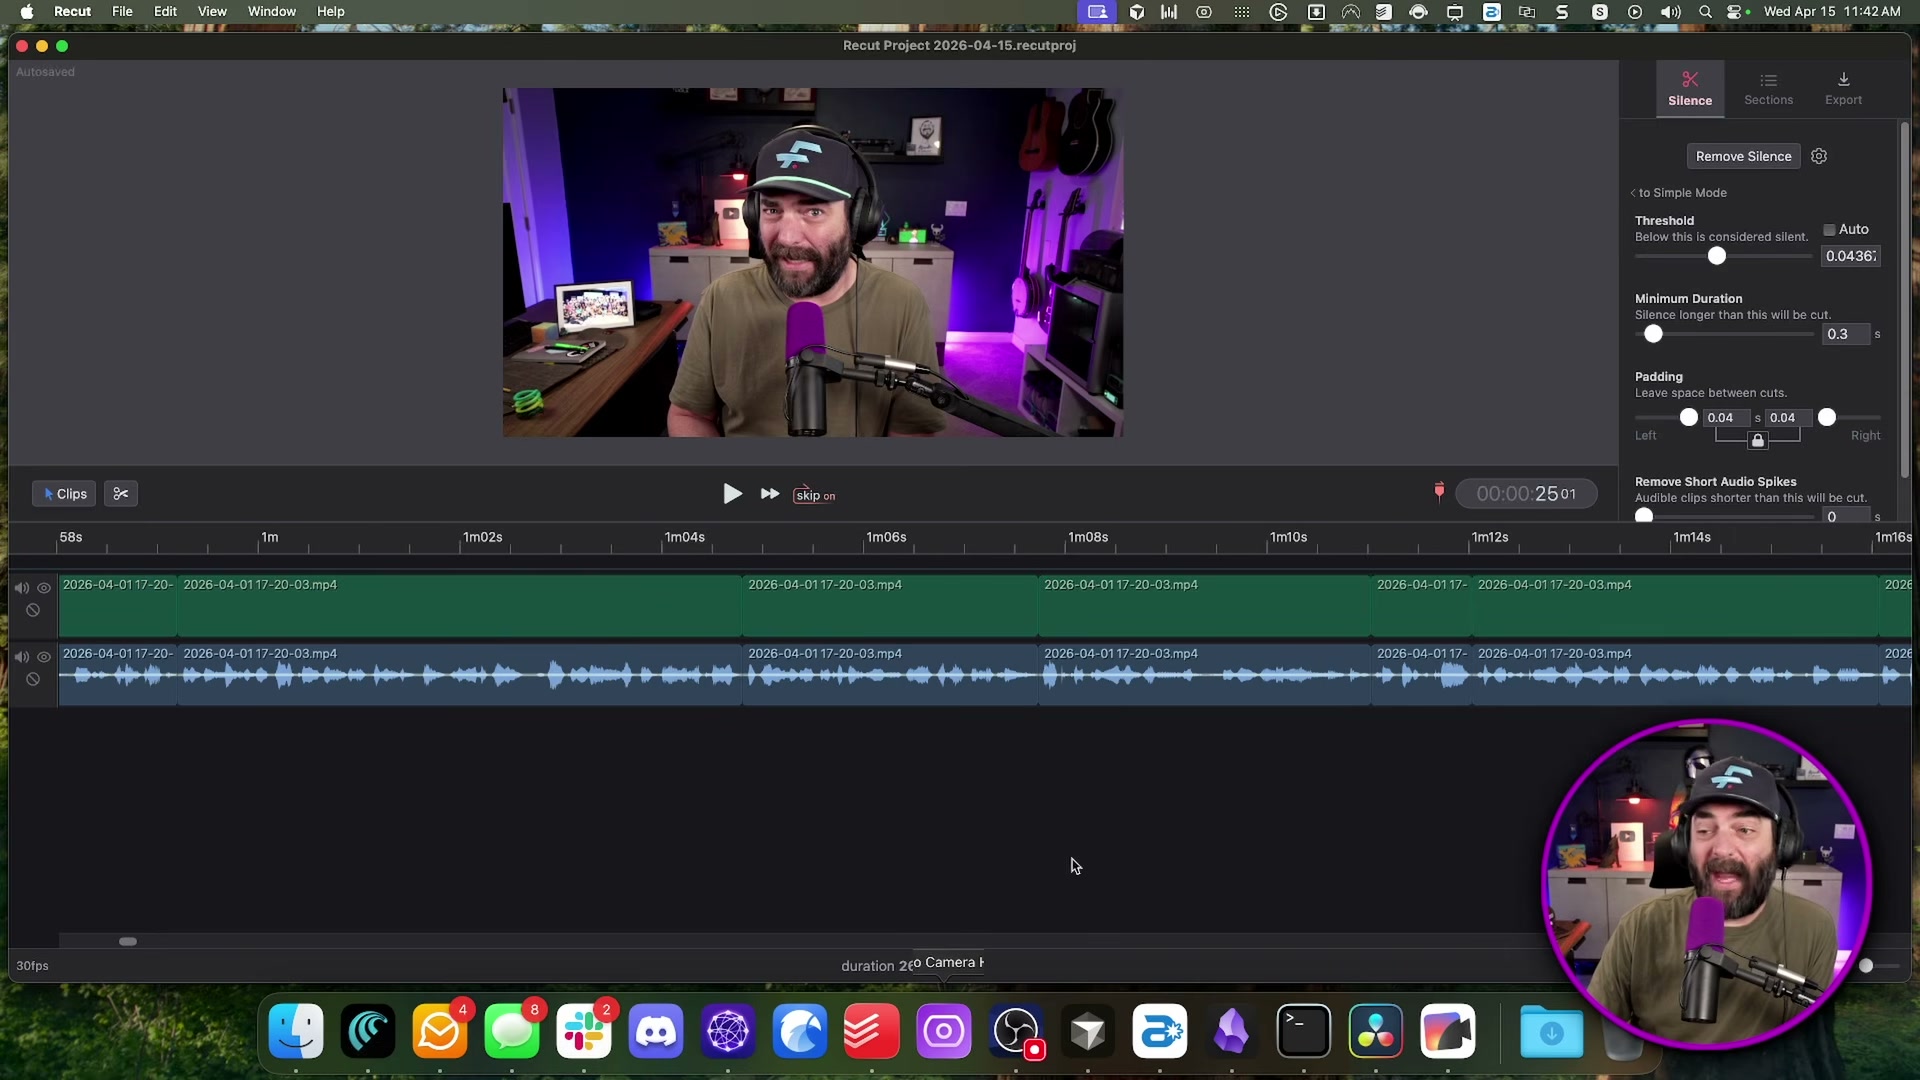
- Skim the condensed timeline at 2x speed. Select and delete any remaining mistakes, flubbed phrases, or repeated sections by hand. When the pass is complete, go to Export and choose the DaVinci Resolve XML option.
- In DaVinci Resolve, right-click the Master section in the Media Pool, select Timelines > Import, and point the dialog at the XML file from Recut. The complete edit — all silence cuts preserved — loads into a new timeline without any further configuration.
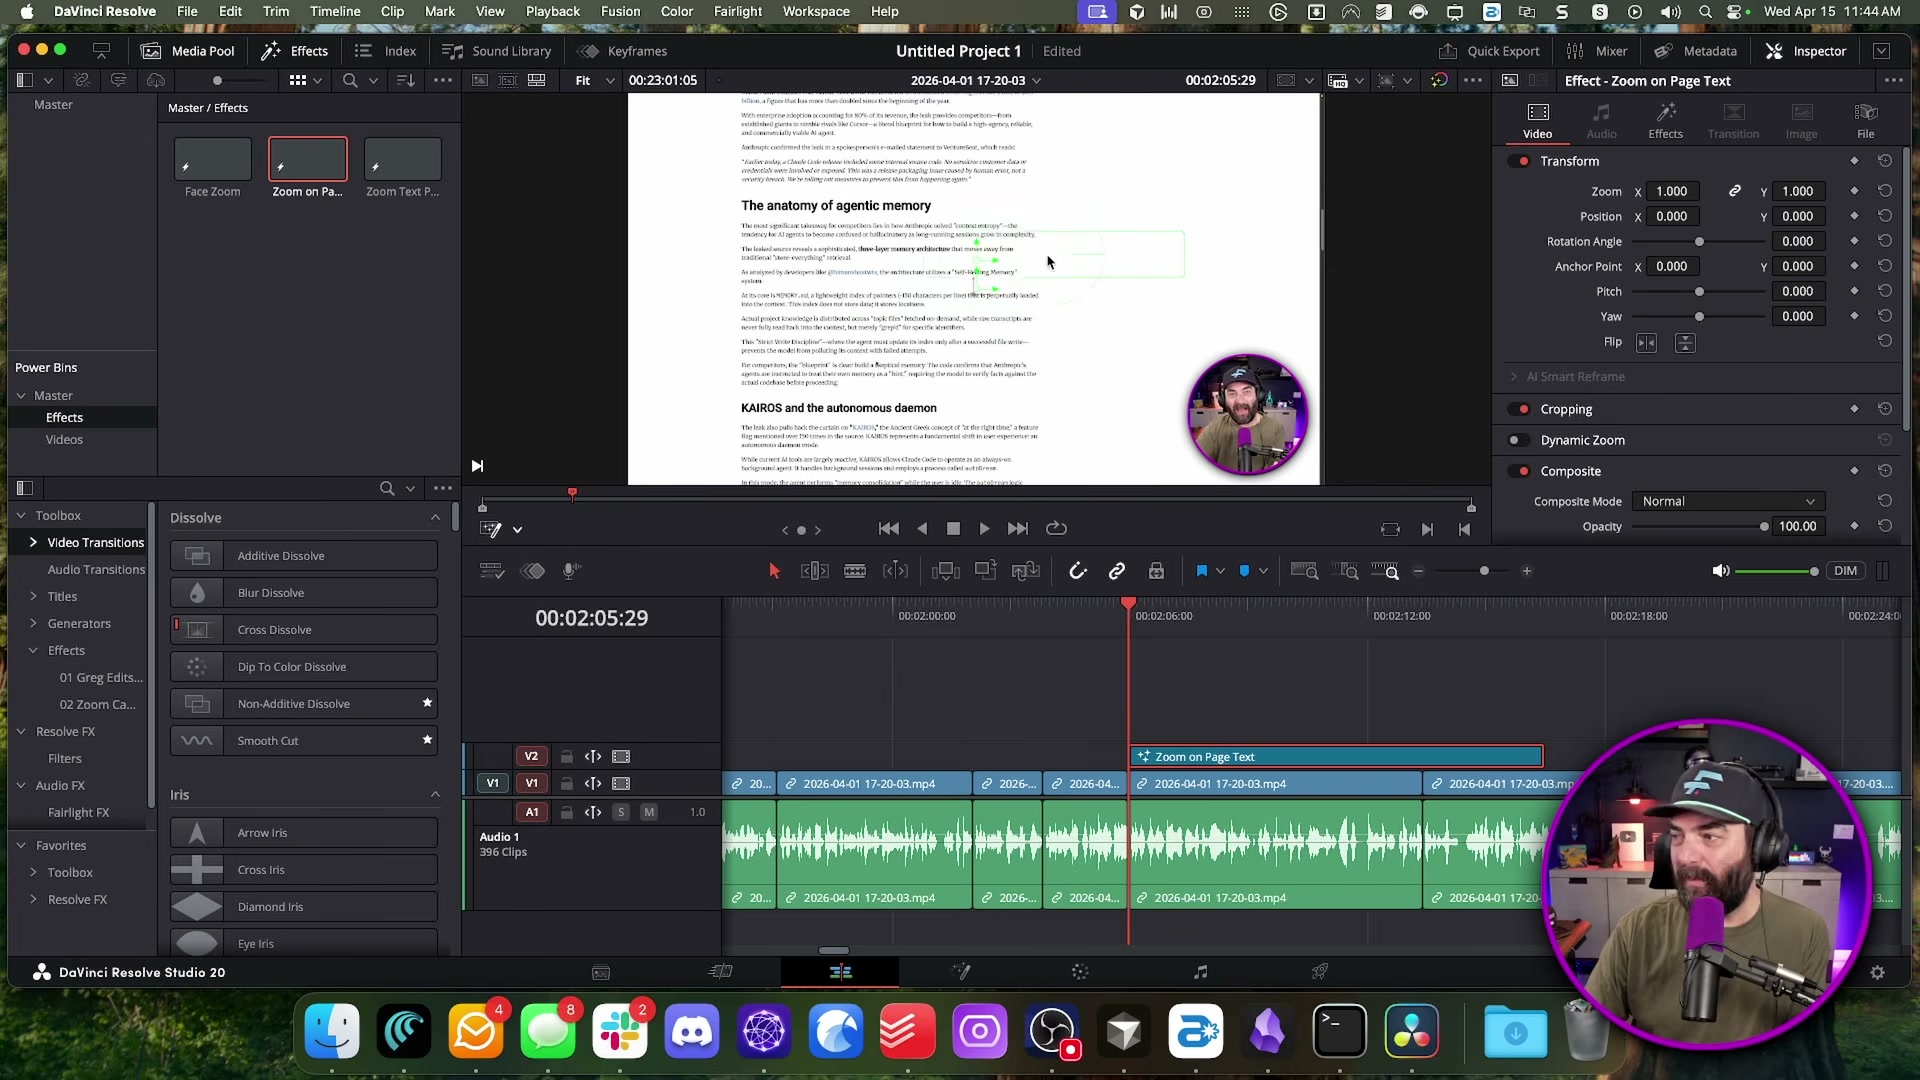
- To highlight on-screen text during playback, apply the zoom effect from Greg’s Presets — a paid third-party preset pack — directly to a clip on the timeline. Enable the Fusion overlay to display a green bounding box, resize the box over the text region you want to emphasize, then adjust Position A, Position B, and the X/Y axis values to set where the zoom begins and where it settles.
Warning: this step may differ from current official documentation — see the verified version below.
- Prepend the AI-generated intro clip to the front of the finished timeline. The edit is complete.
How does this compare to the official docs?
Each tool in this workflow — Leonardo AI, Recut, and DaVinci Resolve — has its own documentation that reveals important defaults, limitations, and alternative approaches the video doesn’t cover.
Here’s What the Official Docs Show
Matt Wolfe’s workflow holds up well across most of its steps, and the documentation backs the core approach. What follows adds naming precision and interface detail the video skips — filling gaps rather than rewriting the tutorial.
Step 1 — Plan your anchor frames
No official documentation was found for this step — proceed using the video’s approach and verify independently.
Steps 2–3 — Export frames from DaVinci Resolve
No official documentation was found for these steps — proceed using the video’s approach and verify independently.
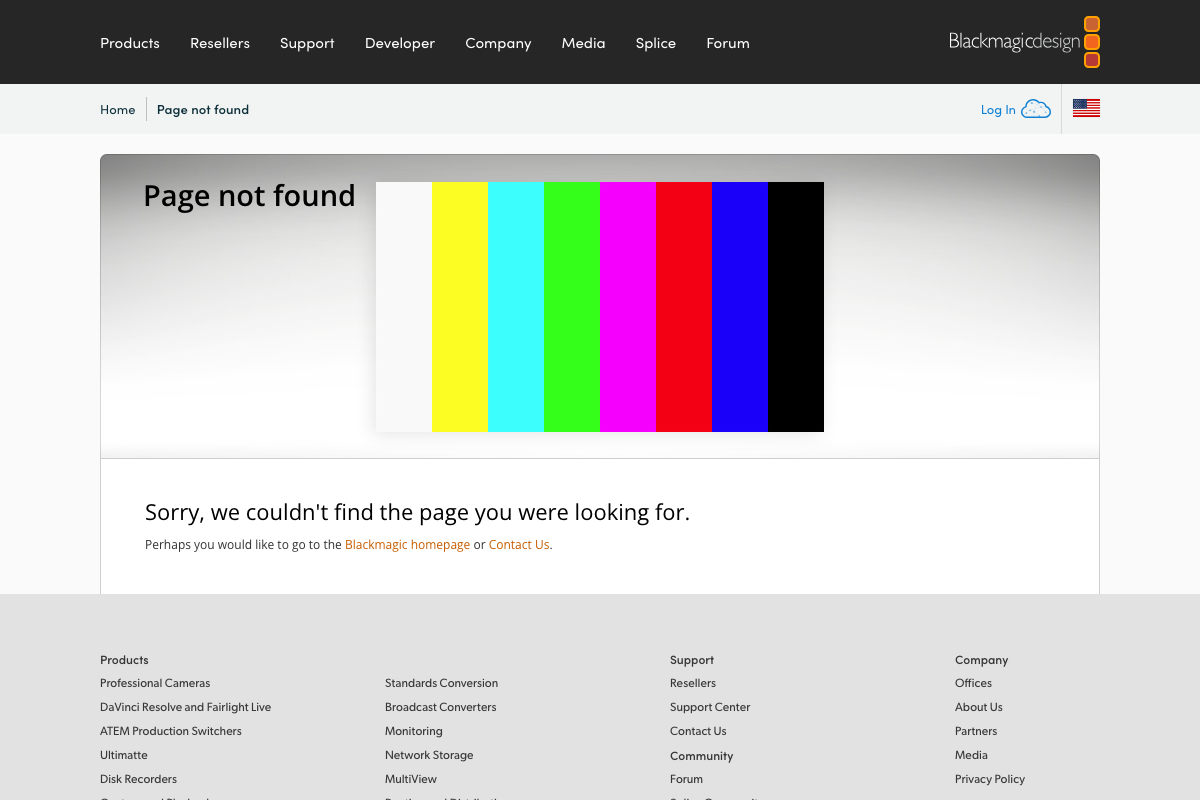
As of April 15, 2026, blackmagicdesign.com/learn/davinciresolve returns a persistent 404. The site is live (footer confirms © 2026), but the /learn/davinciresolve path no longer resolves. Use Help > DaVinci Resolve Reference Manual from inside the application.
Step 4 — Open Leonardo AI and upload your frames
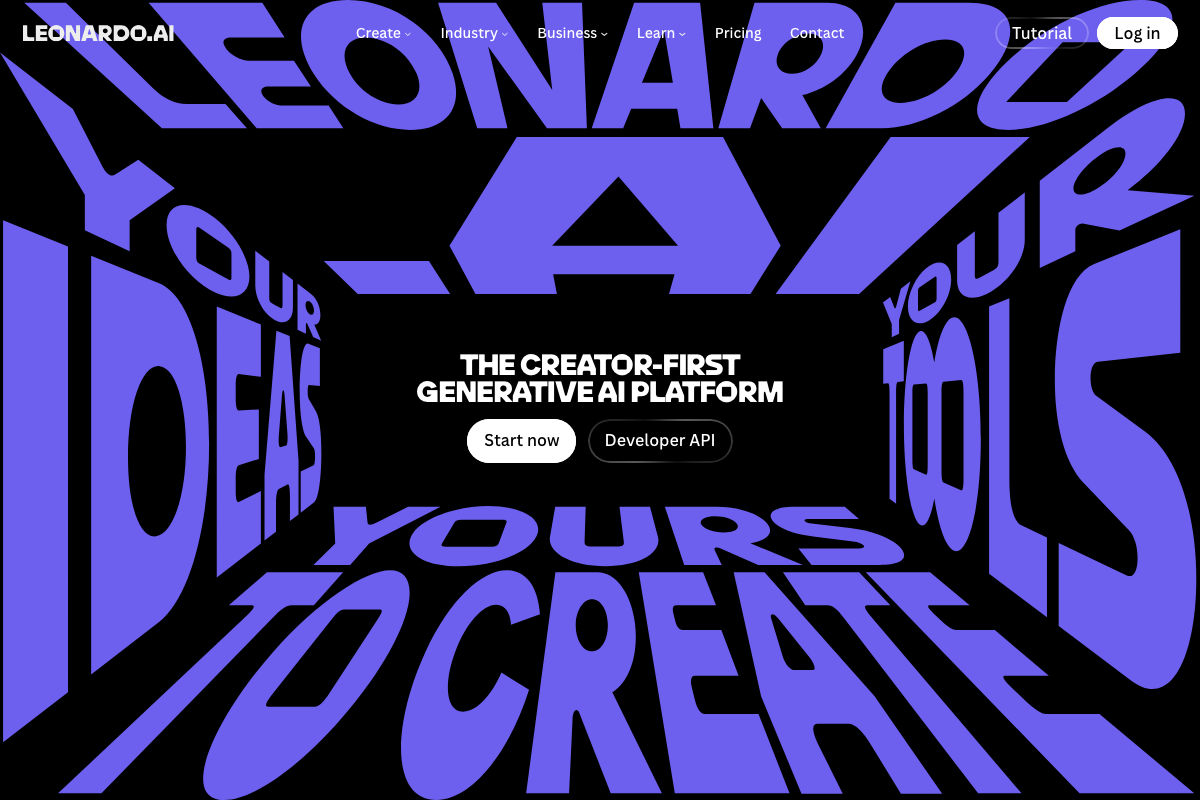
Leonardo AI is confirmed active at leonardo.ai. The Video mode the tutorial references lives inside the Create dropdown — it is not a standalone nav item.
No official documentation was found for the start-frame/end-frame upload workflow — proceed using the video’s approach and verify independently.
Step 5 — Generate across models and select the best output
Both models are real and confirmed active — the video’s approach here matches the current docs exactly. Two naming details to carry into your own documentation:
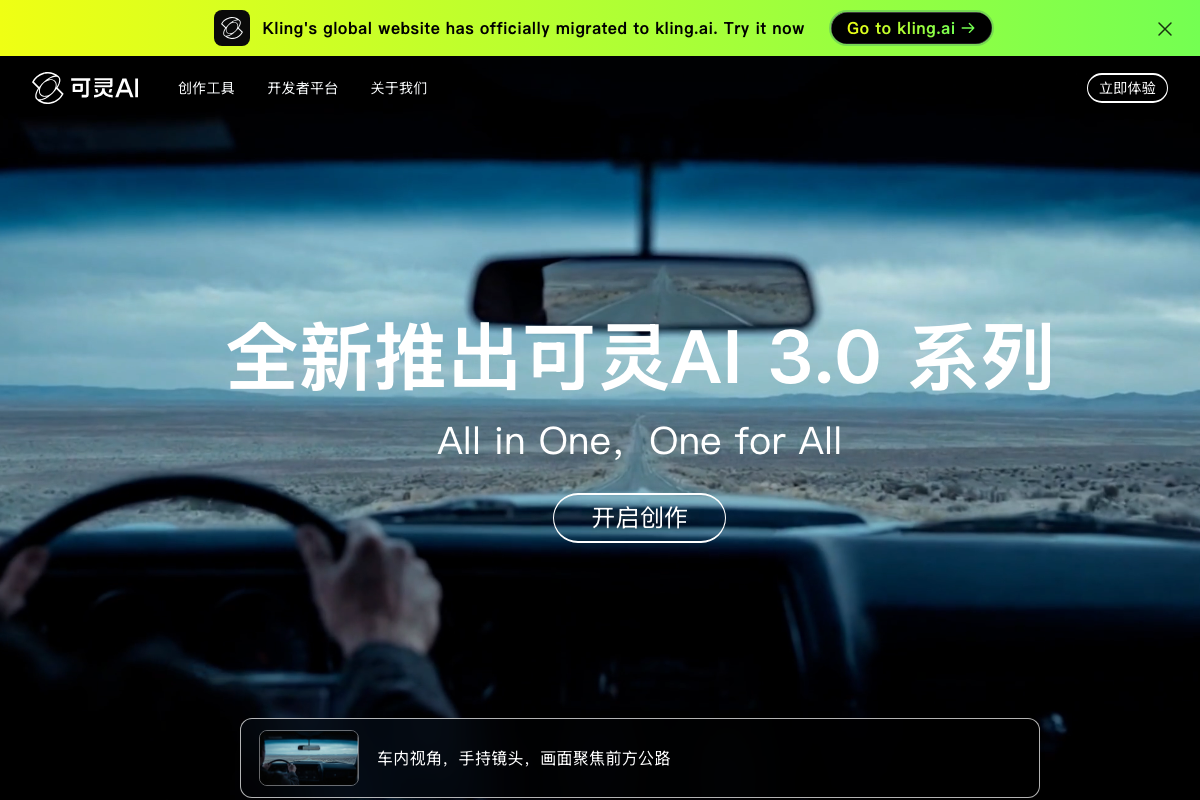
- The video calls the model “Cling 3.0.” As of April 15, 2026, the official brand name is Kling AI — “Cling” does not appear anywhere on the official site. The canonical global URL is now kling.ai; klingai.com redirects there.
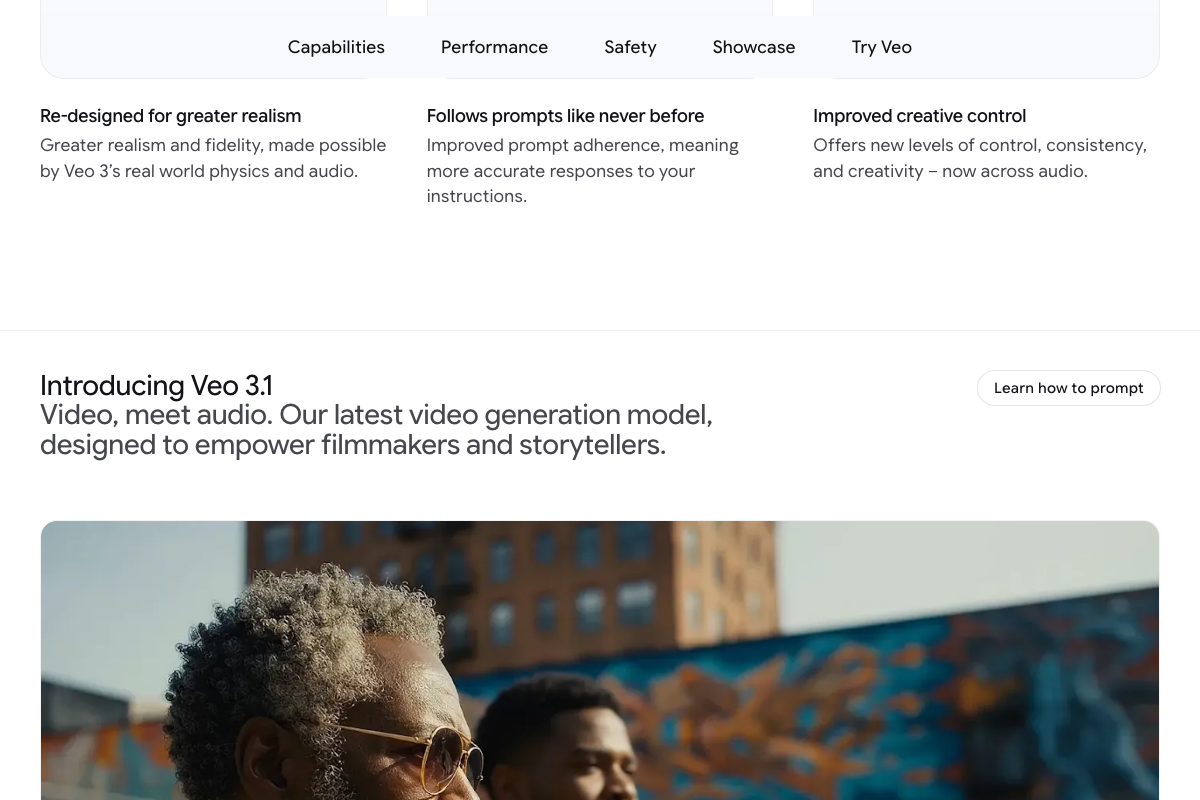
- The video references “Veo 3.1 Fast.” Google DeepMind’s documentation names this model simply Veo 3.1 — “Fast” appears to be a Leonardo AI platform-specific speed-tier label and carries no official Google DeepMind designation.
Steps 6–7 — Drag footage into Recut and remove silence
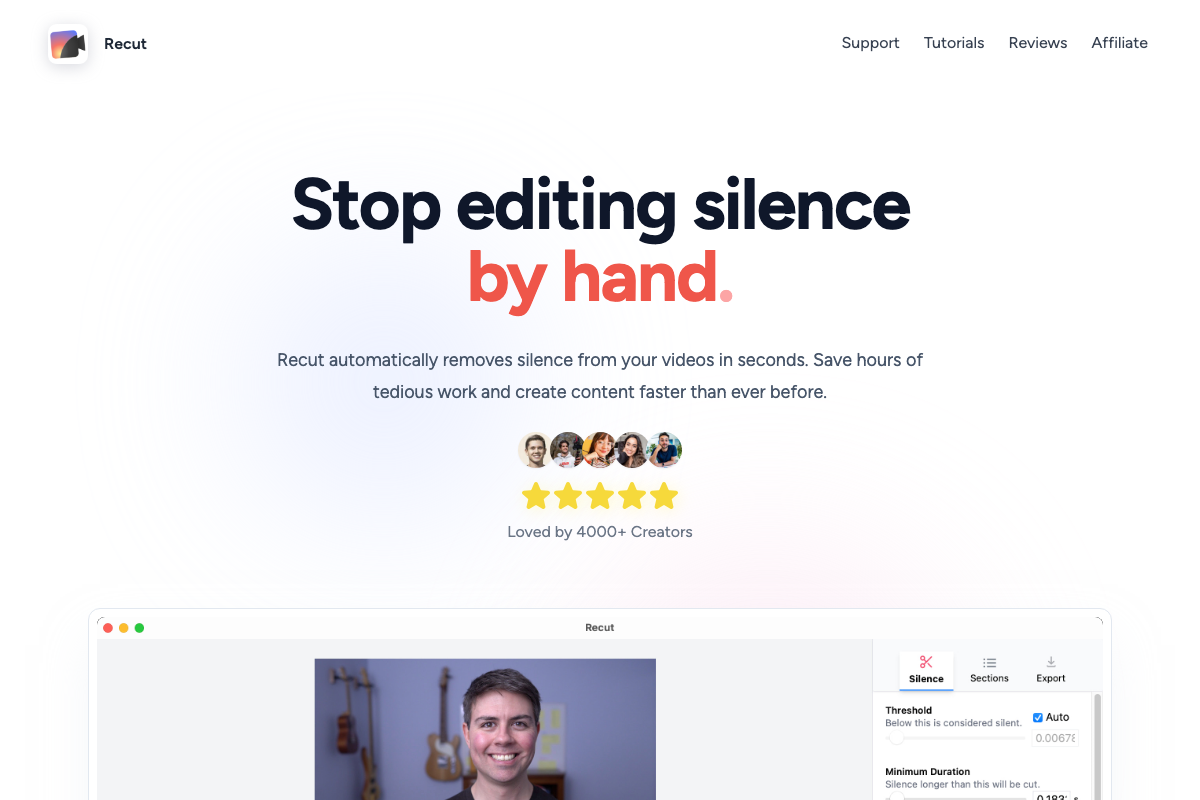
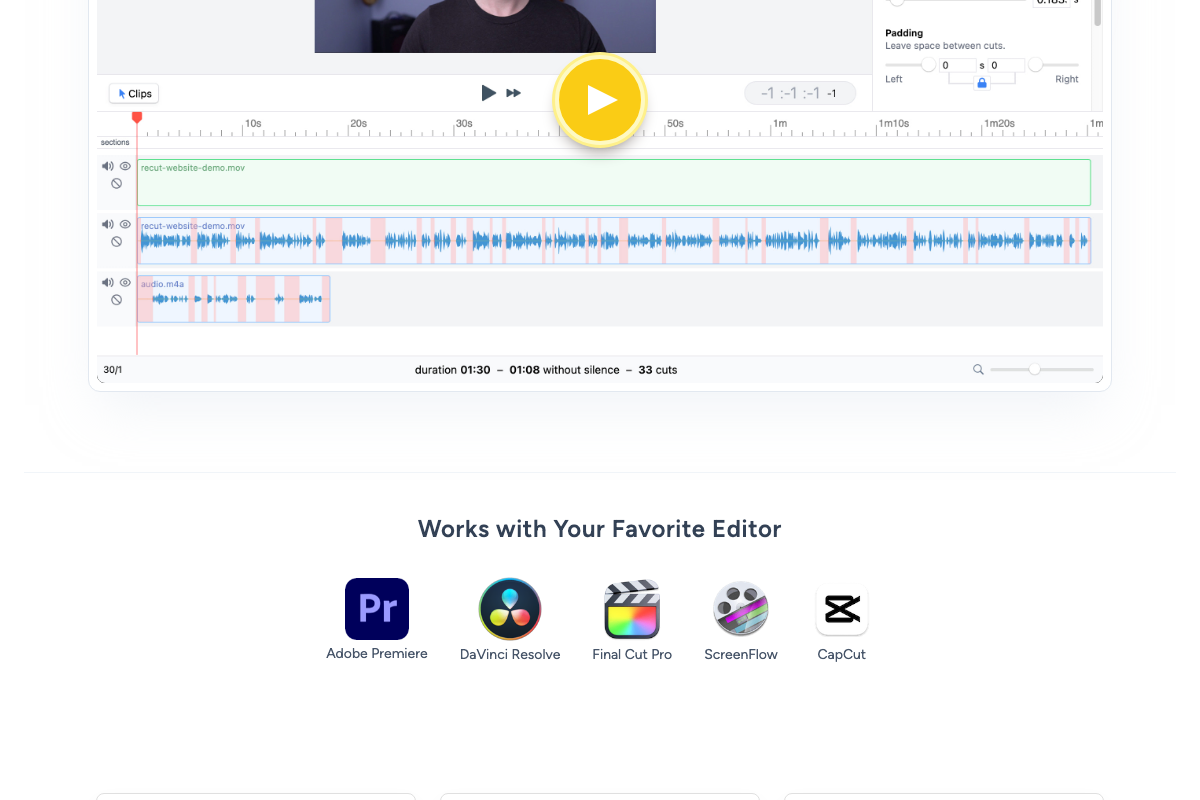
The tutorial instructs you to click a Remove Silence button. As of April 15, 2026, the correct Recut workflow is a three-tab sequence: Silence tab → set Threshold and Minimum Duration → Sections tab → Export tab. No single button exists. The Threshold defaults to Auto (0.0067x); the 0.04 value the video uses is a manual override you enter in the Threshold field. DaVinci Resolve is officially listed as a supported export target — the video’s approach here matches the current docs exactly for the XML handoff.
Steps 8–10 — Import into DaVinci Resolve, apply zoom effects, prepend the intro
No official documentation was found for these steps — proceed using the video’s approach and verify independently.
All three Blackmagic Design documentation captures returned identical 404 results. The XML import, Fusion overlay, and zoom-effect steps cannot be verified against official documentation until Blackmagic updates or republishes the /learn/davinciresolve path.
Useful Links
- Leonardo.Ai — Generative AI Platform for Images, Art & Video — The platform used throughout the tutorial to upload anchor frames and generate AI video intros via Kling AI, Veo 3.1, and other integrated models.
- Veo — Google DeepMind — Official source confirming Veo 3.1 capabilities and access paths via Gemini, Flow, and the Veo API.
- Kling AI — Current canonical global URL for Kling AI (migrated from klingai.com); the Kling AI 3.0 series is confirmed active as of April 2026.
- Recut — Automatic Video Editor — Official Recut site documenting the Silence → Sections → Export tabbed workflow and DaVinci Resolve as a confirmed export target.
- Blackmagic Design: DaVinci Resolve Learn Page — Note: this URL returned a persistent 404 as of April 2026; use the in-app Help > DaVinci Resolve Reference Manual for current documentation.


0 Comments