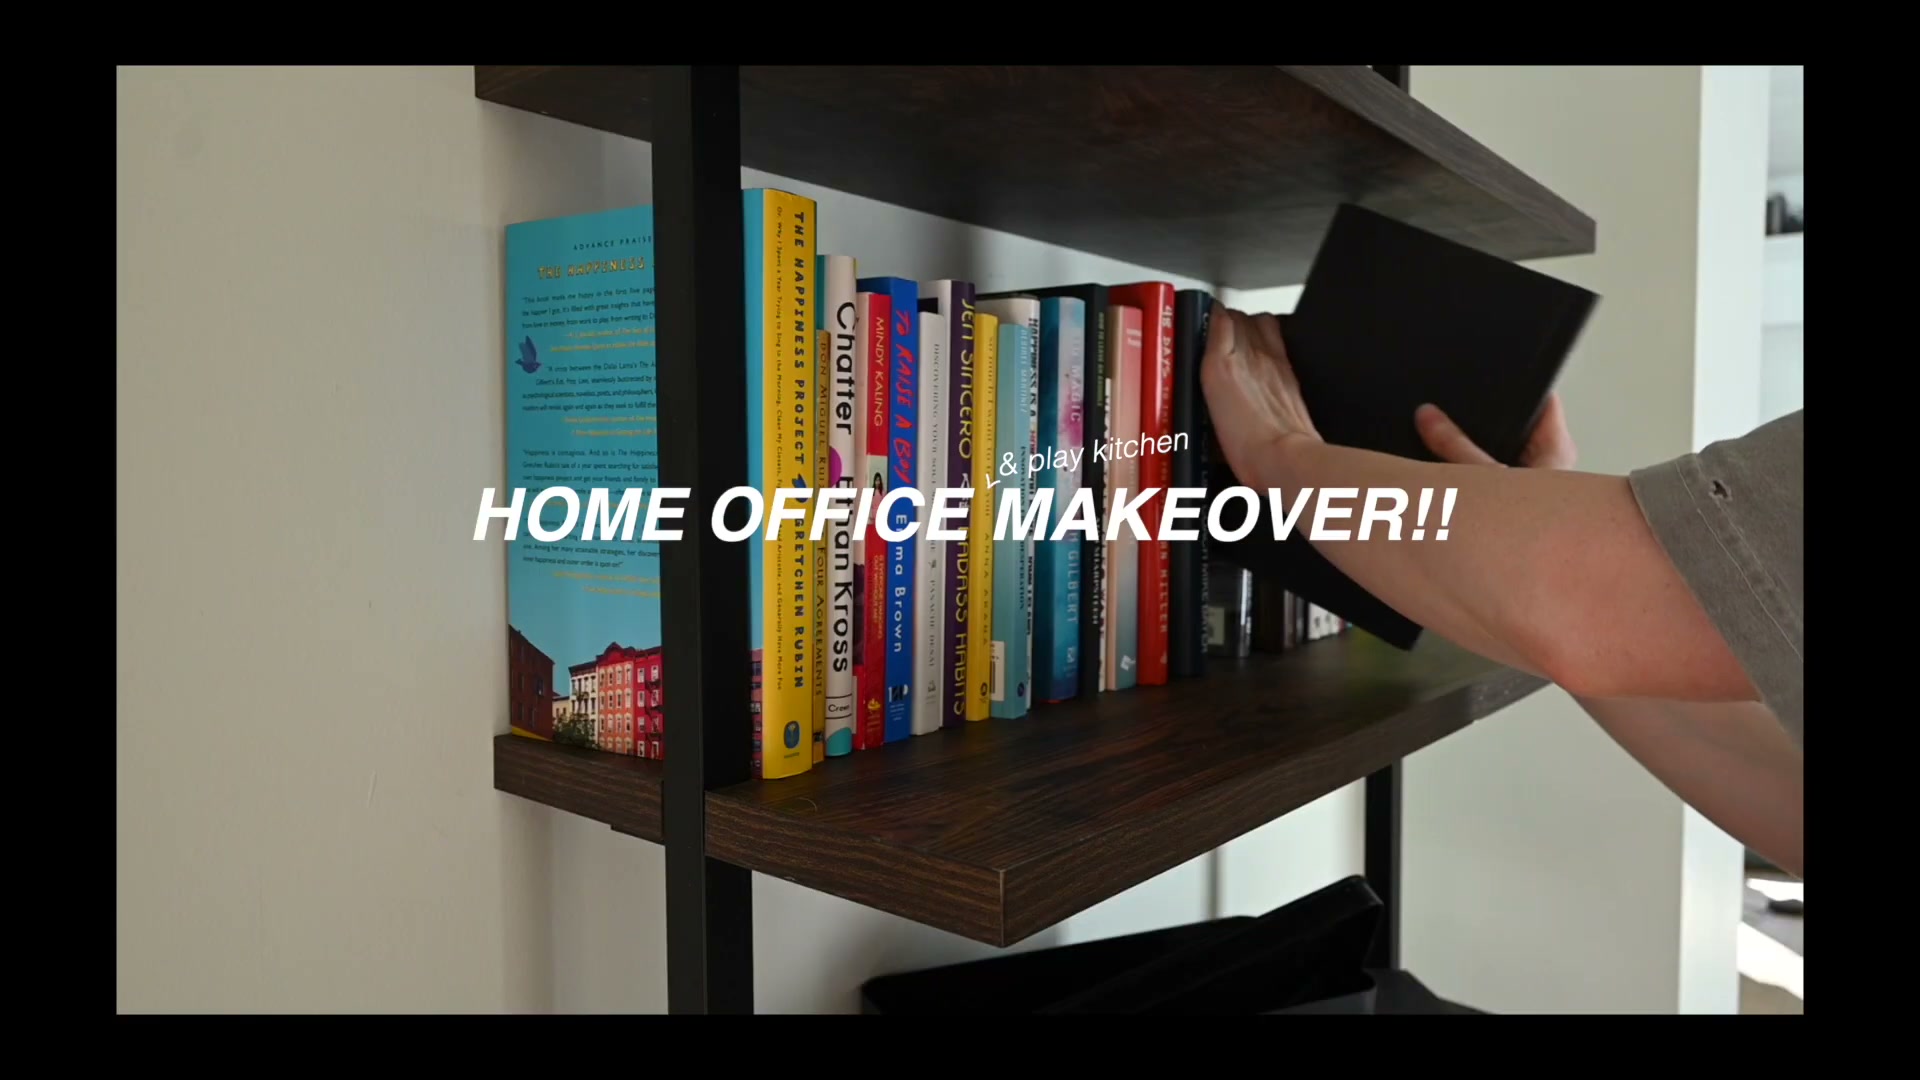
Transform a Room into a Dual-Zone Home Office
A functional home office doesn’t have to sacrifice your toddler’s need for play space — or your sanity. After working through this makeover, you’ll know how to plan a dual-zone layout, correct a paint color mid-project without starting over, and style a finished room on a thrift-store budget.
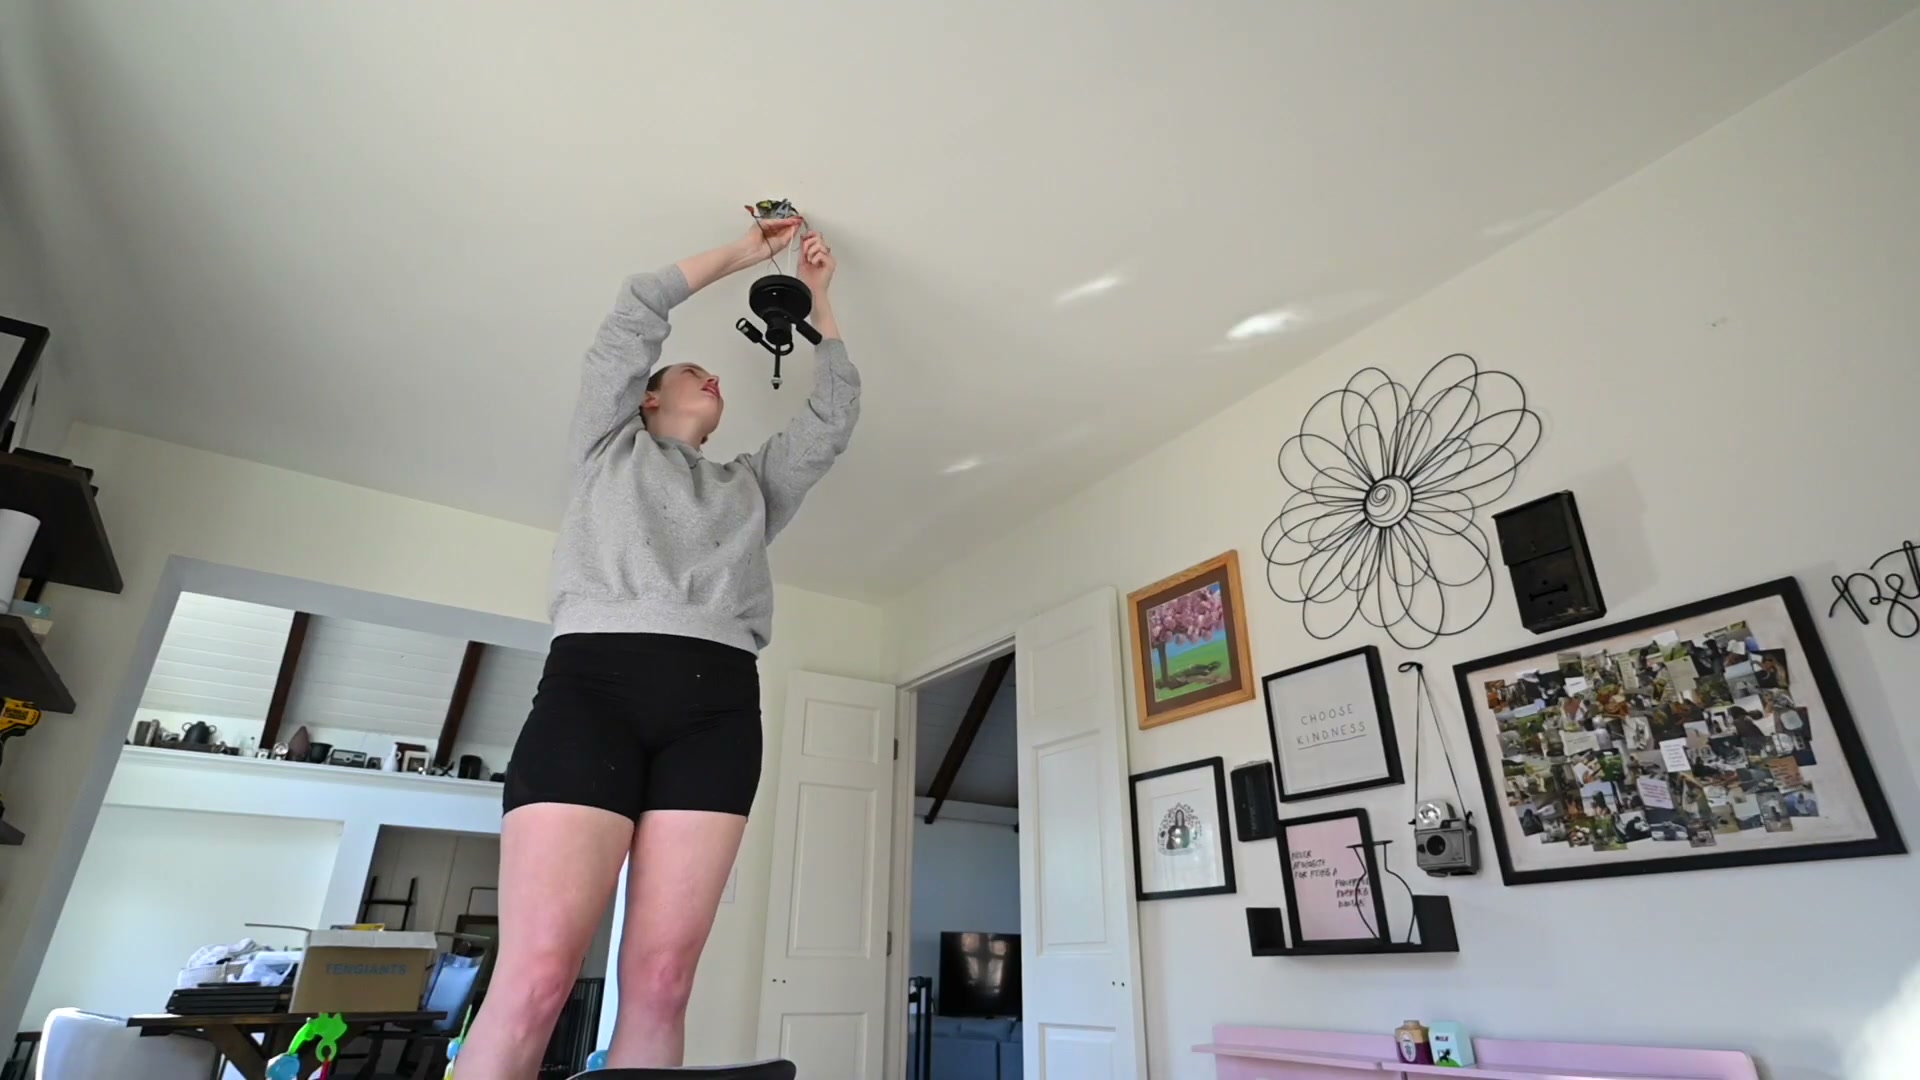
- Remove the old light fixture by cutting power at the breaker, then disconnecting and capping the existing wires. Mount the replacement fixture to the ceiling junction box using a power drill, connect matching wire pairs (black to black, white to white, ground to ground), and restore power to test before moving on.
-
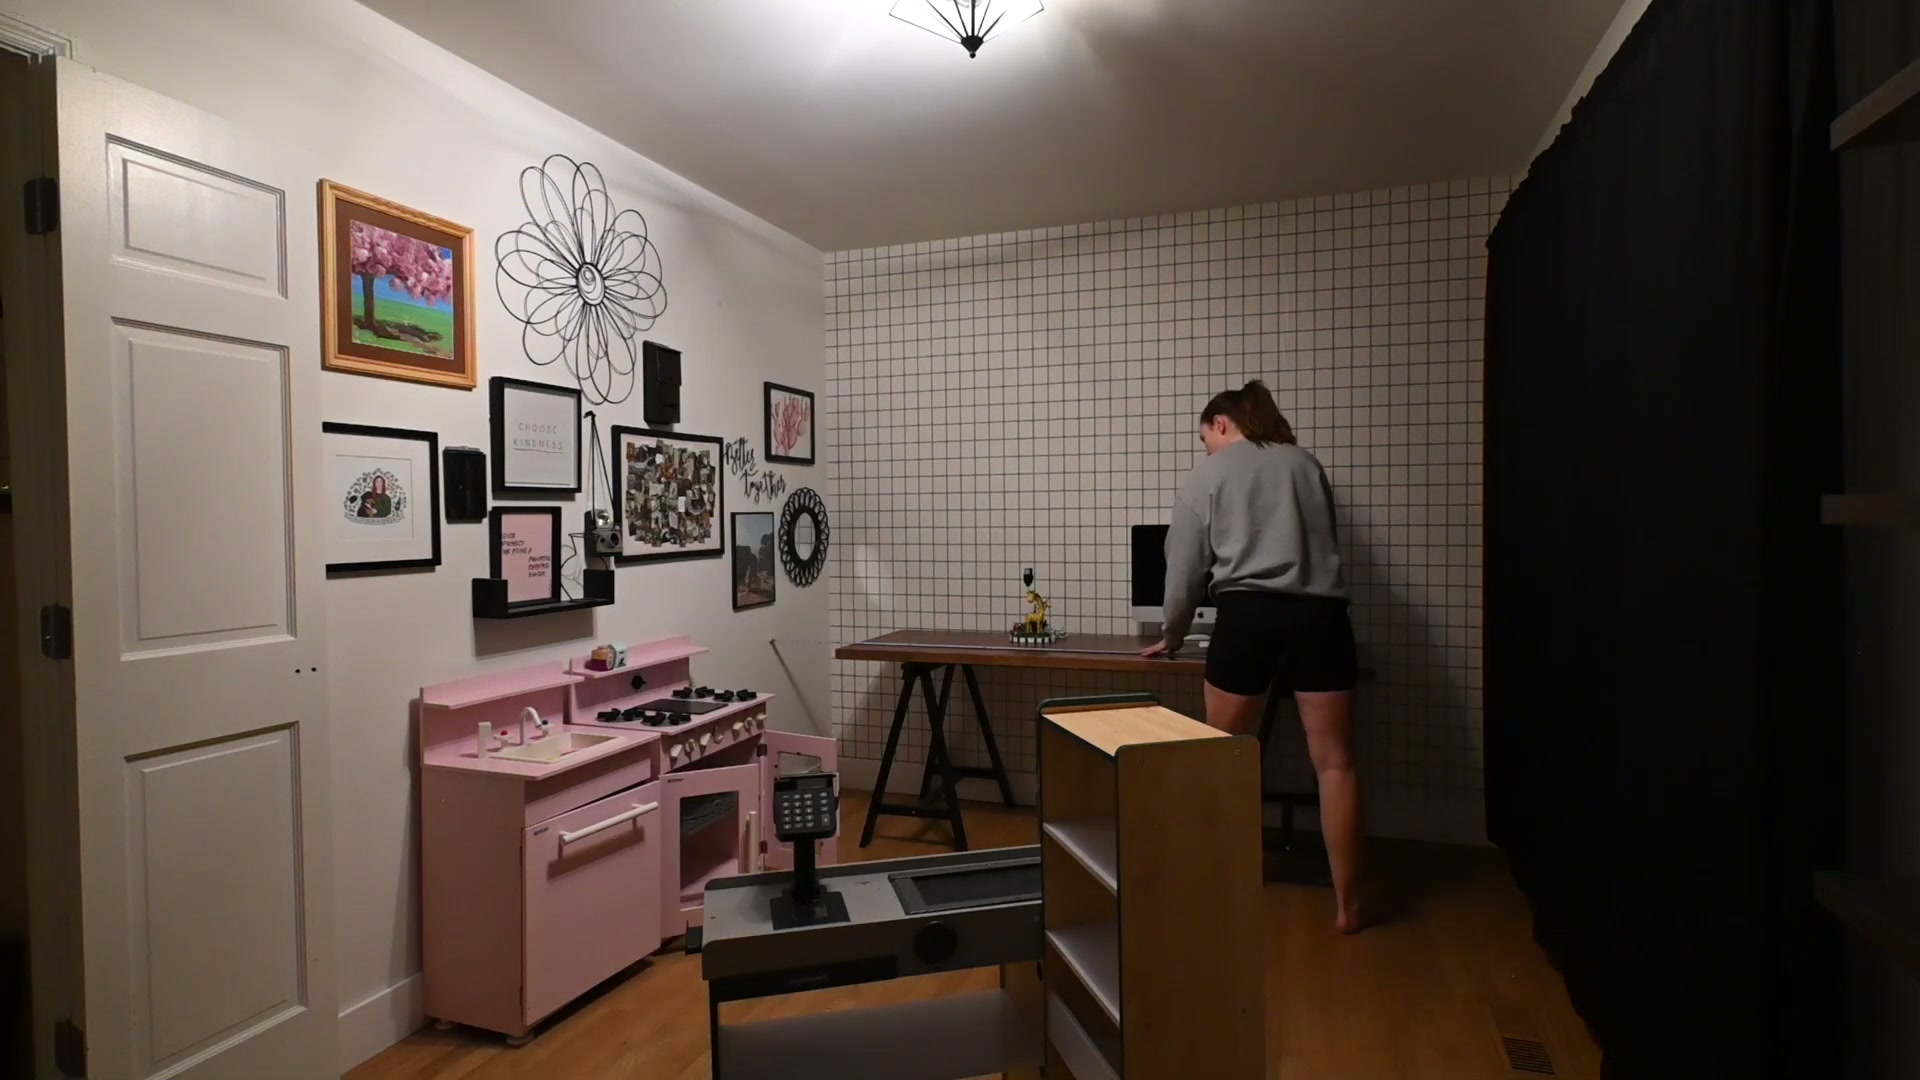
Open Pinterest and use it as a visual scratchpad before touching a single piece of furniture. Search for office layouts that match your room’s proportions, then identify which wall gets the desk and which gets the play zone. In a room where the door swings open and permanently eats wall space, measure both candidate walls — the difference can be 15 inches or more, and that gap determines everything.
-
Measure each wall to confirm desk placement, then move furniture into position. If you’re working with a large sawhorse-style desk, prioritize the longer wall even if it feels counterintuitive. Set up the Melissa & Doug Fresh Mart or equivalent play kitchen on the opposing wall to create a clear visual separation between work and play zones.
-
Source thrifted play food and sort it before it ever enters the office. Discard incomplete sets — a pizza missing half its slices, more hot dogs than buns — and limit the initial spread to a single category like fruit. This makes the play kitchen look intentional rather than chaotic, and it keeps daily tidy-up achievable.
-
Remove the old rug and position the new one so it sits under the desk chair. A rug with a non-slip backing helps in a room shared with a running toddler, but anchoring it under the chair leg adds stability that grip backing alone won’t provide.
-
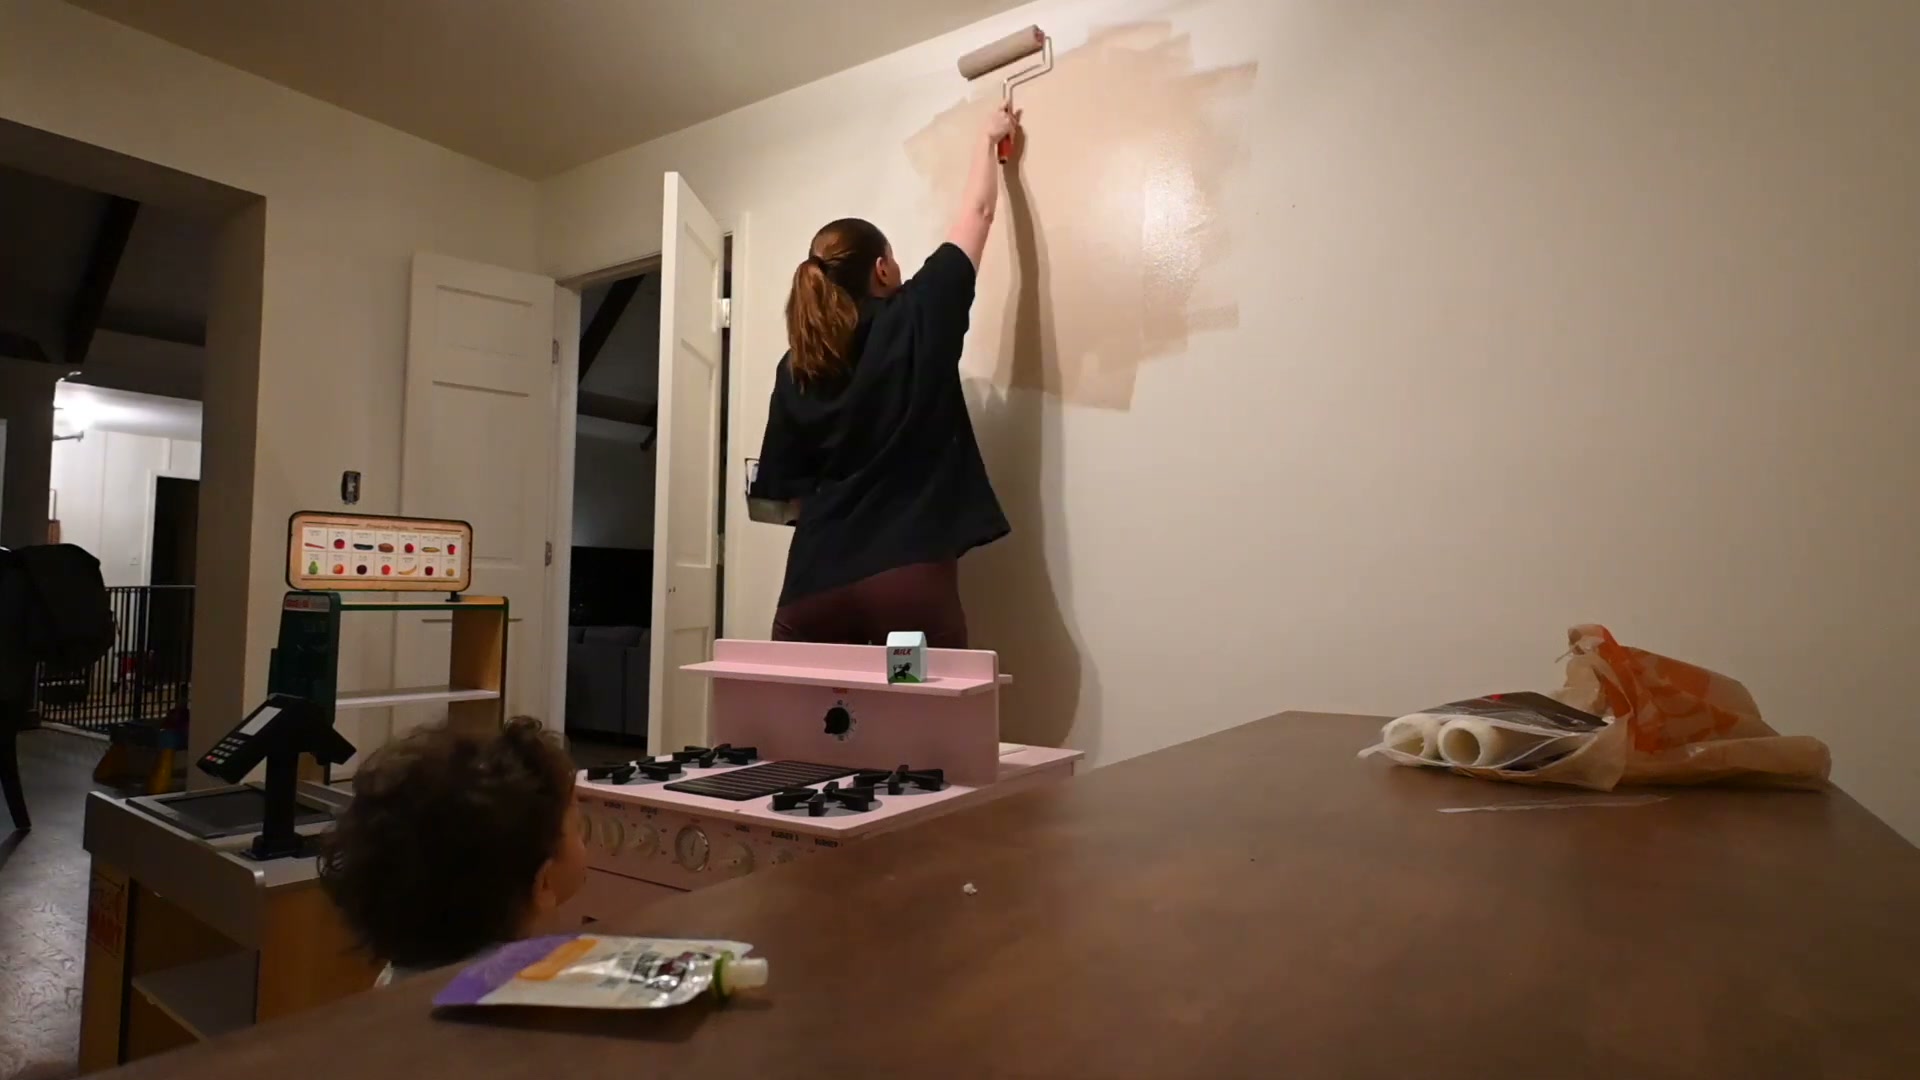
Remove all books from the bookcase before painting. Rolling paint next to a fully loaded shelf is how you ruin a book collection.
-
Apply the first coat of paint without sampling first.
Warning: this step may differ from current official documentation — see the verified version below.
- After the first coat dries and the color reads wrong on the wall, pull paint samples. Tape two or three candidates directly to the wall in the same room and compare them in the actual light conditions — morning, afternoon, and artificial. Warm beiges pull pink in high-sunlight rooms; cool beiges can read gray in low-light corners. Evaluate both before committing.
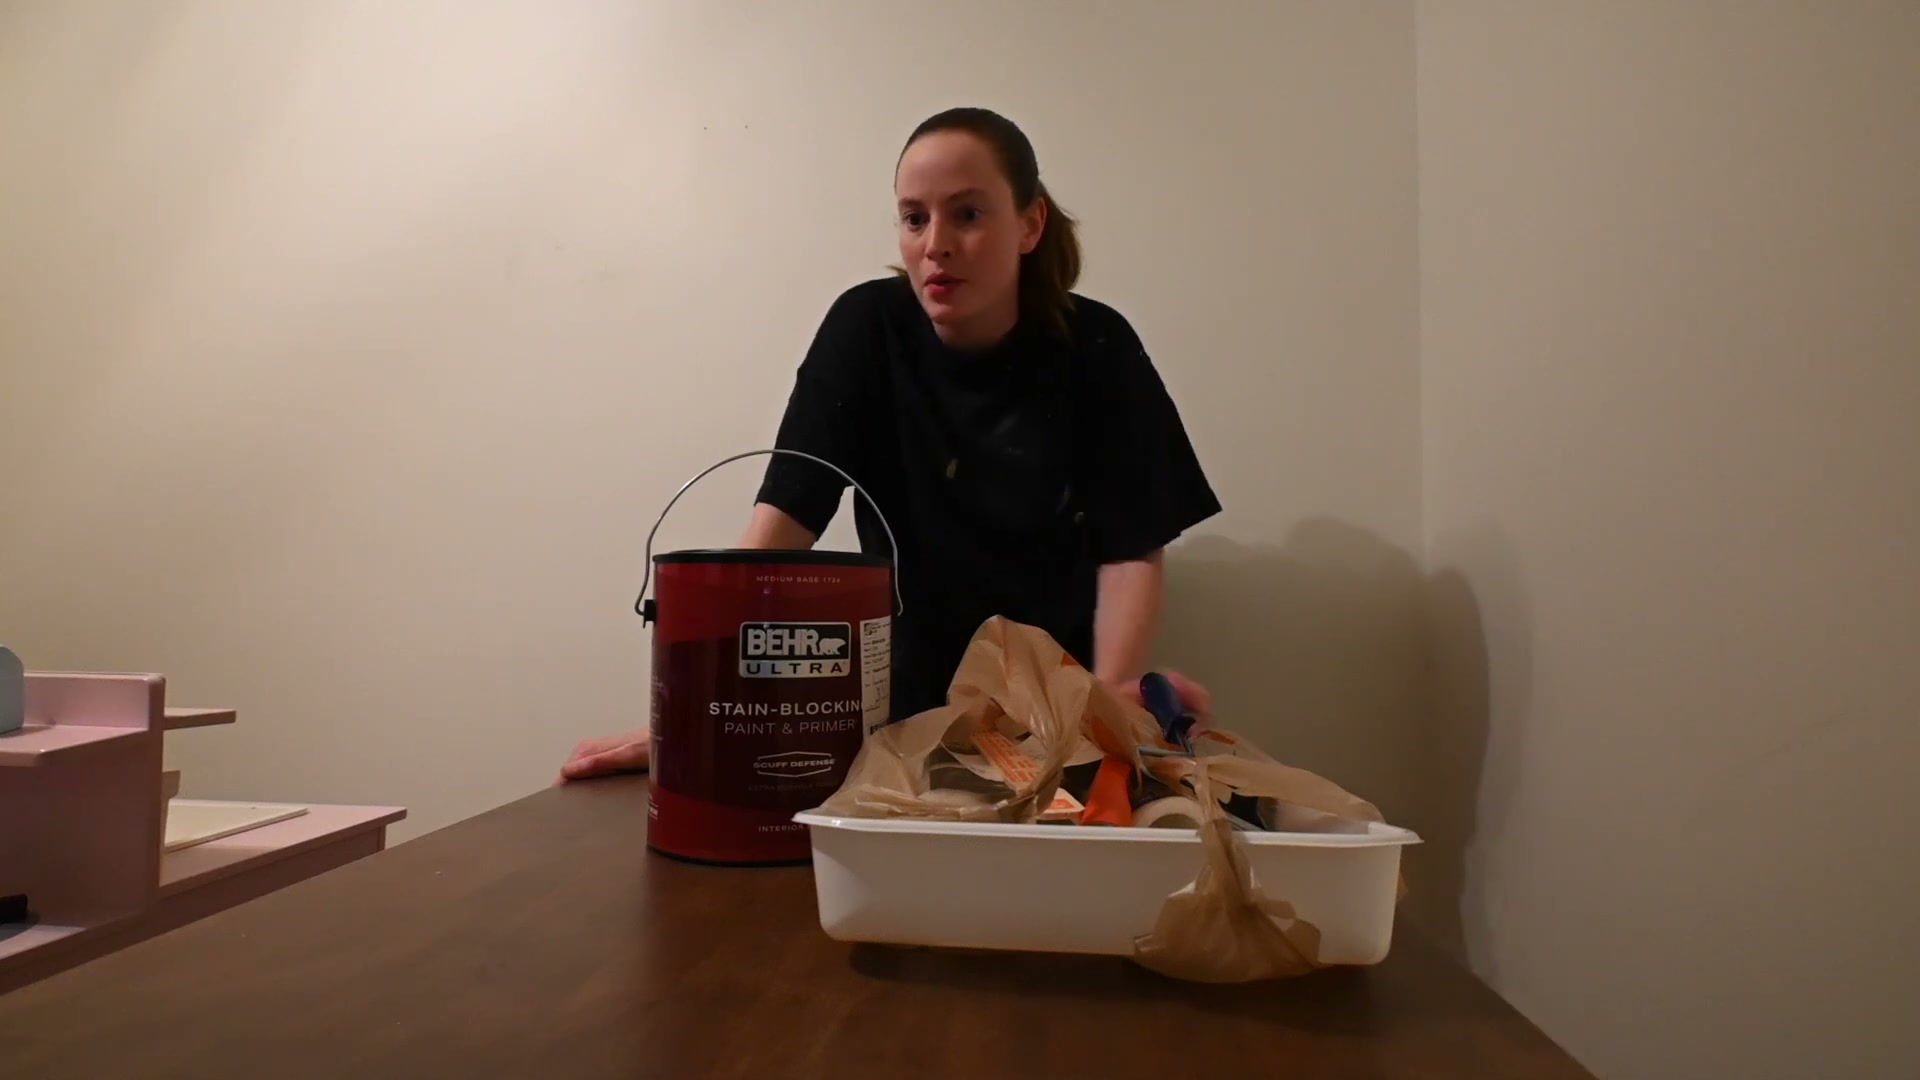
- Select your final paint color — a warm beige comparable to Sherwin-Williams Accessible Beige is available as a Home Depot match if you prefer Behr over other brands. Buy the stain-blocking primer-paint combo to maximize coverage on the correction coat.
-
Caulk the top edge of all trim pieces, let dry, sand down spackled nail-hole touch-ups until flush, then apply a fresh coat of trim paint. Add quarter-round along the baseboard where walls meet floor for a finished edge.
-
Hang curtain rods as high as your ceiling height allows without ordering custom-length panels. Floor-to-ceiling visual height is the goal; if standard panels reach, use them.
-
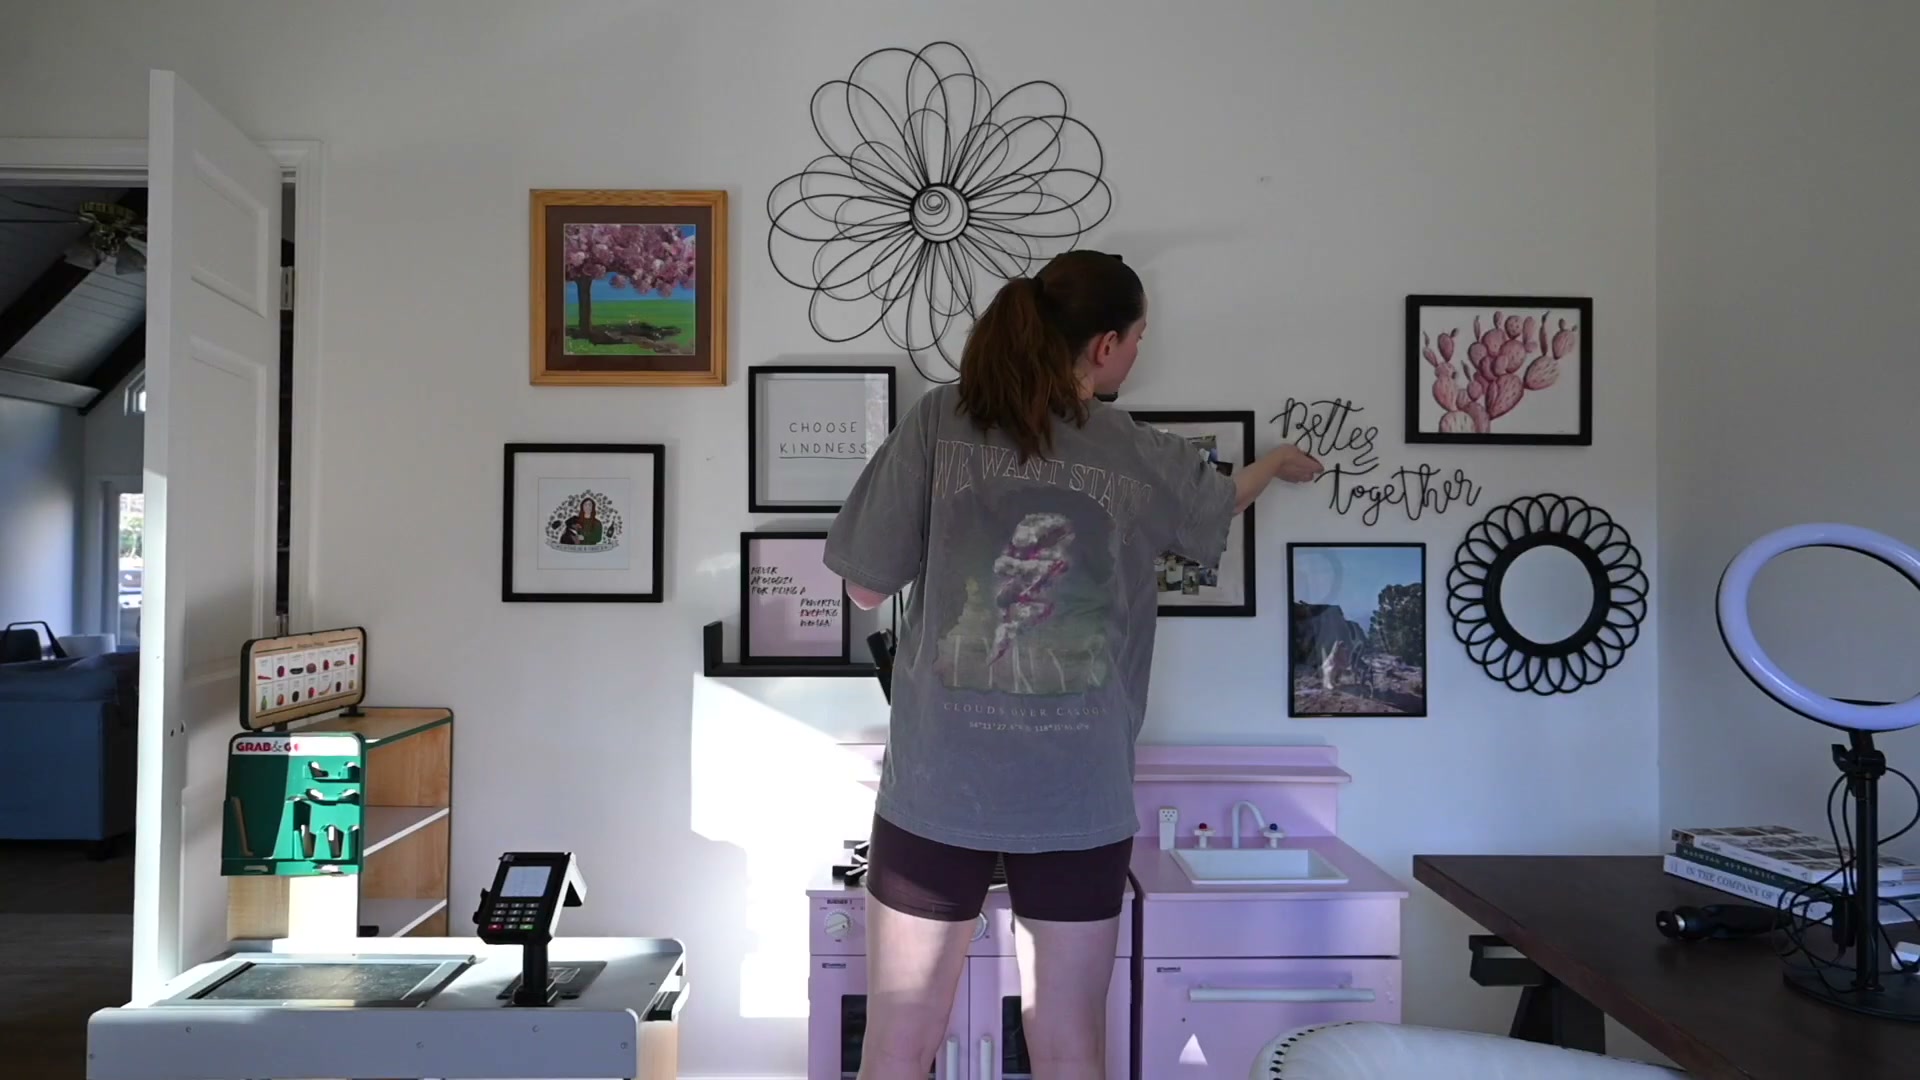
Thrift or antique all artwork for the gallery wall rather than buying new. Source what you can in your timeline, hang it, and plan to add pieces over time — a gallery wall that grows organically looks more considered than one purchased all at once.
-
Style the bookcase with self-help and reference books grouped by spine color or height for a cohesive look.
-
Place a mushroom basket or similar contained vessel in the corner of the play zone and fill it with a curated set of play food: one plate, one bowl, one spoon. As the toddler gets older and can participate in cleanup, add to the basket gradually rather than all at once.
How does this compare to the official docs?
The paint color correction mid-project and the non-slip rug workaround both work in practice, but official guidance from paint manufacturers and interior design resources has sharper advice on each — which is exactly where Act 2 picks up.
Here’s What the Official Docs Show
Act 1 gives you a complete walkthrough of the makeover as it happened in real time. Act 2 layers in what official sources confirm, clarify, and extend — coverage is partial, so every unverified step is flagged clearly rather than passed over in silence.
Step 1 — Remove and replace the light fixture
No official documentation was found for this step — proceed using the video’s approach and verify independently.
Step 2 — Use Pinterest to plan your layout
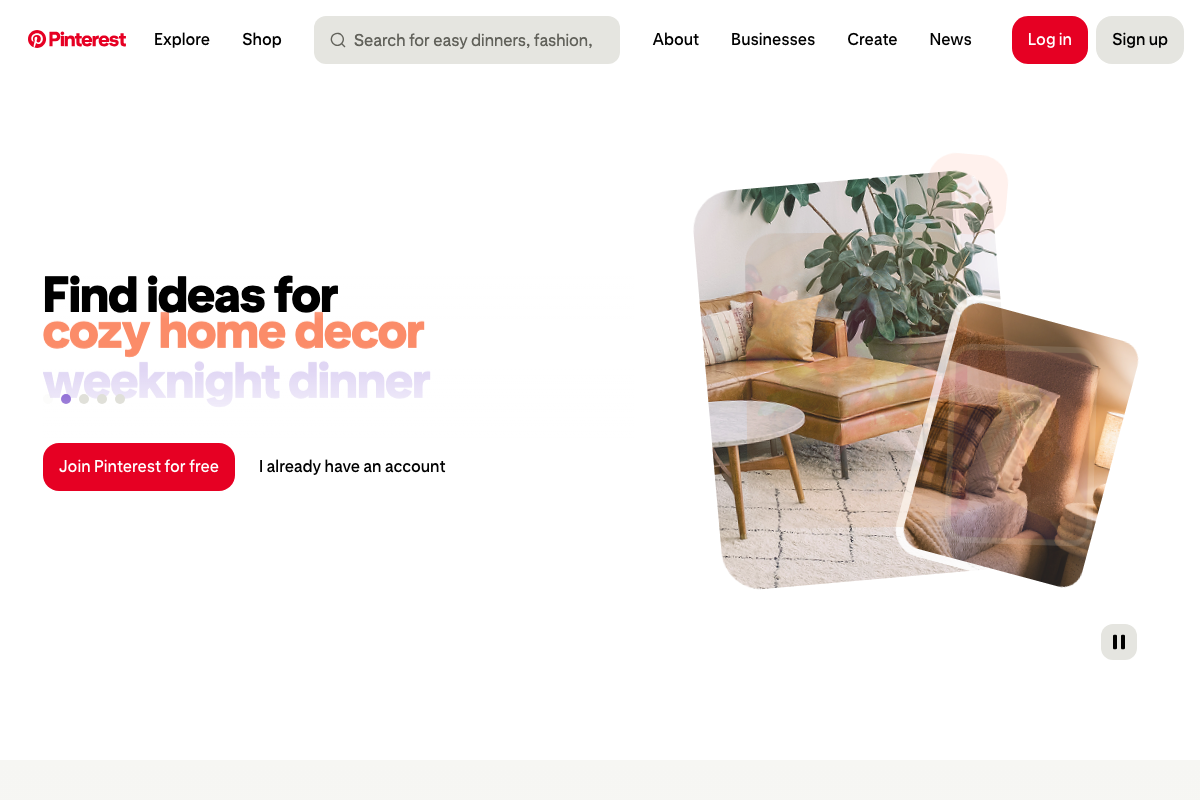
The video’s approach here matches the current docs exactly. One useful addition: browsing without an account is read-only. Saving pins to personal boards — the core of the layout-planning workflow — requires creating a free account first. Also worth knowing: the default homepage feed reflects seasonal editorial priorities, not home decor. Searching a specific term like “small home office layout” surfaces relevant pins far faster than scrolling the homepage.


Step 3 — Measure walls and move furniture into position
No official documentation was found for this step — proceed using the video’s approach and verify independently.
Step 4 — Source and curate thrifted play food
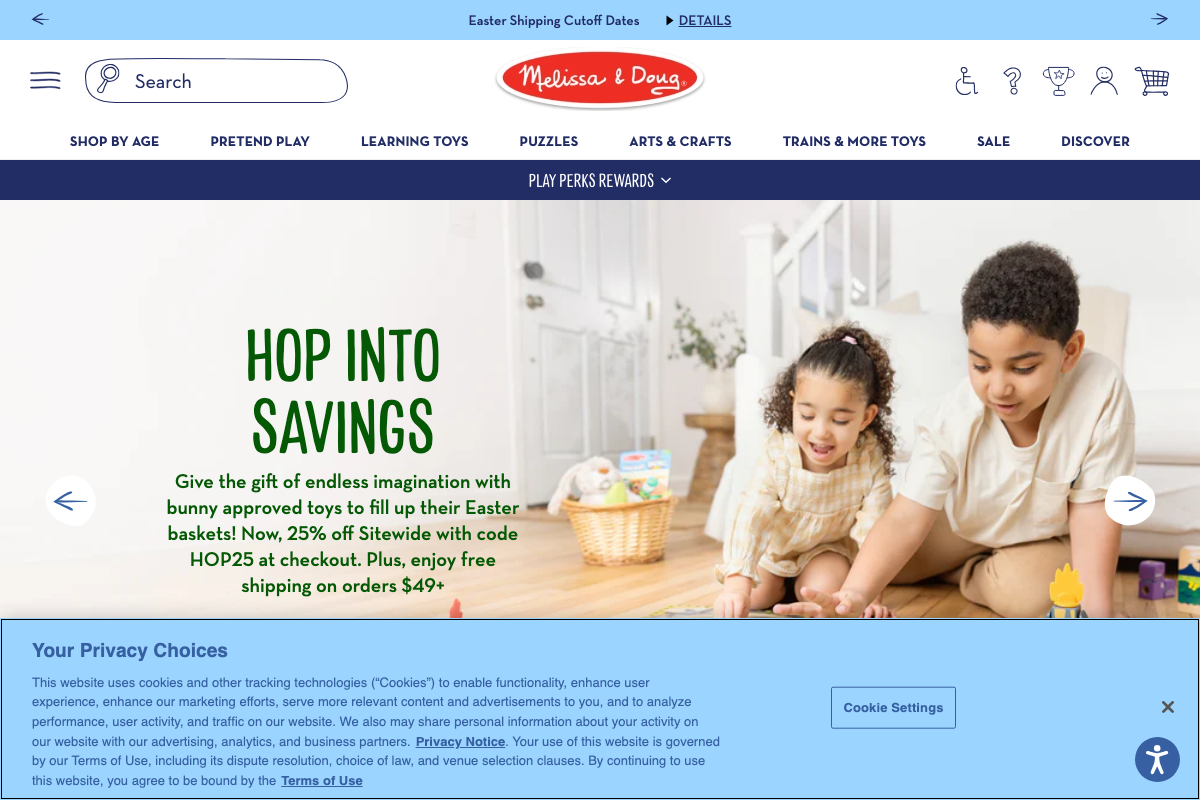
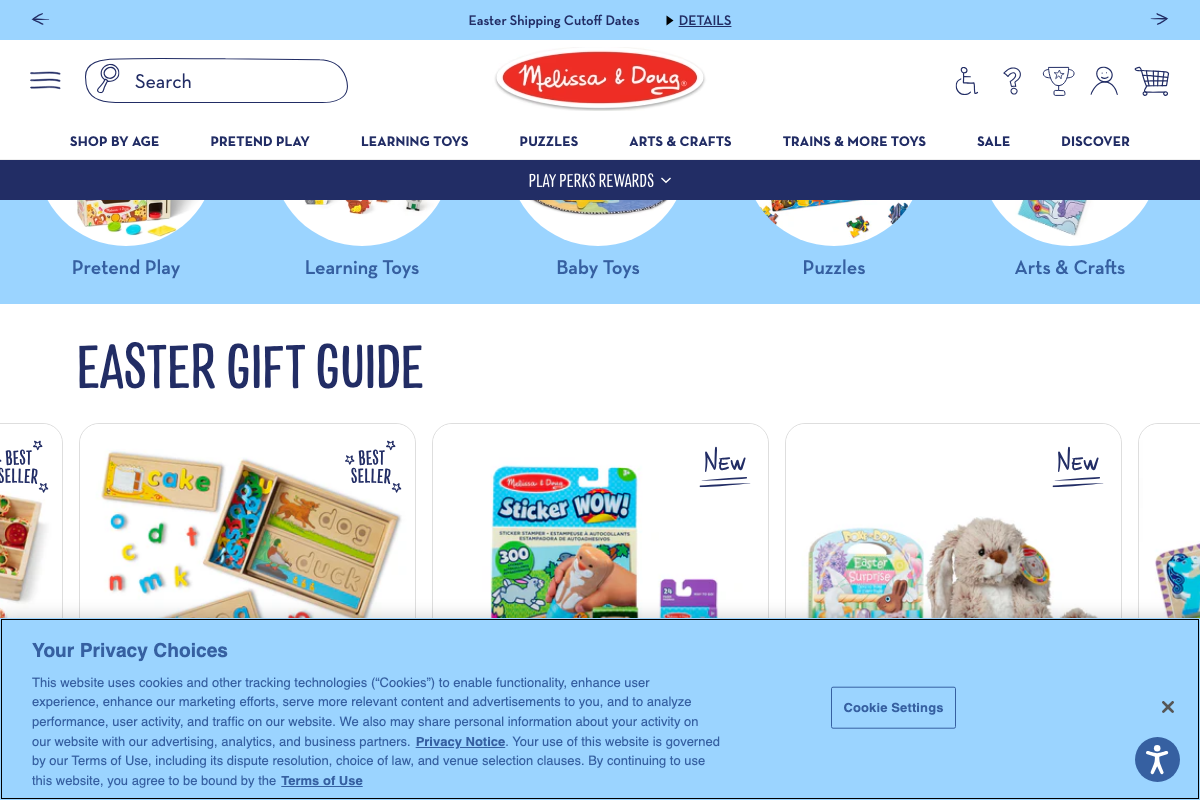
Melissa & Doug is confirmed as an active brand with a live e-commerce site. If you’re sourcing the Fresh Mart Grocery Store specifically, navigate to the Pretend Play category on melissaanddoug.com — the screenshots confirm that’s where this product class lives. The specific item did not appear in the captured screenshots, so verify current availability directly.
Step 5 — Remove old rug and position the new one
No official documentation was found for this step — proceed using the video’s approach and verify independently.
Step 6 — Clear the bookcase before painting
No official documentation was found for this step — proceed using the video’s approach and verify independently.
Step 7 — Apply the first coat of paint
No official documentation was found for this step — proceed using the video’s approach and verify independently.
Step 8 — Pull and compare paint samples after the first coat
No official documentation was found for this step — proceed using the video’s approach and verify independently.
Step 9 — Select your final paint color

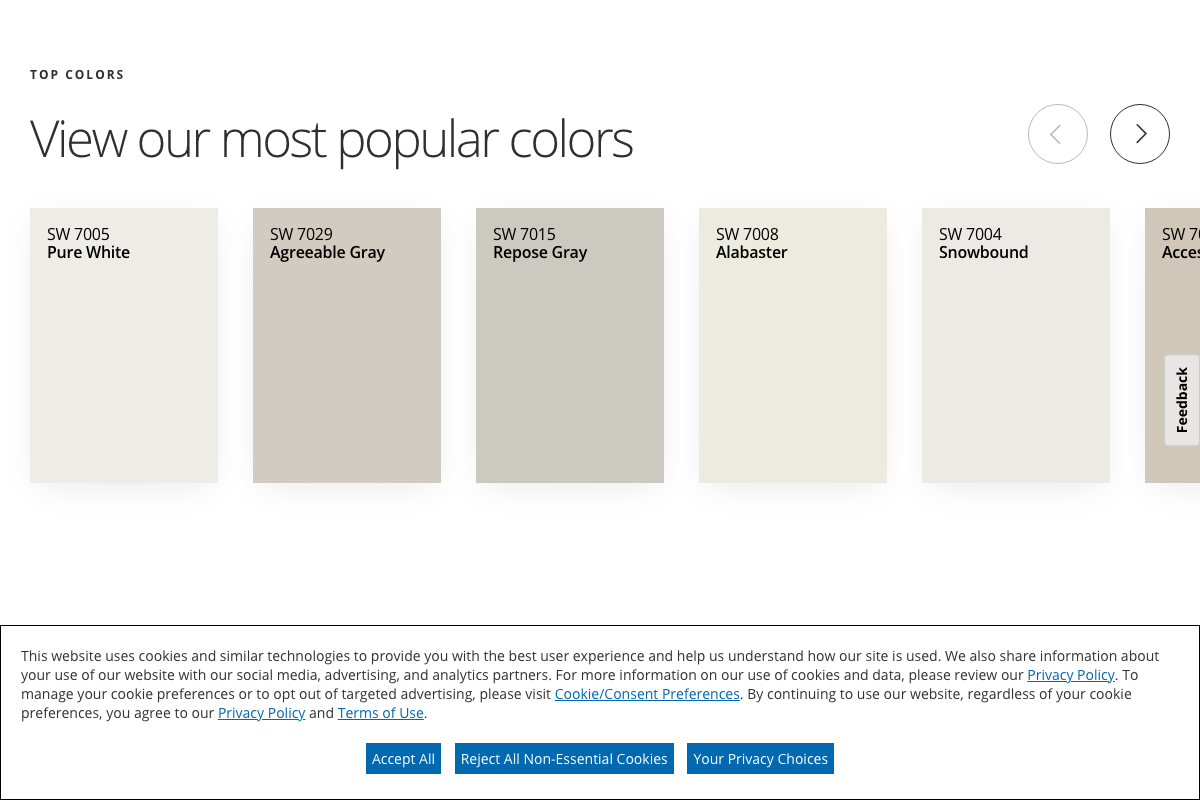
The video’s approach here matches the current docs exactly. Sherwin-Williams Accessible Beige (SW 7036) is confirmed as a current top-selling color, appearing in the brand’s “most popular colors” carousel alongside Pure White, Agreeable Gray, Repose Gray, Alabaster, and Snowbound. The tutorial’s framing of the Home Depot selection as “comparable to” Accessible Beige is accurate — Accessible Beige is a Sherwin-Williams proprietary color and is not sold under that name at Home Depot.

Step 10 — Caulk, spackle, and repaint trim
No official documentation was found for this step — proceed using the video’s approach and verify independently.
Step 11 — Hang curtain rods
No official documentation was found for this step — proceed using the video’s approach and verify independently.
Step 12 — Source and hang gallery wall art
No official documentation was found for this step — proceed using the video’s approach and verify independently.
Step 13 — Style the bookcase
No official documentation was found for this step — proceed using the video’s approach and verify independently.
Step 14 — Set up the play zone corner
No official documentation was found for this step — proceed using the video’s approach and verify independently.
Useful Links
- Pinterest — Visual discovery platform used in step 2 for room layout planning; a free account is required to save pins to boards.
- Melissa & Doug: #1 Preschool Brand For Wooden Toys — Official brand site for the Fresh Mart Grocery Store and related play kitchen sets; browse via the Pretend Play category for the product referenced in step 4.
- Sherwin-Williams Paints, Stains, Supplies and Coating Solutions — Official source confirming Accessible Beige (SW 7036) as a current top-selling color; relevant to steps 8 and 9.
- Bring your story to life | Music & SFX for videos | Epidemic Sound — Music and SFX licensing platform with worry-free video licensing; not referenced in the tutorial steps, but used as the video’s background music source.


0 Comments