Install, Configure, and Prompt Claude Code in VS Code
Claude Code turns your terminal into an autonomous development partner — but only if you set it up correctly. By the end of this walkthrough, you’ll have Claude Code running inside VS Code, understand its three permission modes, and know how to write prompts that trigger clarifying questions instead of generic output. The demo project is a kanban board for content creators, built from a plain-English prompt and a Dribbble screenshot.
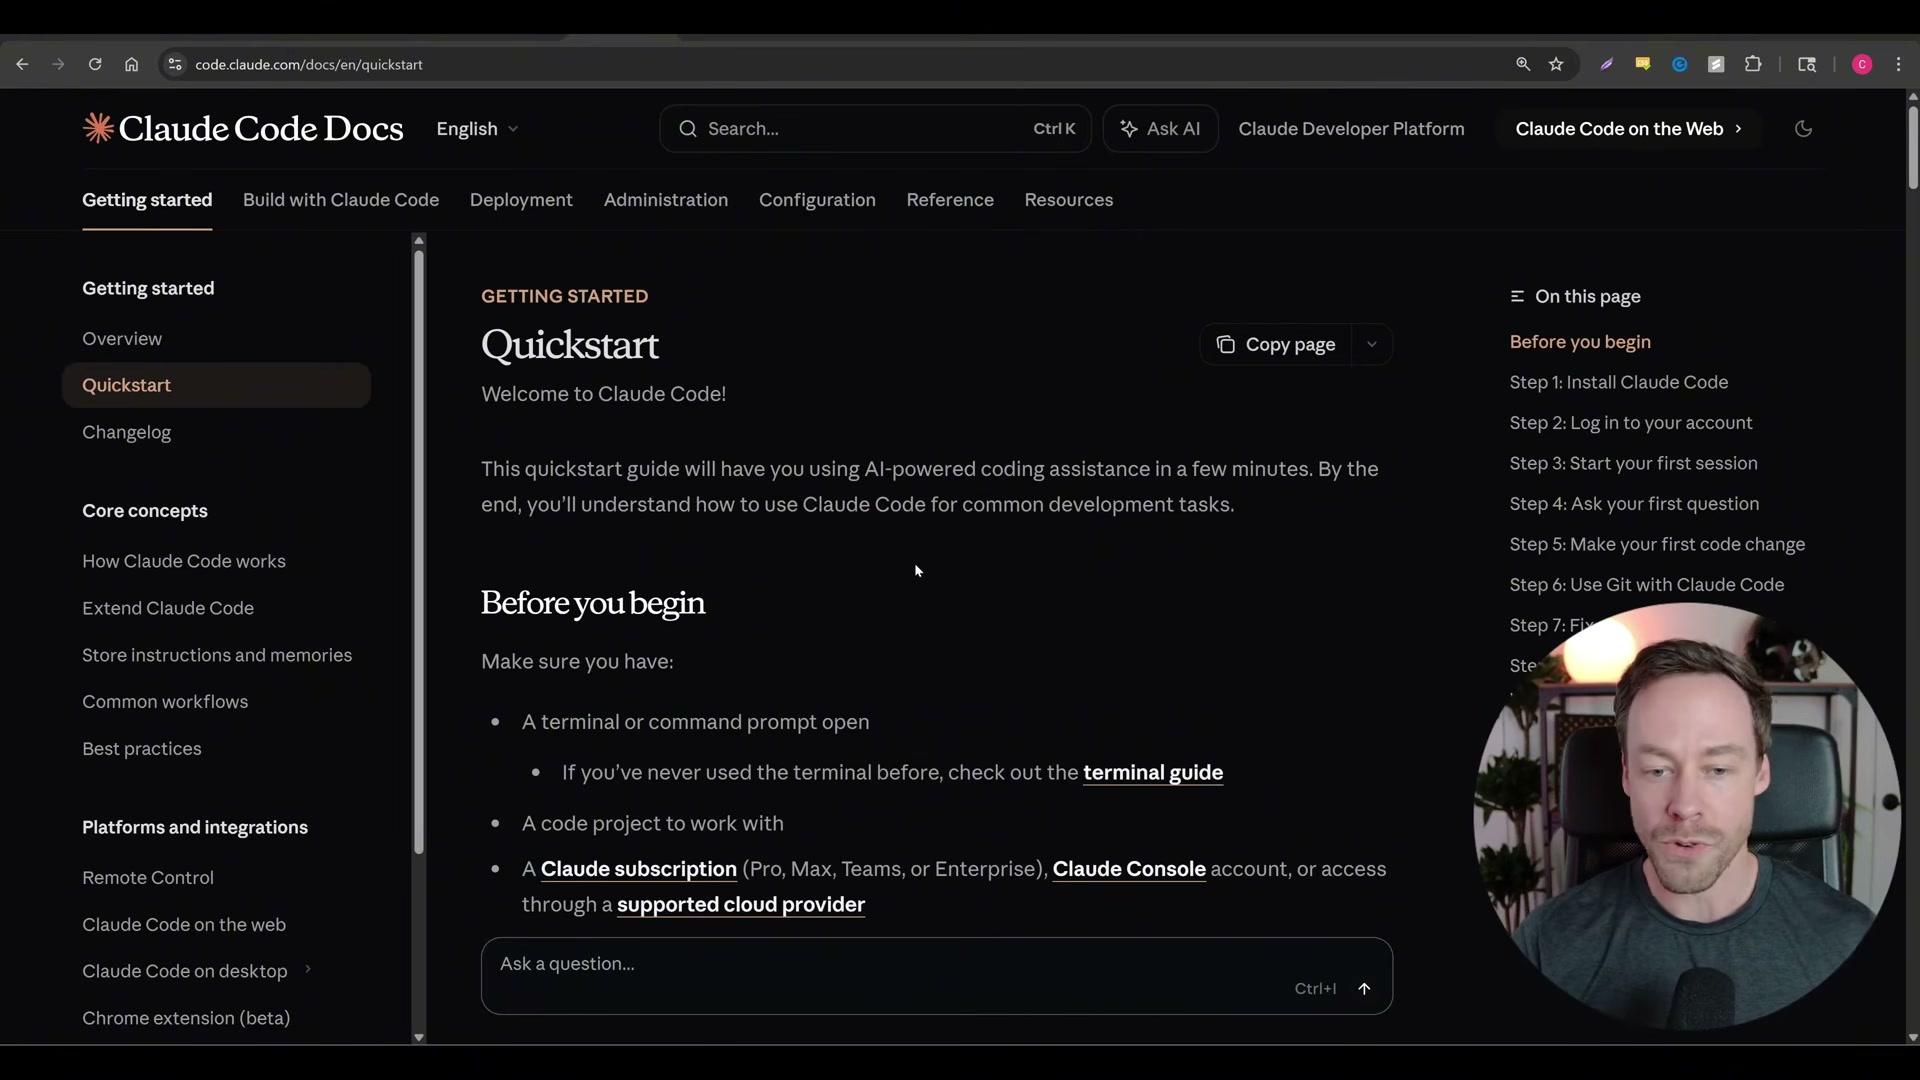
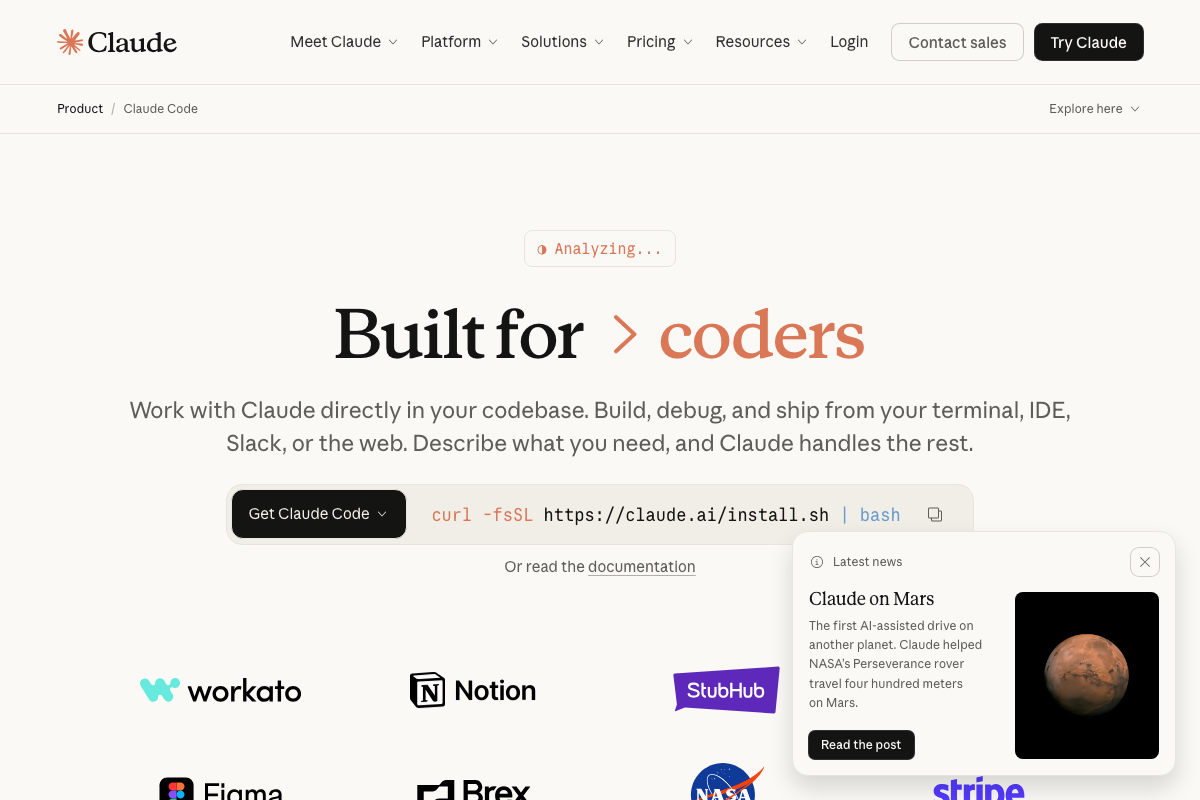
- Open a browser and search “Claude Code install.” The first result should be the official Claude Code documentation. Open it — the quickstart page lists the exact prerequisites: a working terminal, an existing code project, and an active Claude subscription.
-
Copy the install command for your operating system. On Windows, open PowerShell from the Start menu search bar and paste the command. On macOS or Linux, paste it into your system terminal. Run it and wait for the install to complete.
-
Download VS Code from code.visualstudio.com, run the installer for your OS, and open it when the wizard finishes.
-
Inside VS Code, go to File > Open Folder and either create a new project folder or select an existing one. Name it something recognizable — the video uses
2026-1. The folder’s contents will populate the Explorer panel on the left as Claude Code generates files. -
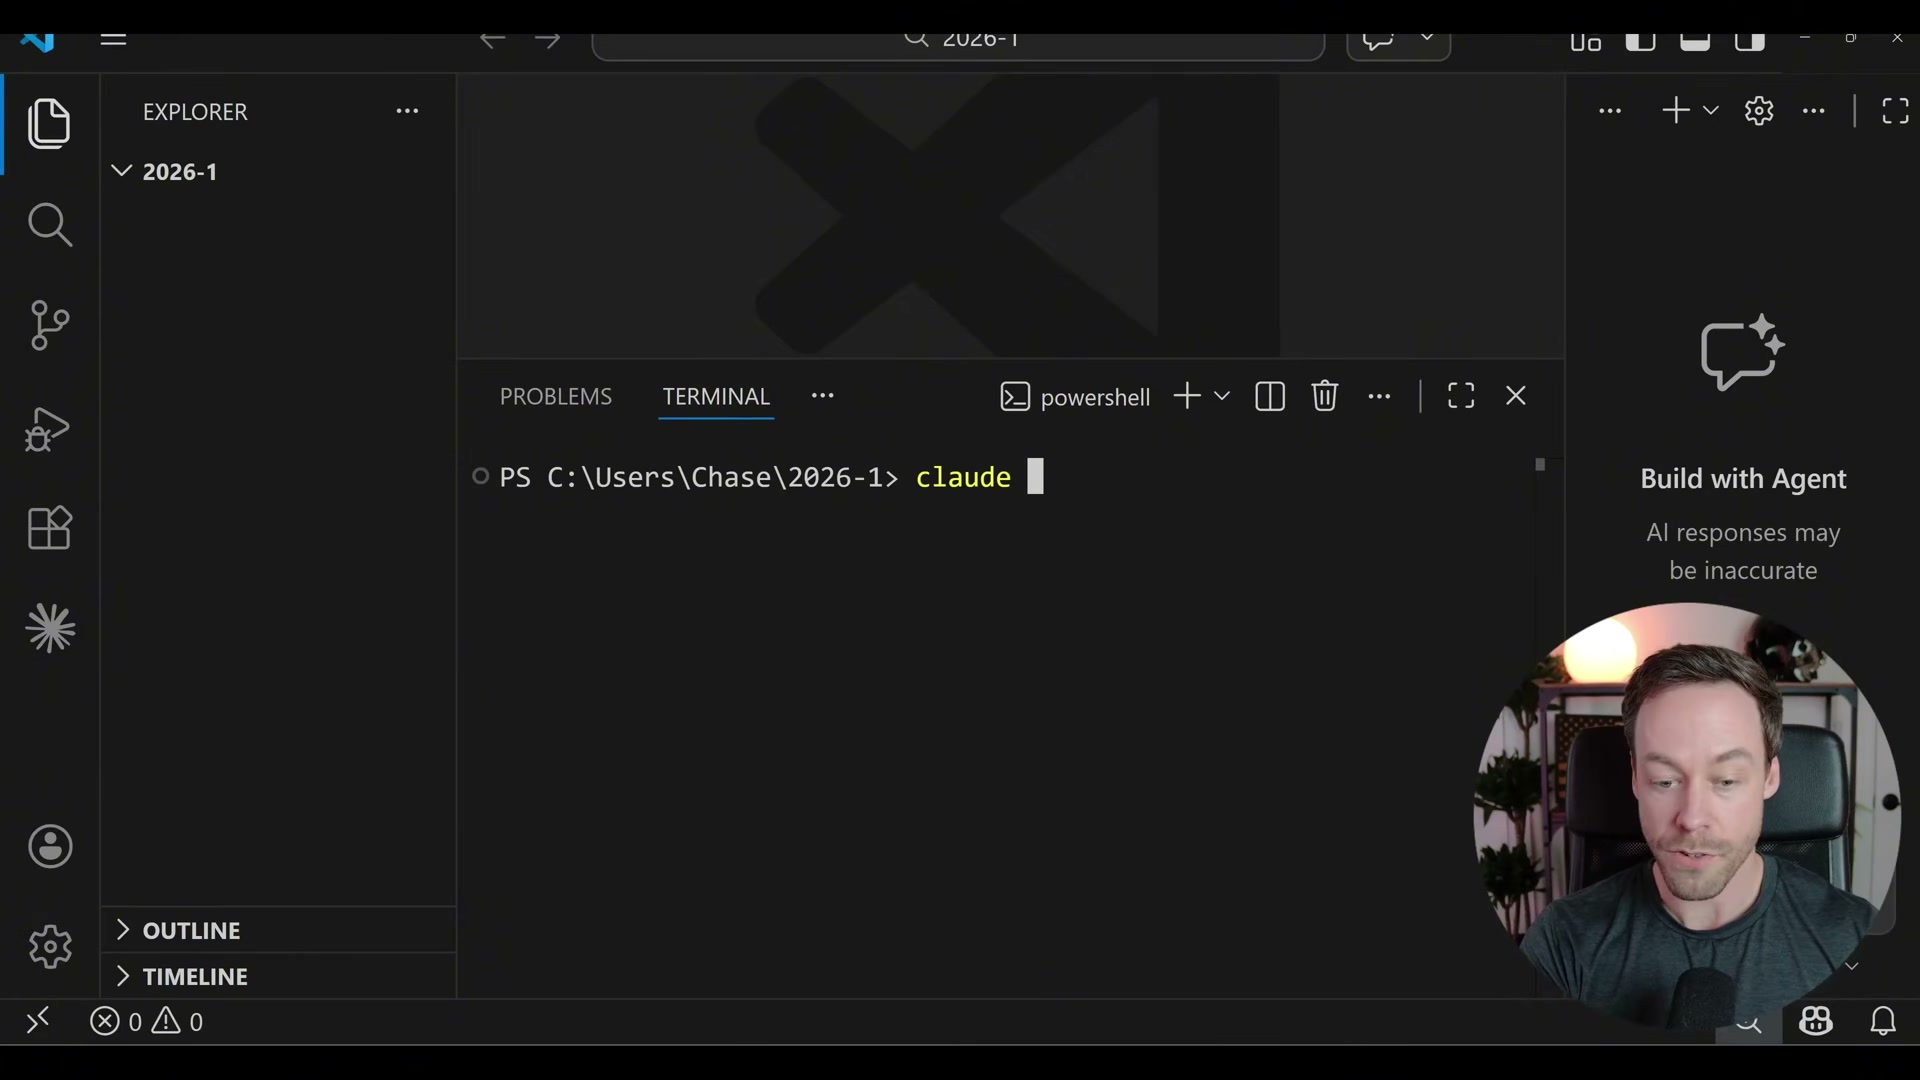
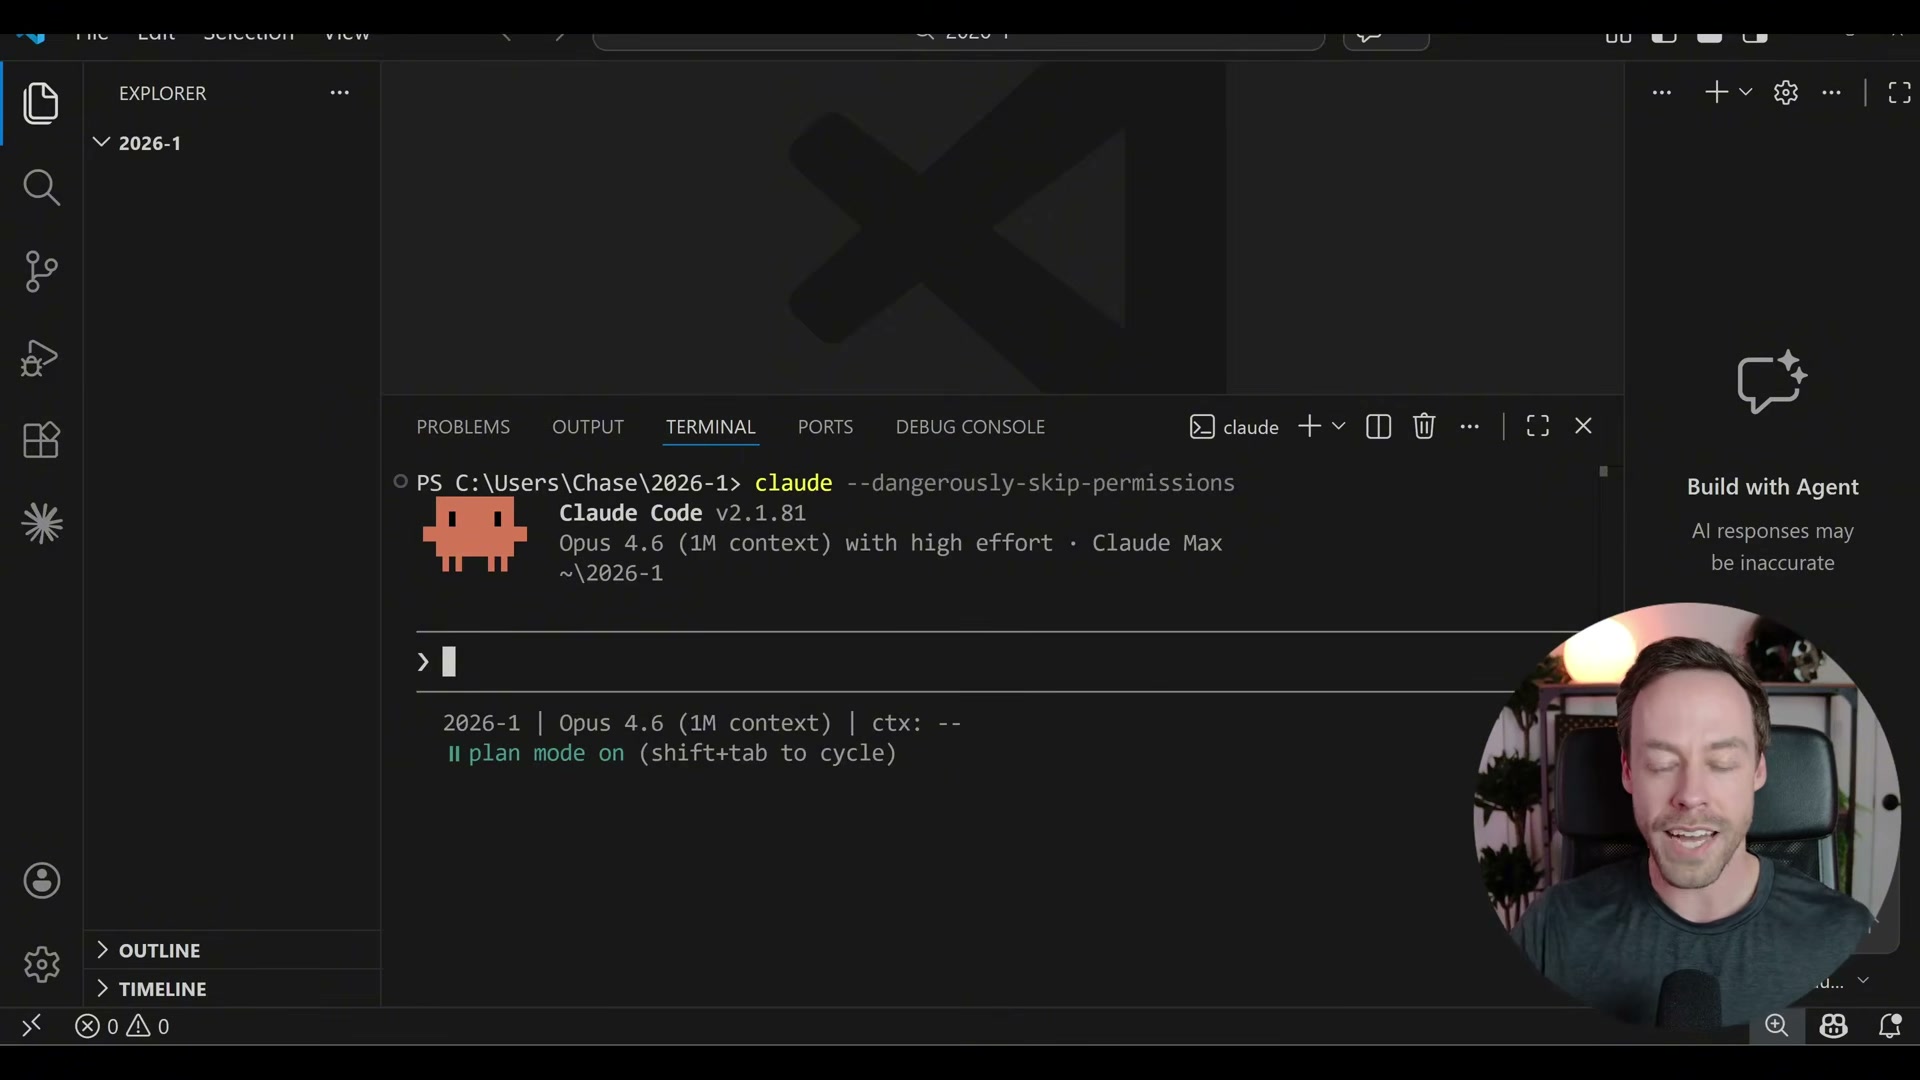
Open the integrated terminal by clicking the three-dot menu at the top of VS Code, then selecting Terminal > New Terminal. A terminal pane appears at the bottom of the editor — this is where Claude Code runs.
-
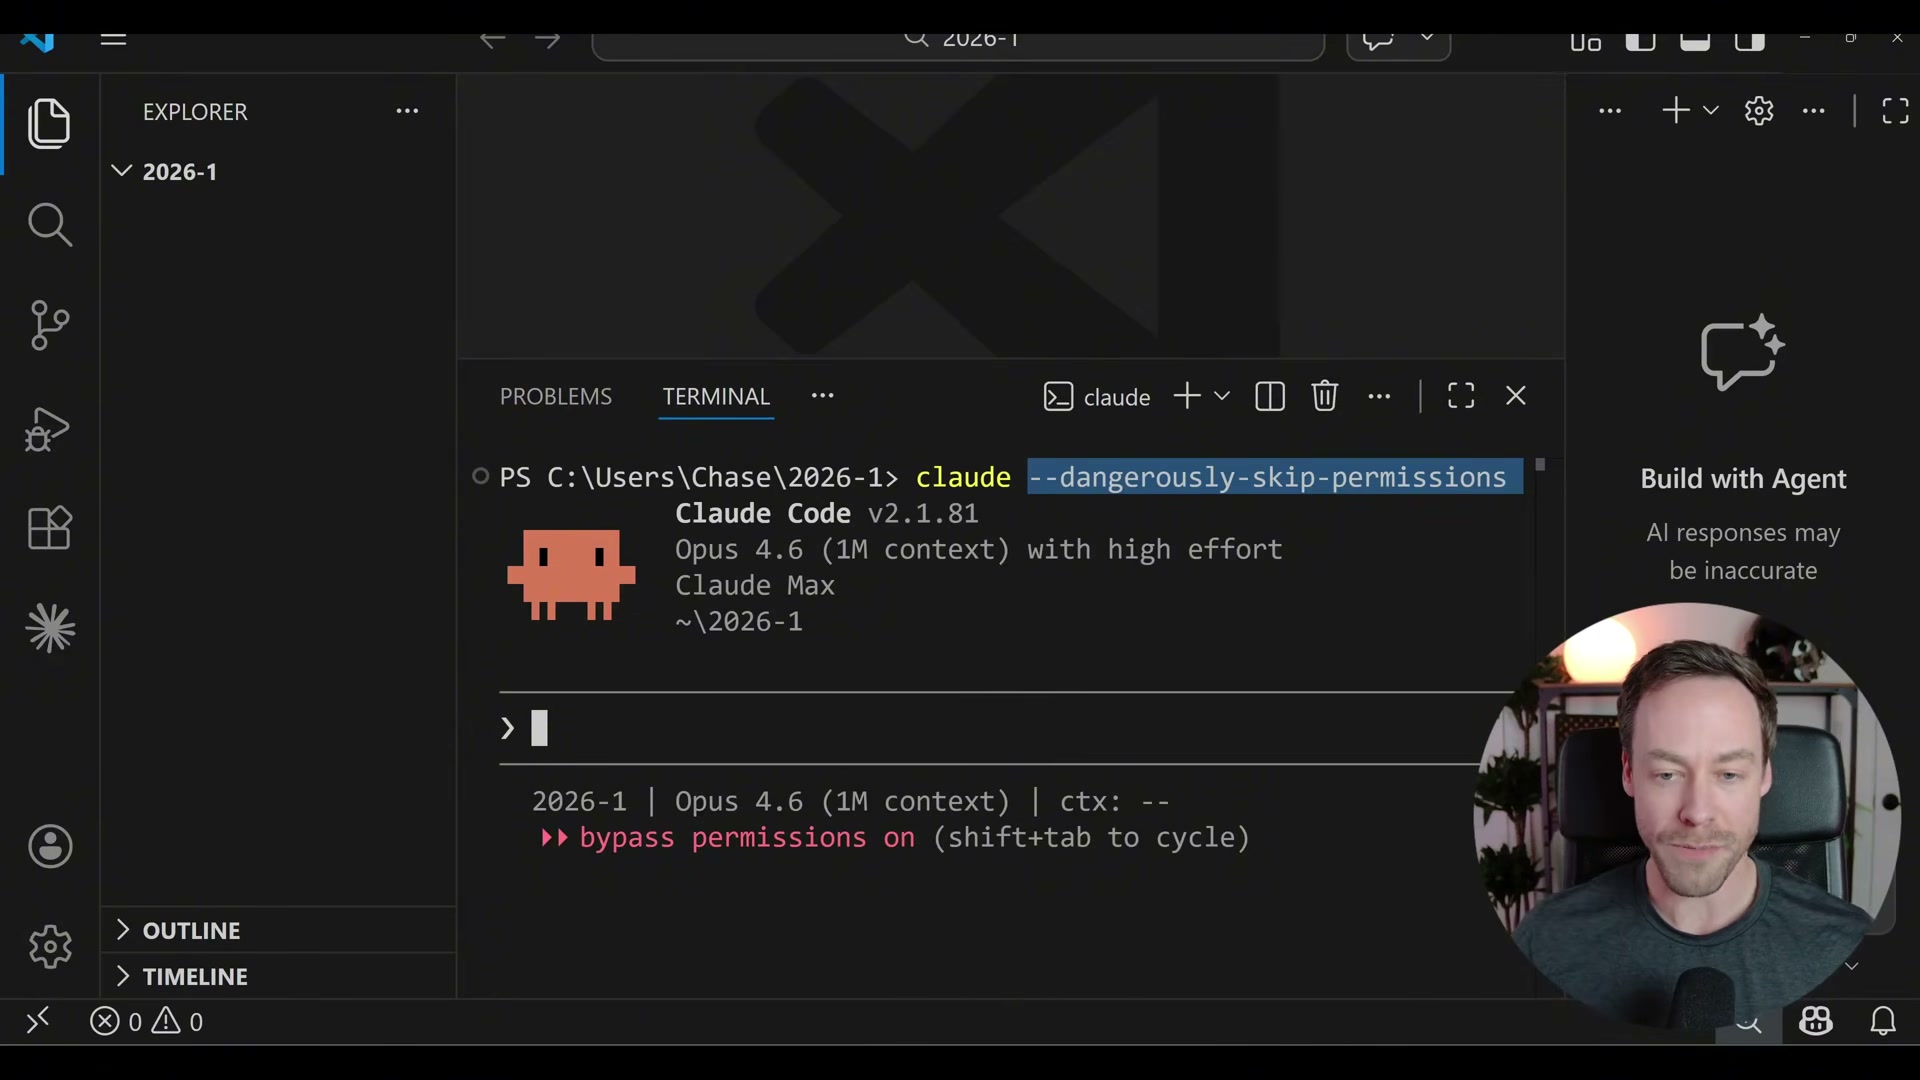
Launch Claude Code by typing
claudeat the terminal prompt and pressing Enter. Alternatively, typeclaude --dangerously-skip-permissionsto unlock the bypass permission mode from the start.
Warning: this step may differ from current official documentation — see the verified version below.
-
After launch, Claude Code displays its current permission mode at the bottom of the terminal. Press Shift+Tab to cycle through three modes: default (asks approval for every action), accept edits on (approves file writes automatically but prompts for shell commands), and bypass permissions on (full autonomy). For a first session, starting at “accept edits on” gives Claude room to work without requiring constant confirmation.
-
Press Shift+Tab again until the status bar reads plan mode on. In this mode, Claude Code responds to any prompt with clarifying questions rather than immediately executing tasks — the fastest way to close gaps in a vague prompt.
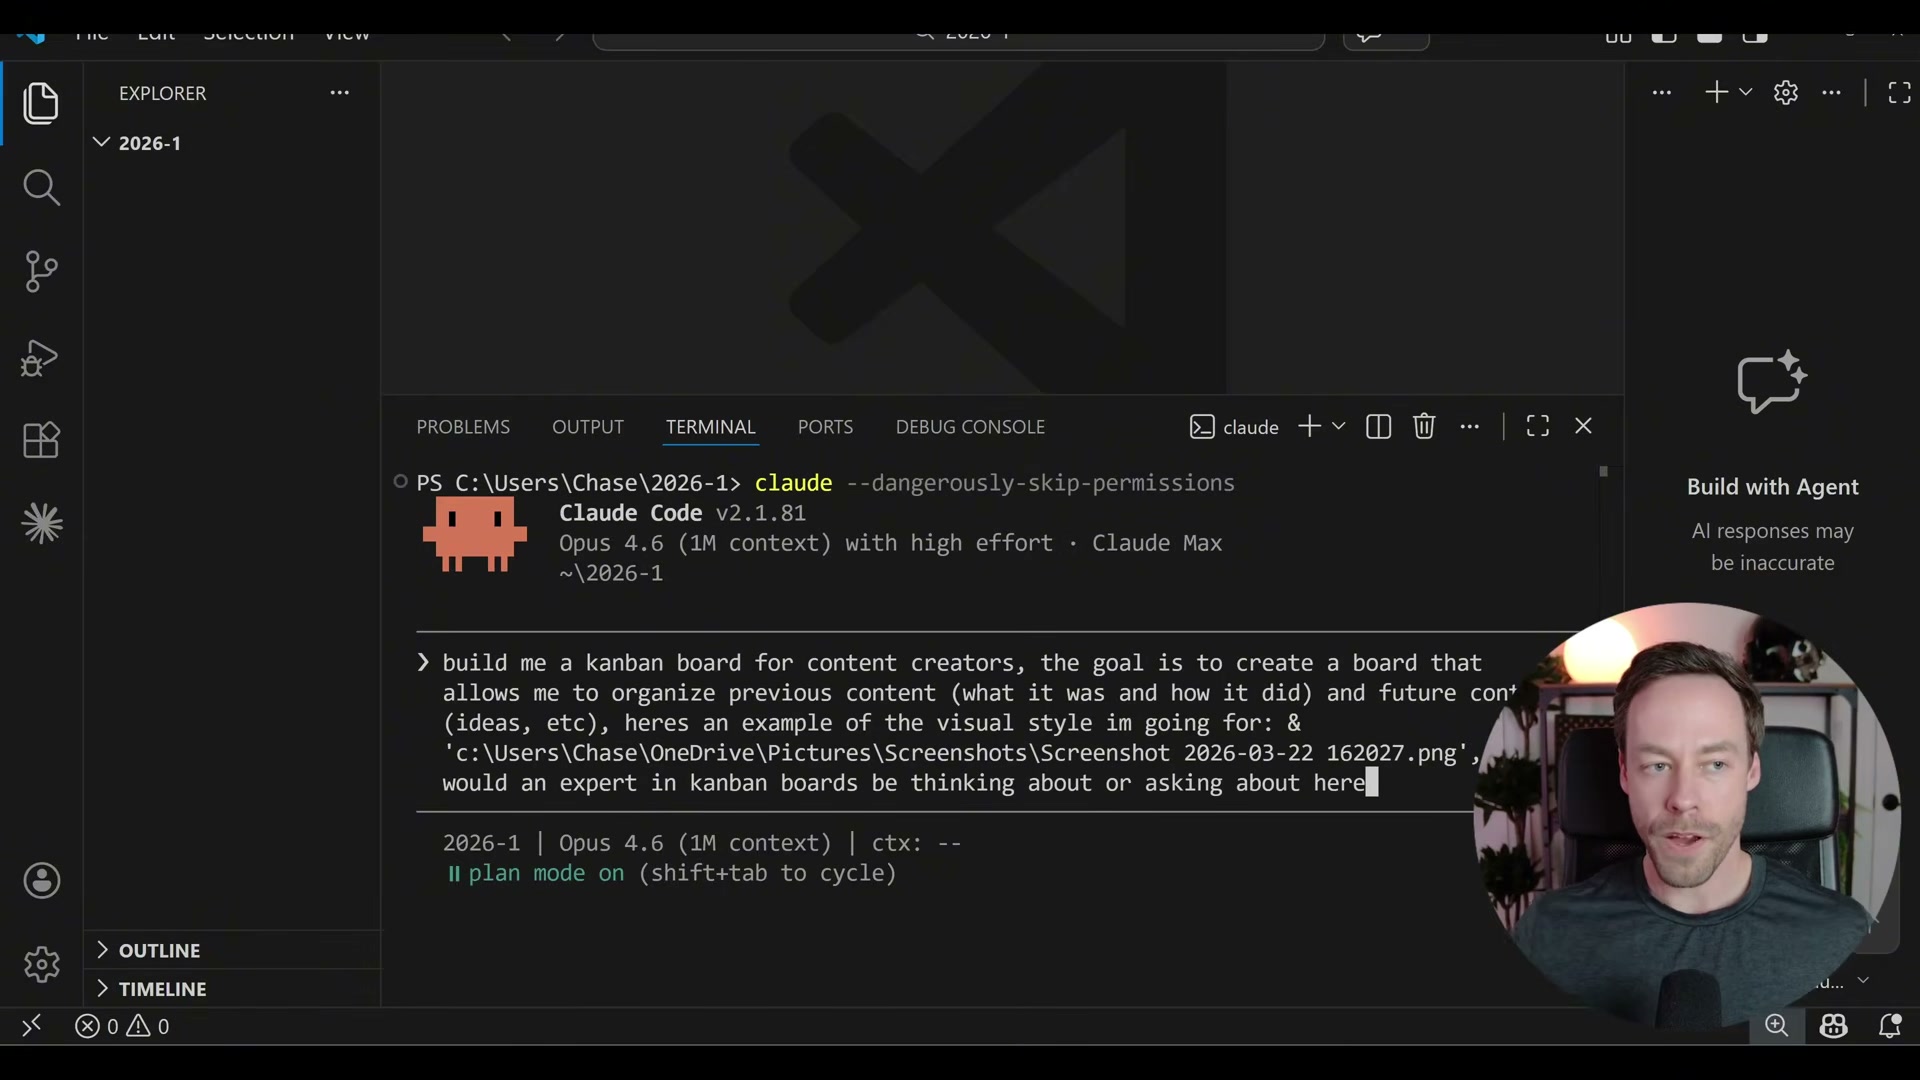
- Write your prompt with four components: the goal (what you want built), the why (what problem it solves), a visual reference (drag a screenshot from your file explorer directly into the terminal), and an open-ended expert question such as “What would an expert in kanban boards be thinking about here?”
-
Read through Claude Code’s clarifying questions. In plan mode, it will surface decisions you haven’t made yet — column structure, data entry method, target platforms — and give you a chance to answer them before a single file is written.
-
When Claude Code asks about the technical stack (Next.js/Tailwind, plain HTML/CSS, or React/Vite), pick the option that matches your familiarity. If none are familiar, ask Claude Code to explain the trade-offs inline before committing.
-
Confirm your answers and let Claude Code build the project. Files will appear in the VS Code Explorer panel as they’re generated.
How does this compare to the official docs?
The video covers the setup mechanics cleanly, but the --dangerously-skip-permissions flag, permission mode cycling, and plan mode prompting each have nuances in Anthropic’s official documentation worth understanding before you rely on them in production.
Here’s What the Official Docs Show
The video gives you a solid starting line, and the setup sequence holds up well where documentation coverage exists. What follows fills in three meaningful gaps — a subscription requirement the tutorial skips entirely, one install command clarification, and an architectural distinction between two “agent modes” that coexist inside VS Code.
Step 1 — Find the official Claude Code page
The video’s approach here matches the current docs exactly. One addition that applies immediately: Claude Code requires a paid Anthropic subscription before anything else works. The Pro plan starts at $17/month and includes Sonnet 4.6 and Opus 4.6. You’ll hit an authentication wall in step 6 without it — the tutorial doesn’t mention this.

Step 2 — Run the install command
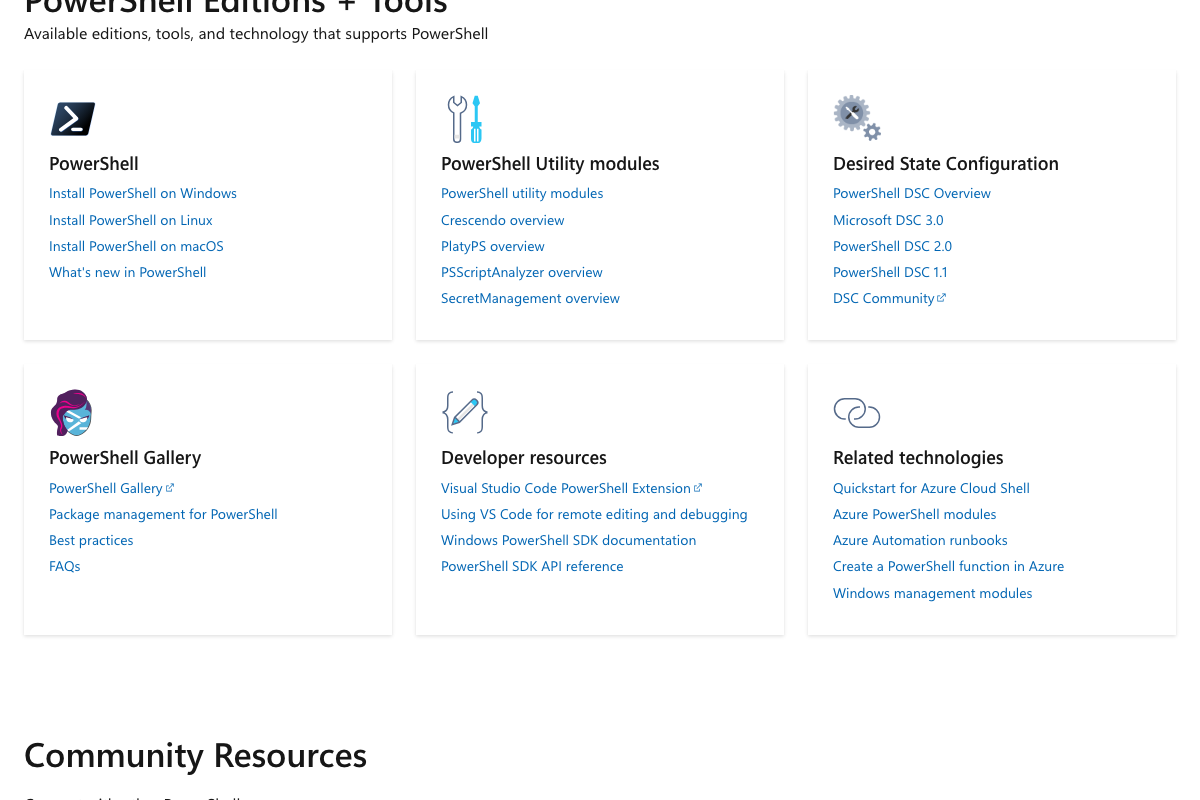
PowerShell is a valid tool here, and the video’s direction is sound. One clarification: as of March 2026, the official page shows a single universal command — curl -fsSL https://claude.ai/install.sh | bash — not OS-branched variants. curl works natively in PowerShell 7; users still on Windows PowerShell 5.1 should upgrade first via Microsoft Learn. Mac and Linux users: your native terminal (bash or zsh) runs this command directly — PowerShell is optional, not required.
Step 3 — Download and install VS Code
The video’s approach here matches the current docs exactly. VS Code now ships with GitHub Copilot as its primary AI integration. Claude Code runs alongside it as a separate tab — the two tools don’t conflict, but they operate completely independently.

Step 4 — Open a project folder
No official documentation was found for this step — proceed using the video’s approach and verify independently.
Step 5 — Open the integrated terminal
No official documentation was found for this step — proceed using the video’s approach and verify independently.
Step 6 — Launch Claude Code
No official documentation was found for this step — proceed using the video’s approach and verify independently.
The claude command will trigger authentication on first run — which requires an active Pro plan (see step 1). The --dangerously-skip-permissions flag is not covered in the available documentation; verify its current behavior in the official docs before using it in any shared or production environment.
Step 7 — Cycle permission modes with Shift+Tab
No official documentation was found for this step — proceed using the video’s approach and verify independently.
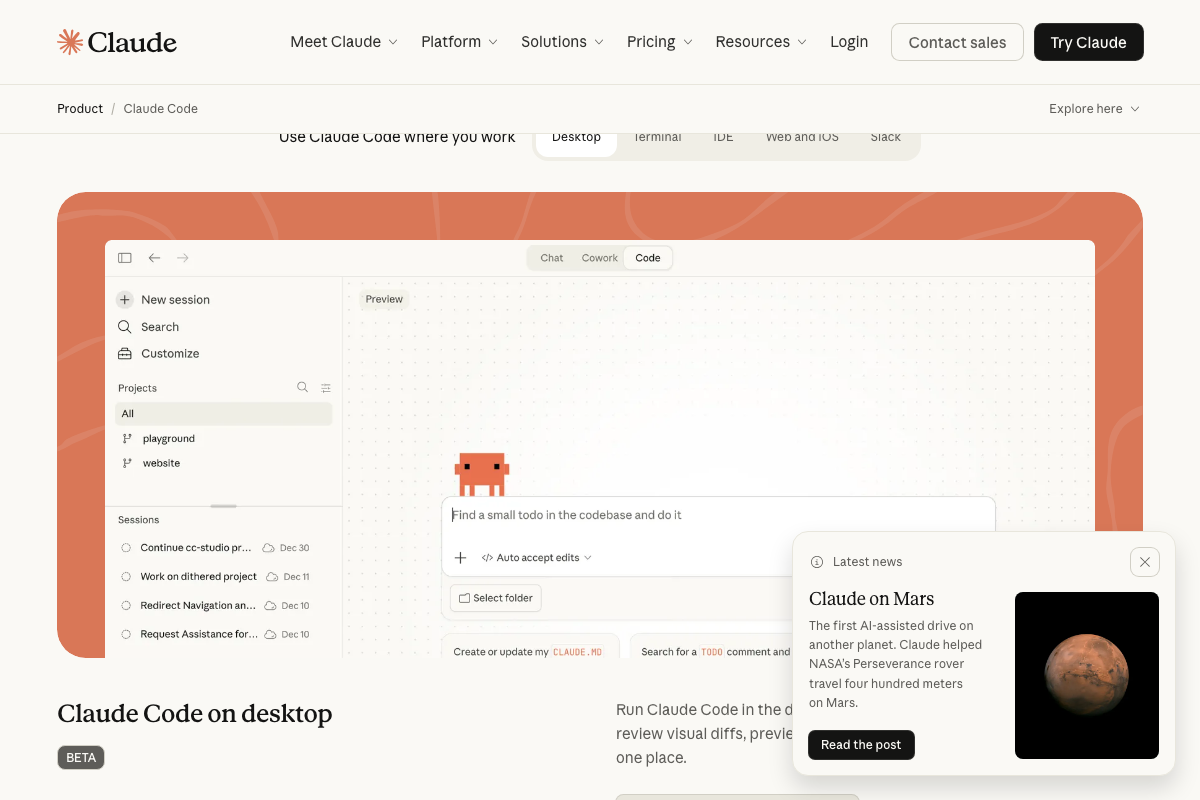
The “Auto accept edits” label visible in the official desktop app UI aligns with the video’s “accept edits on” description, though the interface shown is the BETA desktop app — not the terminal-based workflow the tutorial uses.
Step 8 — Activate Plan Mode
No official documentation was found for this step — proceed using the video’s approach and verify independently.
One distinction worth knowing before you proceed: VS Code has its own native Agent mode — visible in the model selector panel, powered by Copilot — which is entirely separate from Claude Code’s Plan Mode. Both can be active in the same VS Code session. If you see an “Agent” heading in VS Code’s chat panel, that is Copilot’s feature, not Claude Code’s.

Step 9 — Write your prompt with a visual reference
The video’s approach here matches the current docs exactly. Practical note: Dribbble requires a login to download full-resolution images. Save your reference file locally before opening the terminal session — the drag-to-terminal workflow assumes the file is already on disk.

Steps 10–12 — Clarifying questions, stack selection, and build
No official documentation was found for these steps — proceed using the video’s approach and verify independently.
Useful Links
- Claude Code by Anthropic | AI Coding Agent, Terminal, IDE — Official product page covering the install command, subscription pricing, desktop app (BETA), and all supported environments including terminal, IDE, web, and Slack
- PowerShell Documentation – PowerShell | Microsoft Learn — Authoritative Microsoft reference for PowerShell installation across Windows, Mac, and Linux, with the VS Code PowerShell Extension listed under Developer resources
- Visual Studio Code – The open source AI code editor — VS Code download hub and documentation for its native Agent mode, multi-model selector, and Claude Code tab integration
- Dribbble – Discover the World’s Top Designers & Creative Professionals — Design community used in step 9 to source a kanban board or dashboard reference image for the visual prompt


0 Comments