Build Interactive Prototypes with Claude Design
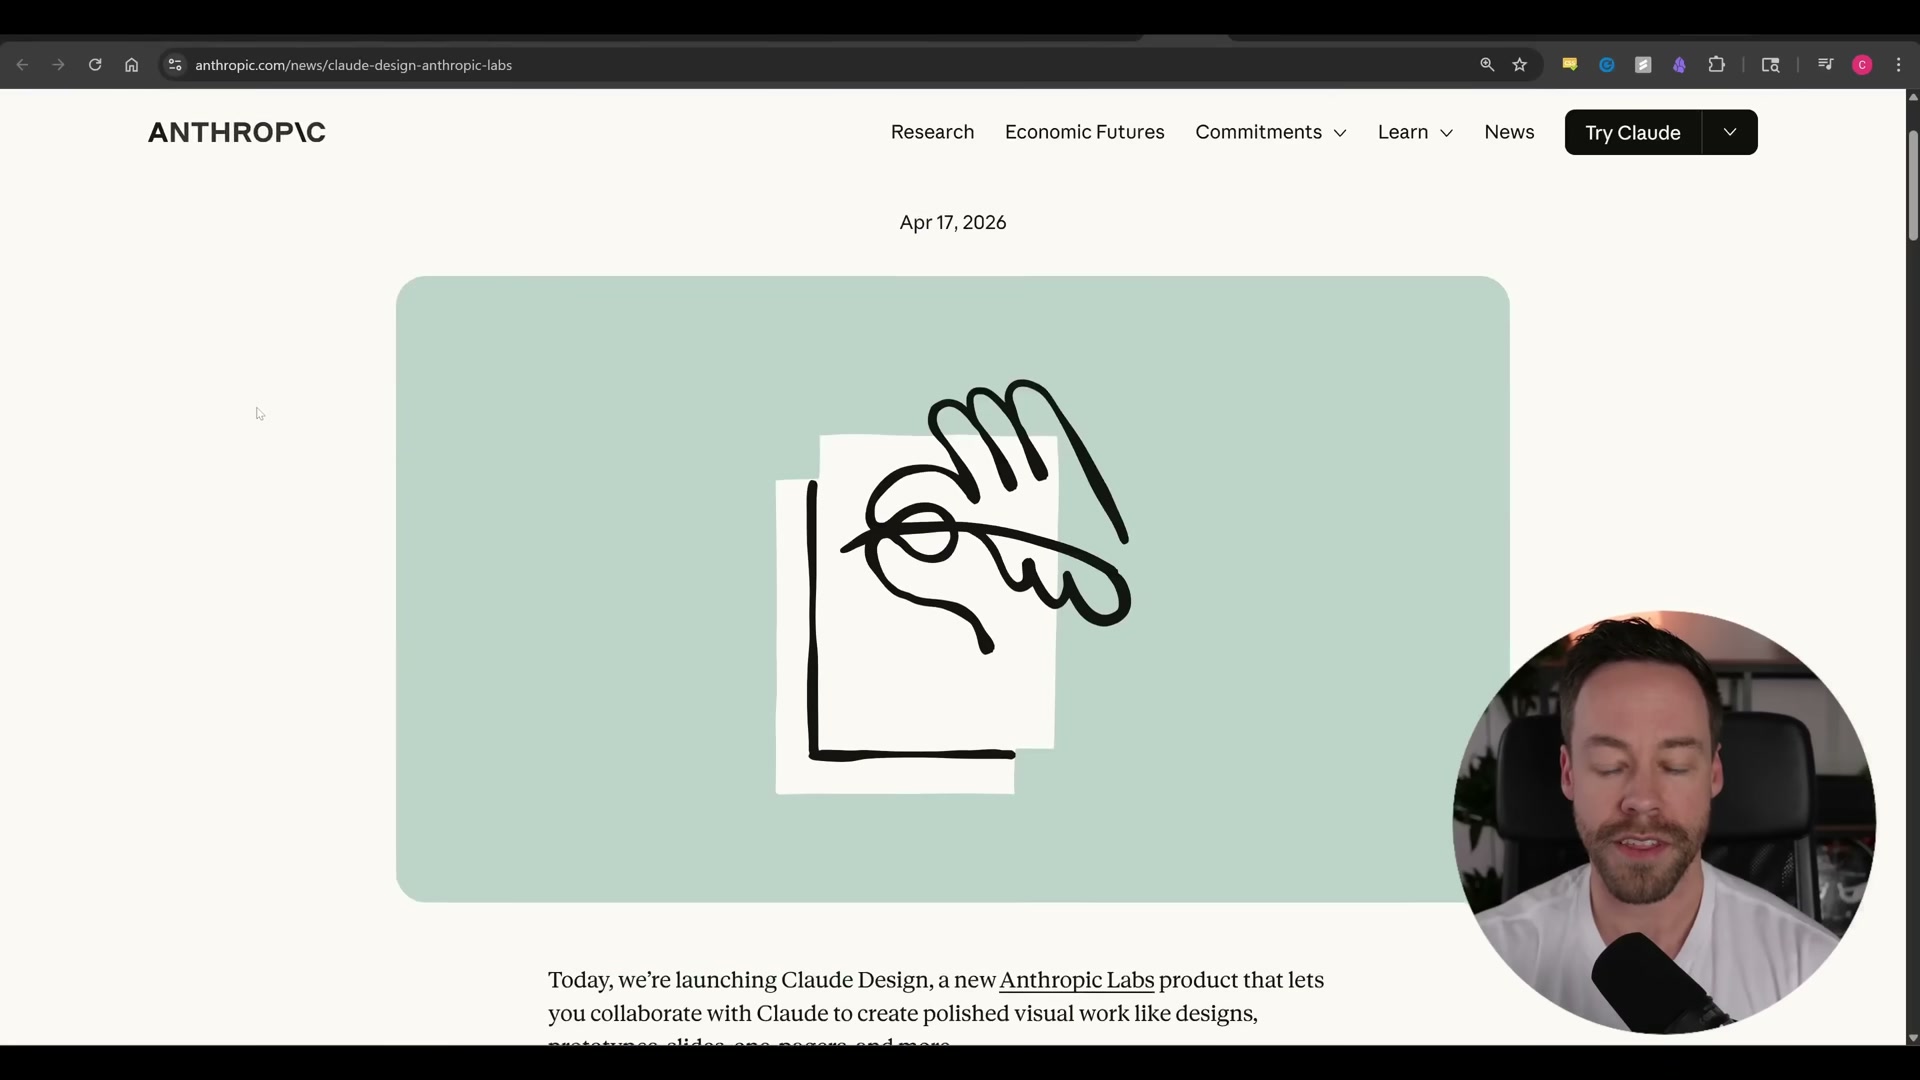
Anthropic launched Claude Design on April 17, 2026 as a dedicated web UI for generating interactive prototypes, slide decks, and mobile mockups directly in the browser. After completing this walkthrough, you’ll know how to configure a brand-aware design system, generate a working prototype through a structured clarification flow, and hand the finished design off to Claude Code for local development. The tool is included with Pro, Max, Team, and Enterprise plans — no additional configuration required beyond a subscription.
-
Open
claude.ai/designin your browser. Claude Design is a standalone product, fully separate from the main claude.ai chat interface. -
Click Setup Design System if you want Claude to match your existing brand. Enter your company name, then supply any combination of: a GitHub repo URL, a local folder dragged directly into the browser window, or individual font, logo, and asset files. Add free-form style notes in the text field if your brand guidelines aren’t fully captured by the assets. Skipping this step is valid — Claude generates from scratch without brand constraints.
- Click Continue to Generation. If you uploaded a large codebase, a dialog warns you the analysis can take 15–20 minutes; Claude selects only relevant files rather than ingesting the entire repo.
-
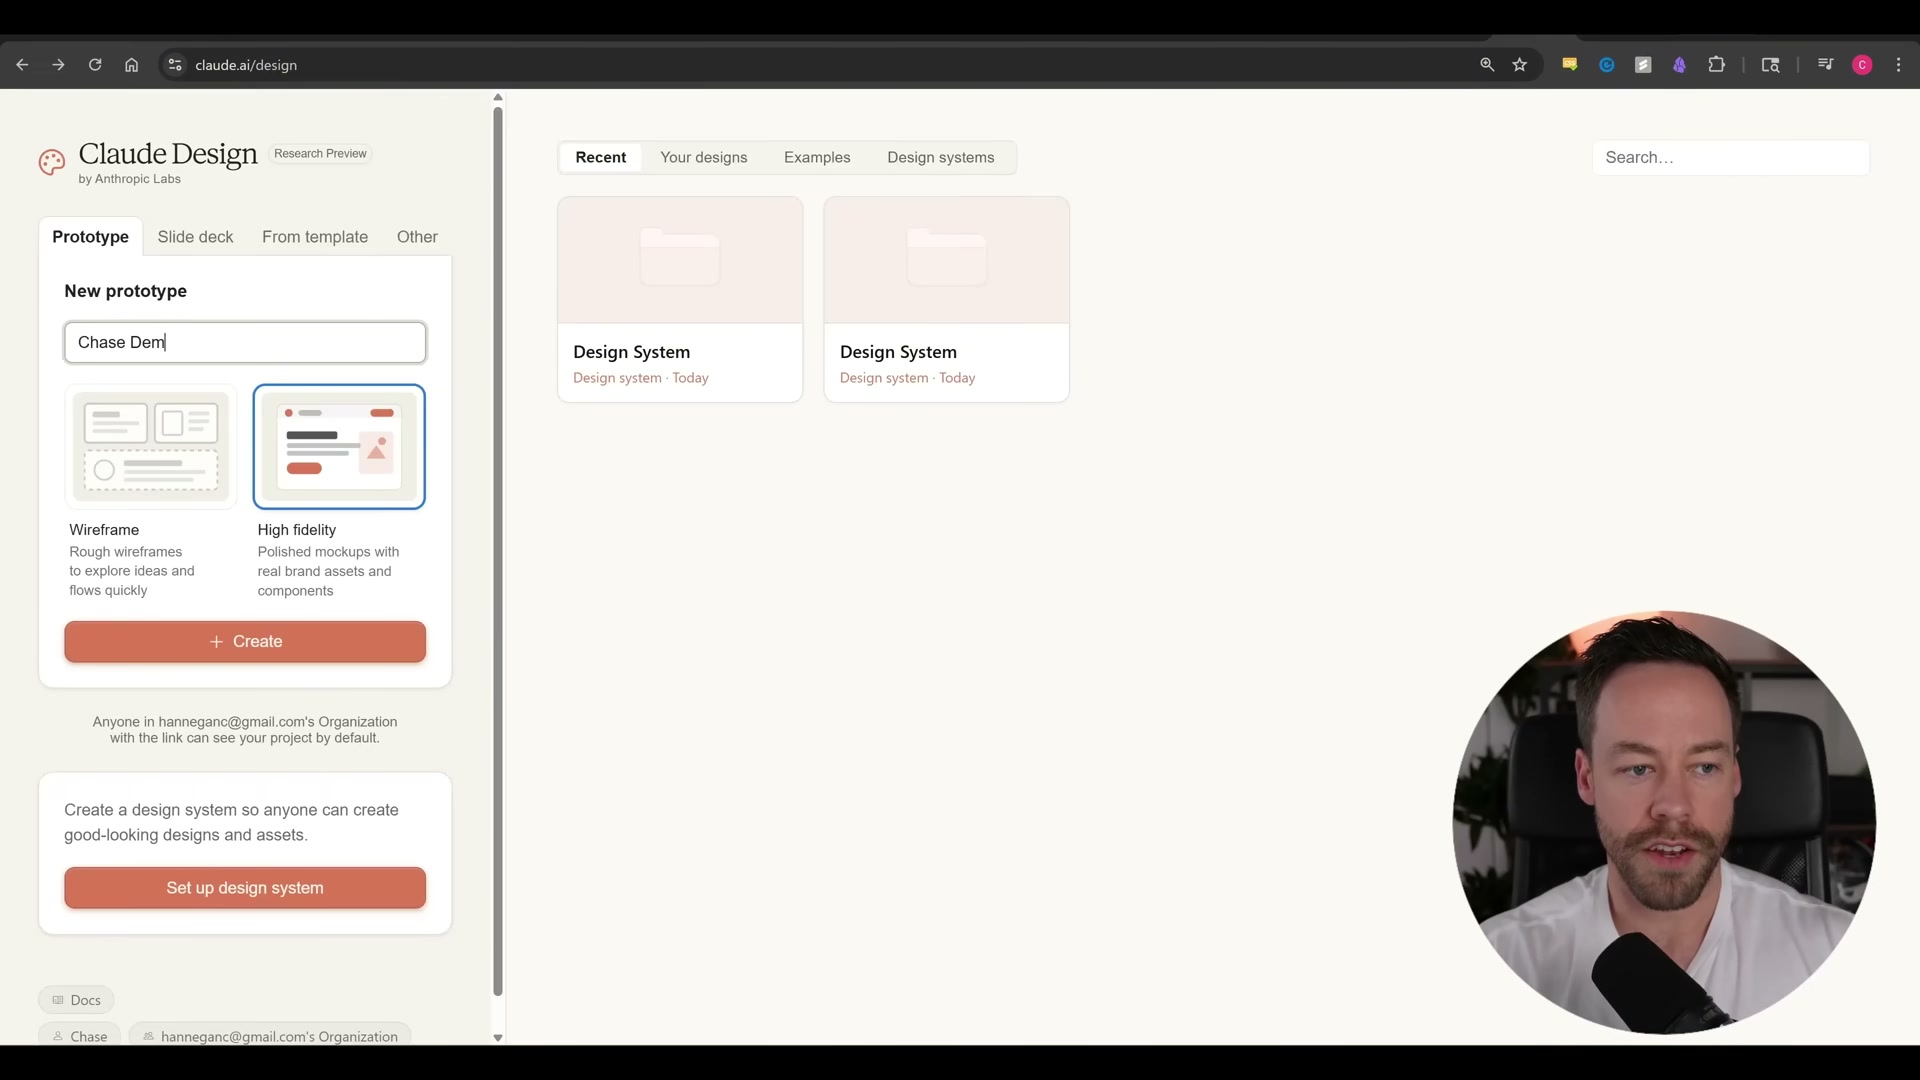
On the dashboard, select Prototype (or Slide Deck, From Template, or Other), give the project a name, and choose between Wireframe and High Fidelity. High fidelity produces a fully styled, interactive output from the first render.
-
In the editor, type a natural-language prompt describing the desired design. The editor also accepts voice input and file attachments alongside text.
-
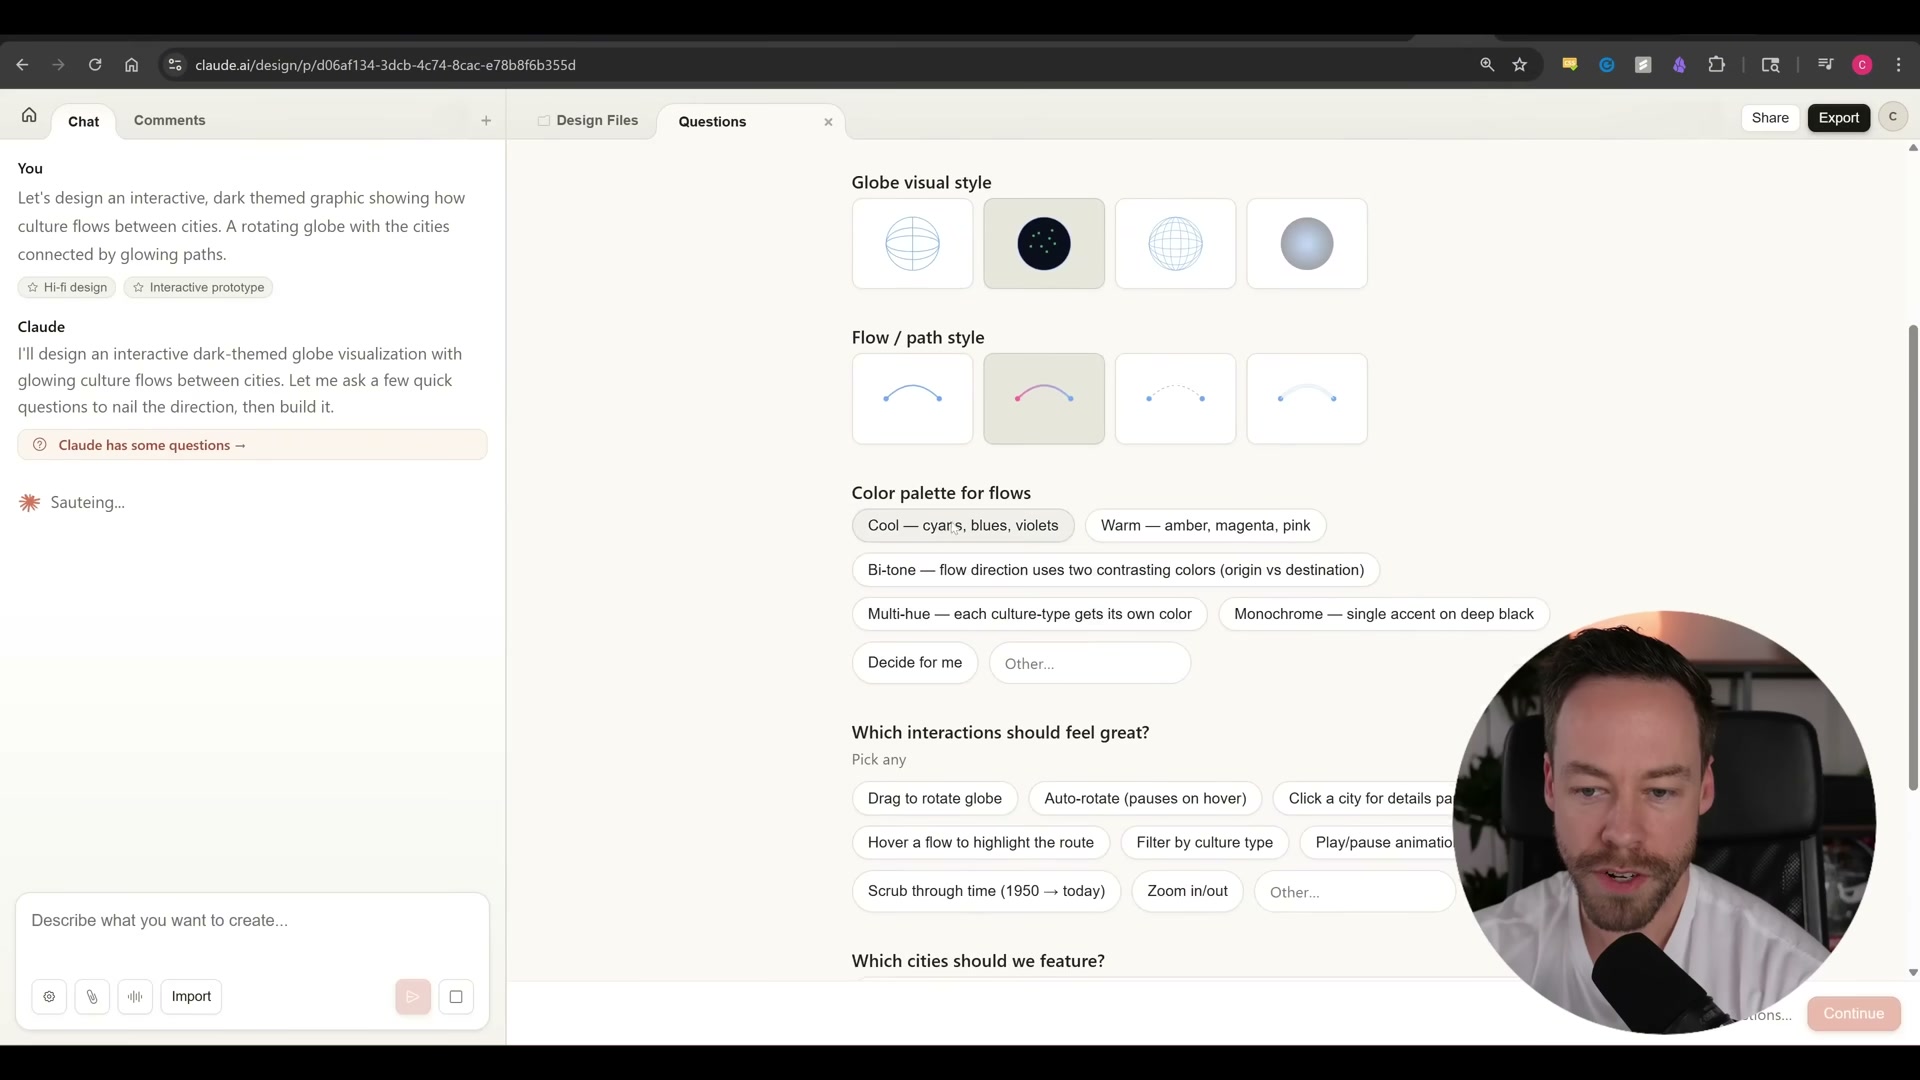
Work through the Questions panel before Claude writes a single line of code. It surfaces visual-style choices as selectable chips — globe style, color palette, interaction model, cities to feature, UI density, overall mood, and which parameters should be runtime-tweakable. Select an option for each prompt, then continue.
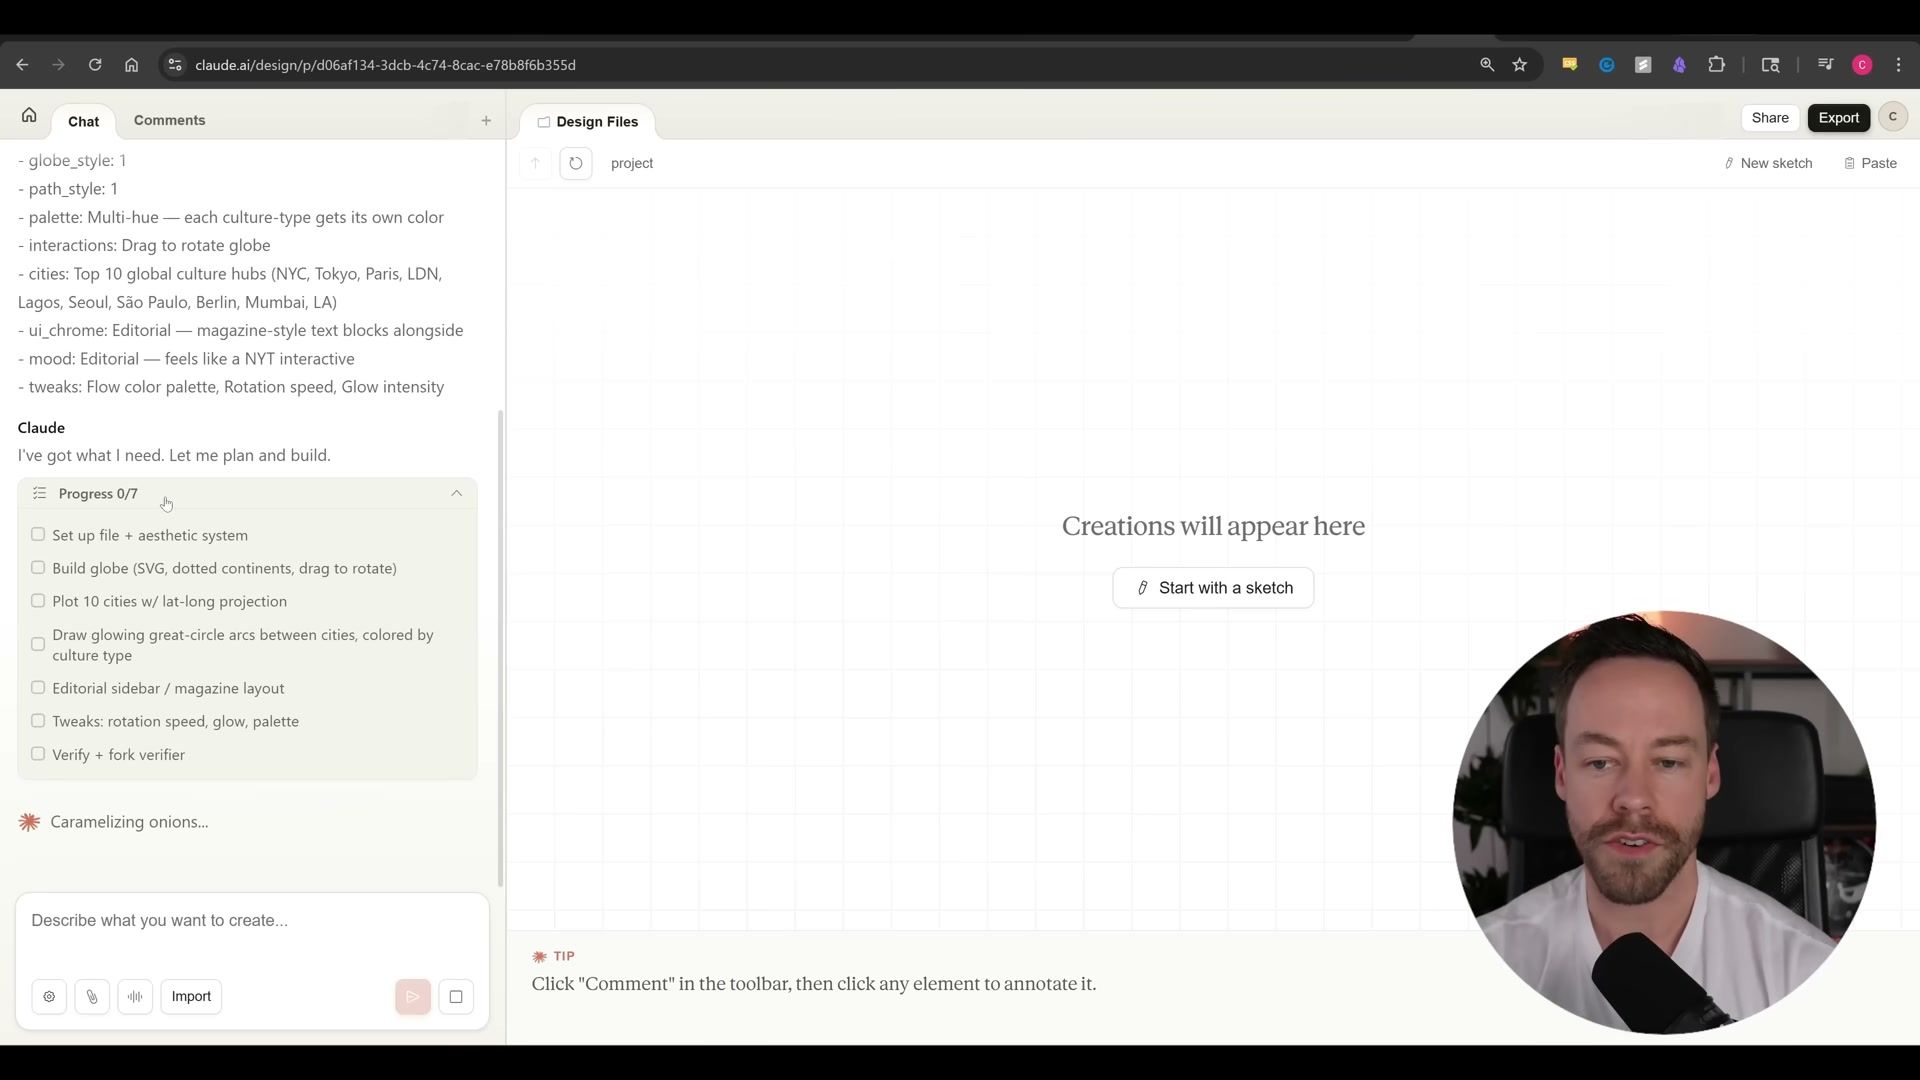
- Submit your selections. Claude outputs a numbered task plan and begins executing it step by step, crossing off each task in real time — the same pattern as plan mode in Claude Code, rendered visually in the browser.
- When the prototype renders, interact with it live in the canvas. Open the Tweaks panel to adjust runtime parameters — rotation speed, glow intensity, color palette — without re-prompting.

-
Switch to Edit mode to select individual elements and modify properties — fill color, stroke, height, and pixel dimensions — directly in the right-side properties panel.
-
Switch to Comments mode to pin inline notes to specific canvas elements. Comments queue until you’re ready, then dispatch to Claude as a batch or one at a time.
-
Switch to Draw mode to sketch new elements freehand onto the canvas.
-
Open the Design File panel to inspect the underlying source code. Complex prototypes are split across multiple files — for example, an
index.htmllayout file, a component file for the primary SVG, and a data script for content. -
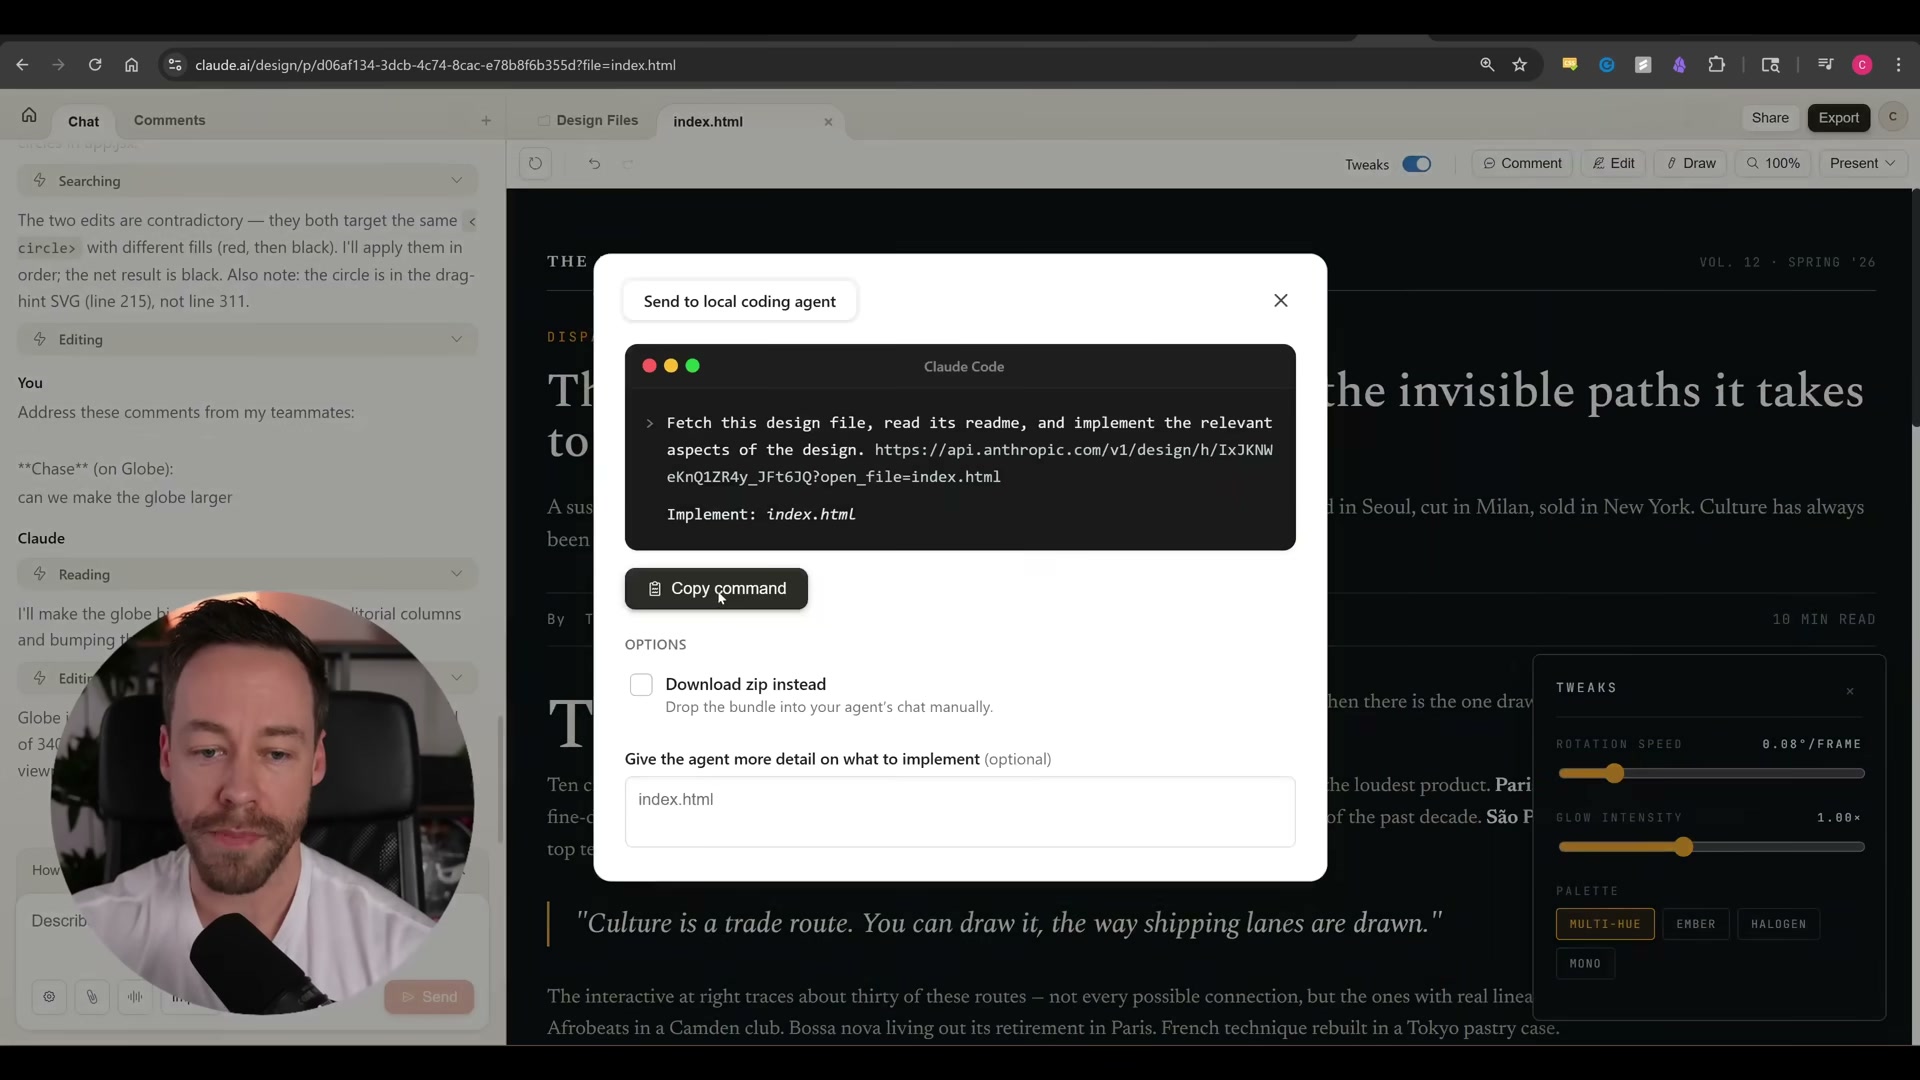
Click Export to download a ZIP, export a PDF or PowerPoint, or push the project directly to Canva. To continue development locally, choose Send to local coding agent — Claude generates a ready-to-run terminal command that fetches the design file and passes it to Claude Code.
How does this compare to the official docs?
The walkthrough covers the end-to-end workflow clearly, but specifics around design system file-size limits, plan eligibility edge cases, and the exact structure of the Claude Code handoff command are worth cross-referencing against Anthropic’s documentation — which is exactly where Act 2 picks up.
Here’s What the Official Docs Show
Act 1 maps a compelling end-to-end workflow; what follows adds the verification layer — checking each step against official sources so you know exactly where documentation backs the video and where you’ll want to proceed with eyes open. The gaps are significant enough to flag clearly before you invest time in the setup.
Step 1 — Accessing claude.ai/design
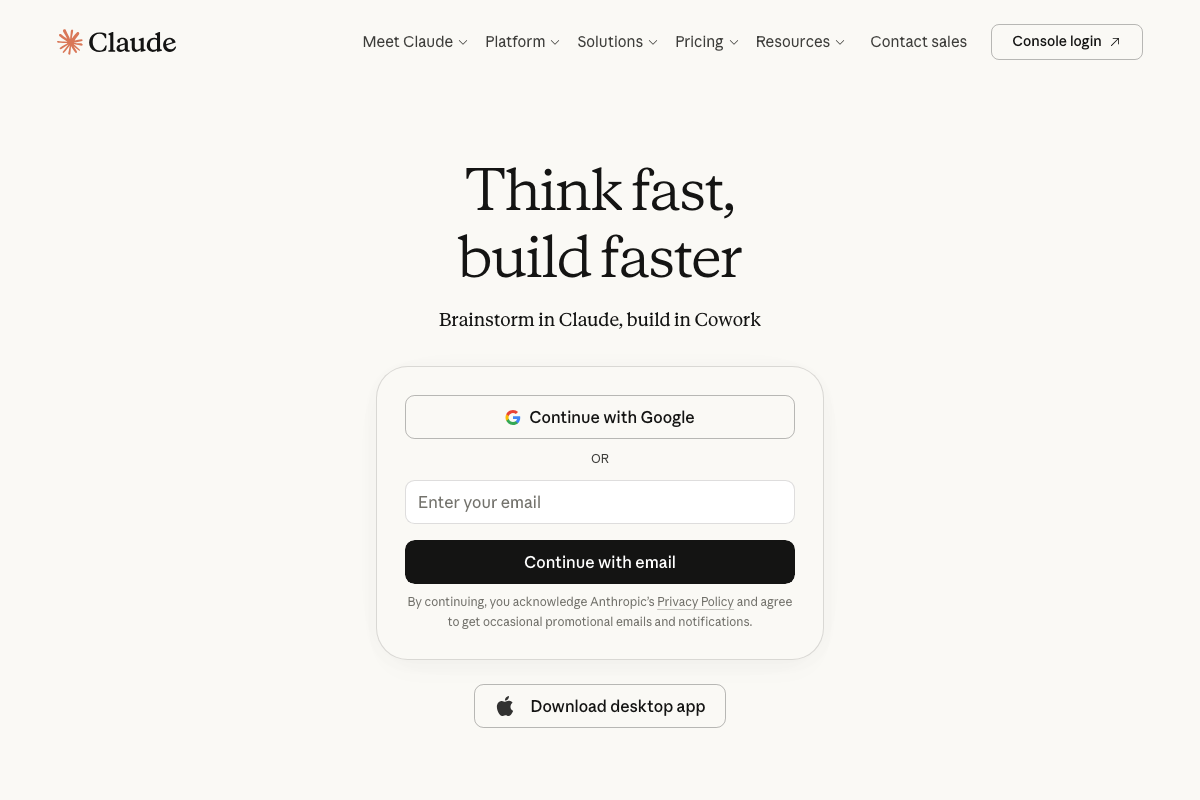
As of April 18, 2026, navigating to claude.ai/design resolves to the standard claude.ai homepage and sign-in screen — not a dedicated Claude Design product. The page tagline reads “Think fast, build faster — Brainstorm in Claude, build in Cowork”, referencing a product called Cowork that does not appear in the tutorial at all.

No official documentation was found for this step — proceed using the video’s approach and verify independently.
Steps 2–3 — Design System Setup and Subscription Access
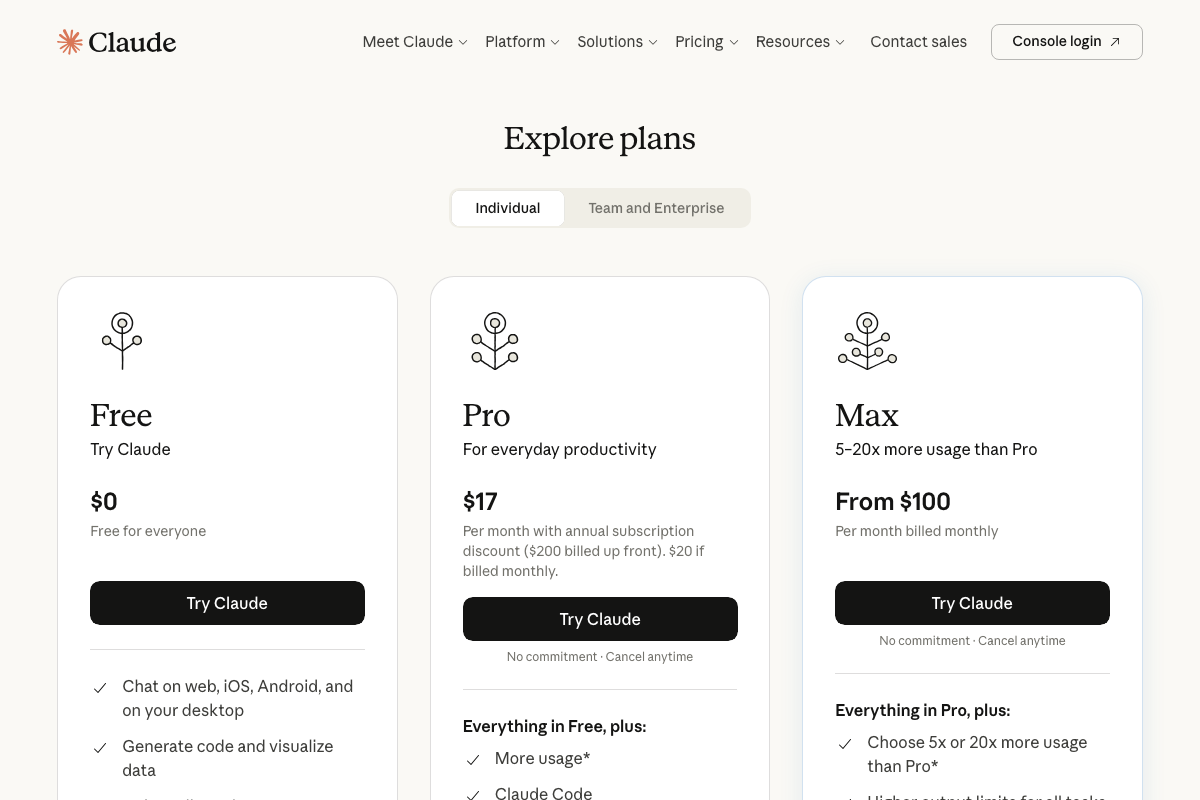
GitHub is confirmed as an active code-hosting platform, consistent with the repo URL input described in step 2. On pricing: the current tiers are Free ($0), Pro ($17/mo billed annually), and Max (from $100/mo). Claude Code is listed as a Pro feature. Claude Design does not appear by name in any plan tier, so subscription access requirements for the tool cannot be confirmed from official sources.
No official documentation was found for these steps — proceed using the video’s approach and verify independently.
Steps 4–13 — Generation Flow, Questions Panel, Canvas Modes, and Design File
None of the UI elements described across these steps — the Questions panel, prototype canvas, Tweaks panel, Edit mode, Comments mode, Draw mode, or Design File panel — appear in any official screenshot captured from claude.ai. The full generation workflow shown in the video cannot be verified against current official documentation.
No official documentation was found for these steps — proceed using the video’s approach and verify independently.
Step 14 — Exporting to PDF, PowerPoint, or Canva
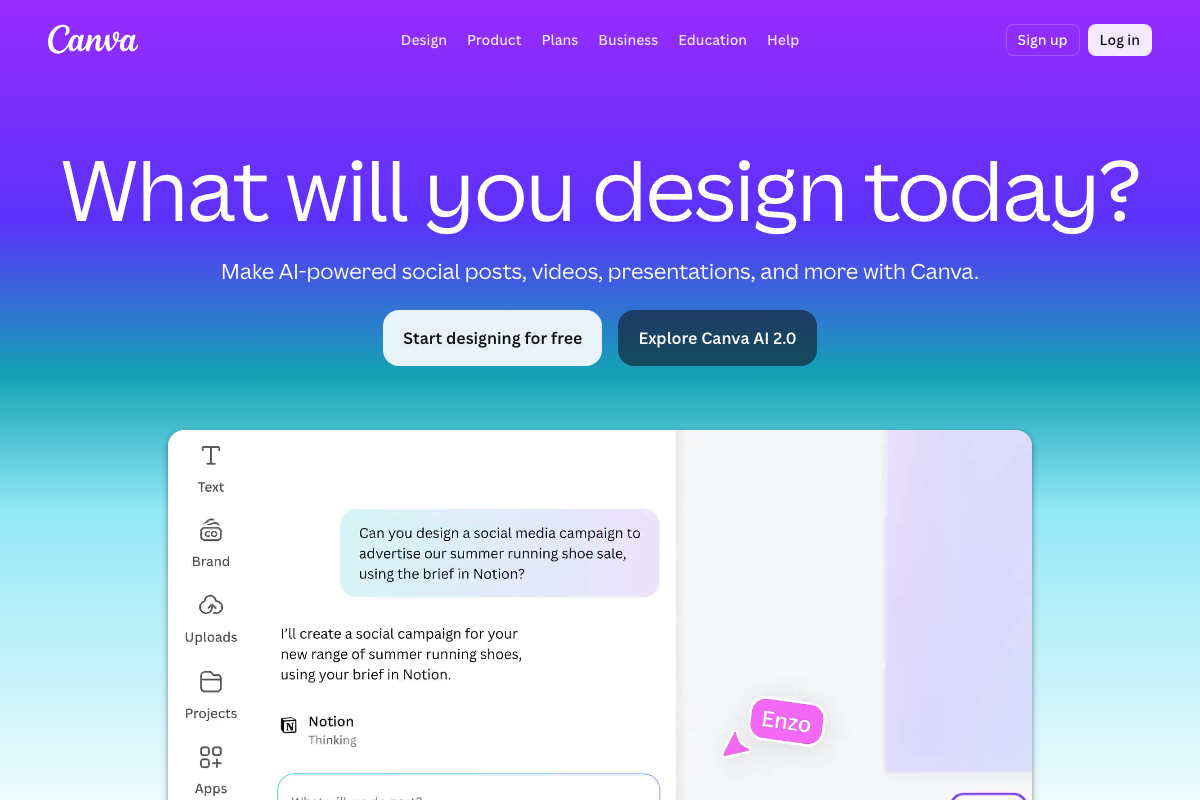
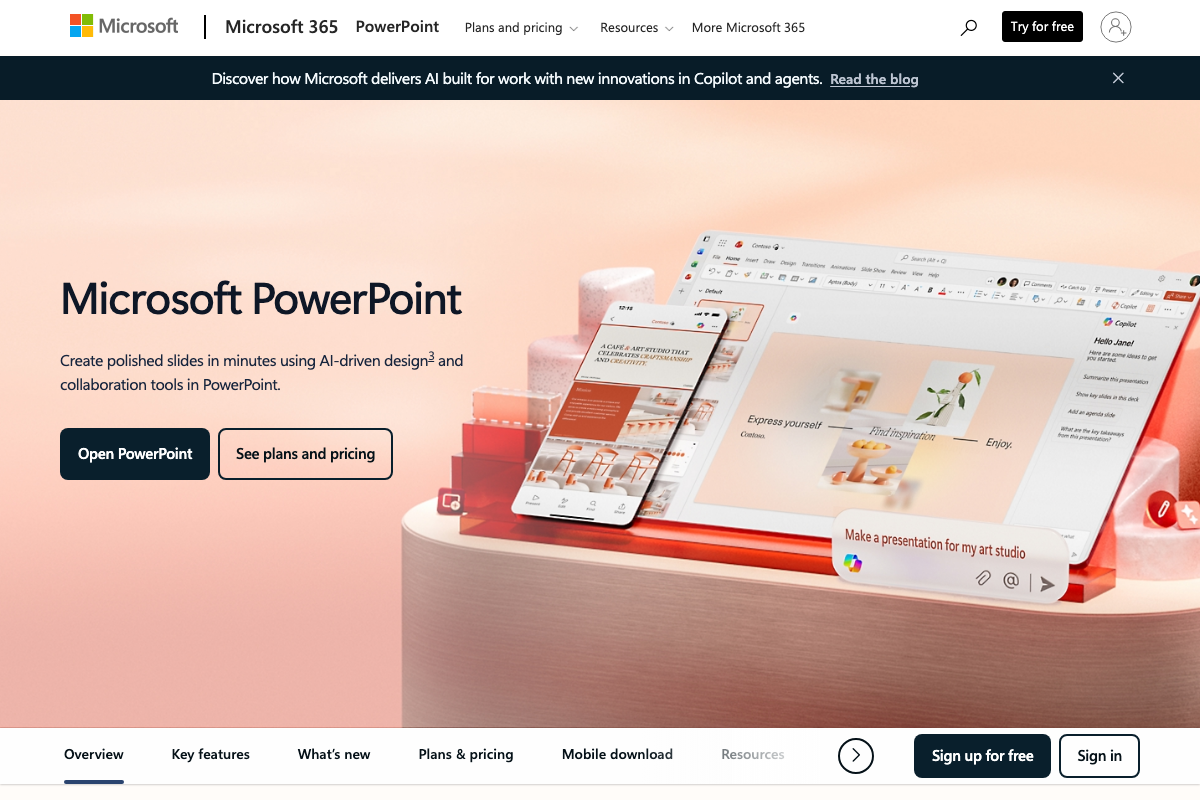
Canva (currently Canva AI 2.0) and Microsoft PowerPoint (with Copilot integration) are both confirmed as active platforms. Neither documents an inbound integration from Claude Design. The PowerPoint export likely refers to a .pptx file download rather than a live Microsoft 365 handoff — but that distinction is not clarified in official sources.
No official documentation was found for the Claude Design export workflow in this step — proceed using the video’s approach and verify independently.
Step 15 — Handing Off to Claude Code
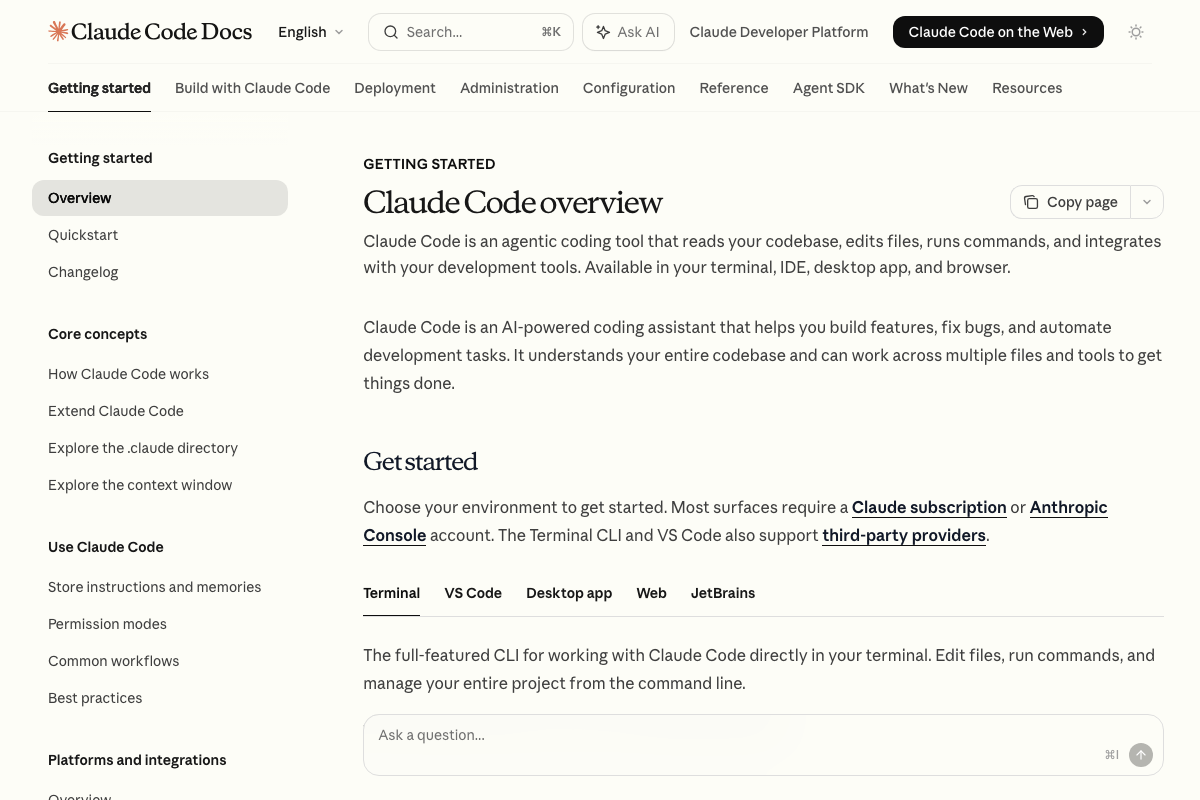
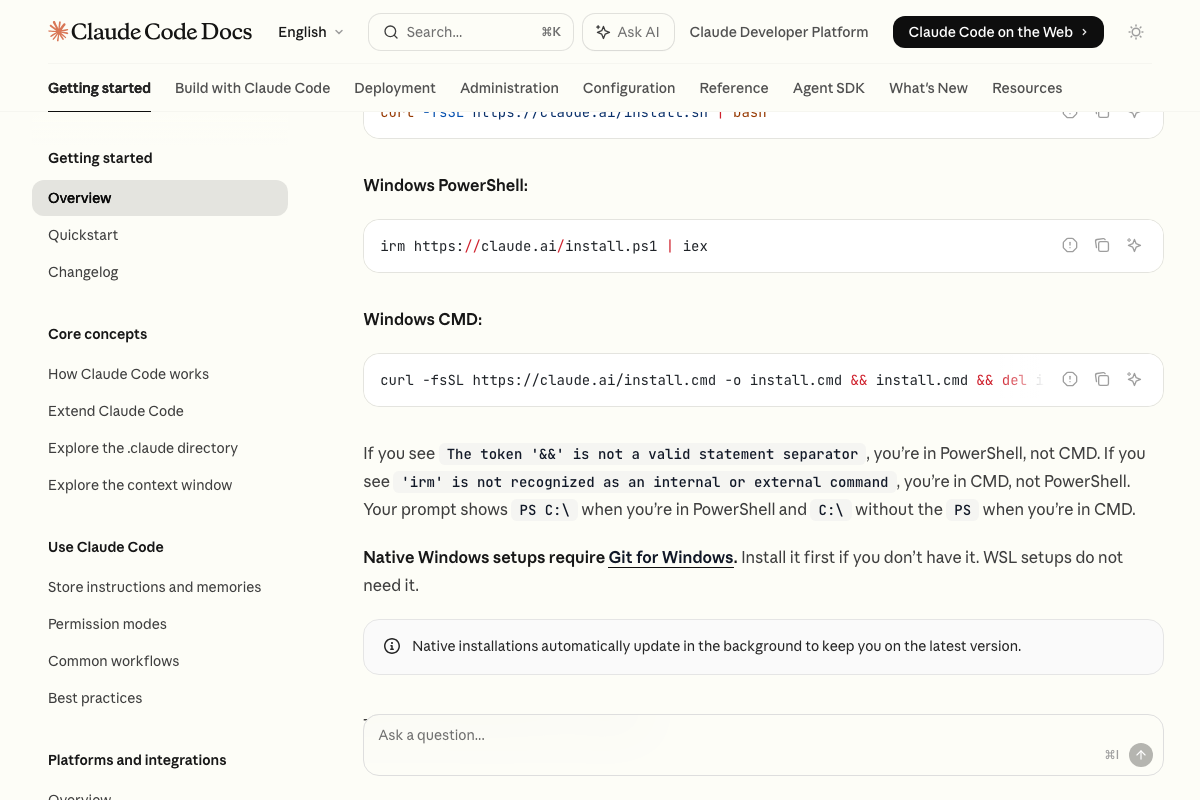
Claude Code is a real, publicly documented product — described officially as “an agentic coding tool that reads your codebase, edits files, runs commands, and integrates with your development tools” — available across Terminal, VS Code, Desktop app, Web, and JetBrains. The standard install command is curl -fsSL https://claude.ai/install.sh | bash on macOS/Linux. As of April 18, 2026, the project-specific terminal command the video describes generating from a Claude Design export menu is not documented in any official Claude Code source — the docs show only standard installation commands, not design-import handoff commands.

Useful Links
- Claude — The claude.ai homepage as of April 2026; resolves to a standard sign-in screen referencing Cowork, not a Claude Design product interface.
- Claude Code overview – Claude Code Docs — Official documentation for Claude Code covering installation commands, supported environments, and core capabilities.
- Canva: Visual Suite for Everyone — Canva’s current product homepage, featuring Canva AI 2.0 and its native AI design and generation tools.
- PowerPoint | Presentations and Slides Online | Microsoft 365 — Microsoft’s official PowerPoint page, highlighting Copilot-powered slide generation as the platform’s current AI feature set.
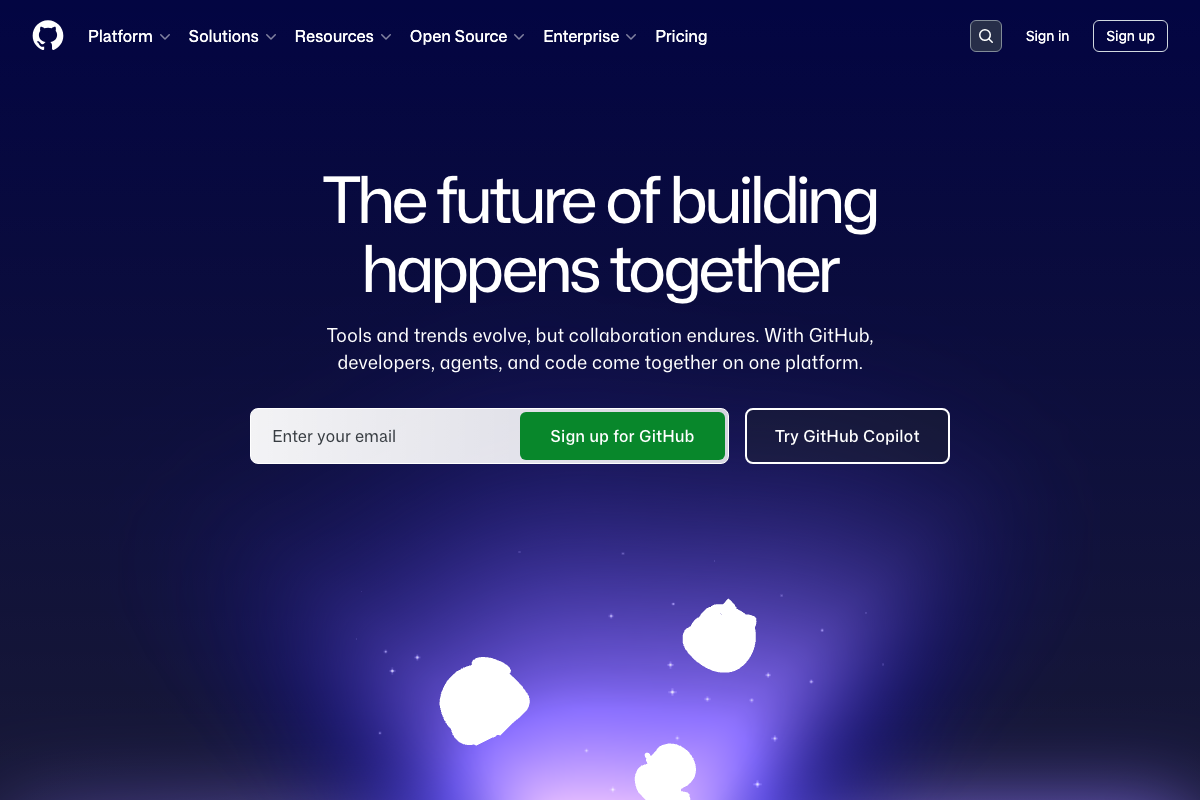
- GitHub · Change is constant. GitHub keeps you ahead. · GitHub — GitHub’s homepage confirming it as an active code-hosting and DevOps platform with GitHub Copilot as a primary feature.


0 Comments