Map Any Codebase to a Knowledge Graph with Graphify and Claude Code
Graphify converts a local repository into a queryable knowledge graph that Claude Code can navigate directly — no grep-based file scanning required. After completing this tutorial, you will have Graphify installed, a graph built and visualized from a real codebase, and an always-on hook that keeps the graph synchronized as your code evolves. The practical result is more accurate answers from Claude Code at a fraction of the token cost.
-
Clone or navigate to the target repository on your local machine. Graphify analyzes the local filesystem, so the repo must be present before you begin.
-
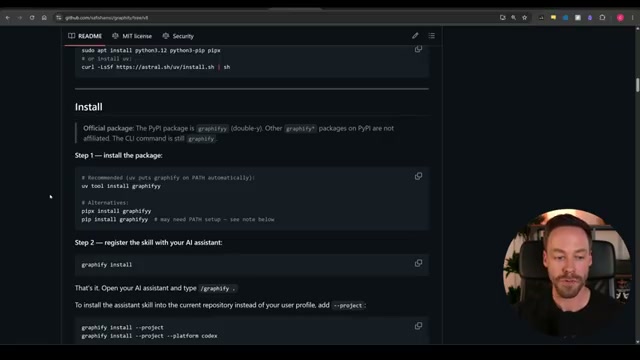
Install Graphify by copying the project’s GitHub README URL, pasting it into Claude Code, and prompting it to handle the installation. For a manual install, run
uv tool install graphifyto put the package on your PATH, then rungraphify installto register the skill with your AI assistant.
Warning: this step may differ from current official documentation — see the verified version below.
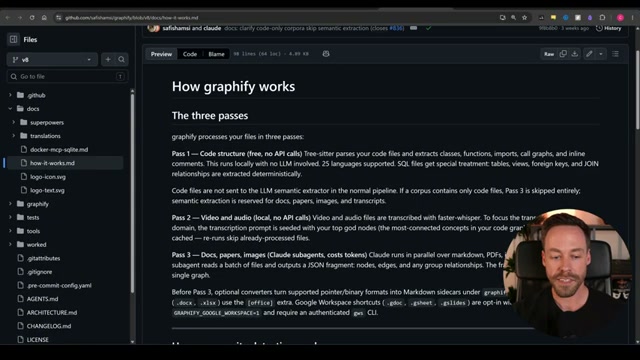
- From inside the target directory, run
/graphify .to trigger all three analysis passes. Pass 1 parses code structure locally with no LLM — tree-sitter extracts classes, functions, imports, call graphs, and inline comments. Pass 2 transcribes any video or audio files using faster-whisper. Pass 3 uses Claude to extract meaning from docs, PDFs, and images, then places them in the graph.
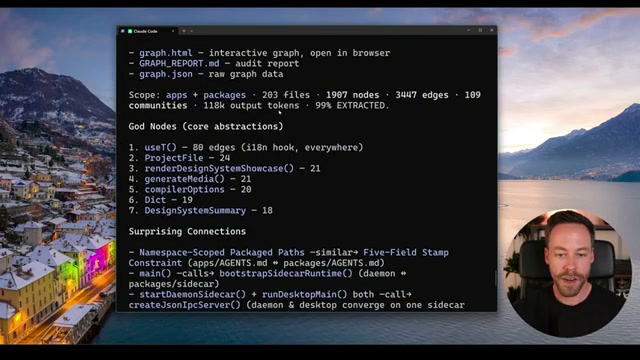
- Review the summary output once the run completes. Graphify reports file count, node count, edge count, community count, and token cost. It also surfaces God Nodes — the highest-connectivity files that everything else depends on — along with unexpected structural connections and a set of auto-generated suggested questions worth asking about the codebase.

-
Visualize the graph by asking Claude Code to open the graph view. The
graph.htmloutput renders in any browser as an interactive node-edge network. Clicking a node reveals its type, source file, community membership, and direct neighbors in a side panel. -
Query the graph explicitly with
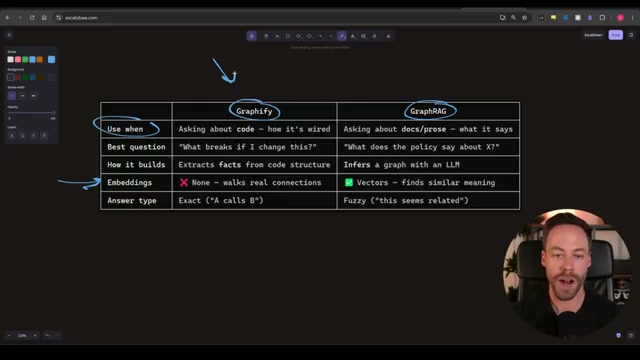
graphify queryorgraphify explain. Both commands instruct Claude Code to pull context from the knowledge graph rather than scanning raw files — useful when you want to verify it is using the map and not falling back to file search. Note that Graphify operates on exact structural connections, not vector embeddings, which makes it better suited for codebase questions than for unstructured document corpora where a GraphRAG system would be the right choice.
-
Install the always-on hook with
graphify claude install. After this step, Claude Code references the knowledge graph automatically for every relevant query without requiring an explicit command. -
Set up auto-rebuild on commit with
graphify hook install. The hook fires after eachgit commit, keeping the graph synchronized with the evolving codebase. -
To map a non-code repository — markdown wikis, documentation sets, or PDF libraries — re-run with the
--obsidianflag. Graphify generates a fully populated Obsidian vault from the extracted nodes and relationships.
How does this compare to the official docs?
The video moves through installation and core commands at a brisk pace, but the official Graphify documentation covers flag behavior, MCP server mode, and incremental update patterns in detail that becomes essential once you are running the tool against production-scale repositories.
Here’s What the Official Docs Show
The video gives you a complete working walkthrough — Act 2 adds the context that official documentation surfaces around authentication, language compatibility, and the Obsidian export that the tutorial moves through quickly. Nothing here contradicts the steps you just watched; these are the details worth having before you run Graphify against a production codebase.
Step 1 — Clone or navigate to the target repository
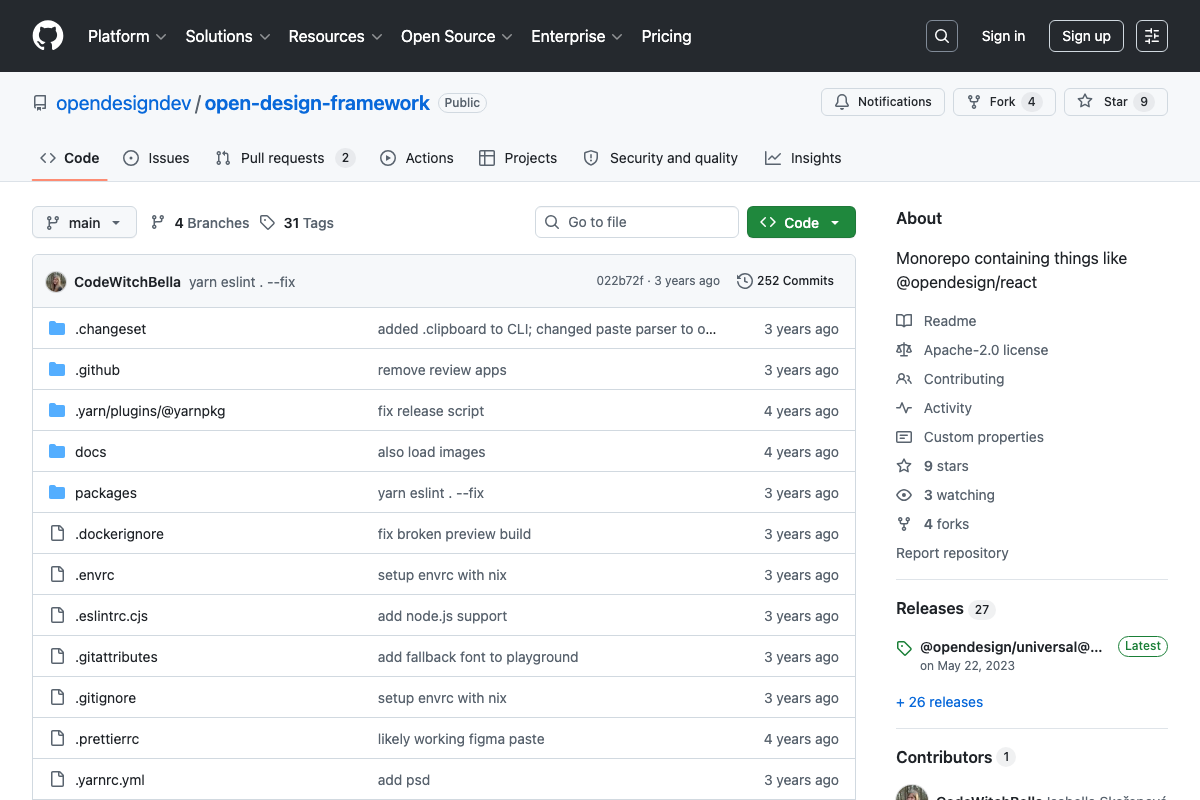
The video’s approach here matches the current docs exactly. The tutorial uses two demo codebases worth knowing about before you interpret its output numbers. SYSTRAN/faster-whisper (23.4k stars, Python-dominant, latest release October 2025) is a realistic stand-in for an active production repo. The secondary demo — opendesigndev/open-design-framework — is a TypeScript monorepo that hasn’t received commits in approximately three years and is self-described as incomplete. The graph node counts and community structure shown in step 4 reflect those repos’ actual relationship density, not Graphify’s ceiling on a healthy codebase.

Step 2 — Install Graphify
No official documentation was found for this step — proceed using the video’s approach and verify independently.
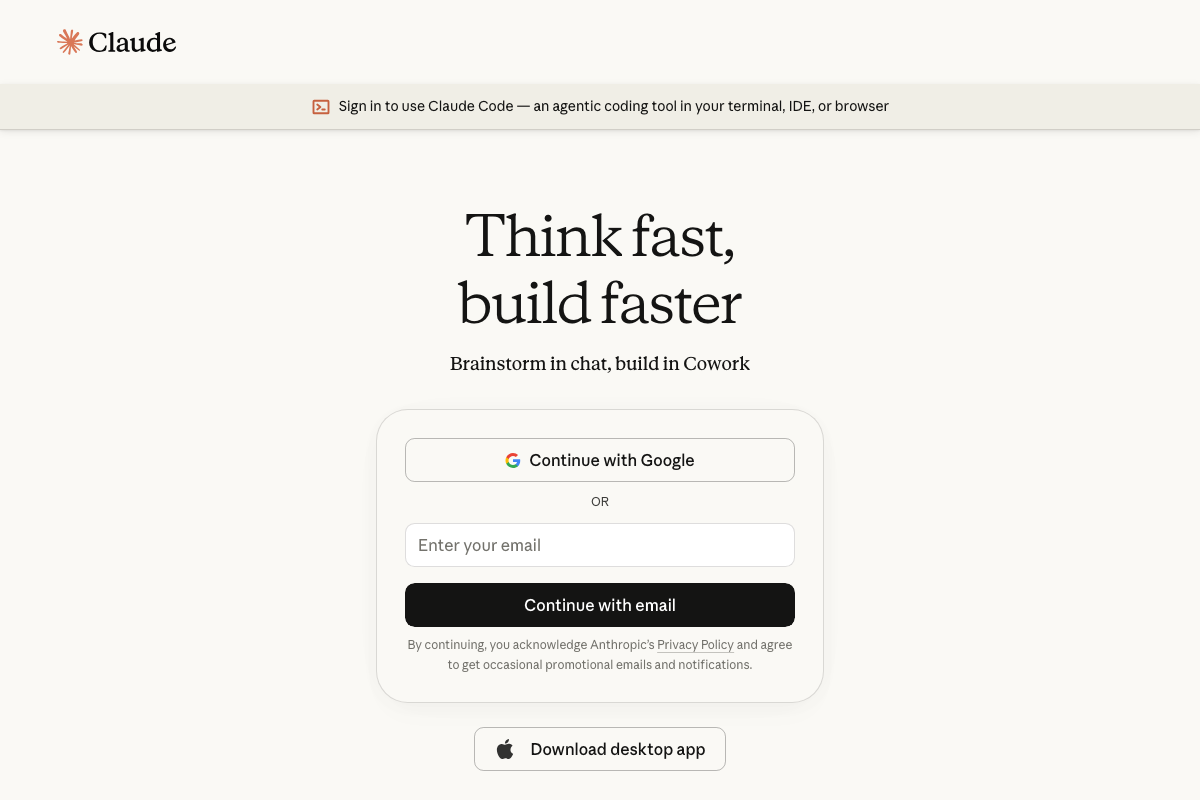
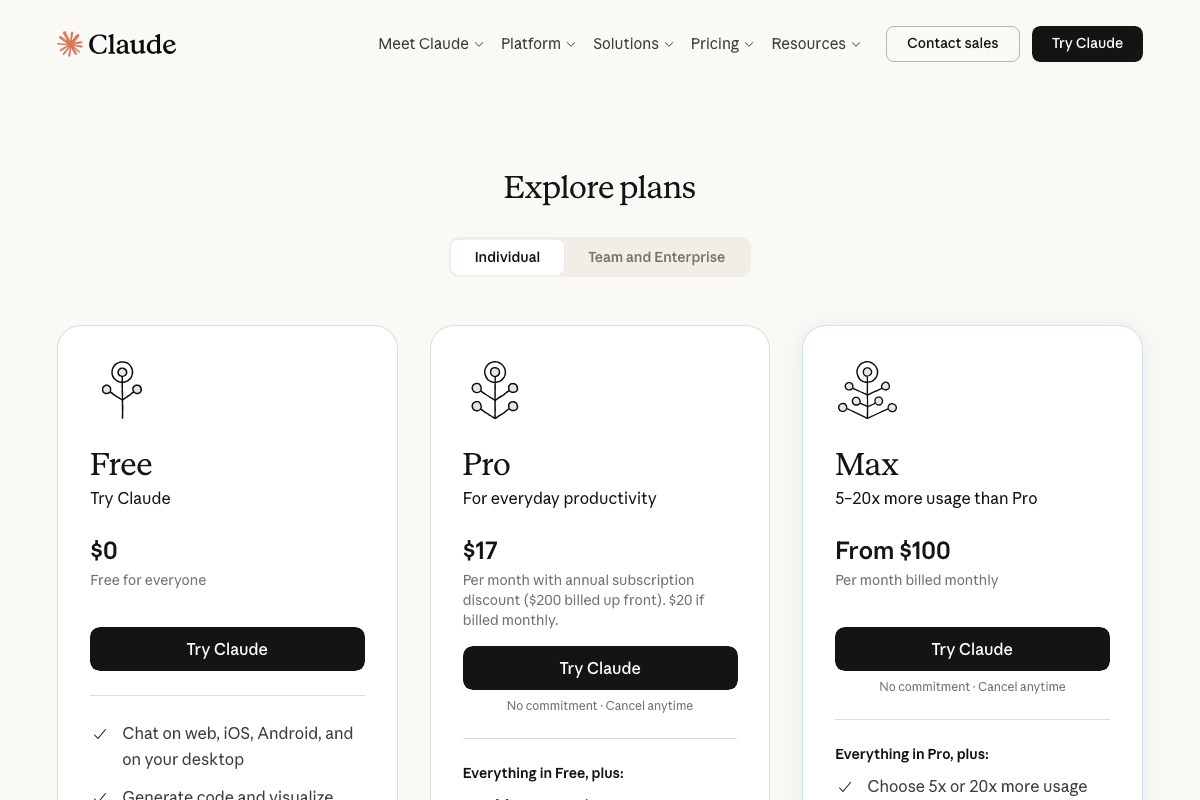
One prerequisite the video skips: Claude Code requires an authenticated Anthropic account before any CLI usage. New users must sign in at claude.ai/code via Google or email first. For the always-on hook in step 7 and frequent graph queries in step 6, heavy agentic usage may require a Pro ($17/mo) or Max ($100+/mo) plan — the video does not address which tier is sufficient.
Step 3 — Run /graphify .
No official documentation was found for this step — proceed using the video’s approach and verify independently.
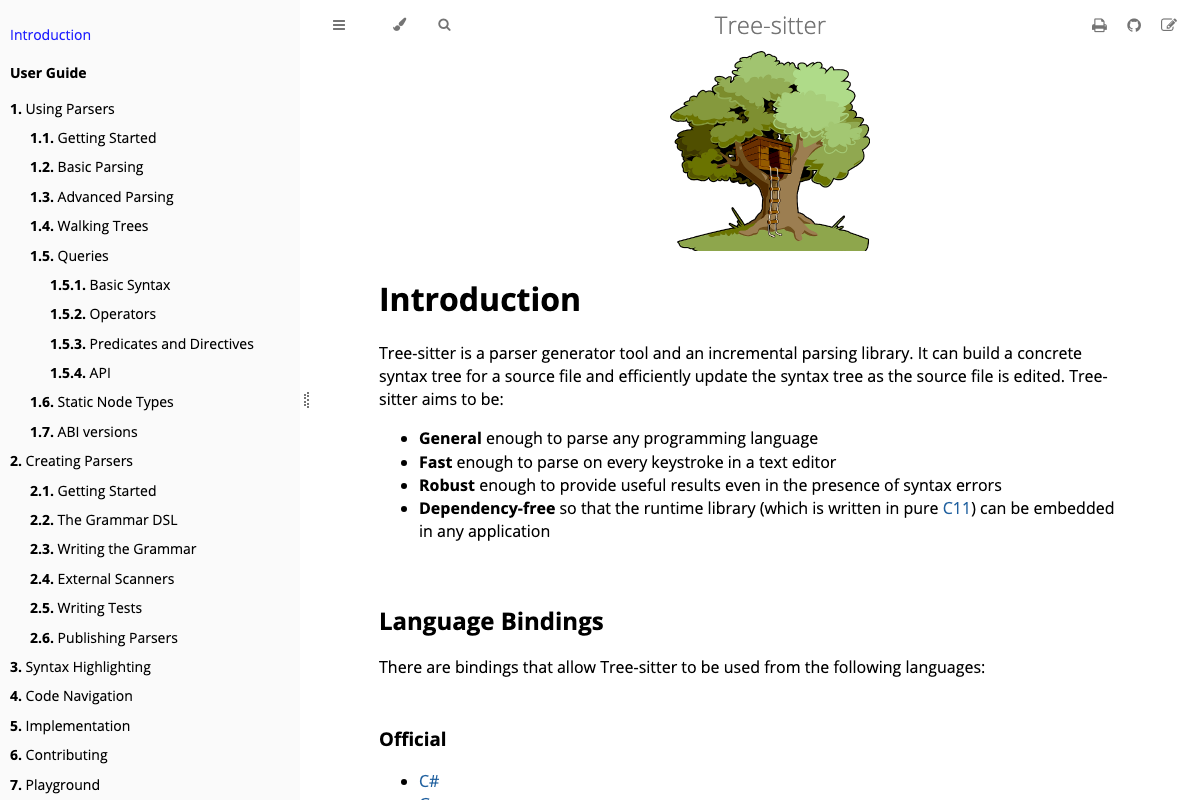
One structural note worth flagging: the video does not name Graphify’s parser dependency, but if Pass 1 uses Tree-sitter (the architecture matches), language support is bounded by Tree-sitter’s parser availability. Official bindings cover Python, TypeScript, JavaScript, Rust, Go, Java, C, C++, Ruby, and roughly 24 upstream languages. Codebases in languages outside that set may produce incomplete graphs.

Step 4 — Review the summary output
No official documentation was found for this step — proceed using the video’s approach and verify independently.
Step 5 — Visualize the graph
No official documentation was found for this step — proceed using the video’s approach and verify independently.
Step 6 — Query with graphify query or graphify explain
No official documentation was found for this step — proceed using the video’s approach and verify independently.
Step 7 — Install the always-on hook
No official documentation was found for this step — proceed using the video’s approach and verify independently.
Step 8 — Set up auto-rebuild on commit
No official documentation was found for this step — proceed using the video’s approach and verify independently.
Step 9 — Export with --obsidian
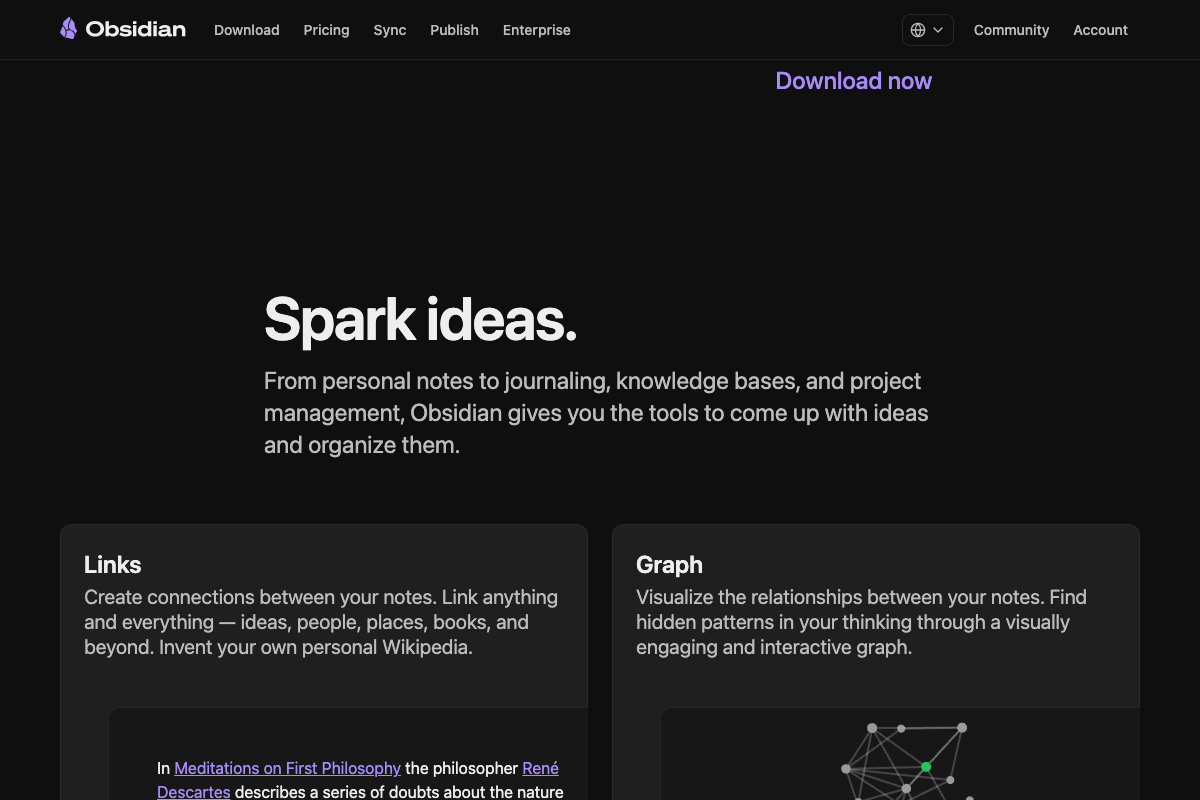
The video’s approach here matches the current docs exactly. Obsidian is a free, locally installed application with a native graph view and backlink system — the right format target for a Graphify vault export. One step the video does not show: you must open Graphify’s output directory as an Obsidian vault (File → Open Vault → select folder) for the graph view to populate. Obsidian’s graph renders from [[wiki-link]] syntax in the generated markdown files, so the relationship density you see will reflect how faithfully Graphify writes those links during the --obsidian pass.

Useful Links
- Sign in – Claude — Claude Code’s official entry point; authentication and a compatible subscription tier are required before CLI or terminal use
- Introduction – Tree-sitter — Documentation for the parser generator library likely underlying Graphify’s Pass 1 analysis, including the full list of supported language bindings
- GitHub – SYSTRAN/faster-whisper — The primary demo codebase used in the tutorial; an actively maintained Python ML inference library with 23.4k stars
- Obsidian – Sharpen your thinking — Official site for the local-first knowledge management app targeted by Graphify’s
--obsidianexport flag - GitHub – opendesigndev/open-design-framework — The secondary demo repository used in the tutorial; a largely inactive TypeScript monorepo whose results may underrepresent Graphify’s output on active codebases


0 Comments