From Claude Code to Codex: Running Both AI Coding Agents in Parallel
Tool lock-in is a liability — and OpenAI Codex is the most natural insurance policy for Claude Code users because the two tools are nearly identical in mental model. After working through this tutorial, you’ll have Codex installed, configured for autonomous full-access operation, and running against your existing projects, with plugins, automations, and the goals feature enabled. The entire setup takes under 30 minutes.
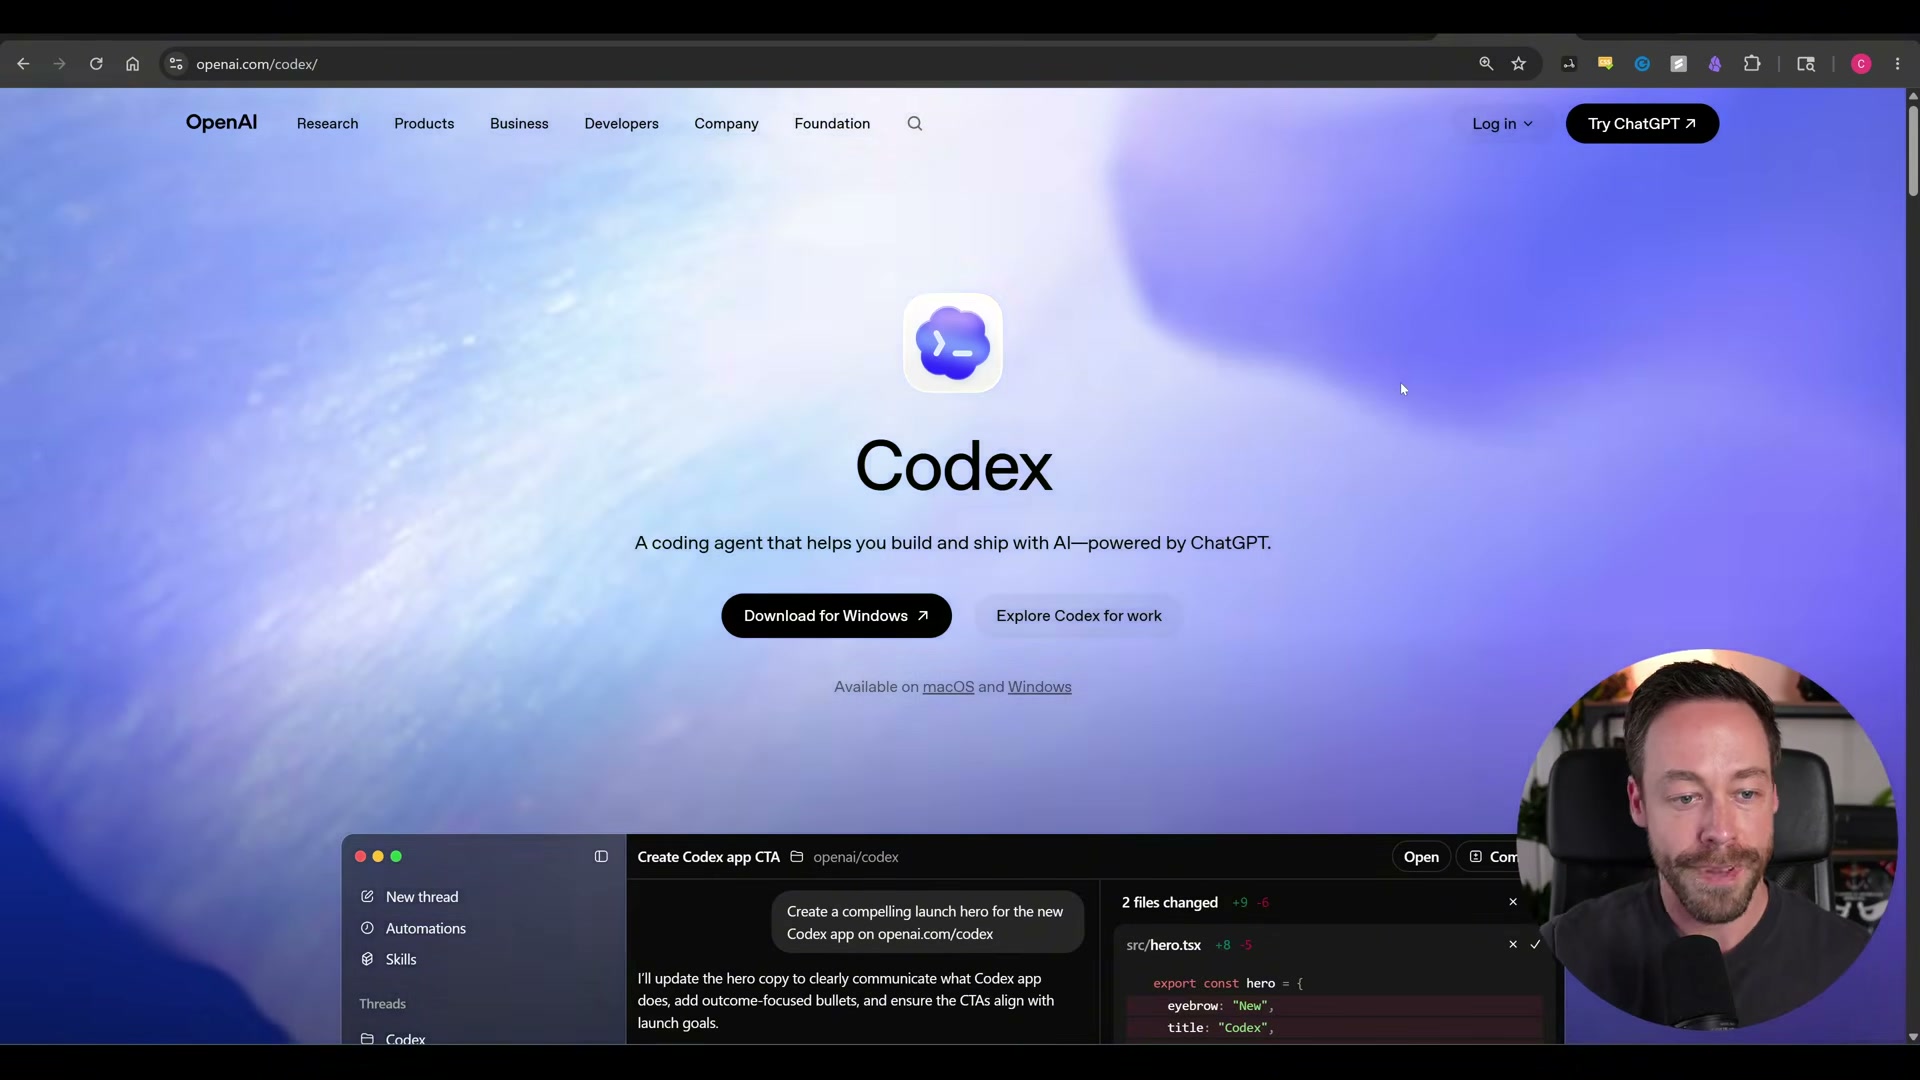
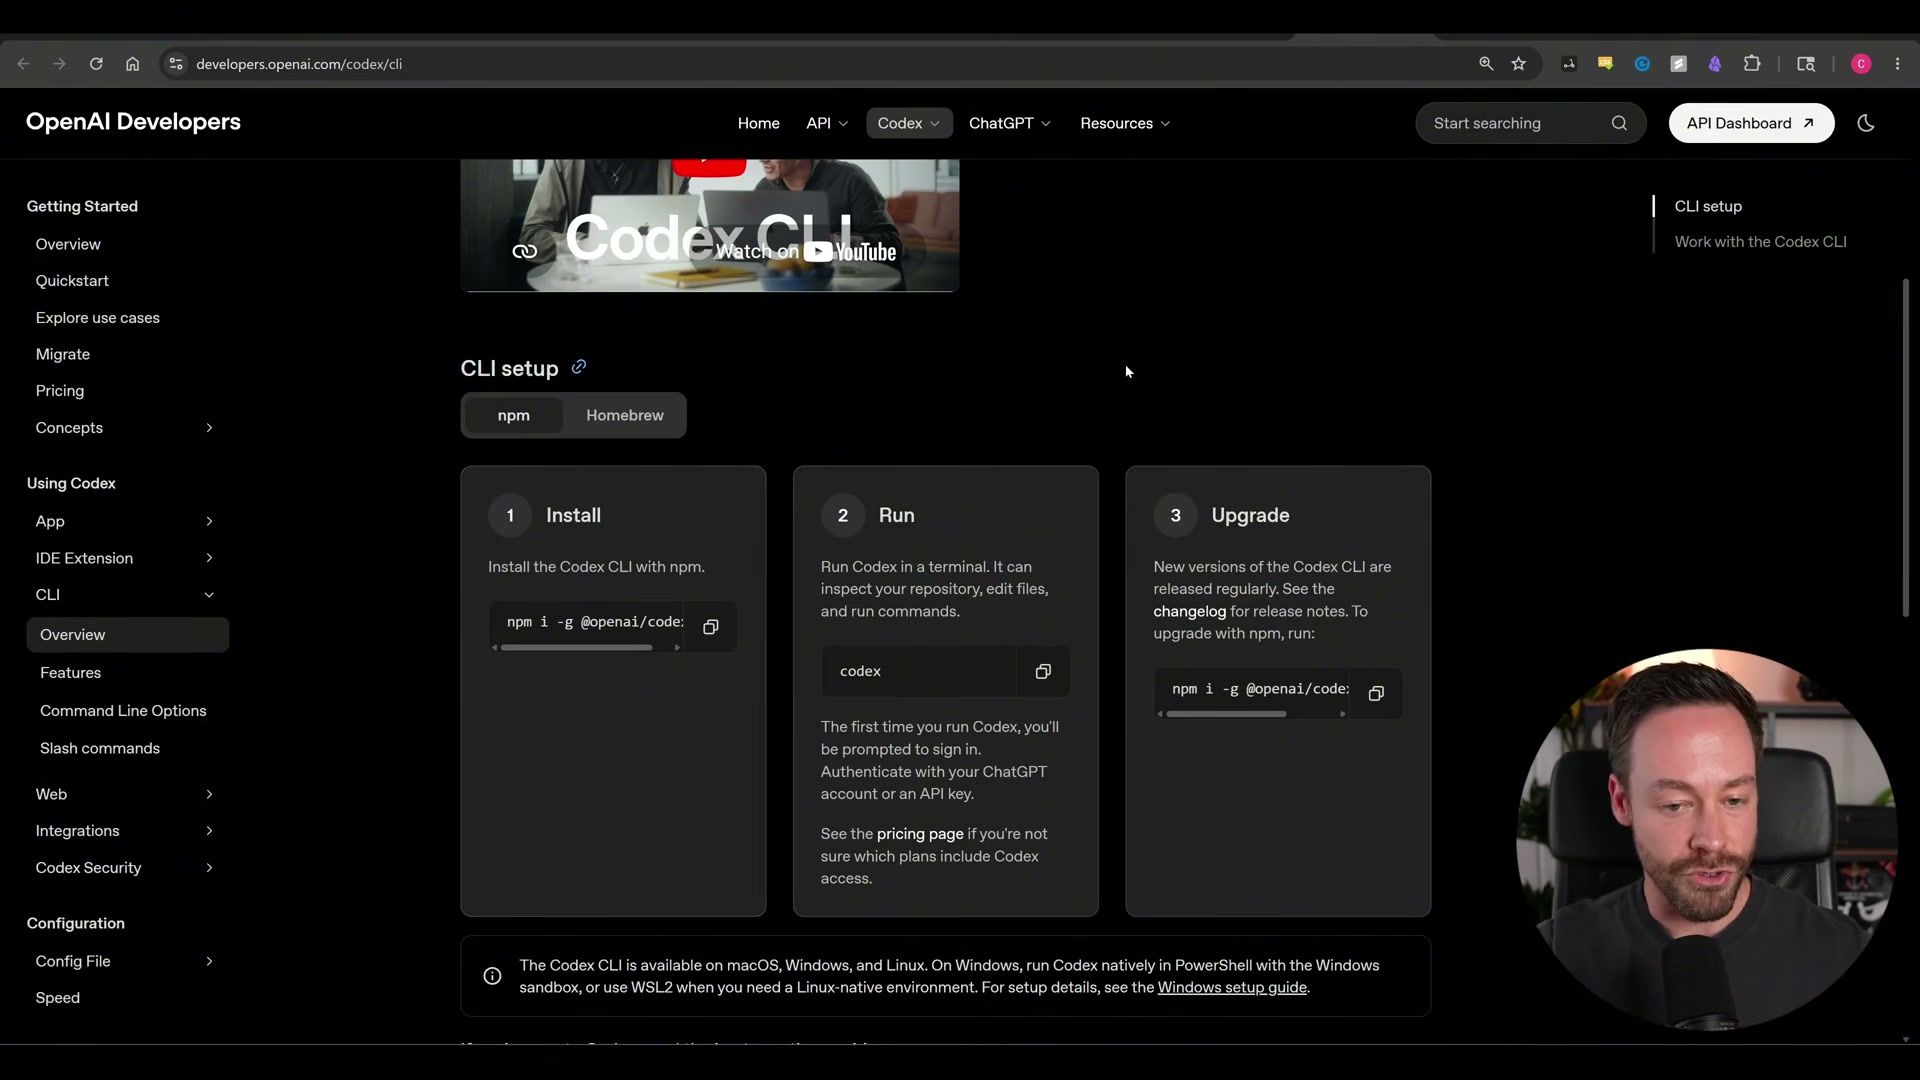
- Go to openai.com/codex and download the desktop app for your OS. Installation is standard. If you prefer the CLI, the setup is three commands — install via npm, authenticate, and run — and every concept covered here applies identically.
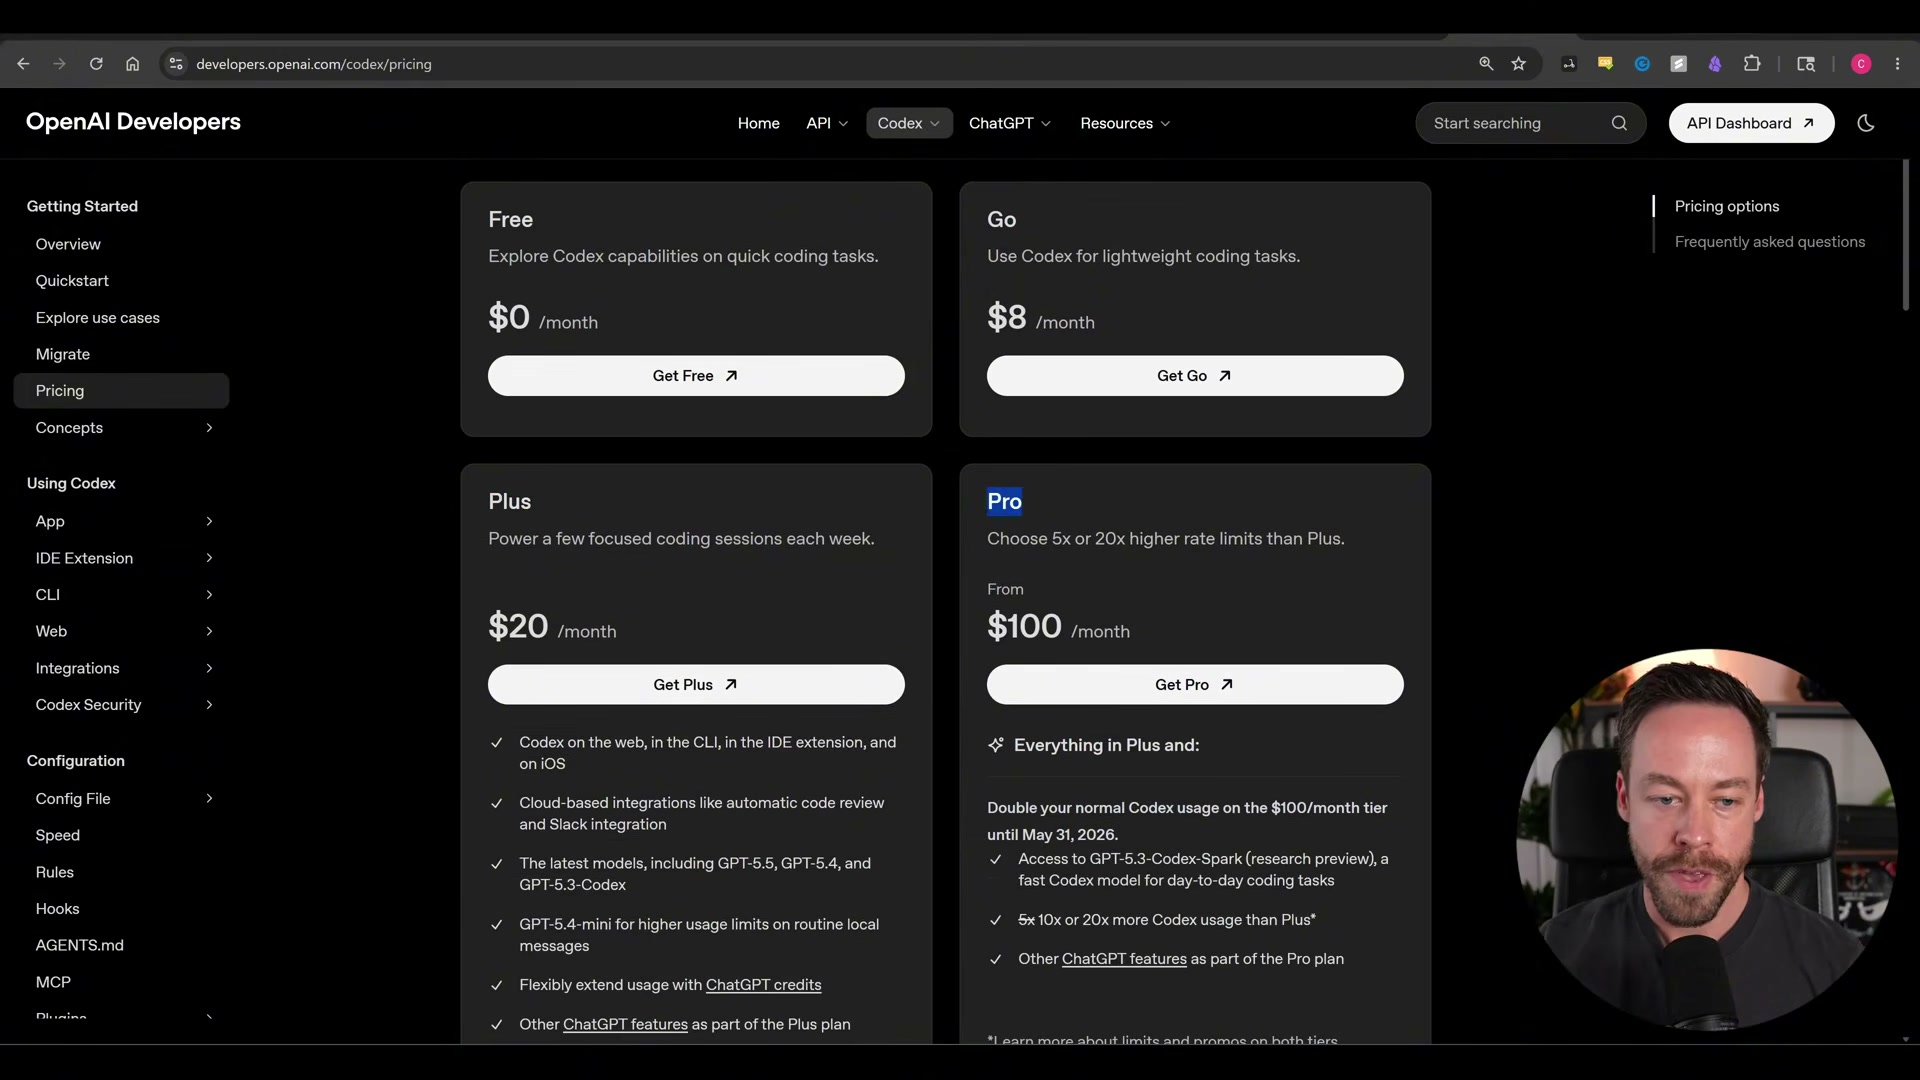
- Before logging in, decide on a pricing tier. The Plus plan at $20/month gets you GPT-5.5, CLI access, and IDE integrations. Pro at $100/month adds GPT-5.5 Pro and significantly higher rate limits. The video argues Plus delivers more usage-per-dollar than the equivalent Anthropic tier because GPT-5.5 consumes fewer tokens overall.
-
Open the app. The home screen presents a prompt bar, file and photo attachment, a plugin panel, plan mode, and a model/speed selector. The layout maps directly to the Claude Code desktop app — orient yourself in under a minute.
-
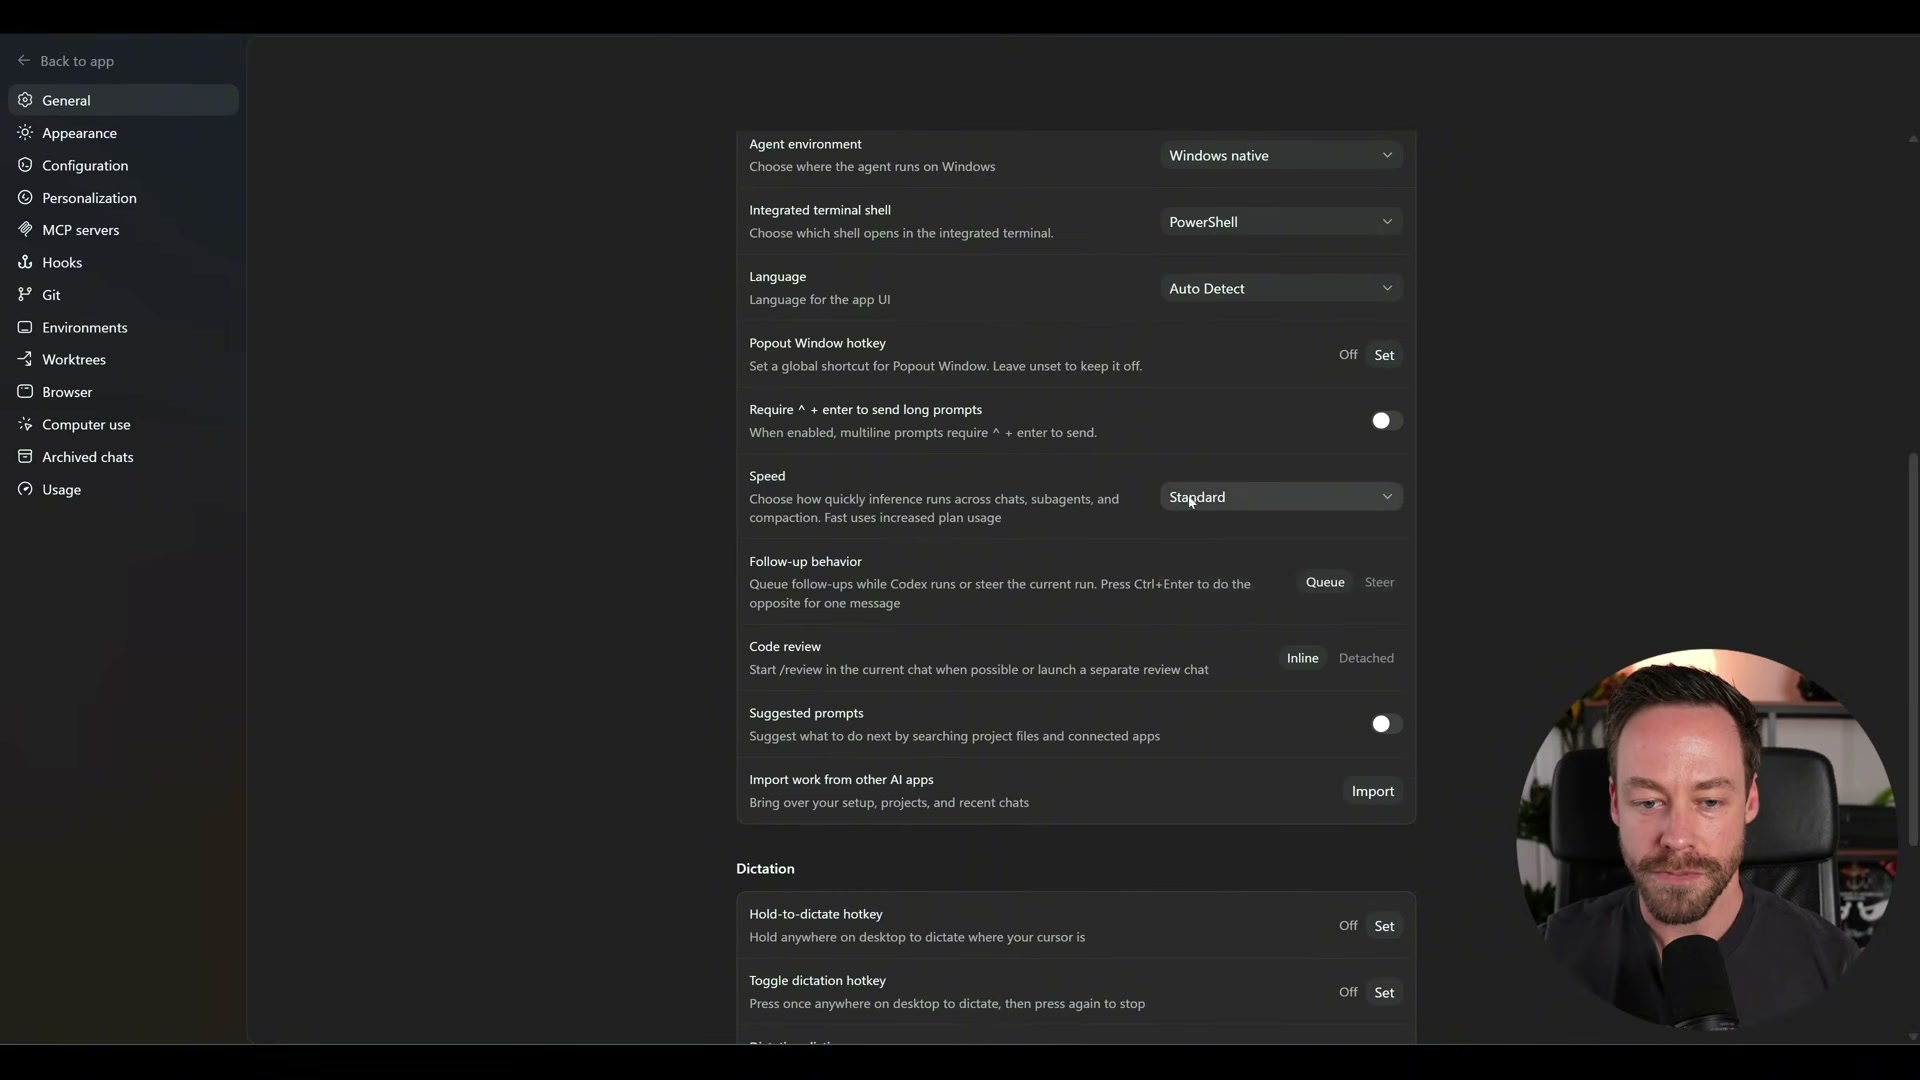
Navigate to Settings → General. Set the mode to Coding for technical responses. Under permissions, enable all file-edit options to run in full-access mode so Codex never interrupts a task to ask for confirmation. Set Follow-up behavior to Q (Queue): Codex finishes its current tool-call chain before reading your next prompt. Use the manual Steer button when you need to inject a prompt mid-execution.
Warning: this step may differ from current official documentation — see the verified version below.
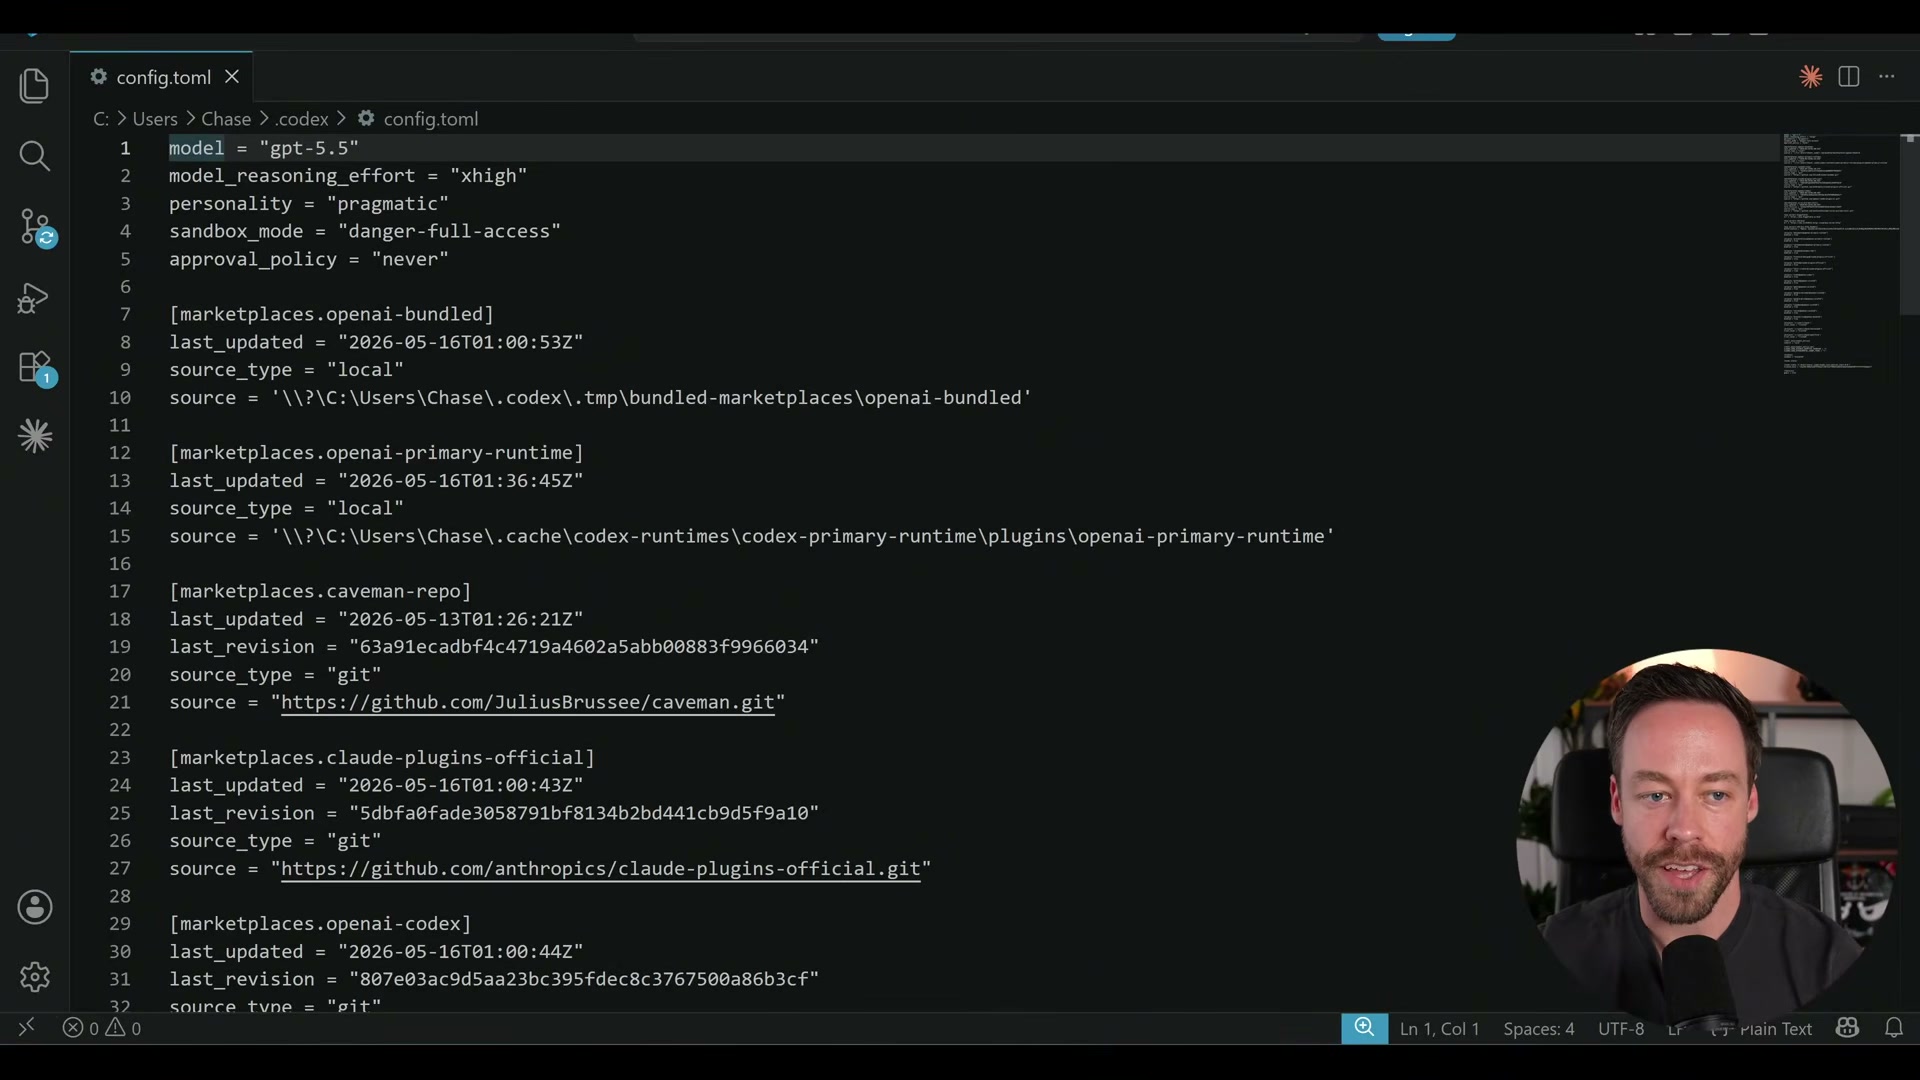
- Go to Settings → Configuration, enable Codex dependencies, then open config.toml. Add the following at the bottom to enable the goals feature, which turns Codex into a persistent long-running agent harness:
[feature]
goals = true
The same file controls model selection, reasoning effort, sandbox mode, and approval policy for a fully autonomous workflow.
Warning: this step may differ from current official documentation — see the verified version below.
-
Optionally visit Settings → Appearance to assign a Pet — a persistent visual companion that signals task progress and completion while you’re working in another window. Skip it if you prefer a minimal interface.
-
Click Project in the left panel, then select an existing folder. When prompted to migrate settings, click Continue: Codex imports your Claude Code skills, plugins, and configurations automatically.
-
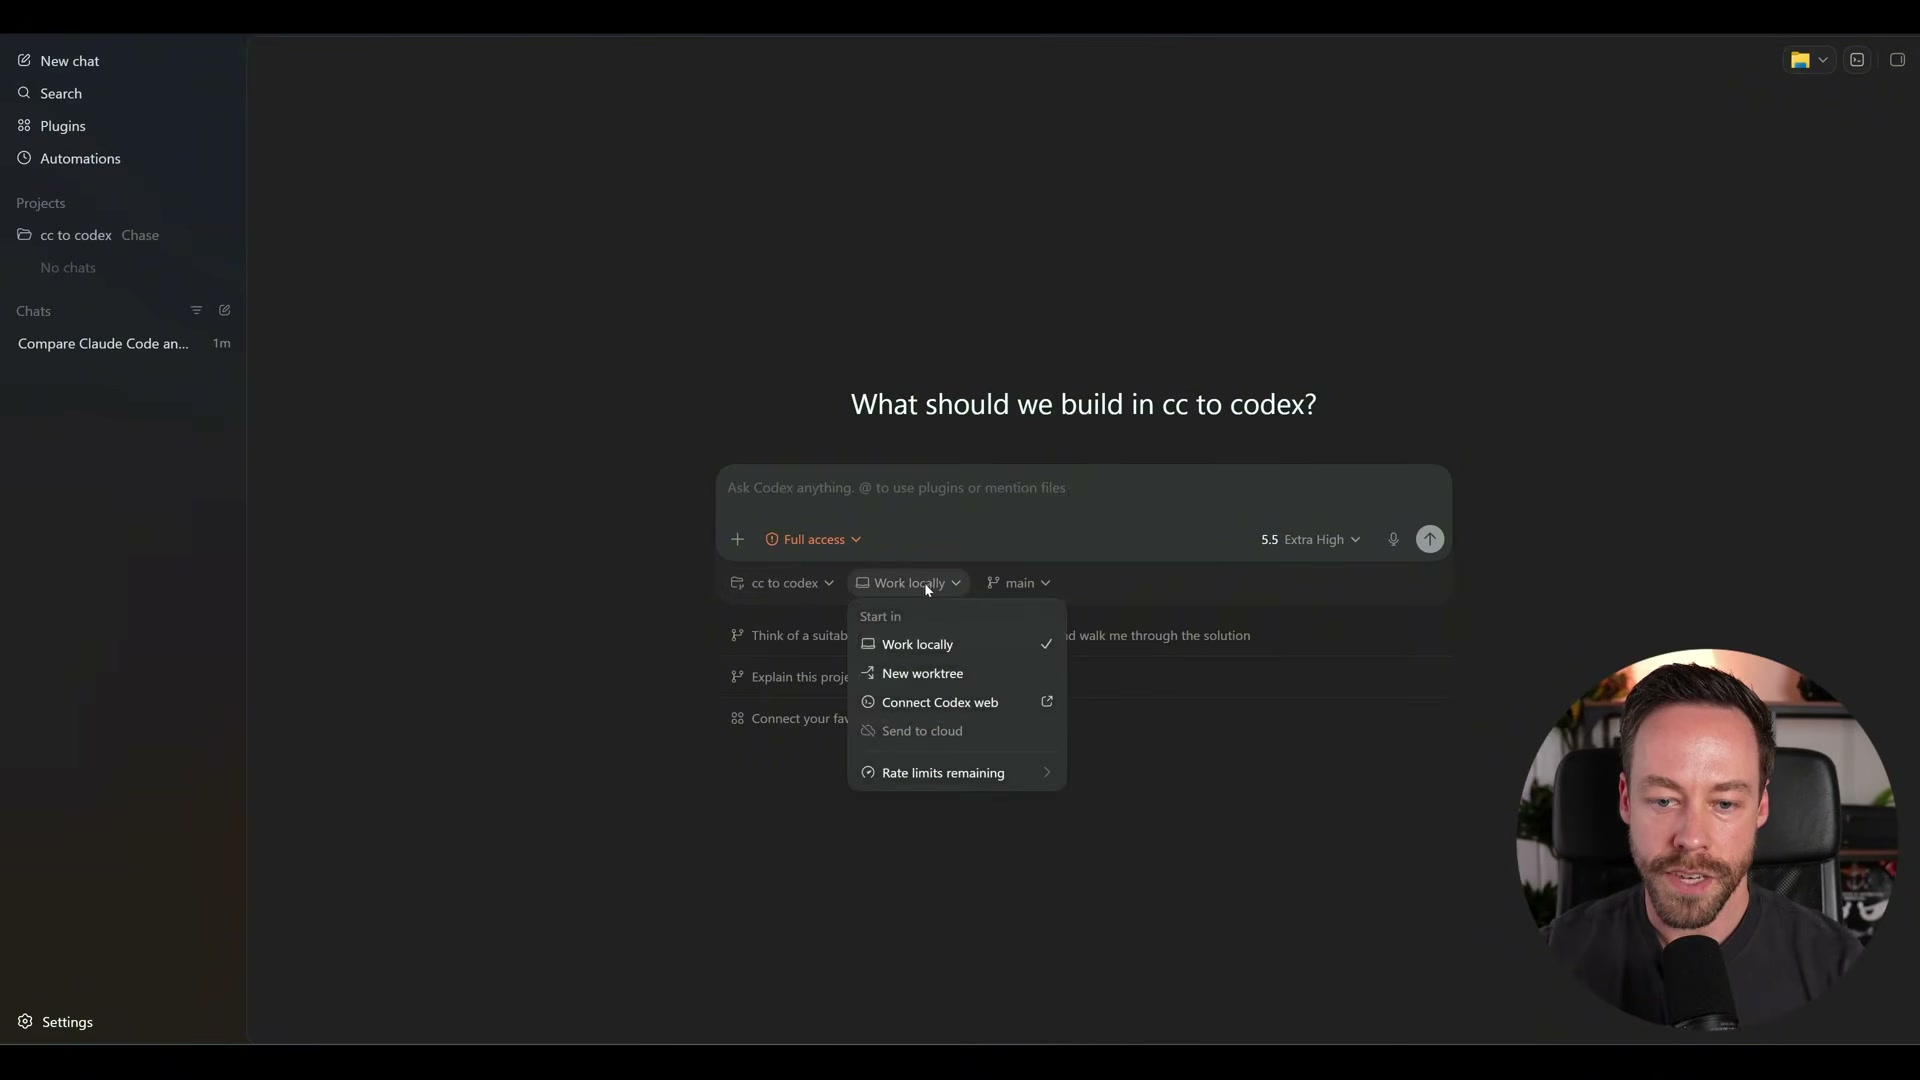
Inside the project, open the environment selector to choose Work locally, New worktree, or Codex Web. Select your branch. Local keeps changes in your active directory; worktree isolates them on a separate branch; Codex Web offloads execution to OpenAI’s infrastructure.
-
Type @ in the prompt bar to invoke a plugin inline (e.g., @spreadsheets). Type / to invoke a skill (e.g., /front-end-design). Add new plugins via the + button in the plugins panel — most require a one-time OAuth login to the third-party service.
-
Click New Automation to schedule recurring tasks: describe the job in plain language, set a cron-style schedule, assign a project and worktree, and choose model and reasoning level. For context resets mid-project, open a new chat within the same project — the direct equivalent of
/clearin Claude Code.
How does this compare to the official docs?
The video prioritizes speed over precision on a few configuration steps that carry real consequences — the official Codex documentation draws some important distinctions worth checking before you commit to a full-access autonomous setup.
Here’s What the Official Docs Show
The video gives you a practical orientation to running Codex alongside Claude Code, and the steps below follow the same sequence with one transparency note added upfront. When documentation screenshots were captured for every Codex-specific step, platform.openai.com/docs/codex returned browser errors on all three attempts — no official content loaded, so Act 2 adds verified context where other sources allow and flags gaps plainly everywhere else.
Steps 1–4: Installation, Pricing, App Interface, and General Settings


No official documentation was found for these steps —
proceed using the video’s approach and verify independently.
Steps 5–9: config.toml, Appearance, Project Setup, Environments, and Plugins
The feature.goals = true config entry, the Pets visual indicator, Q mode, Steer mode, and the worktree selector are all Codex-specific claims with no loadable official source to confirm or refute any of them.

No official documentation was found for these steps —
proceed using the video’s approach and verify independently.
Step 10: Migrating Settings from Claude Code
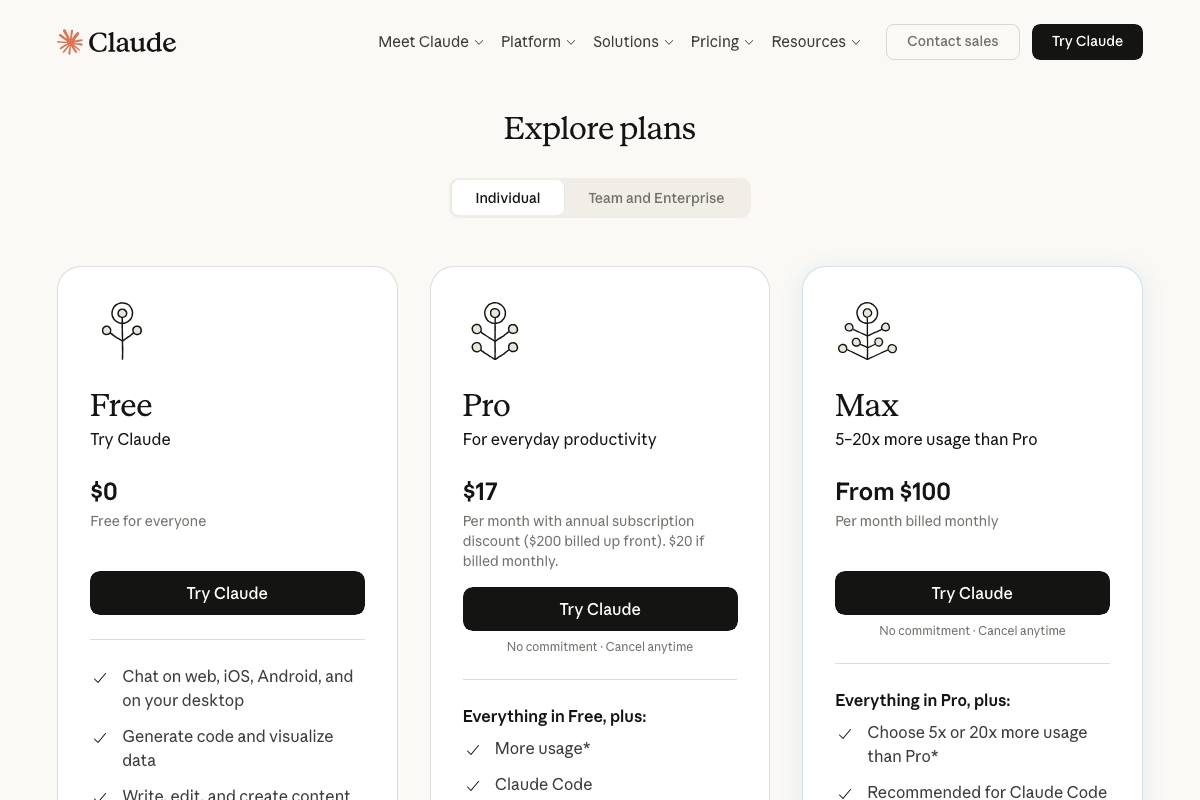
One prerequisite the video skips: Claude Code is a paid feature. As of May 16, 2026, it requires a Pro plan ($17/month billed annually, $20 billed monthly) at minimum — the Free tier does not include it. If you have not had an active Pro or Max Claude subscription, there are no settings to migrate.
A naming distinction worth knowing: Claude’s desktop interface on claude.ai is branded Cowork. Cowork is a separate product surface from the Claude Code CLI. The migration path the video describes applies specifically to Claude Code CLI configurations, not Cowork.

No official documentation was found for the migration workflow itself —
proceed using the video’s approach and verify independently.
Steps 11–13 and 15–17: Worktrees, Automations, Q Mode, and Steer Mode
No official documentation was found for these steps —
proceed using the video’s approach and verify independently.
Step 14: Supabase Plugin Authentication
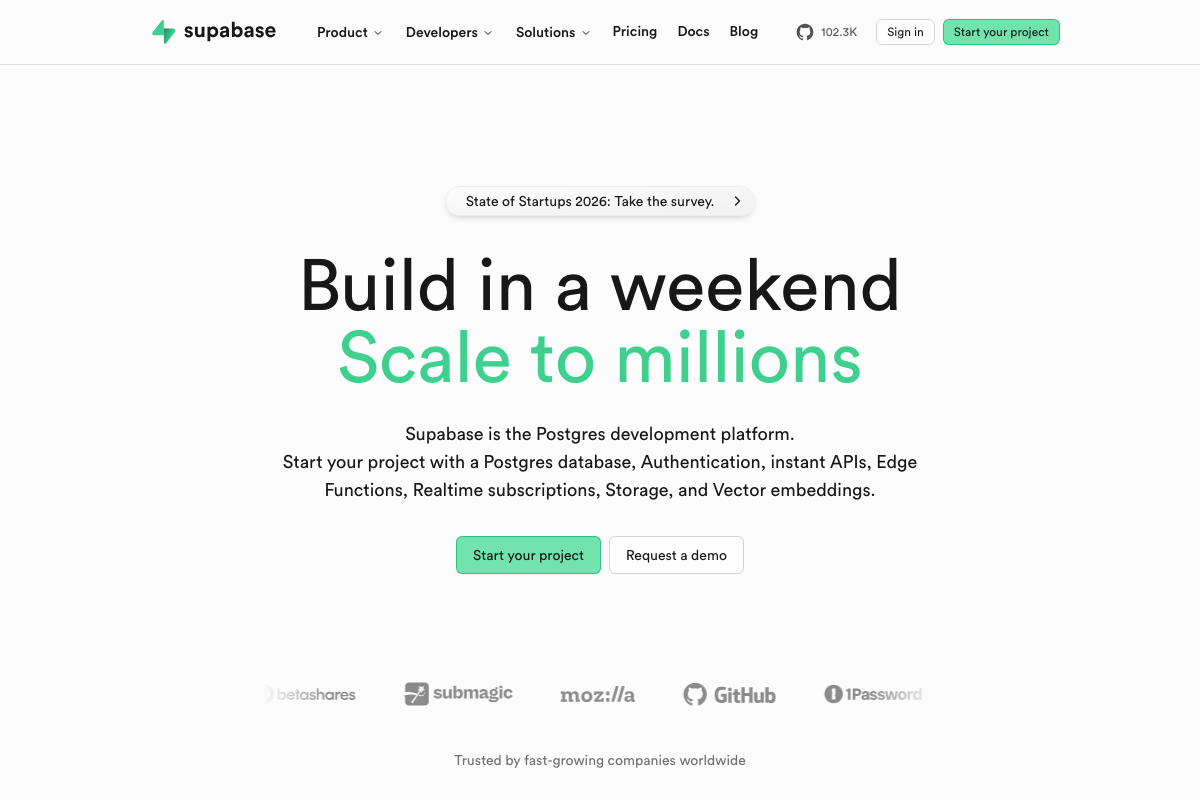
Supabase is a real Postgres development platform — authentication, edge functions, storage, and vector embeddings are all confirmed products. No dedicated Codex plugin or integration guide appears anywhere on Supabase’s site.
No official documentation was found for this step —
proceed using the video’s approach and verify independently.
Step 18: Opening Excel Output Files
Excel is a legitimate output format for data tasks; the Microsoft 365 product is real and well-documented. The specific “Open in Folder” mechanism inside Codex’s UI cannot be verified from any captured source.

No official documentation was found for this step —
proceed using the video’s approach and verify independently.
Useful Links
- Web – Codex | OpenAI Developers — Official OpenAI Codex developer documentation; returned a load error at time of capture — check directly for current installation, configuration, and API reference content
- Sign in – Claude — Claude Code landing page confirming the tool’s identity as an agentic terminal and IDE coding tool, with Pro and Max plan requirements
- Supabase | The Postgres Development Platform — Supabase product homepage covering its Postgres database, Auth, Edge Functions, Storage, and Vector offerings
- Microsoft Excel | Free Online Spreadsheets Software — Microsoft 365 Excel product page, referenced in step 18 as the output file format for Codex-generated data tasks


0 Comments