Automate Real Estate Lead Capture with Zapier Copilot
When a prospect fills out your contact form, the last thing you want is to manually copy their details into a spreadsheet or miss a follow-up because the notification got buried. By the end of this tutorial, you’ll have a working Zap that captures Google Form submissions, logs each lead to a Google Sheet, and fires an email notification to your inbox — all assembled in minutes using Zapier’s AI-powered Copilot. You’ll also see how to extend that workflow by connecting Zapier to Claude through an MCP server.
-
Open Zapier and navigate to the Copilot interface. Instead of building a Zap step by step from scratch, describe your automation goal in plain English — something like “when someone fills out my Google Form, email me the lead details and add a row to my spreadsheet.” Copilot parses the intent and selects the relevant apps for you.
-
Review the three apps Copilot proposes: Google Forms as the trigger, Gmail (or your preferred email provider) as the notification action, and Google Sheets as the logging destination. Confirm the selection to advance to the Zap editor.
-
Inside the Zap editor, authenticate each connected service. Start with your email account — connect the specific inbox where lead notifications should land. Zapier stores the OAuth credentials so you won’t need to re-enter them for future Zaps.
-
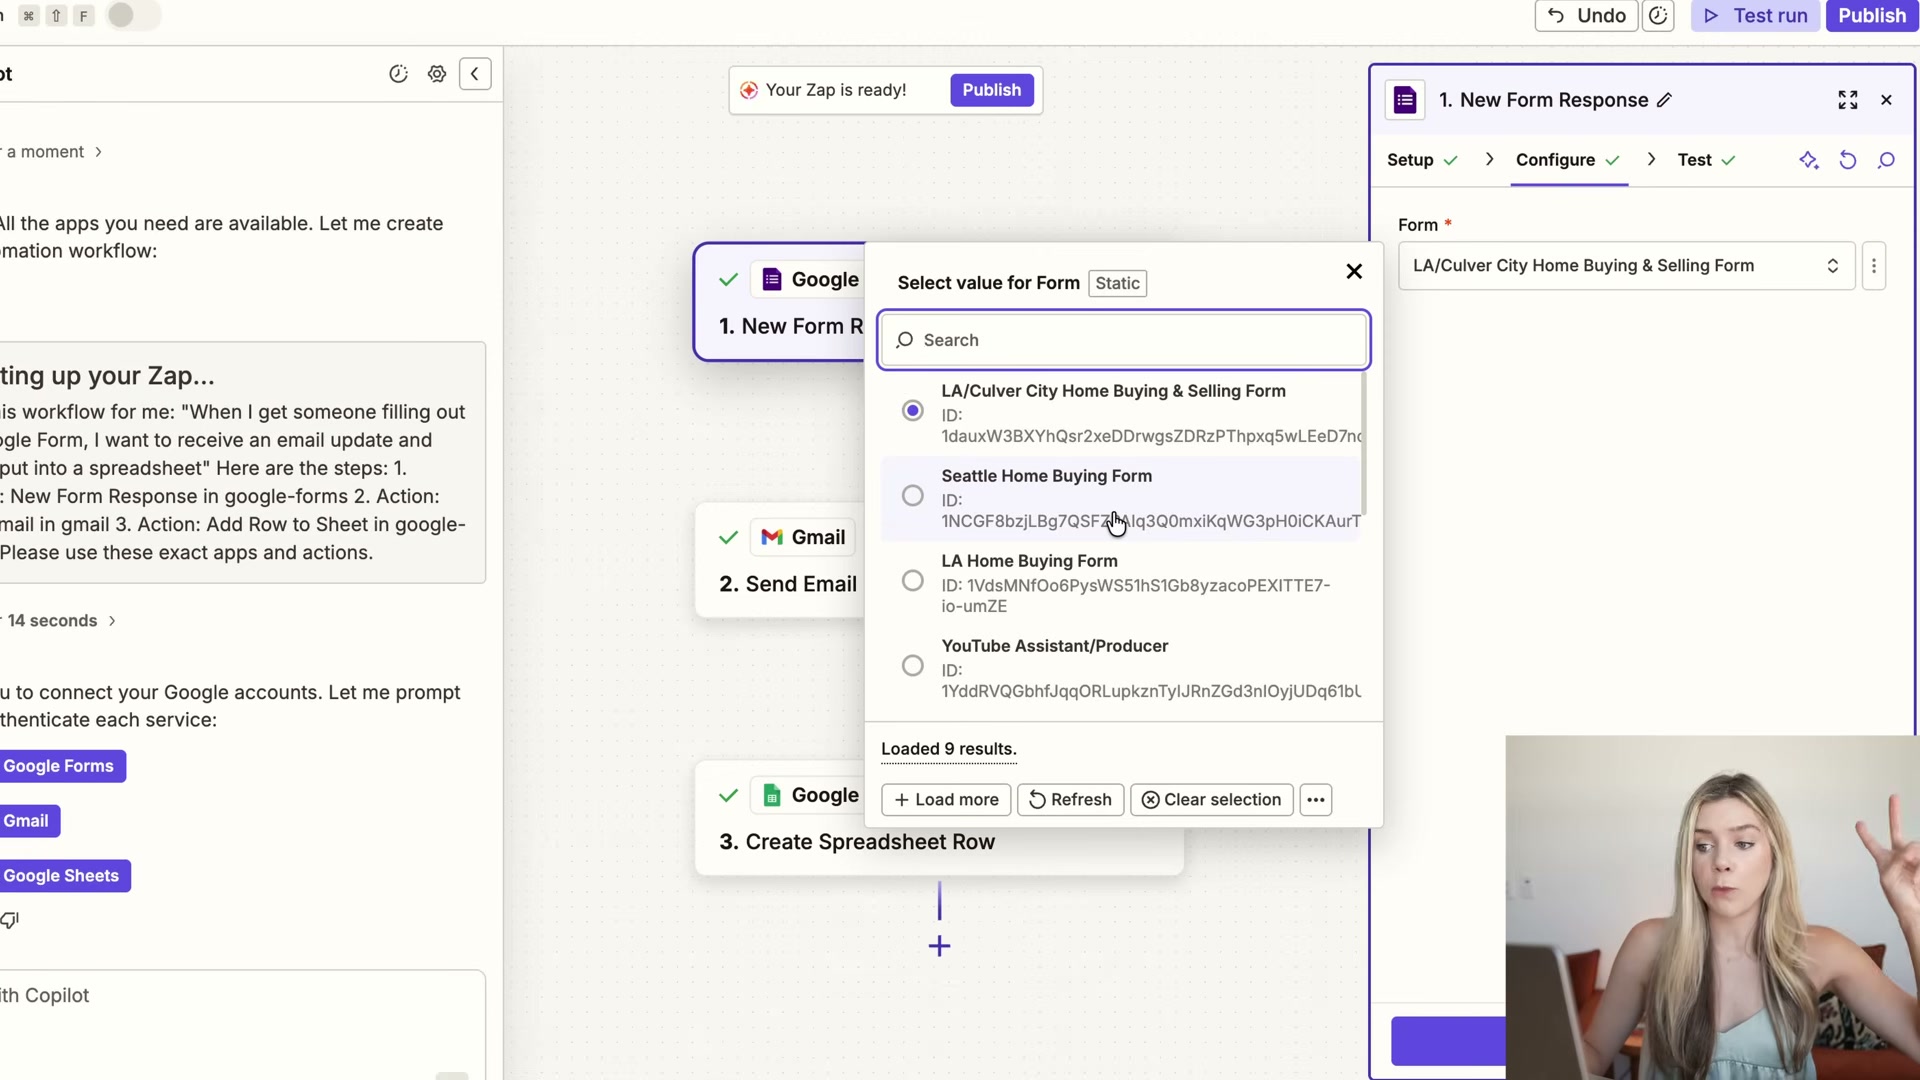
Return to the trigger step and connect the specific Google Form you want to monitor. Zapier pulls the full list of forms from your authenticated Google account; select the one your leads actually see.
-
Configure the Google Sheets action by pointing it to the correct spreadsheet and worksheet tab. Map your form fields — name, email, message, and any custom fields — to the corresponding columns so each submission lands in the right place.
-
Test the Zap by manually submitting your Google Form with real or placeholder data. Zapier runs a live test against the form’s response history to confirm the trigger fires and the field mapping is accurate.
-
Verify that the email notification arrives in your inbox and that a new row appears in the spreadsheet with the submitted data. When both pass, publish the Zap.
- To extend the workflow, connect Zapier’s MCP server to Claude. Once the server is linked, you can prompt Claude from within the chat interface to draft a personalized reply to the lead — pulling in context about the property or neighborhood and proposing a call time — without switching between tools.
Warning: this step may differ from current official documentation — see the verified version below.
How does this compare to the official docs?
The video moves quickly through Copilot’s setup and glosses over the MCP server configuration entirely, which is where the official Zapier documentation fills in the gaps that matter most for a production workflow.
Here’s What the Official Docs Show
The video’s core workflow — form submission triggers a spreadsheet row and an email notification — holds up well against current documentation. What follows layers in the prerequisites and one naming correction that will save you a confusing trip to a dead link.
Step 1 — Open Zapier and describe your automation in Copilot
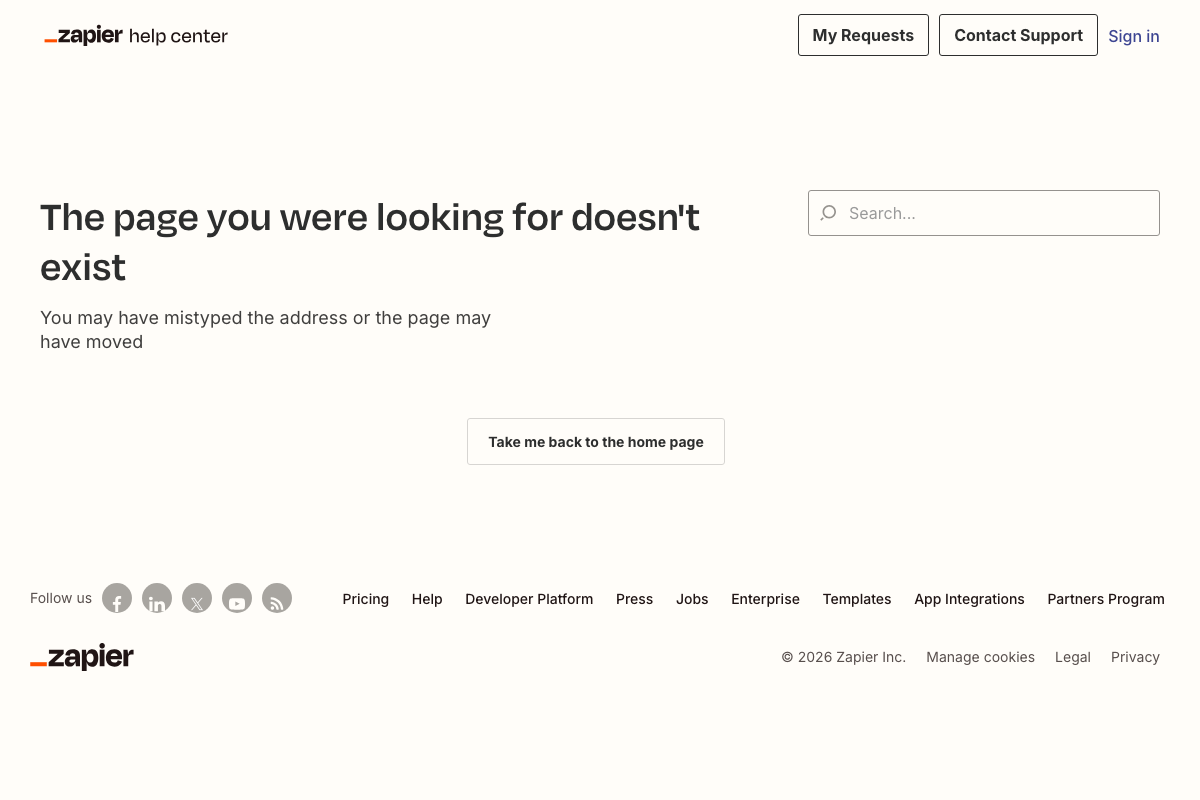
As of May 2026, the Zapier Help article for “Get started with Zapier Copilot” (article ID 16588586811533) returns a 404 — the page has moved or been retired at that address. The Copilot feature itself is not gone; the current entry point for AI-assisted Zap building is the Zapier AI category at help.zapier.com/hc/en-us. Search “AI Zap builder” or “Copilot” from within the Help Center to locate current guidance.
No official documentation was found for this step — proceed using the video’s approach and verify independently.
Step 2 — Review and confirm the three proposed apps
The video’s approach here matches the current docs exactly. One useful addition: if you want a native path, Zapier’s own Lead Router product (listed in the Help Center’s product categories) routes incoming leads directly to your sales team without requiring a Google Forms dependency.
Step 3 — Authenticate connected services in the Zap editor
No official documentation was found for this step — proceed using the video’s approach and verify independently.
Step 4 — Connect your Google Form as the trigger
The video’s approach here matches the current docs exactly. Two prerequisites the video skips: the Google account you authenticate in Zapier must be the same account that owns the form — a personal Gmail won’t surface forms that live in a Workspace account. Also, finalize your form’s question types before connecting it to Zapier; the fields available to map in the trigger are determined entirely by the form structure at connection time.

Step 5 — Configure the Google Sheets action and map fields
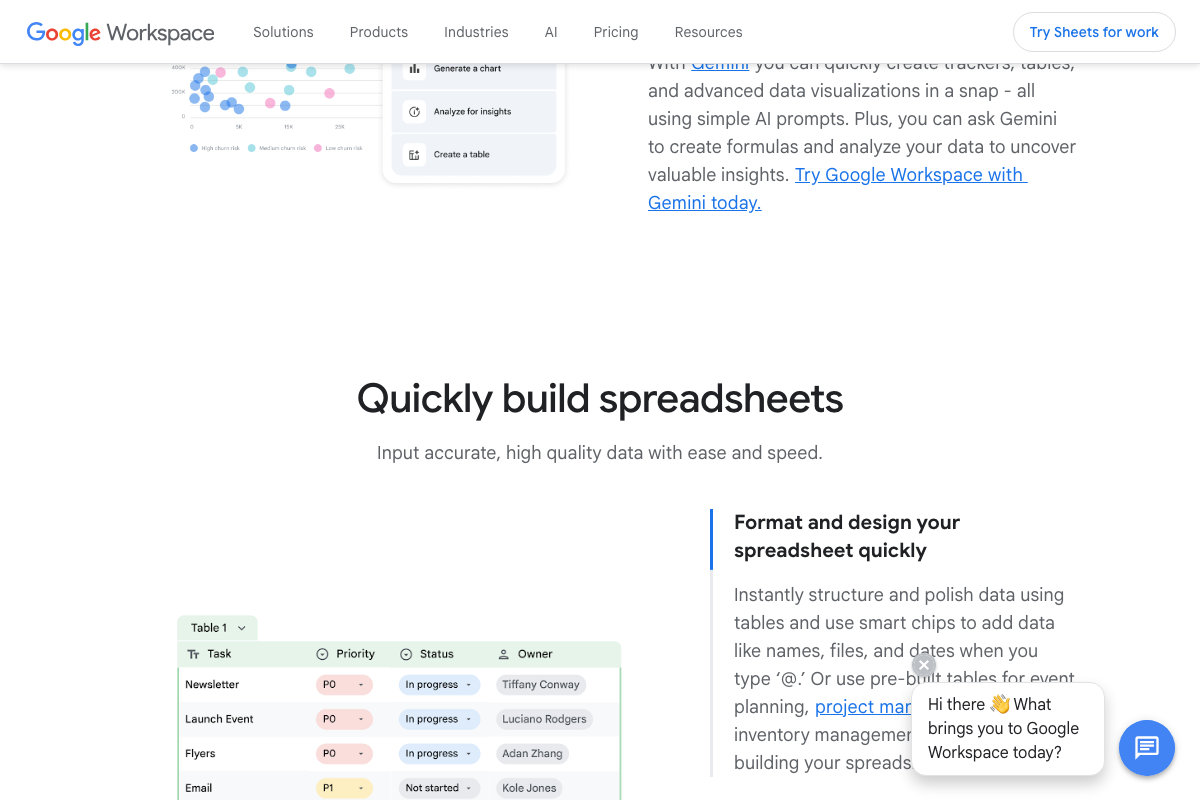
The video’s approach here matches the current docs exactly. The prerequisite to add: your destination spreadsheet needs headers in row 1 that match your form fields before the Zap is activated — the “Create Spreadsheet Row” action maps to existing columns, it doesn’t generate them. If you want a shortcut, the current Sheets product page leads with Gemini AI-assisted table creation, which can scaffold a pre-formatted lead-log template from a plain-text prompt.
Step 6 — Test the Zap with a form submission
No official documentation was found for this step — proceed using the video’s approach and verify independently.
Step 7 — Verify the email notification and spreadsheet row
No official documentation was found for this step — proceed using the video’s approach and verify independently.
Step 8 — Connect Zapier MCP and prompt Claude
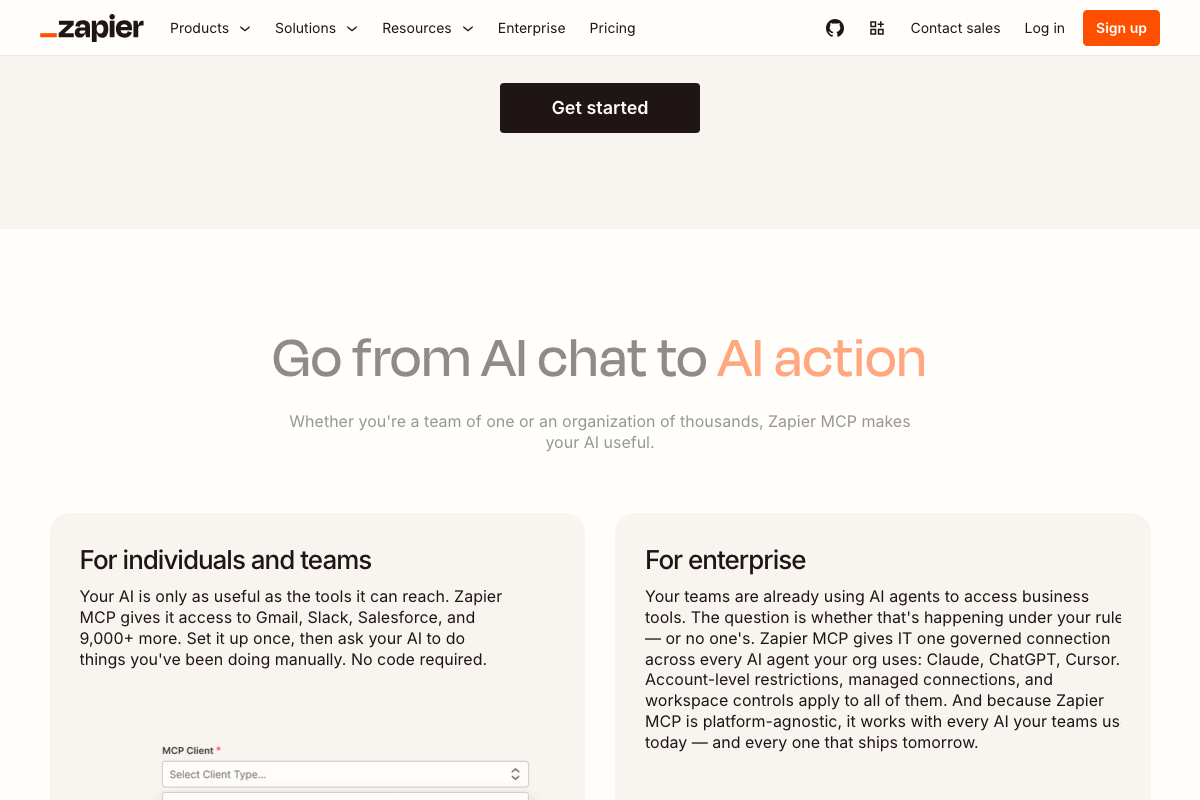
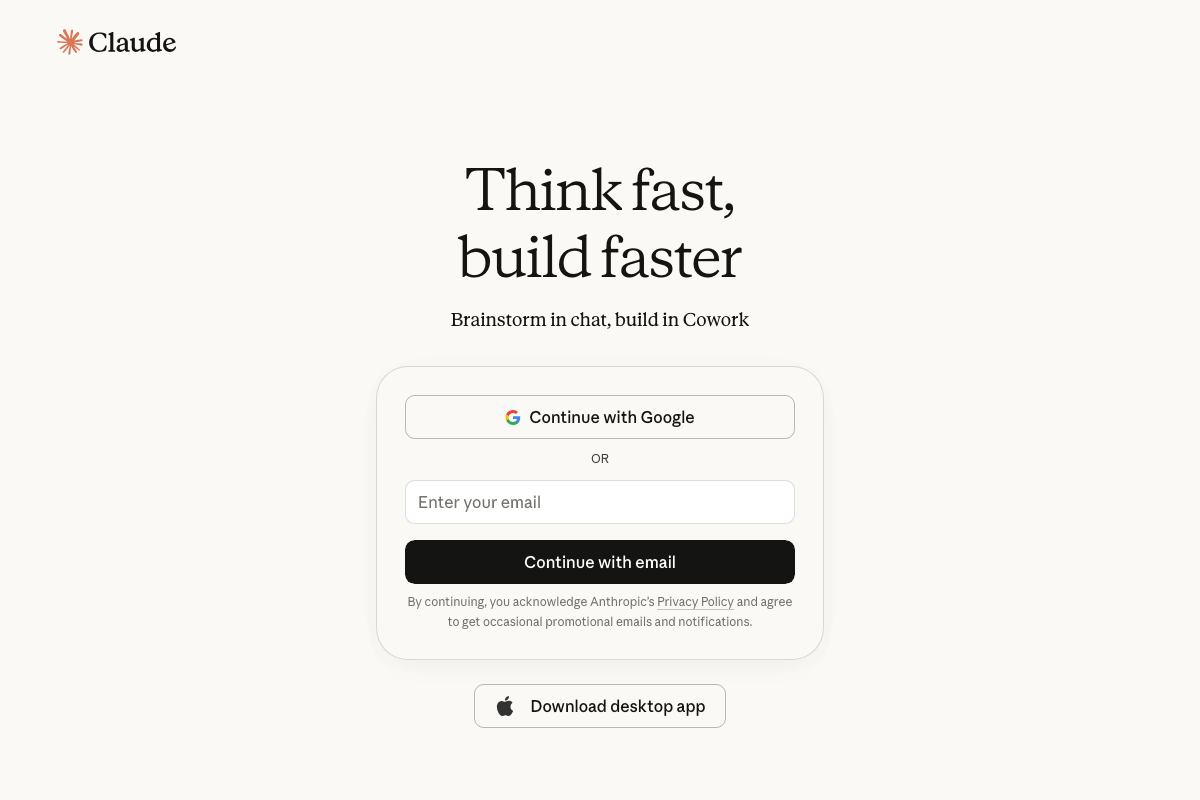
The video’s approach here matches the current docs exactly for the end result, but two clarifications matter before you start. First, as of May 2026, “Zapier’s Claude MCP server” is an imprecise label. The product is Zapier MCP — a platform-agnostic server that supports Claude, ChatGPT, Cursor, Gemini, and other AI clients. When you set up the server at zapier.com/mcp, an MCP Client selector appears in the setup UI; choose Claude from that dropdown. The video does not show this configuration step. Second, this is not an experimental feature — Zapier MCP currently powers 195,000+ servers and 4.6M+ completed tool calls. On the Claude side, the current claude.ai interface leads with Cowork branding that differs visually from older tutorials, but the MCP-enabled chat interface works the same way and is available on the free tier.
Useful Links
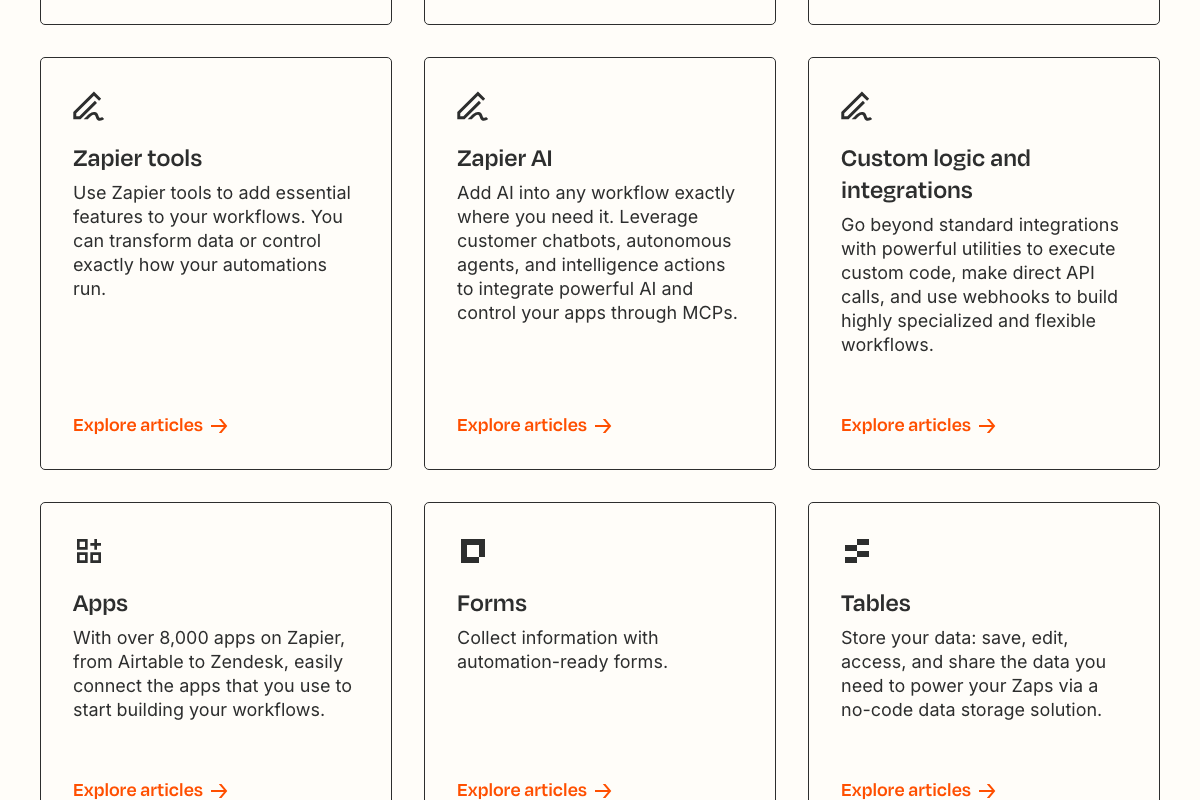
- Zapier Help Center — Primary support destination for Zap-building guidance, including the Zapier AI category covering Copilot and MCP features.
- Google Forms: Online Form Builder | Google Workspace — Official product page confirming supported question types, sharing options, and Google Workspace account requirements.
- Google Sheets: Online Spreadsheets & Templates | Google Workspace — Official product page for Google Sheets, confirming row-append functionality and Gemini AI table-creation features.
- Connect AI tools to 9,000 apps with Zapier MCP — Zapier’s MCP product page listing supported AI clients (Claude, ChatGPT, Cursor, Gemini), the MCP Client selector UI, and production-scale usage statistics.
- Sign in – Claude — Claude.ai authentication and pricing page confirming Free-tier MCP access and the current Cowork interface branding.


0 Comments