Build a Morphing AI Video Intro with ChatGPT and Runway ML
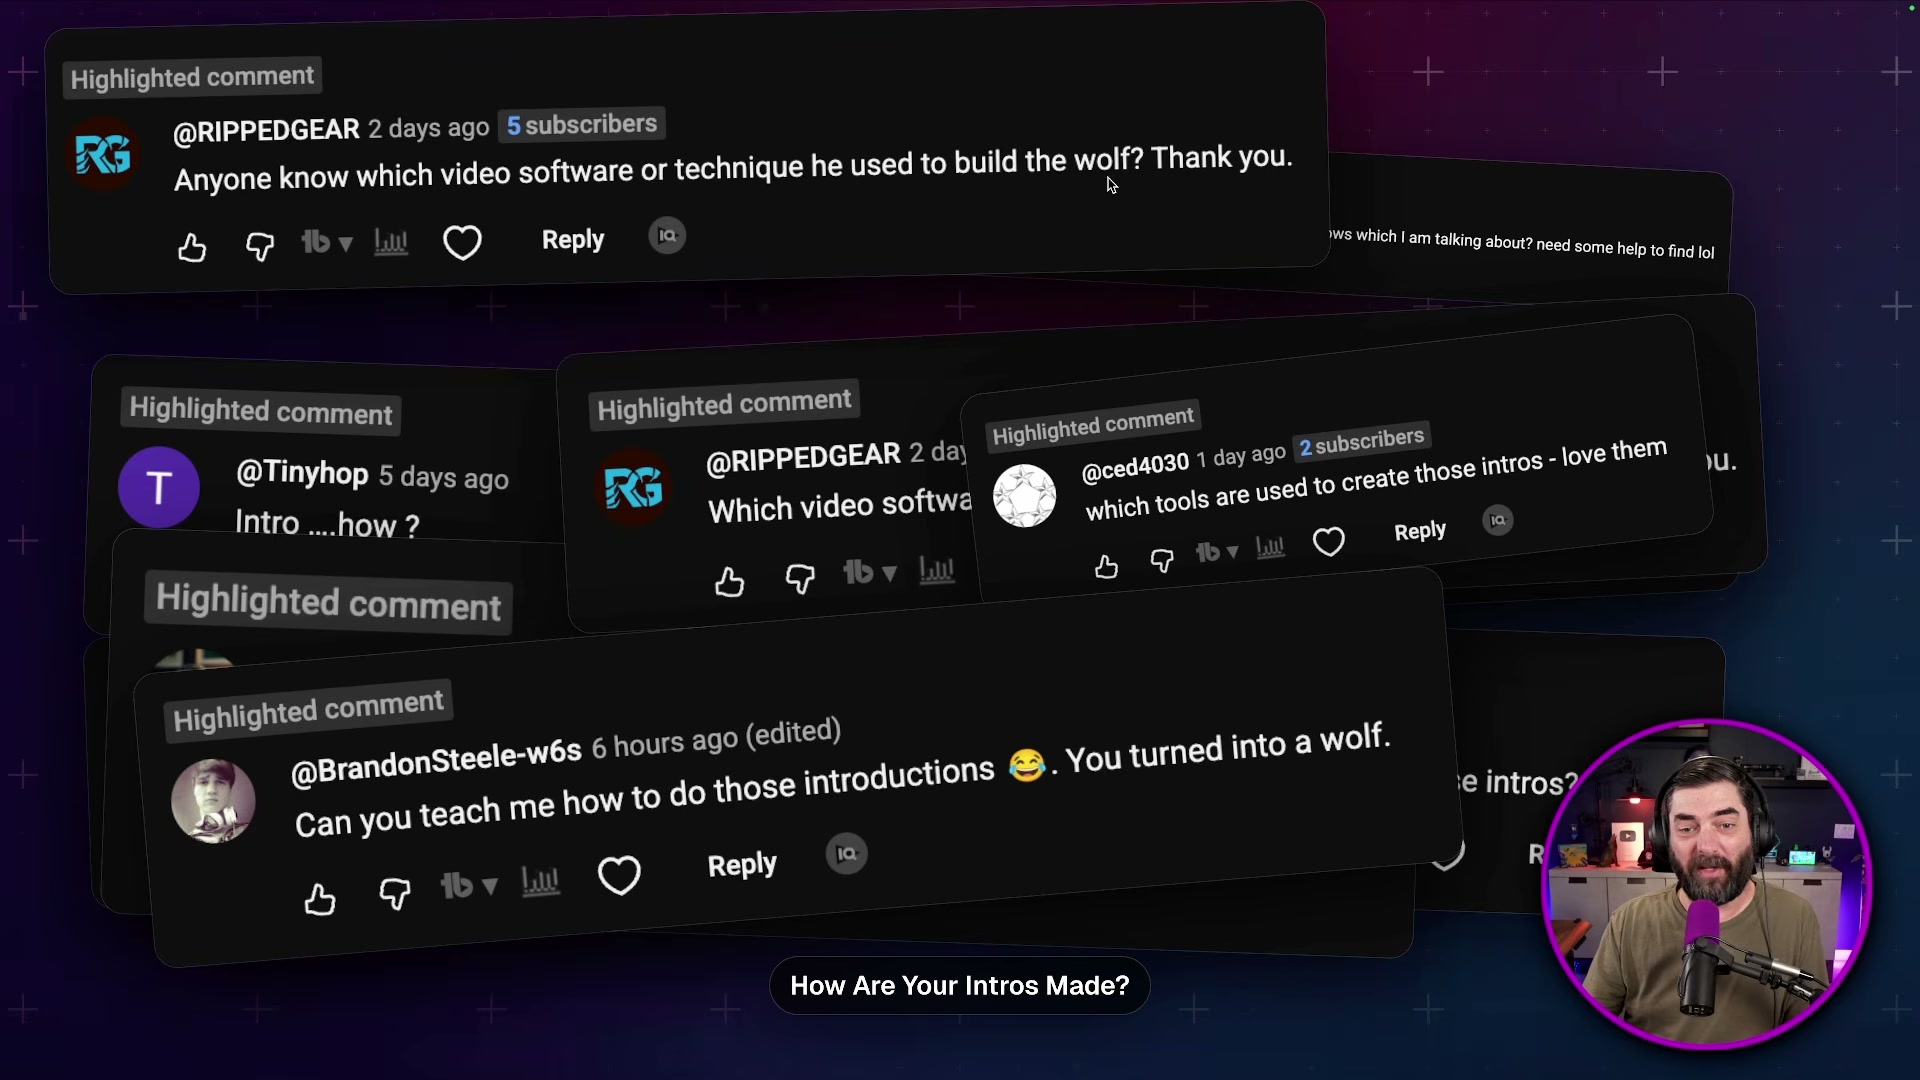
Viewers have been asking Matt Wolfe how he creates those uncanny intro sequences — where an AI-generated animal sitting in his chair slowly transforms into him. After the technique went viral in his comments section, he walked through the exact workflow. By the end of this tutorial, you’ll know how to generate a first-frame image in ChatGPT, anchor it to a real video frame in Runway ML using first-frame/last-frame synthesis, and edit the resulting clip into a polished intro inside DaVinci Resolve.
-
Set up your recording space and take a clean screenshot of your filming environment with the chair empty. This becomes the reference image that tells ChatGPT exactly what geometry and lighting to match.
-
Upload the screenshot to ChatGPT and prompt it to place your subject — in this case, a wolf — in the chair. On the first pass, skip the aspect ratio specification and you’ll likely get a portrait-oriented image. Re-upload and add “keep the same 16:9 aspect ratio” explicitly to the prompt to get a usable result.
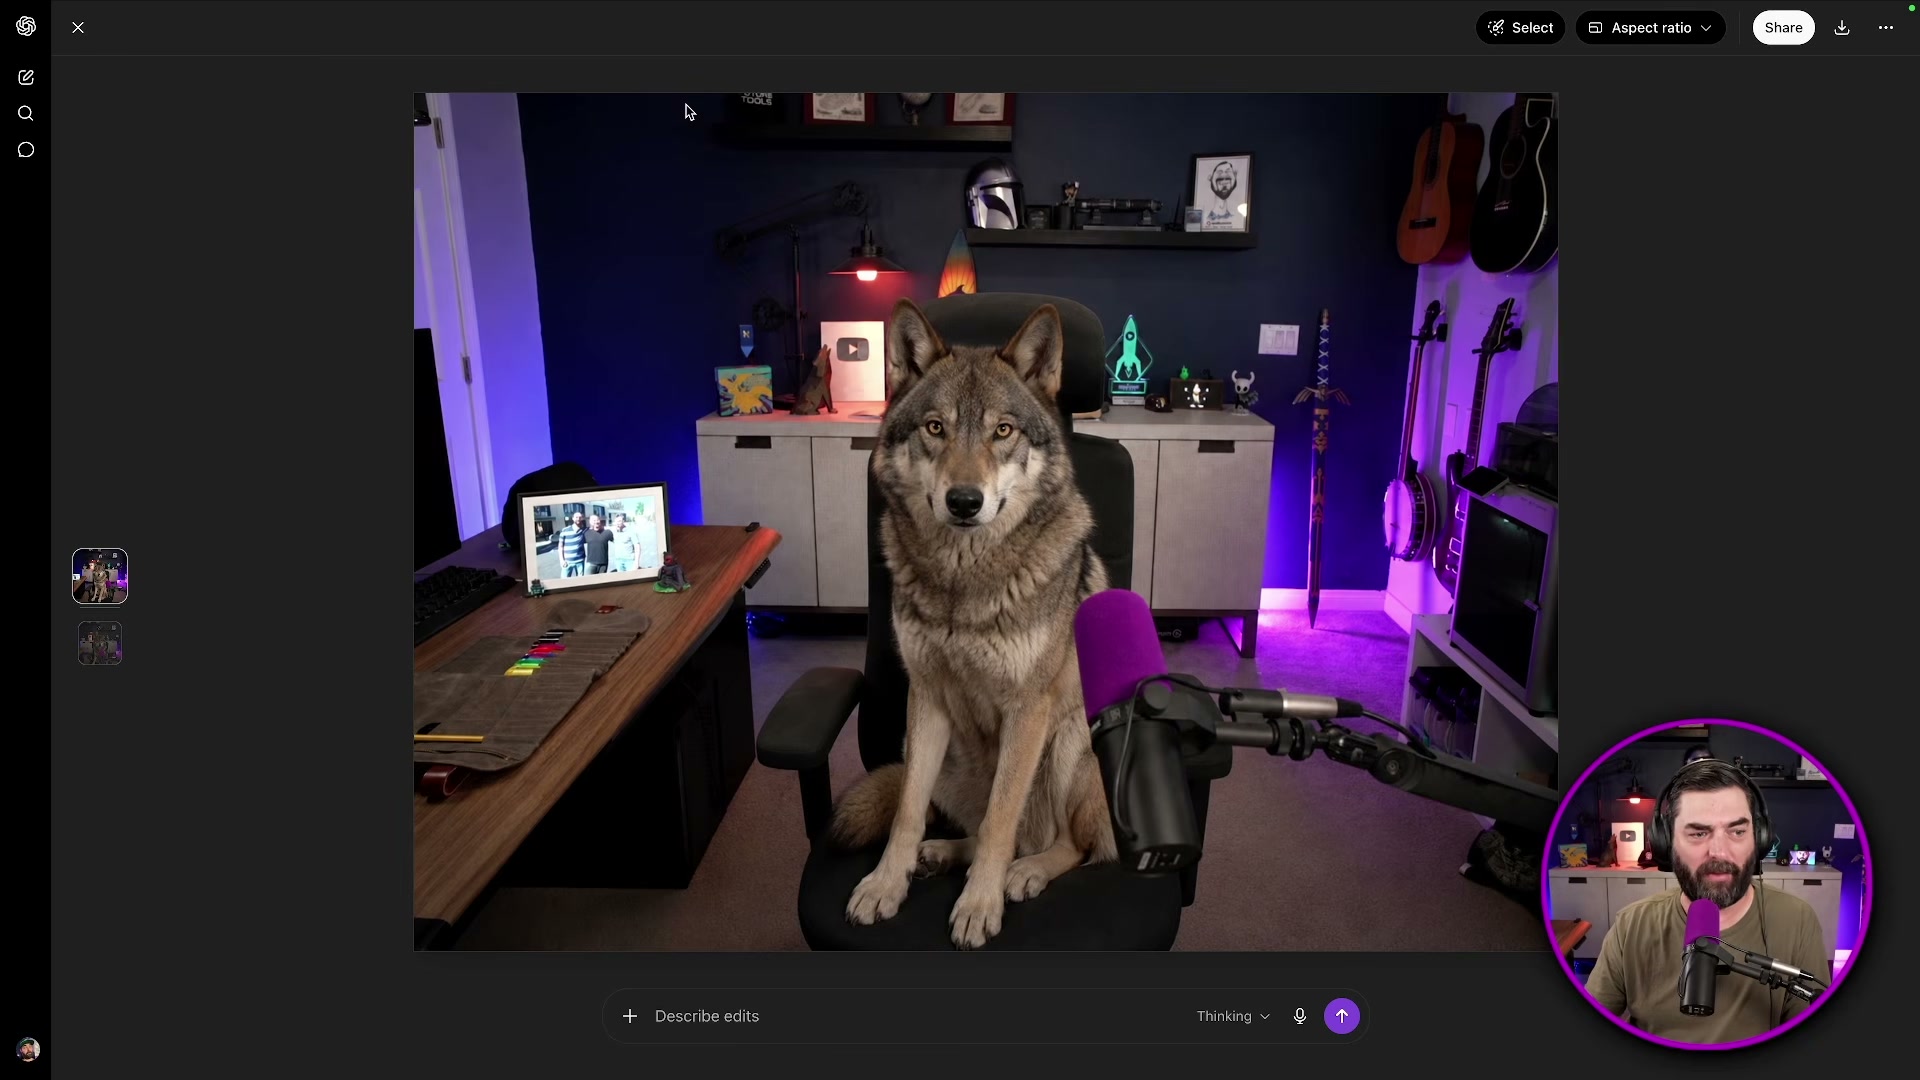
- Export the ChatGPT-generated image and bring it into Runway ML as your First Video Frame. This anchors the AI character at the start of the generated clip.
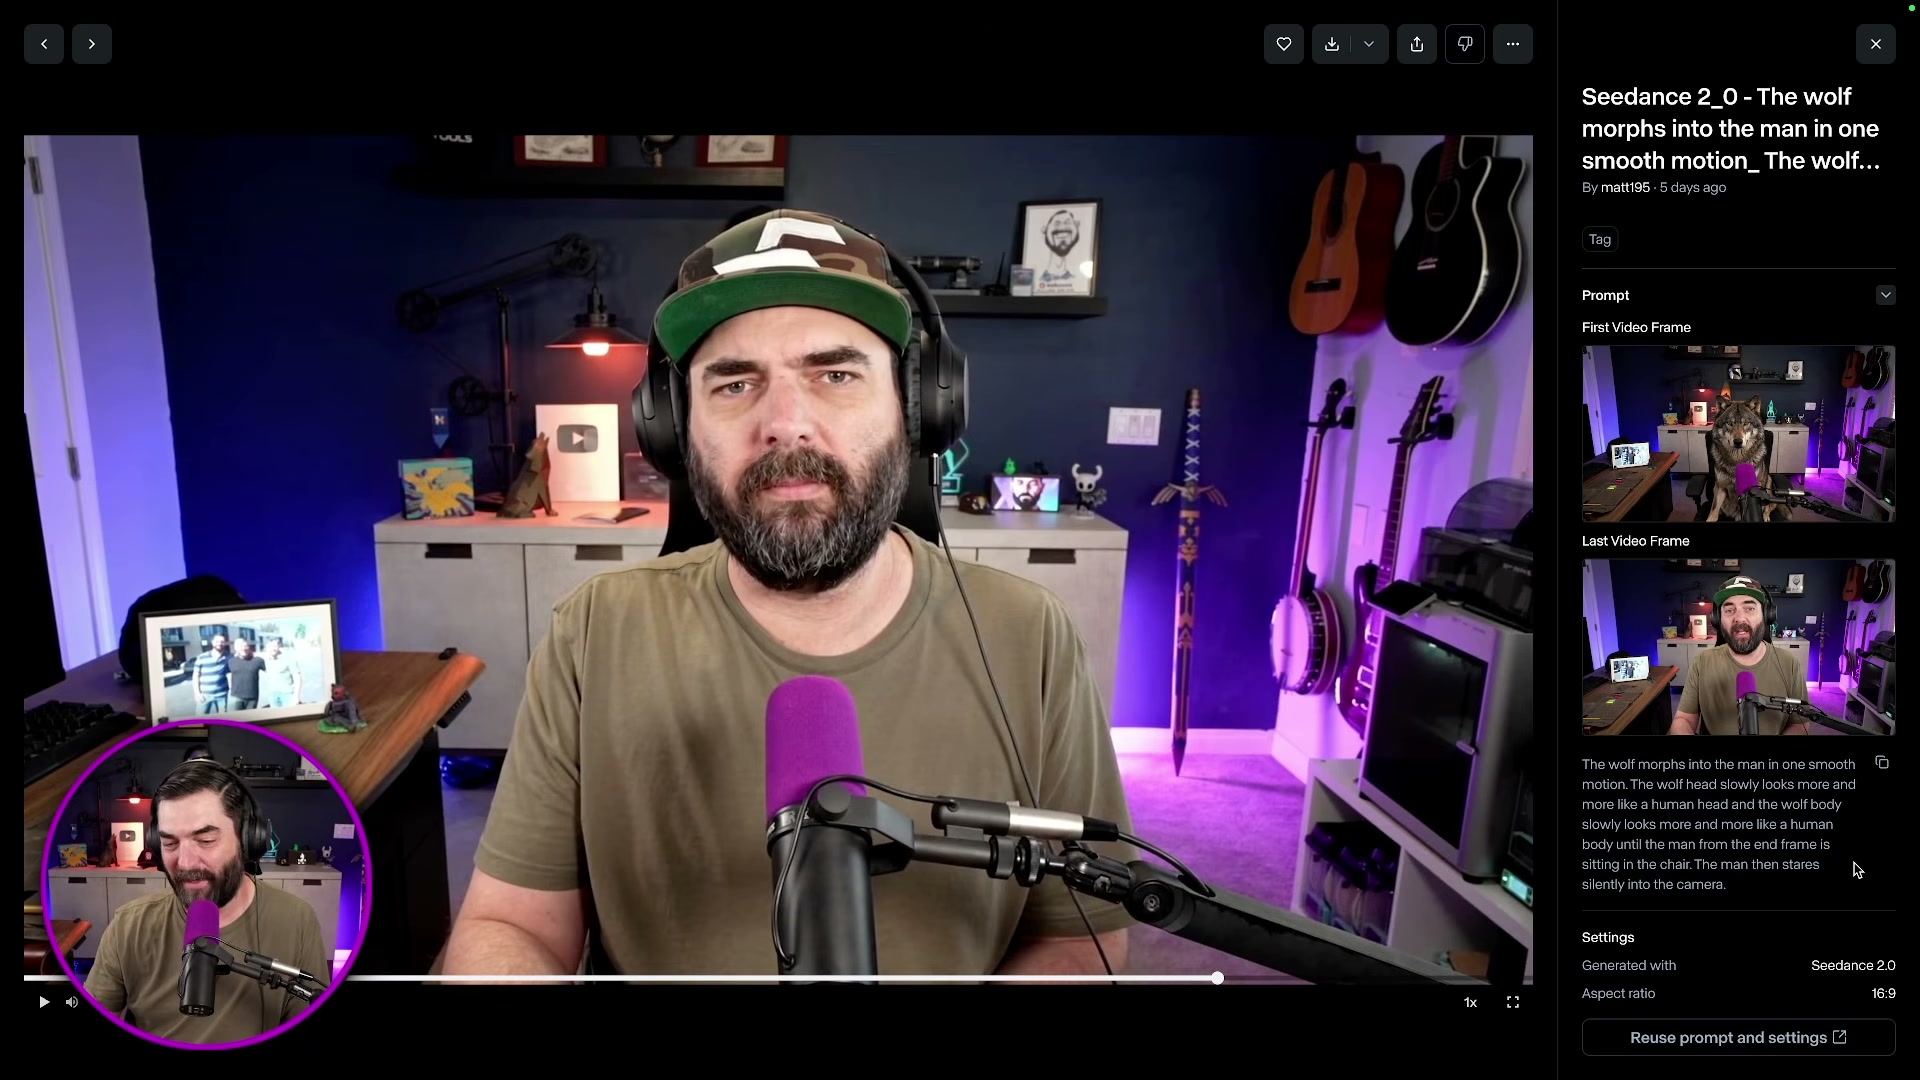
- Take a screenshot of the exact first frame of your actual recorded footage — the moment you appear on camera, before you begin speaking. Set this screenshot as the Last Video Frame in Runway ML. The model will synthesize the transition between these two endpoints.

-
Write a detailed motion prompt describing the transformation. The prompt used in this workflow reads: “The wolf morphs into the man in one smooth motion. The wolf head slowly looks more and more like a human head. The wolf body slowly looks more and more like a human body until the man from the end of the frame is sitting in the chair. The man then stares silently into the camera.” Specificity matters — vague prompts produce chaotic transitions.
-
Append an explicit negative instruction telling the model not to add any speech, audio artifacts, or mouth movement. Without this line, Runway frequently generates the subject appearing to speak, which creates unusable footage.
Warning: this step may differ from current official documentation — see the verified version below.
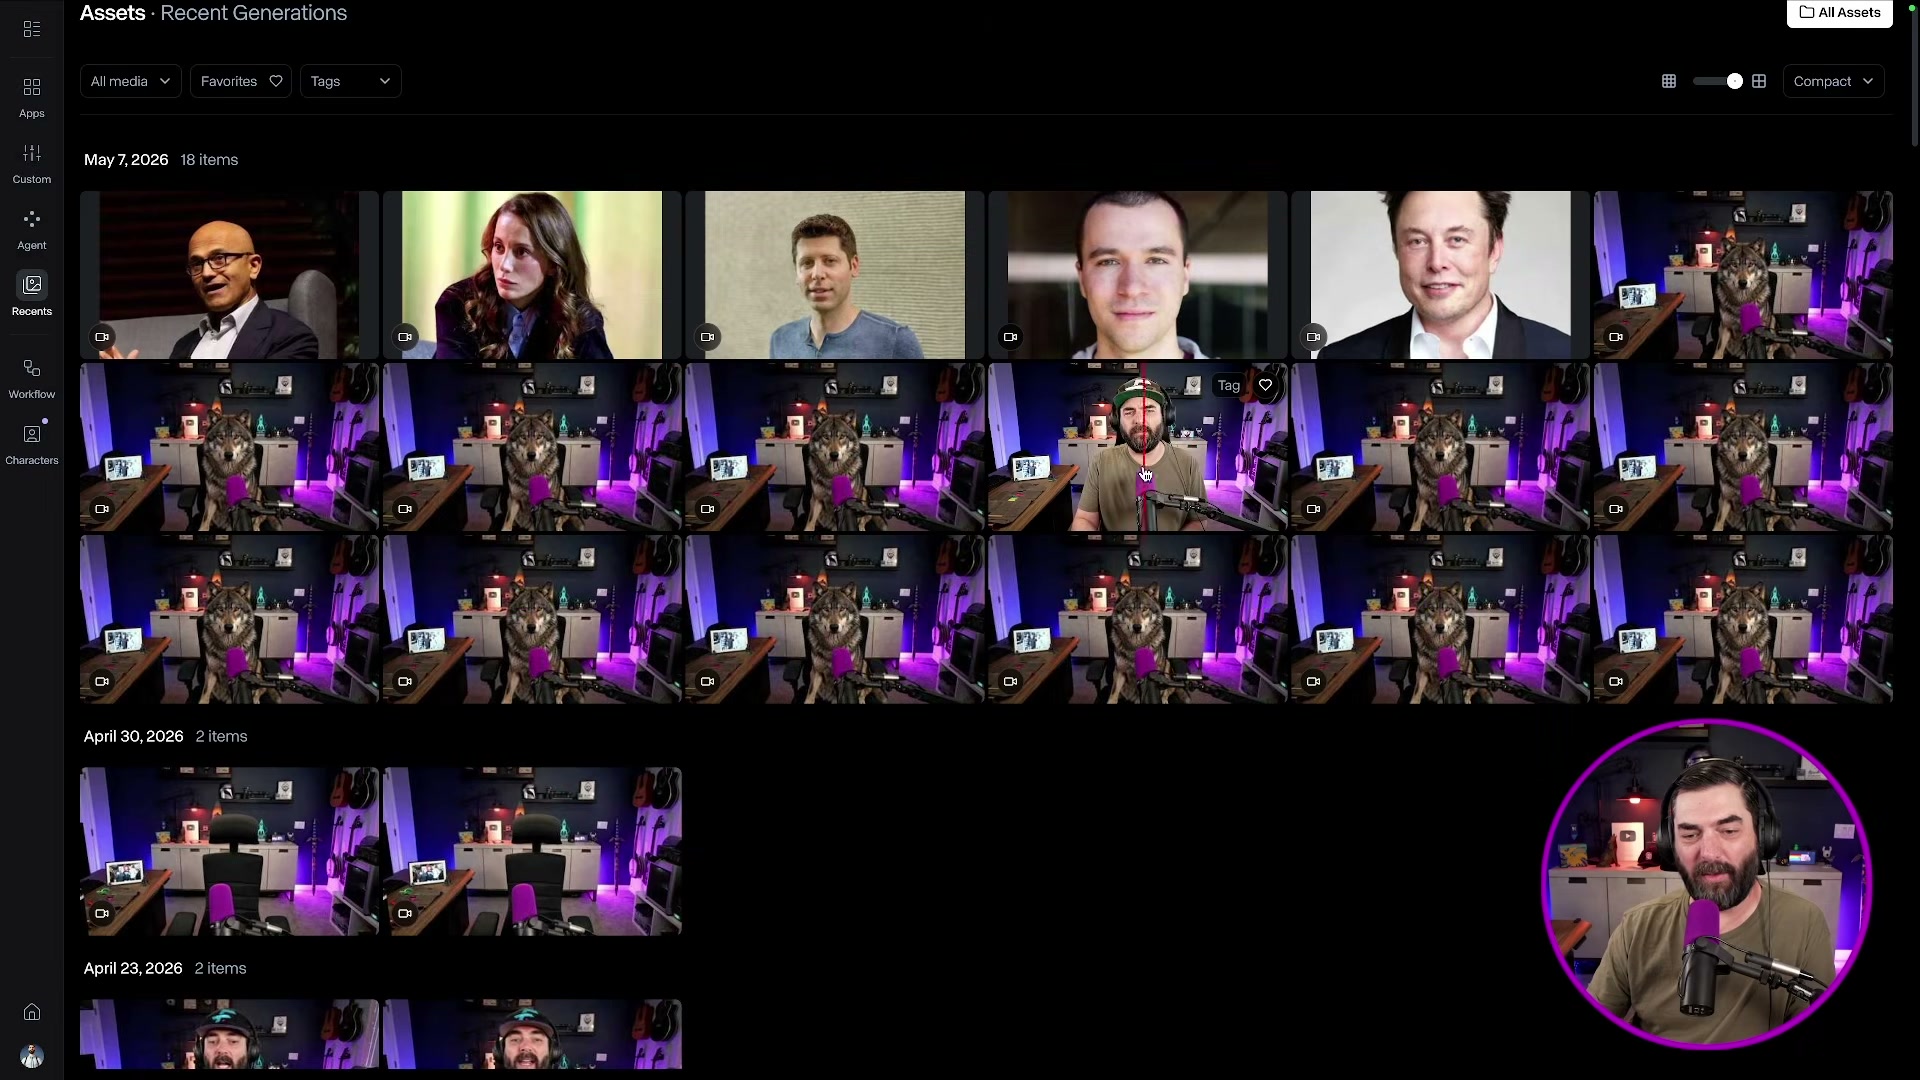
- Generate multiple iterations. This workflow required 13 separate attempts before landing on a usable clip. Review each generation, discard obvious failures (subject appearing to peel apart, random faces emerging), and select the smoothest morph.
-
Import the selected clip into DaVinci Resolve and position it at the very beginning of your timeline, before your main footage starts.
-
Apply a smooth transition between the morphing clip and your main video to conceal the hard cut between the AI-generated footage and your live recording.
How does this compare to the official docs?
Runway ML’s documentation describes first-frame/last-frame synthesis with specific guidance on model selection, prompt structure, and negative prompting that differs from what this workflow demonstrates — and those differences are worth knowing before you burn through 13 generations.
Here’s What the Official Docs Show
The video’s step-by-step workflow holds up as a useful practical guide, and what follows layers in documentation context it didn’t cover — particularly a login prerequisite for ChatGPT and a model-versioning detail in Runway that can cost you a frustrating generation session. Work through the same steps in order; where the docs confirmed something, you’ll see it called out, and where they came up empty, that’s flagged too.
Step 1 — Empty chair reference screenshot
No official documentation was found for this step — proceed using the video’s approach and verify independently.
Step 2 — Generate the first-frame image in ChatGPT
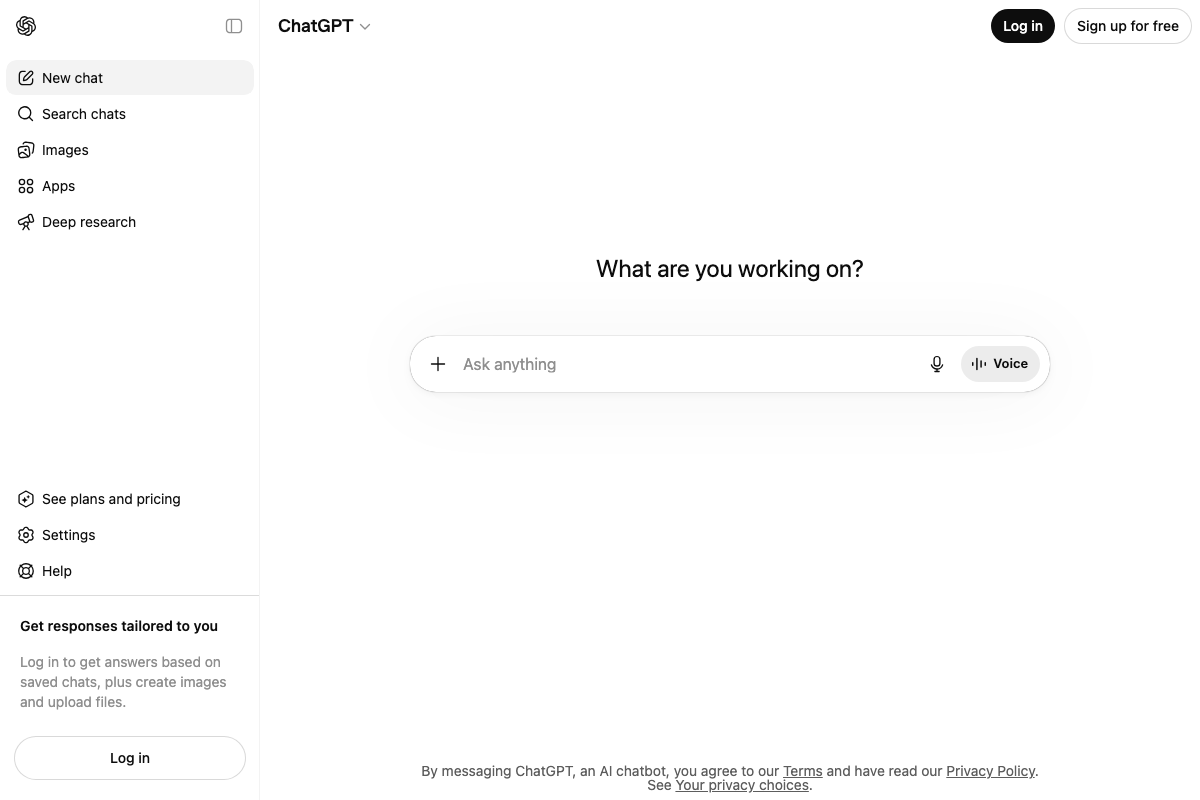
The video’s approach here matches the current docs exactly — with one prerequisite the tutorial doesn’t state: both image generation and file upload require an authenticated ChatGPT session. If you open chatgpt.com and those controls aren’t active, sign in first. The “Images” sidebar entry and the “+” file attachment control in the prompt bar are only available to logged-in users.
One gap the docs couldn’t close: specifying a 16:9 aspect ratio via natural language prompt. No API-level documentation for gpt-4o image size parameters was captured — the consumer UI doesn’t expose dimension controls directly, so you’re working through prompt wording alone.
Steps 3–7 — Runway ML: first frame, last frame, motion prompt, negative prompt, generation iterations
No official documentation was found for the first-frame/last-frame UI, prompt input field, or generation controls — proceed using the video’s approach and verify independently.
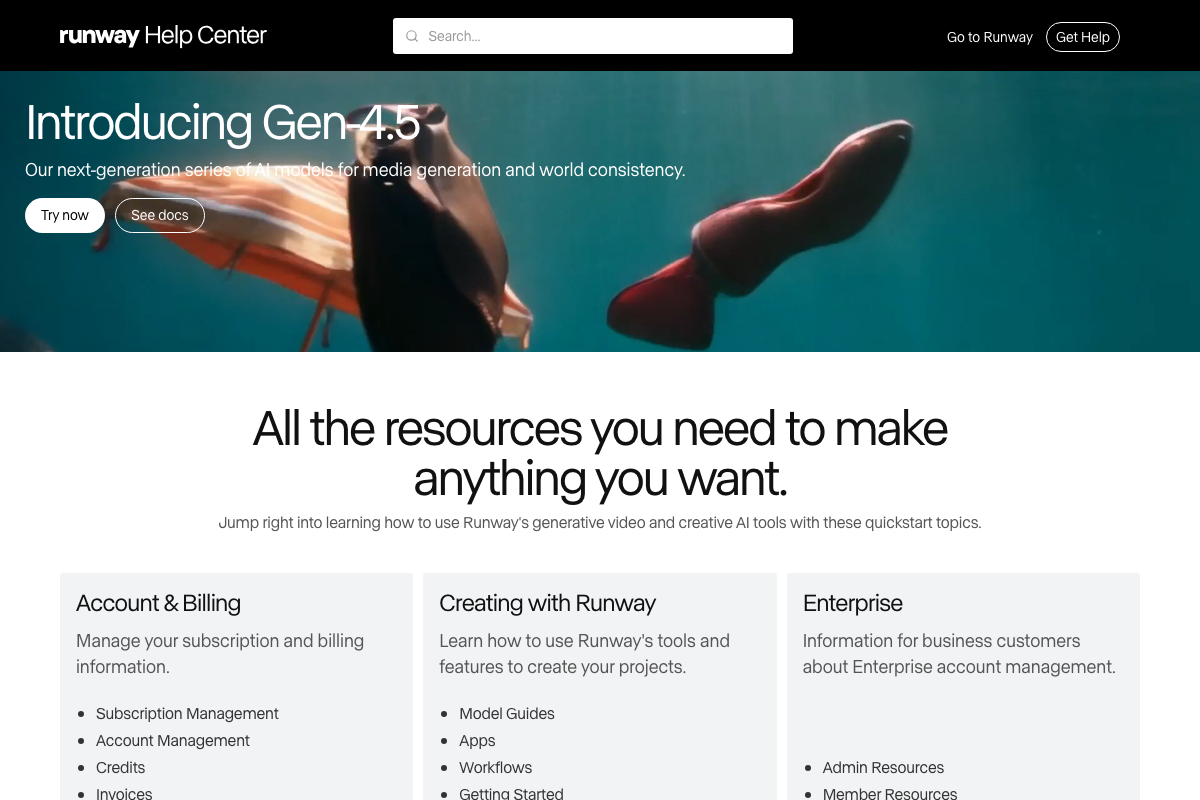
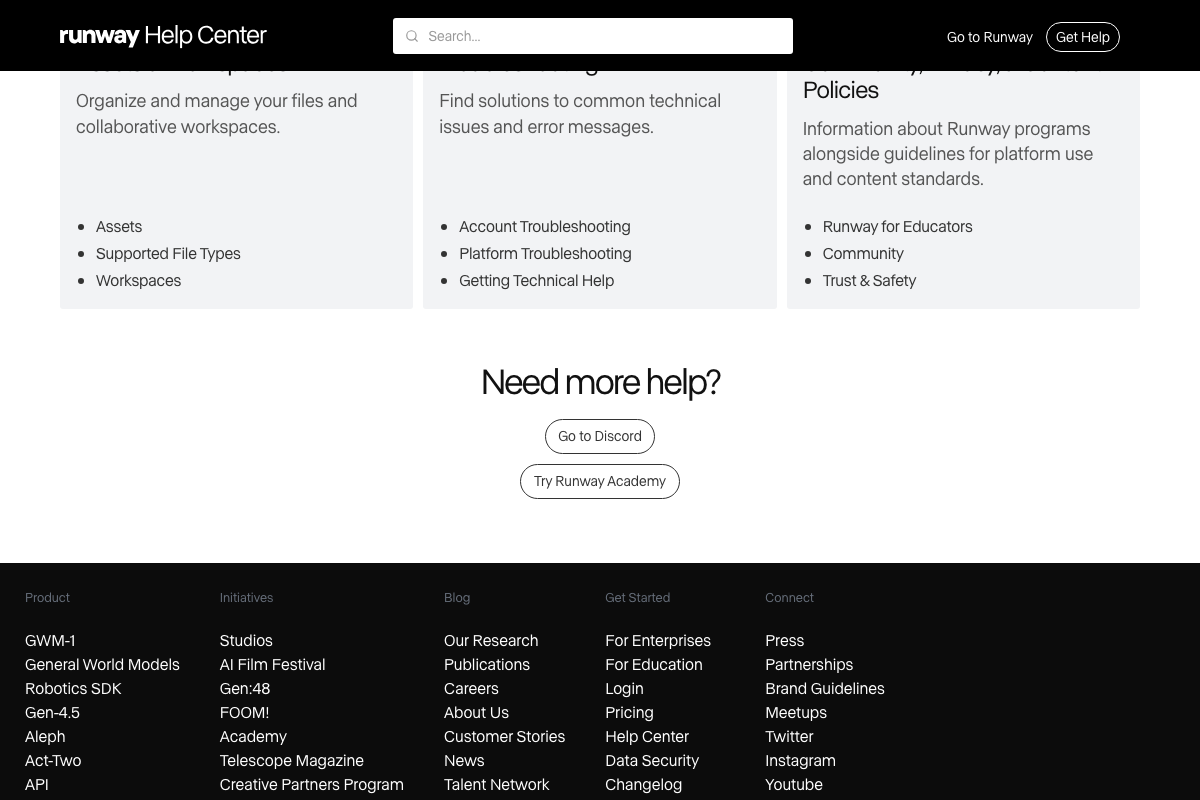
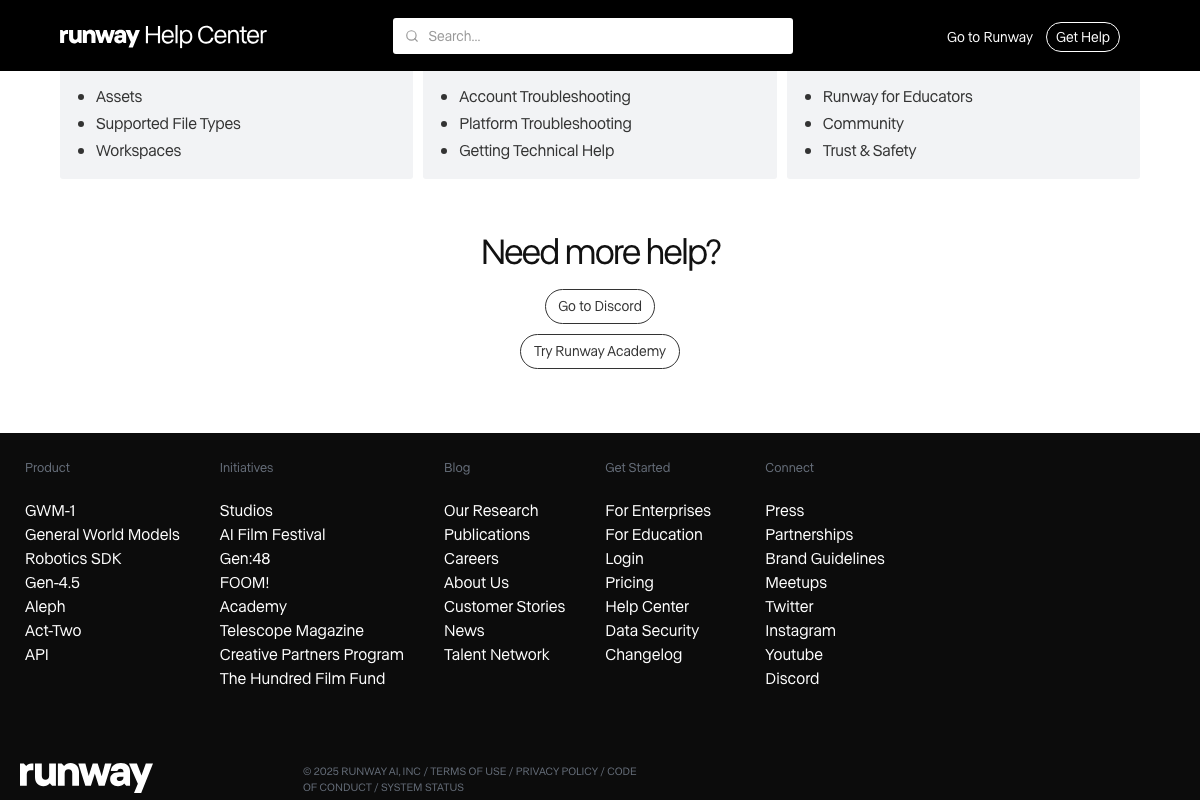
One clarification worth making before you open Runway: as of the documentation capture date, Runway’s current flagship is Gen-4.5. Gen-3 Alpha — the model most associated with the first-frame/last-frame synthesis technique in the tutorial — does not appear in Runway’s promoted product lineup. Before generating anything, confirm that first-frame/last-frame input mode is available in your workspace’s active model. If it isn’t listed, check Runway’s Model Guides section (under “Creating with Runway” in the Help Center) for the Gen-4.5 equivalent.
For image format requirements at the input stage, Runway’s “Supported File Types” article under the Assets section of the Help Center is the authoritative reference — the tutorial doesn’t specify which formats are accepted as first-frame inputs.
Steps 8–9 — DaVinci Resolve: timeline placement and transition
No official documentation was found for this step — proceed using the video’s approach and verify independently.
The Blackmagic Design manual PDF returned a 404 on all three capture attempts. For current documentation, use the Blackmagic Design support portal at blackmagicdesign.com/support or the in-app Help menu inside DaVinci Resolve directly.
Useful Links
- Runway Help Center — Official Runway documentation hub covering Model Guides, Supported File Types, Workflows, and Getting Started resources for all current model generations.
- ChatGPT — OpenAI’s consumer interface where image generation and file upload are available to authenticated users via the Images sidebar and prompt bar attachment control.
- Images and Vision | OpenAI API — OpenAI’s API-level documentation for gpt-4o image generation, including supported size, format, and model parameters not visible in the consumer UI.
- DaVinci Resolve Manual | Blackmagic Design — Official DaVinci Resolve user manual; URL returned 404 at time of capture — check blackmagicdesign.com/support for a current link.


0 Comments