Configure a Moz Pro AI Visibility Dashboard to Track Brand Mentions in ChatGPT and Gemini
Search has fractured. A growing share of product research, brand discovery, and buying decisions now happens inside ChatGPT, Gemini, and other AI tools — not on a results page you can measure with traditional rank tracking. Moz Pro’s AI Visibility feature gives you a structured way to monitor whether your brand, your product names, and your competitors surface in those AI-generated responses. After following these steps, you’ll have a live dashboard tracking up to 50 AI prompts across multiple models, with weekly data refreshes.
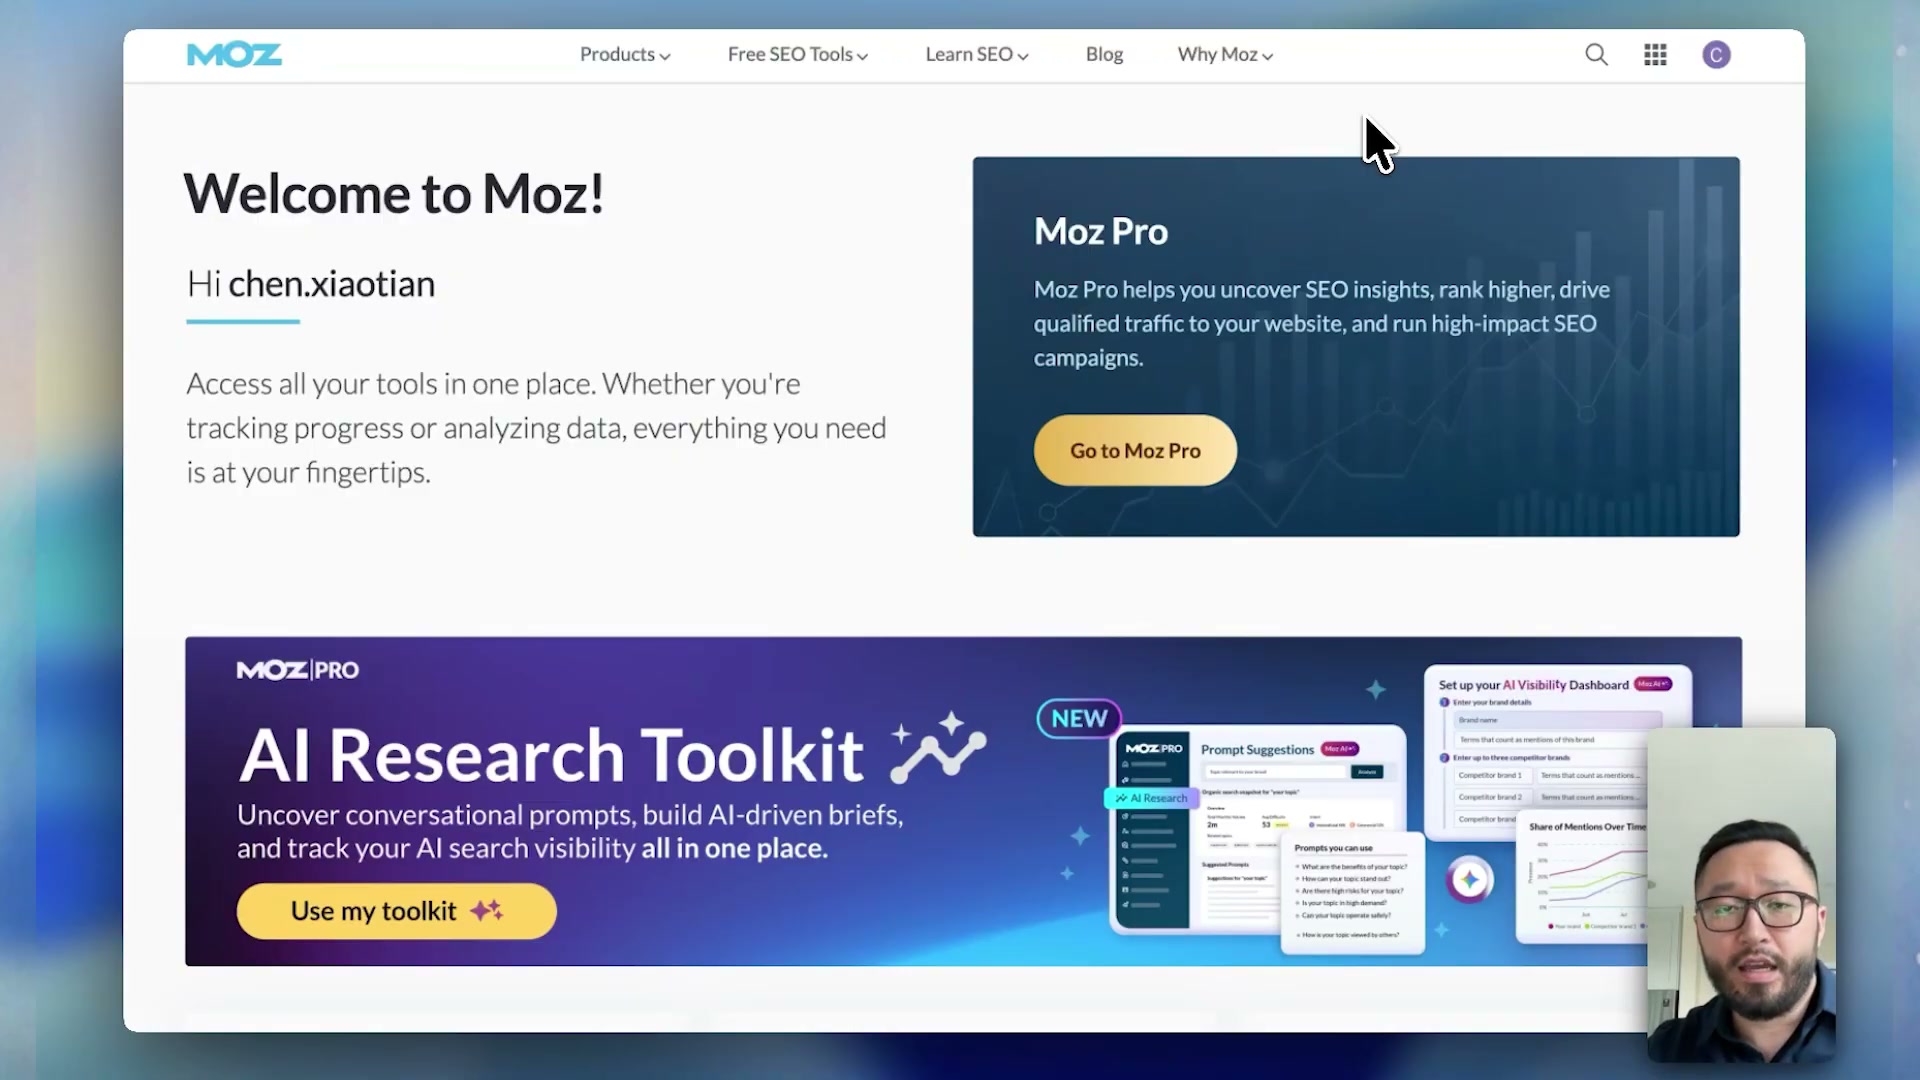
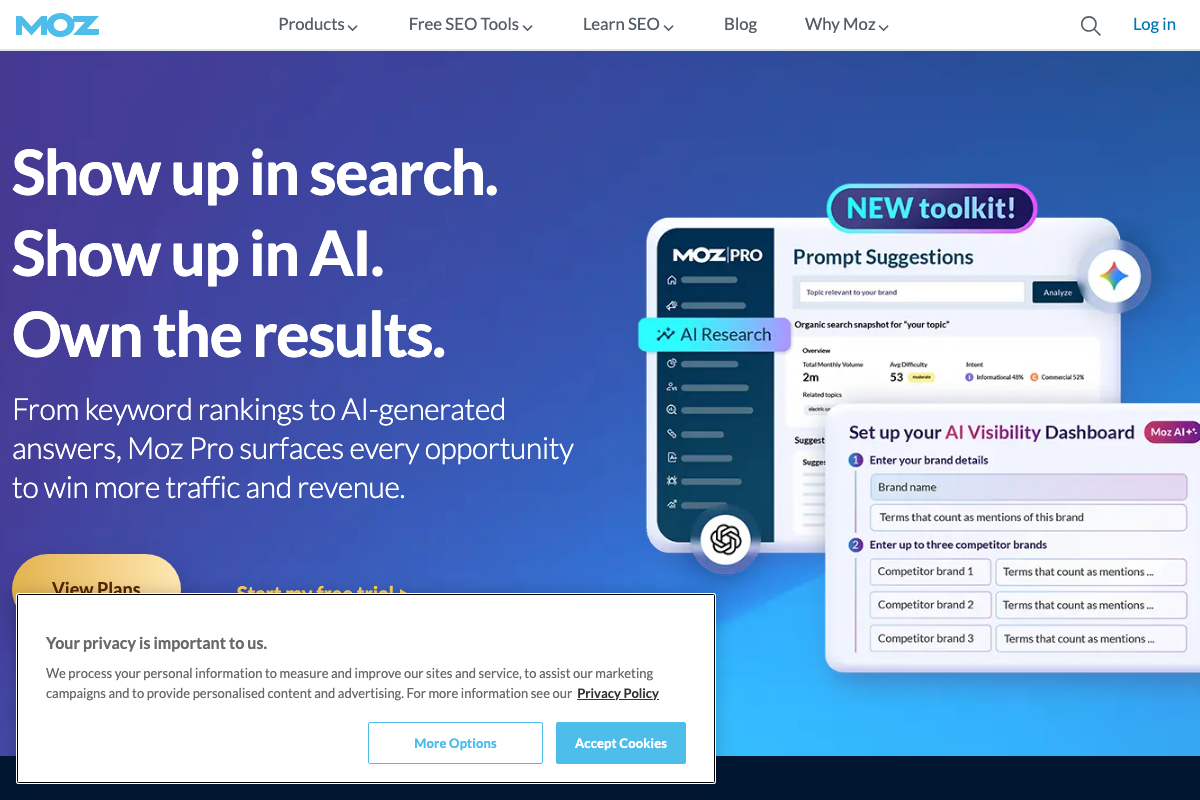
- Log in to Moz Pro at app.moz.com. The homepage surfaces the AI Research Toolkit banner — use it as your entry point or go directly to the left navigation.
-
In the left navigation, click AI Research, then click AI Visibility. The dashboard index loads, displaying any previously created dashboards alongside the option to create a new one.
-
Click Add New Dashboard. Moz Pro opens a four-step configuration form that collects your brand identity, related terms, competitor names, and topic prompts before generating a full tracking prompt list.

-
In Step 1, type the brand name you want to research — for example, Coca-Cola. This is the primary entity Moz Pro will track across AI responses.
-
In Step 2, add up to five related terms or product aliases for your brand. For Coca-Cola, that might include Coke and Coke Zero. These aliases ensure Moz counts product-name variations as brand mentions rather than misses.
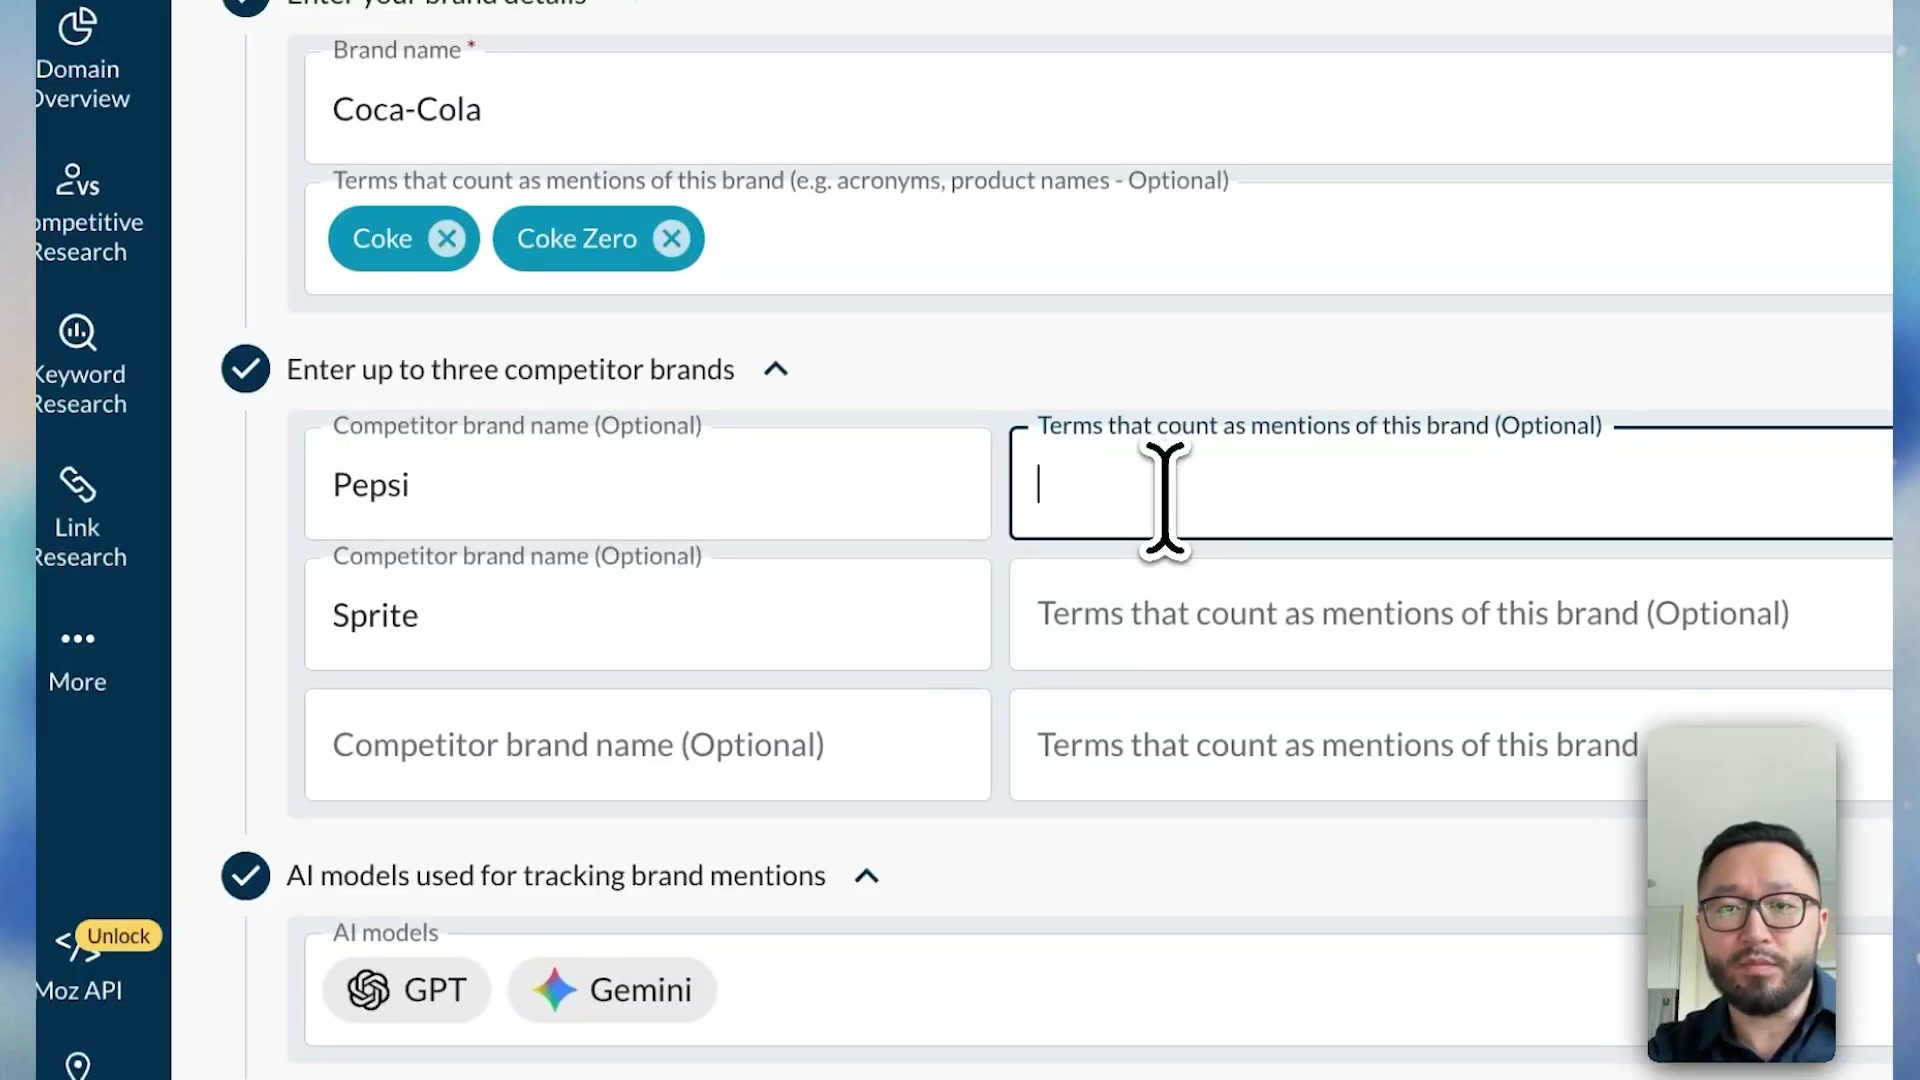
- In Step 3, add up to three competitor brands. You can also attach related terms to each competitor — Pepsi Zero alongside Pepsi, for instance. At the time of recording, the dashboard queries ChatGPT and Gemini only, with additional AI models described as forthcoming.
Warning: this step may differ from current official documentation — see the verified version below.
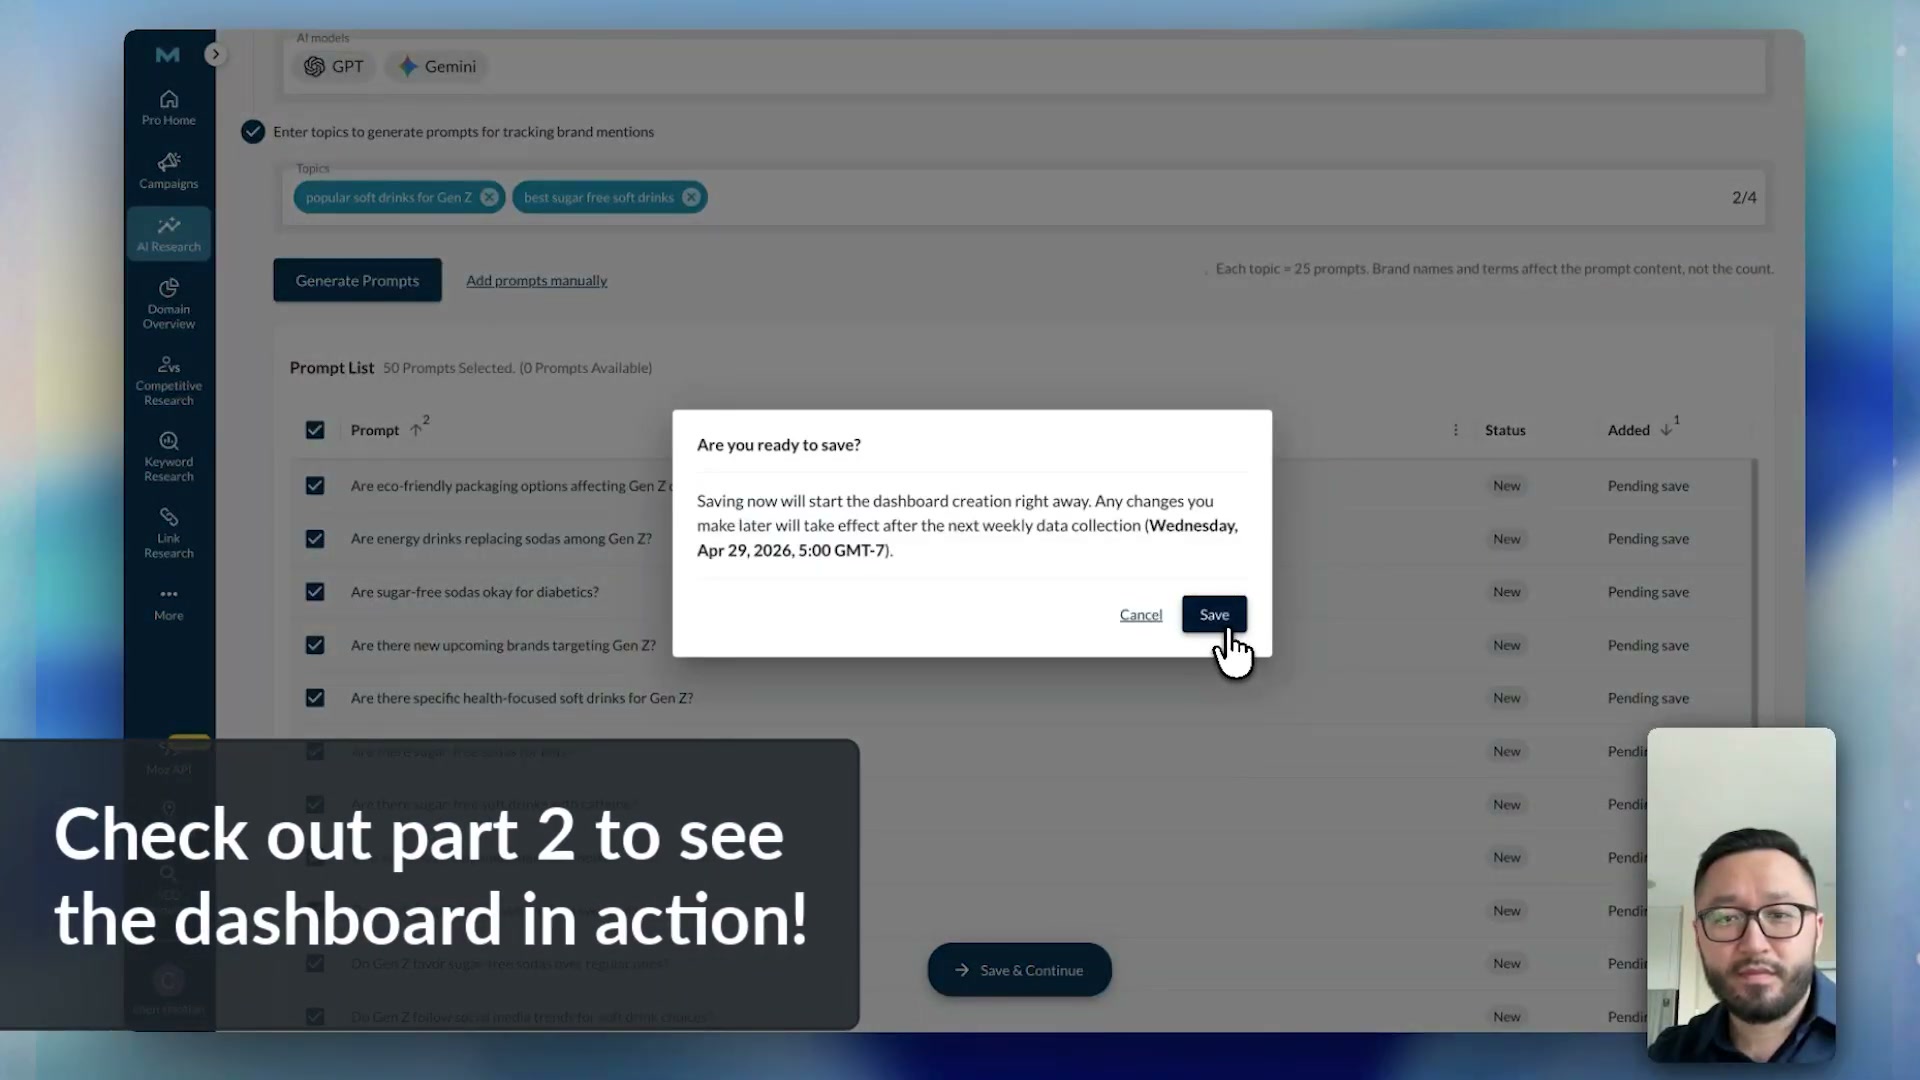
- In Step 4, enter topics that reflect what your customers actually ask AI tools. These should be natural-language queries, not keywords — popular soft drinks for Gen Z or best sugar-free soft drinks rather than cola market. Each topic seeds 25 tracking prompts, so two topics produces a 50-prompt dashboard.
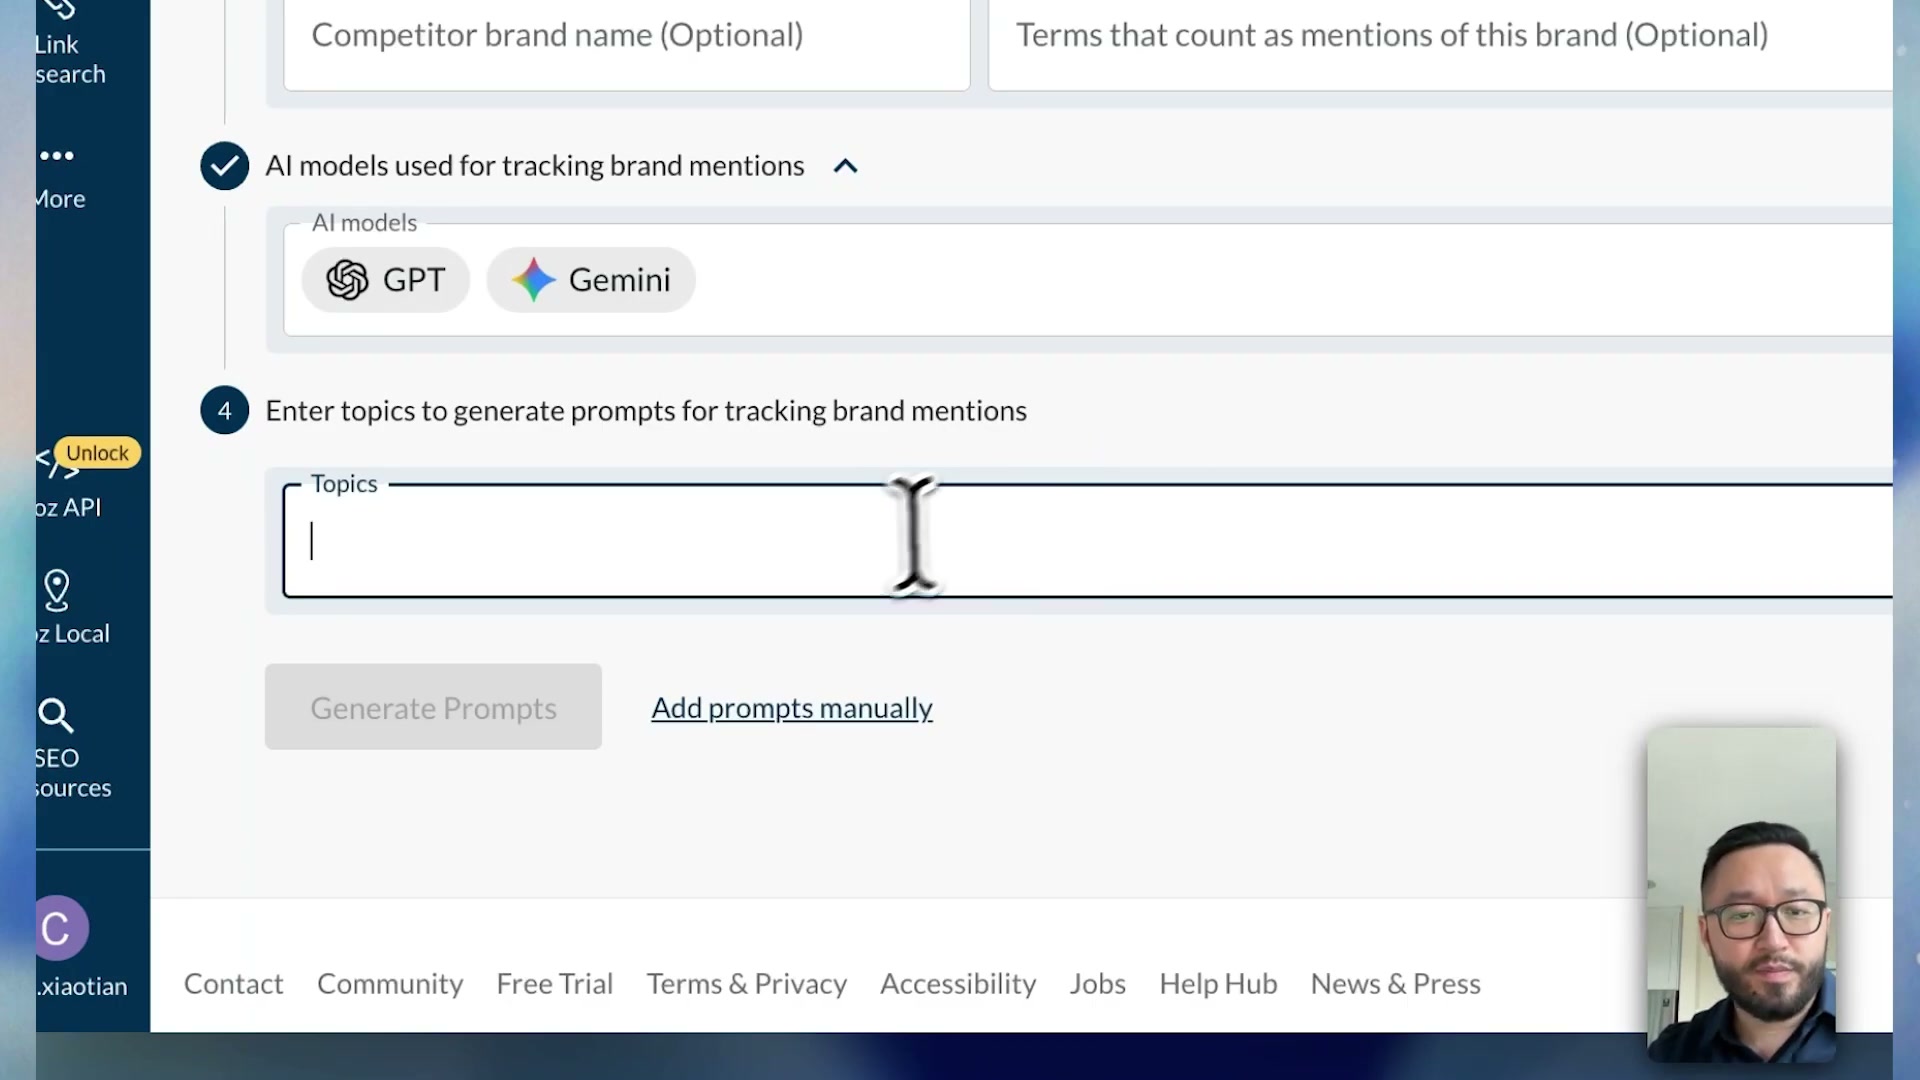
- Click Generate Prompts. Moz Pro takes a few seconds to build the full prompt list from your brand, competitor, and topic inputs. If you already maintain a curated prompt list, click Add Prompts Manually to bypass auto-generation entirely.
-
Review the generated prompts. Remove or adjust any that don’t reflect realistic user queries. When the list looks right, click Save and Continue.
-
A confirmation modal appears showing the dashboard is now active and the next scheduled data collection date. Moz Pro begins querying AI models immediately, then refreshes results on a weekly cadence — 50 prompts, tracked and timestamped.
How does this compare to the official docs?
Moz’s product documentation covers the same configuration flow but adds critical specifics around visibility scoring methodology, prompt weighting, and current AI model coverage that the video doesn’t address — all of which change how you should interpret your first week of data.
Here’s What the Official Docs Show
The walkthrough above gives you a solid mental model for the setup flow — the official UI confirms the core structure and fills in a few details worth knowing before you start. Where gaps appear between the video and the docs, they’re flagged precisely so you don’t hit a wall mid-configuration.
Step 1 — Log in to Moz Pro
No official documentation was found for this step — proceed using the video’s approach and verify independently.
Step 2 — Navigate to AI Research > AI Visibility
The video’s approach here matches the current docs exactly. Moz’s product navigation confirms “AI Visibility” as a named, first-class feature, and the left nav label “AI Research” is visible in the setup form screenshots.

Step 3 — Open the dashboard setup form
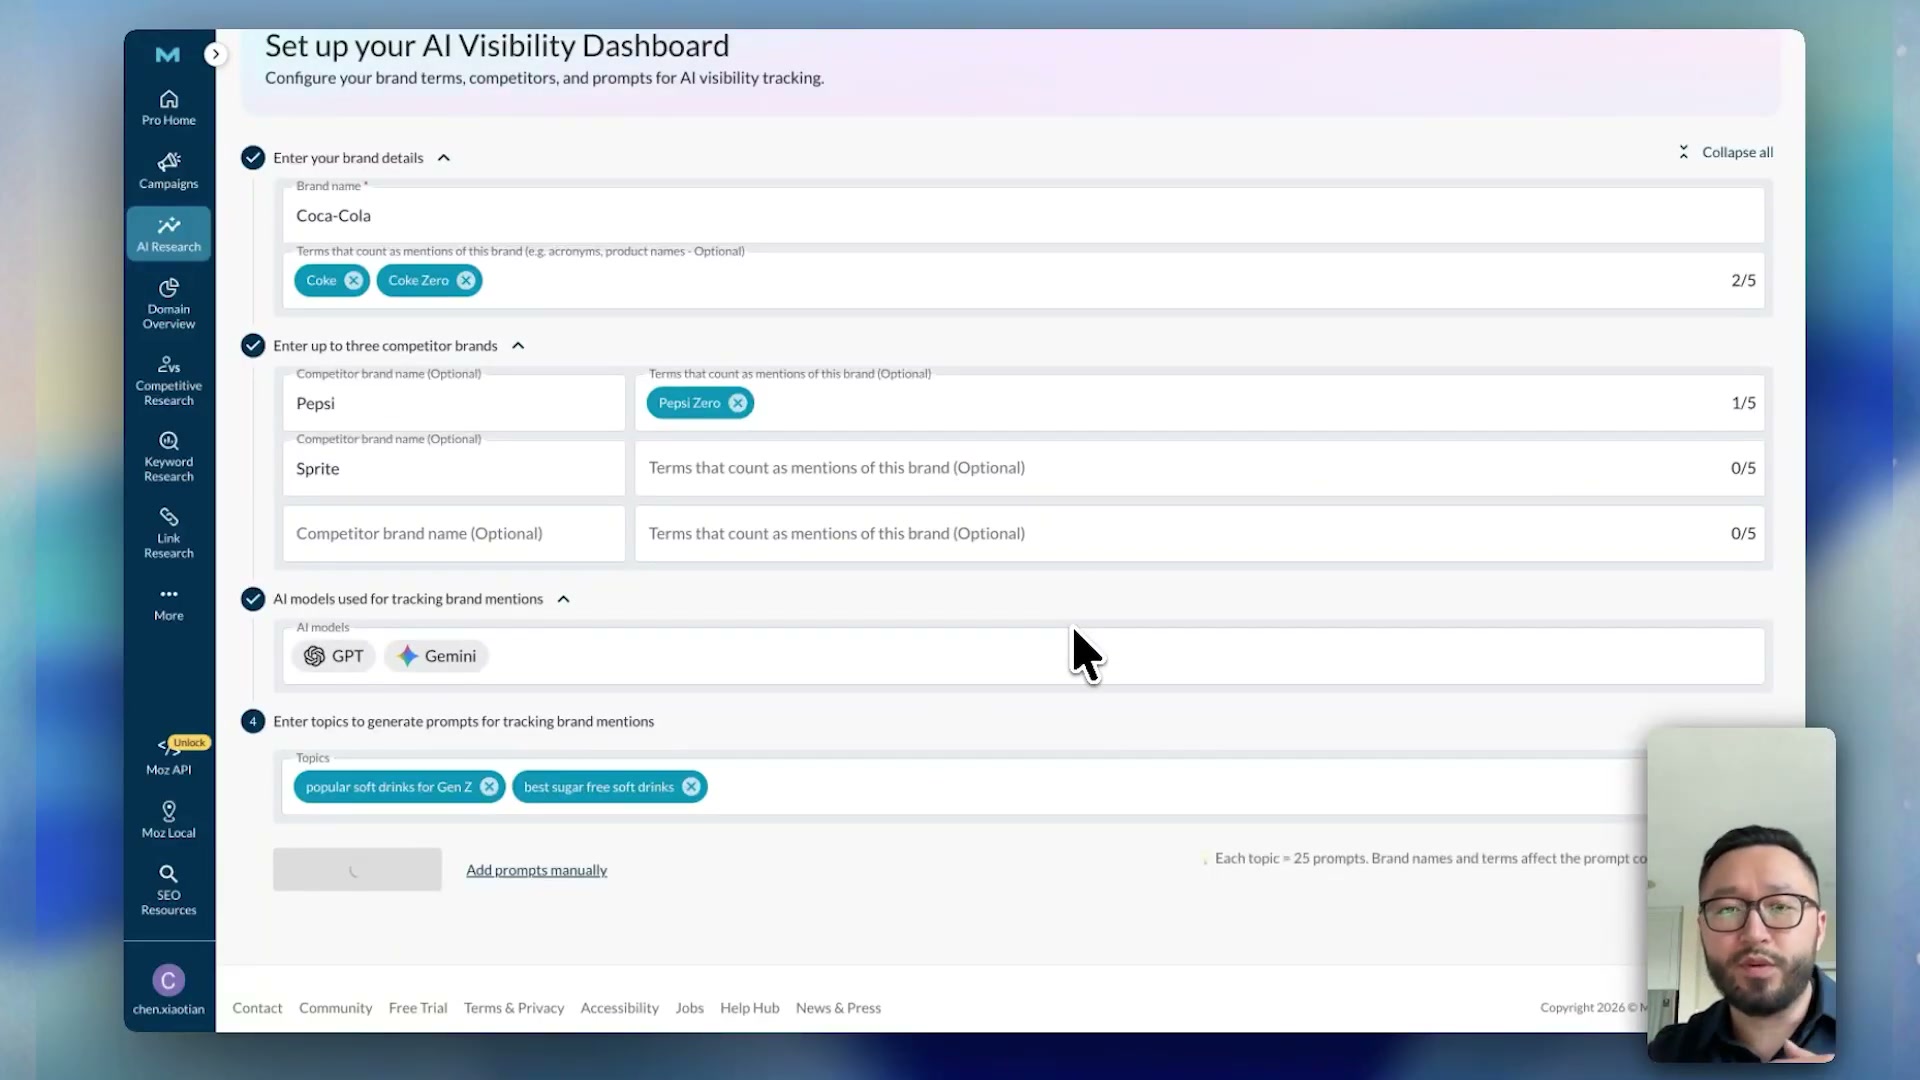
The video’s approach here matches the current docs exactly. The form is titled “Set up your AI Visibility Dashboard” and is flagged “NEW toolkit!” — a recently launched feature, which accounts for some of the minor terminology differences in this comparison. One structural note: the UI presents two numbered sections, not a four-step wizard. Section 1 collects brand details; section 2 collects competitor brands. The video’s step numbering doesn’t map one-to-one with the form’s section numbers, but the content covered is the same.
Step 4 — Enter your brand name
The video’s approach here matches the current docs exactly. Section 1 is labeled “Enter your brand details” with a “Brand name” field, exactly as described.
Step 5 — Add related brand terms or aliases
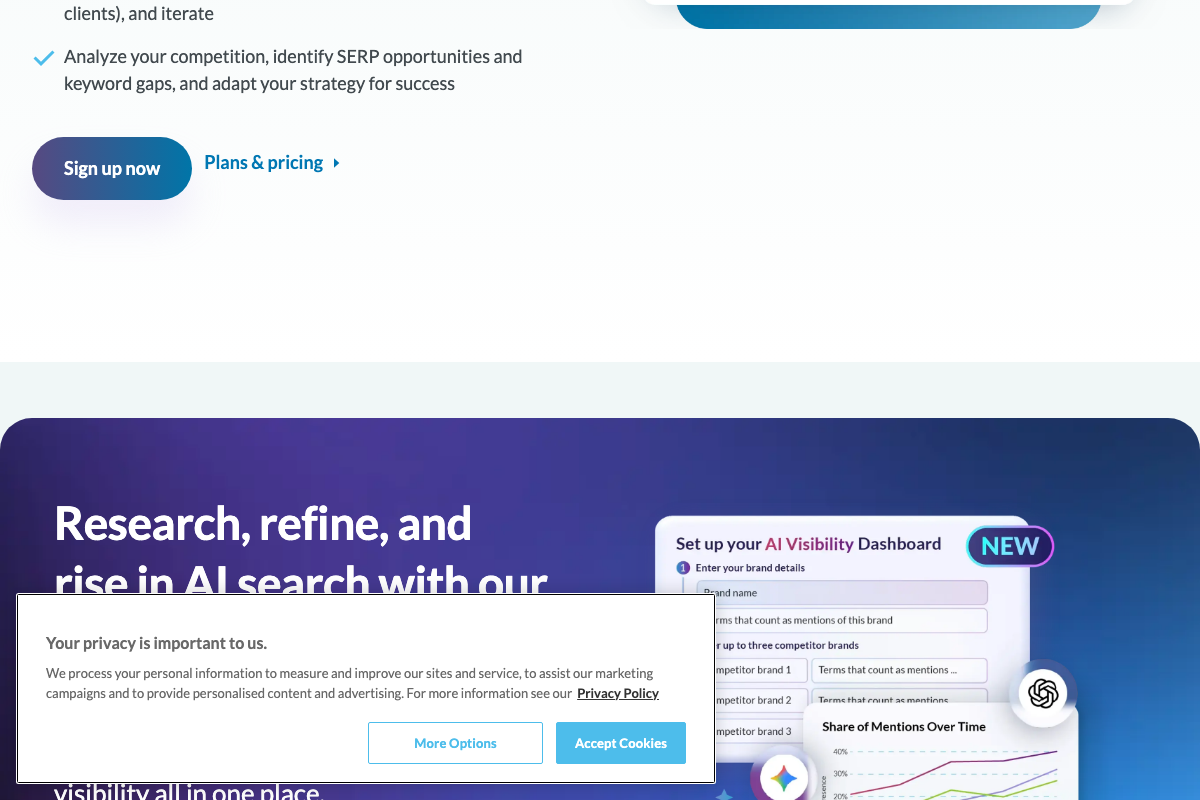
As of April 27, 2026, the official UI shows a single text field labeled “Terms that count as mentions of this brand” — the video’s description of “up to five related terms or aliases” with a five-field structure is not reflected in any available screenshot. Enter your aliases in the single field provided; the exact input format (comma-separated or otherwise) is not confirmed in available documentation.
Step 6 — Add up to three competitor brands
The video’s approach here matches the current docs exactly. Three competitor rows — “Competitor brand 1” through “Competitor brand 3” — are each paired with their own “Terms that count as mentions…” alias field, consistent with the video’s guidance that you can attach related terms to each competitor.
Steps 7–10 — Topics, Generate Prompts, manual entry, and Save
No official documentation was found for these steps — proceed using the video’s approach and verify independently.
The setup form does include a “Prompt Suggestions” panel with a “Topic relevant to your brand” input and an “Analyze” button — consistent with the topic-entry concept described in the video. The specific button labels (“Generate Prompts,” “Add Prompts Manually,” “Save and Continue”) and the post-save confirmation modal are not visible in available documentation.
Useful Links
- Moz – SEO Software for Smarter Marketing — Official Moz homepage and source of all AI Visibility Dashboard UI screenshots used in this verification.
- ChatGPT — OpenAI’s ChatGPT platform, referenced in the tutorial as one of the AI-generated search tools the Moz AI Visibility Dashboard is designed to monitor.


0 Comments