

Build a Profitable Google Ads Foundation for E-Commerce Before Touching AI Features
Google’s automation tools can accelerate an e-commerce account — or drain your budget before it ever gains traction. This tutorial walks you through the exact pre-launch sequence used at Define Digital Academy: calculating a data-backed starting budget, scoping your initial product focus, conducting keyword research inside Google Ads, and mapping a lean campaign structure that gives Google’s AI the signal volume it needs to eventually work in your favor.
-
Before opening Google Ads, identify the four metrics that will govern every budget decision you make: your average cost per click (CPC), expected conversion rate, average order value (AOV), and target cost per acquisition (CPA). At this stage you may not have Google Ads data yet — that’s expected. Pull estimates from any prior paid social activity, your Shopify analytics, or industry benchmarks. Without these numbers, any budget you set is a guess.
-
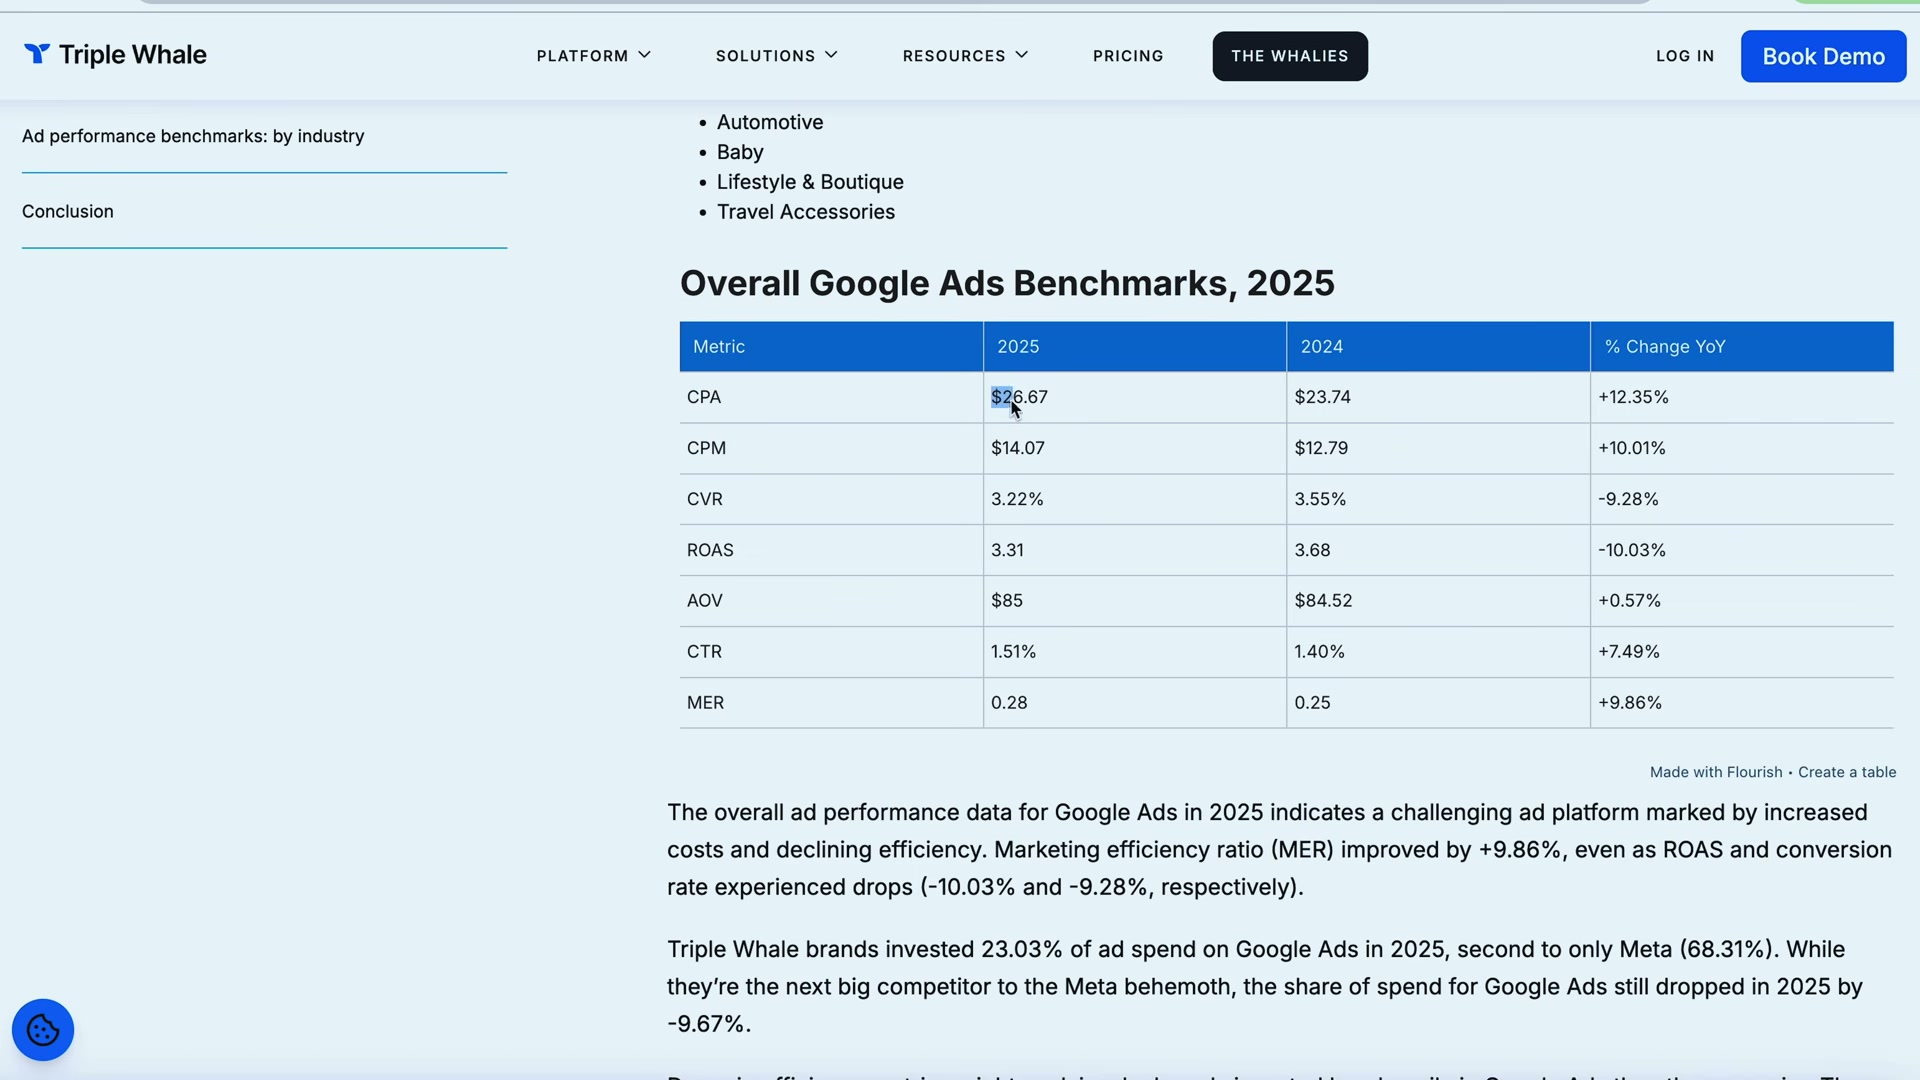
Navigate to Triple Whale’s published Google Ads benchmark report and locate the 2025 e-commerce averages. The conversion rate (CVR) benchmark sits at 3.22% — use 3% as your working estimate. Note that this average includes established accounts with years of data; your actual CVR at launch will likely be closer to 1%, which means you need to build budget headroom for that lower efficiency up front.
Warning: this step may differ from current official documentation — see the verified version below.
- Apply the CPC × 30 formula to calculate your minimum daily budget. Take your estimated average CPC and multiply by 30 — that daily figure is what Google needs to accumulate 30 conversions per month, the threshold required before smart bidding and Performance Max campaigns have enough data to optimize reliably. A $2 CPC requires $60/day; a $10 CPC requires $300/day. If that number exceeds your current resources, either delay launch or narrow your product scope further in the next step.
Warning: this step may differ from current official documentation — see the verified version below.
- Choose one or two product categories to fund initially rather than spreading budget across your full catalog. Use your existing sales data or margin structure to identify the category most likely to convert — the tutorial uses a European oral care brand (Lacalut) as the example, where all initial budget went to toothpaste because it was the highest-margin entry point and naturally bundled with mouthwash and toothbrushes at checkout.

-
Inside your Google Ads account, go to Tools → Planning → Keyword Planner and select “Discover new keywords.”
-
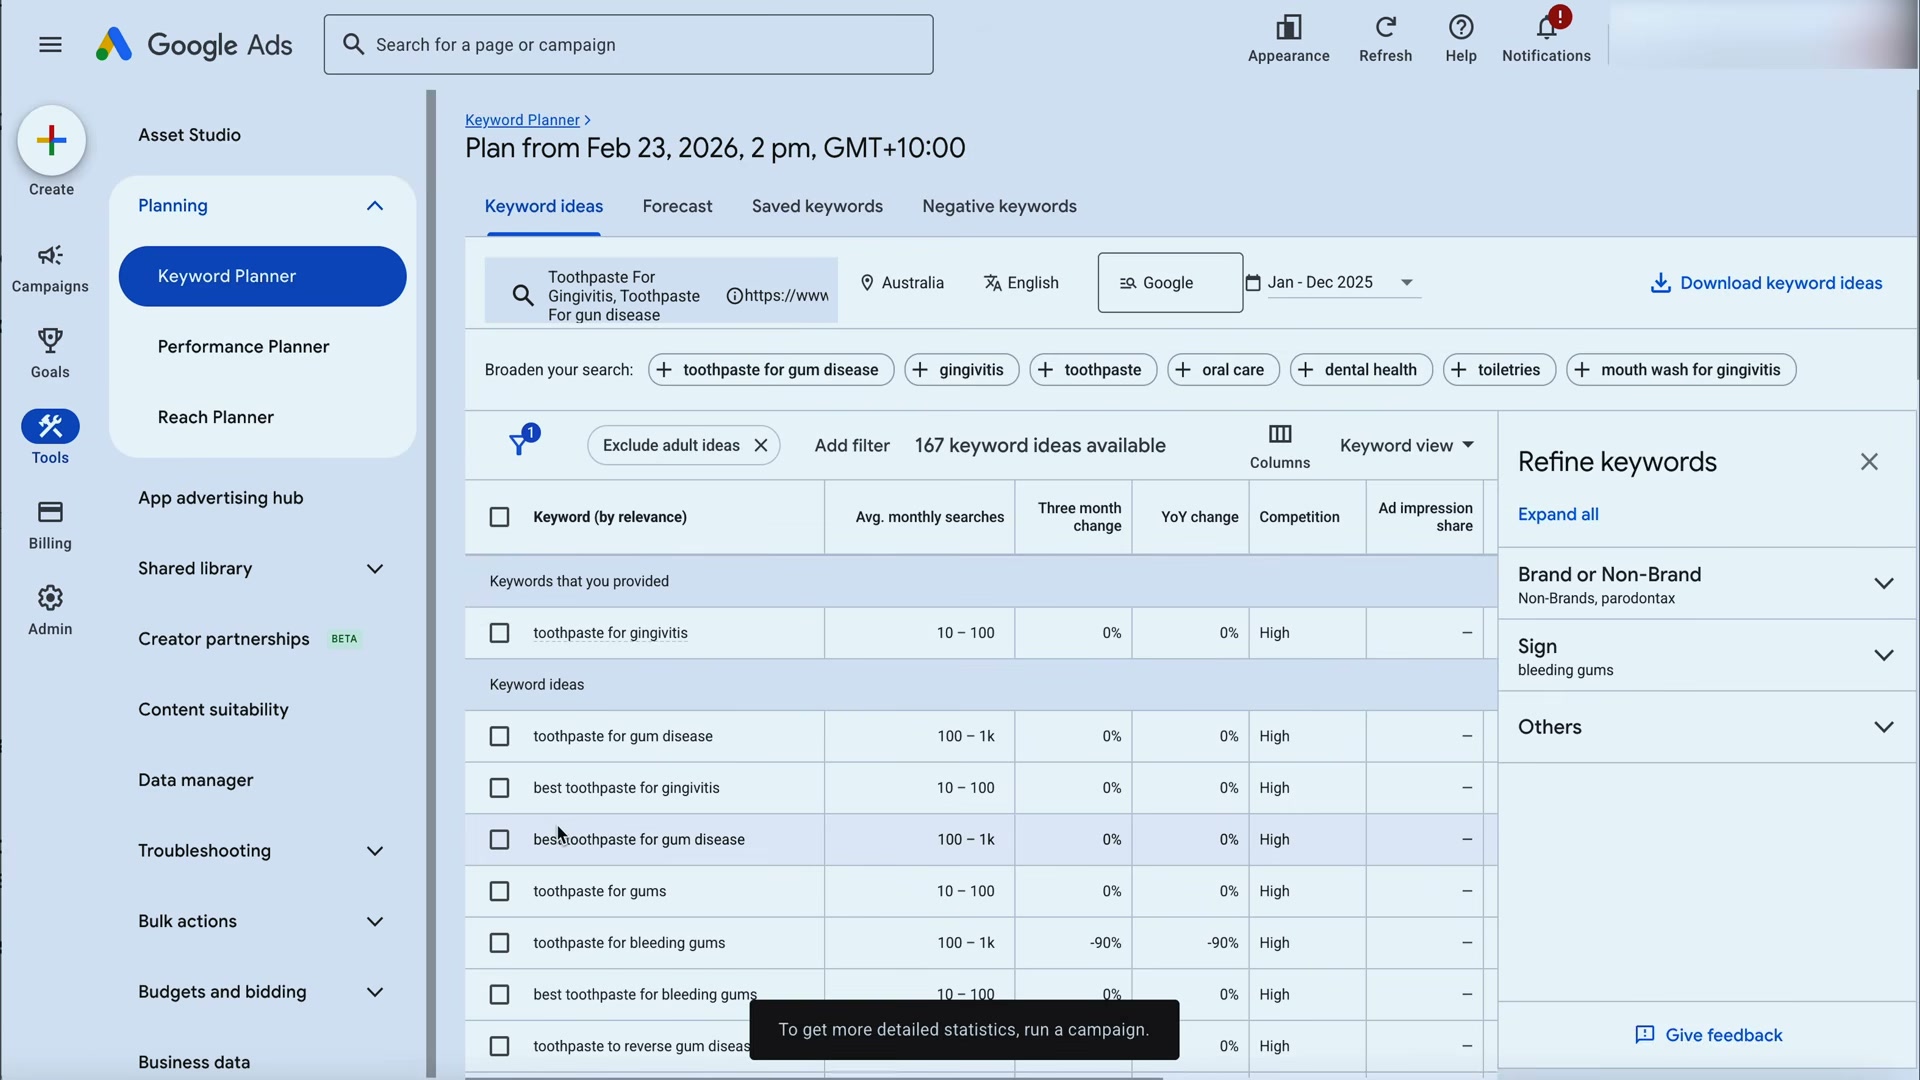
Paste your brand’s website URL into the domain field, then enter two or three seed keywords that a customer would type when searching for your specific product. For the oral care example, the inputs are “toothpaste for gingivitis” and “toothpaste for gum disease.” Including the URL helps Keyword Planner surface more contextually relevant suggestions alongside your manual seeds.
-
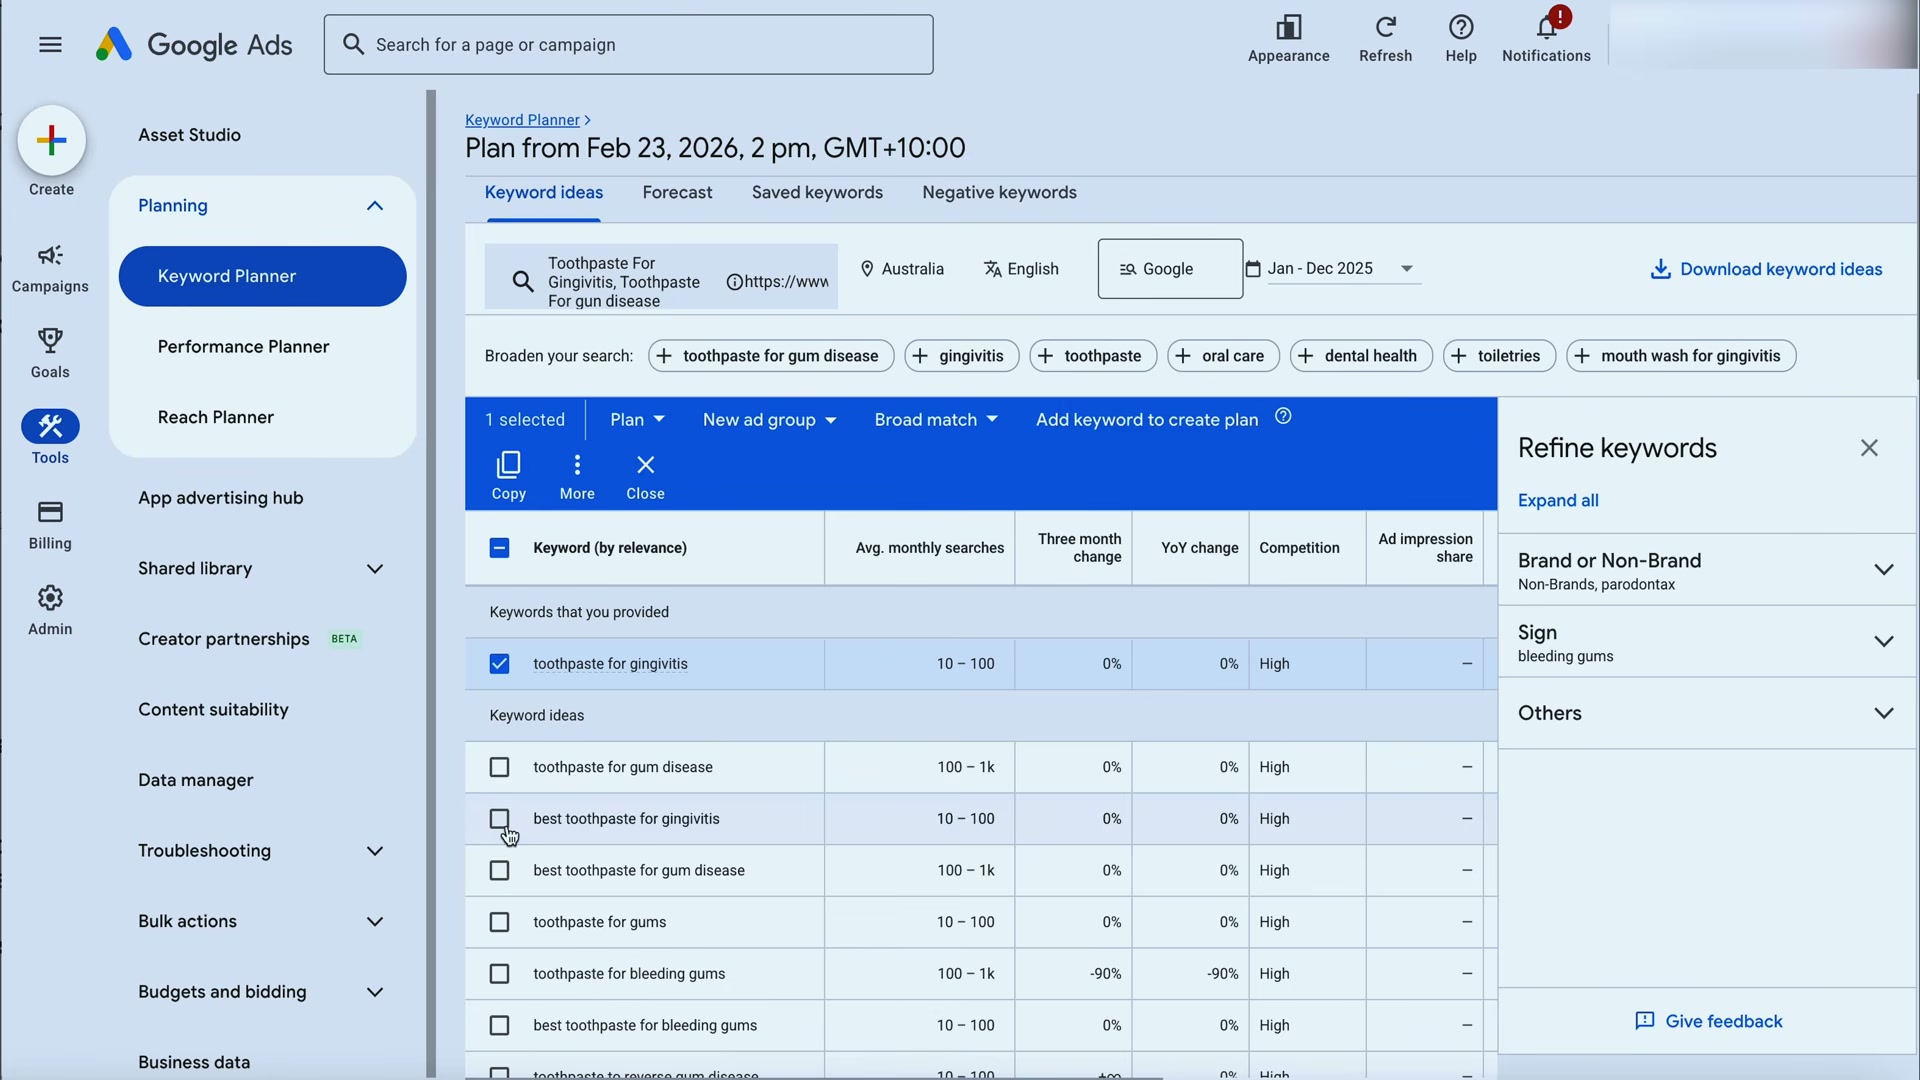
Review the returned keyword ideas with attention to three columns: average monthly searches, competition level, and year-over-year trend. Rather than targeting individual exact-match keywords, look for keyword themes — clusters of phrases sharing the same intent. “Toothpaste for gingivitis,” “best toothpaste for gingivitis,” and “toothpaste to reverse gum disease” all fall within the same theme and belong in the same ad group. Select the longer-tail variants within each theme, tick the checkbox beside each, and click Add keyword to create plan.
-
Copy your finalized keyword themes out of Keyword Planner and into a Google Sheet or Google Doc. This external reference becomes your campaign planning document — you’ll map each keyword theme to an ad group before building anything inside the platform.
-
Structure your initial campaign setup as follows: one standard Shopping campaign and one non-branded Search campaign. Optionally add a third branded Search campaign if search volume around your brand name justifies it. Hold off on Performance Max, smart bidding, and Demand Gen until the account has accumulated 30 conversions per month consistently.
Warning: this step may differ from current official documentation — see the verified version below.
How does this compare to the official docs?
Google’s own campaign setup guidance and smart bidding documentation tell a somewhat different story about when and how to apply these structures — and the gaps between the two approaches reveal which decisions are truly yours to make.
Here’s What the Official Docs Show
The video gives you a practical pre-launch framework that holds up well against the current Google Ads platform. This section layers in what the official documentation confirms, what it clarifies, and the two specific places where the docs show something different than what was on screen.
Step 1: Identify Your Four Budget Metrics
No official documentation was found for this step — proceed using the video’s approach and verify independently.
Step 2: Pull Benchmark Conversion Rates from Triple Whale

No official documentation was found for this step — proceed using the video’s approach and verify independently.
Worth flagging: Triple Whale is confirmed as a legitimate ecommerce intelligence platform serving major brands and 2,000+ agencies. However, the ~3% conversion rate benchmark cited in the tutorial — attributed to Triple Whale’s 2025 report — is not visible in any of the three Triple Whale screenshots captured. Locate the benchmark report directly on triplewhale.com before using the figure in your budget model.
Step 3: Apply the CPC × 30 Formula
No official documentation was found for this step — proceed using the video’s approach and verify independently.
Note: Keyword Planner’s built-in forecast stage (covered in Step 6 below) produces conversion and click projections based on spend — data that can replace or validate a formula-based estimate before you commit to a daily budget.
Step 4: Choose One or Two Product Categories
No official documentation was found for this step — proceed using the video’s approach and verify independently.
Step 5: Navigate to Keyword Planner
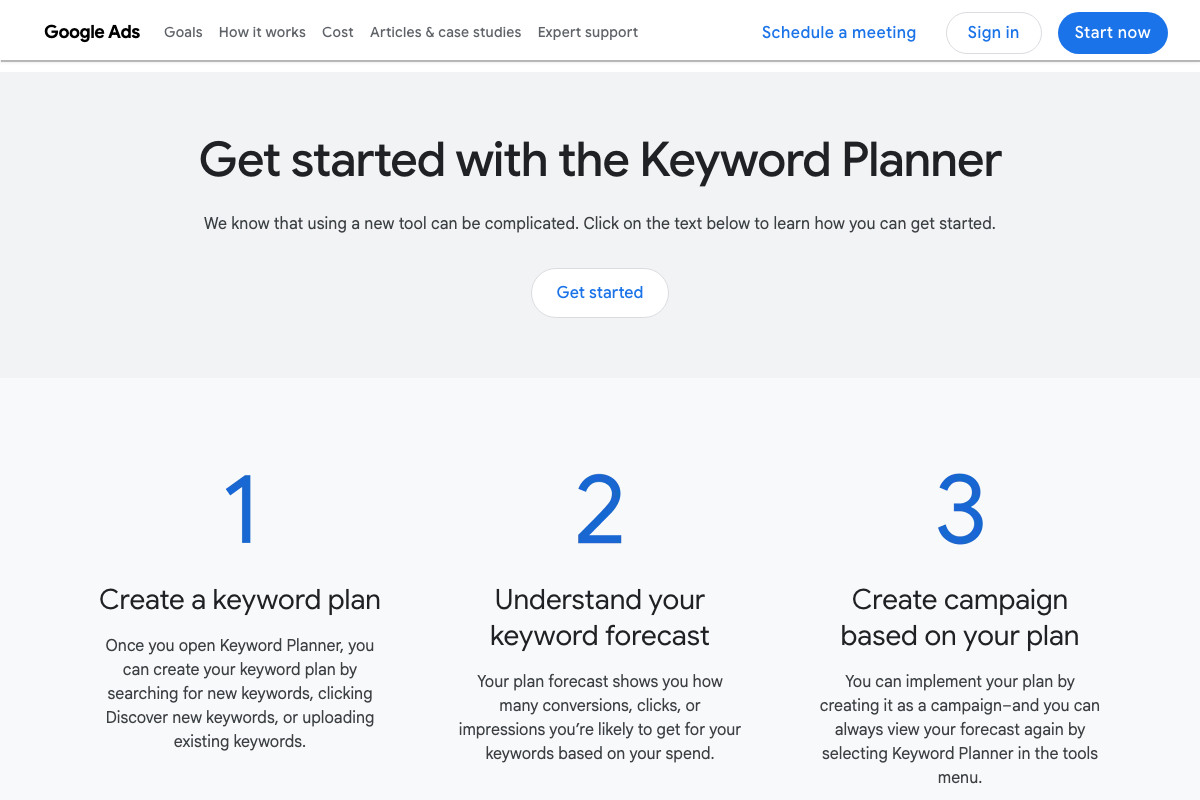
The video specifies Tools → Planning → Keyword Planner. As of March 2026, official documentation confirms access via “the tools menu” — the “Planning” submenu label does not appear in any Help Center screenshot. The starting point is correct; the intermediate label may vary by account type.
Step 6: Enter Seed Keywords
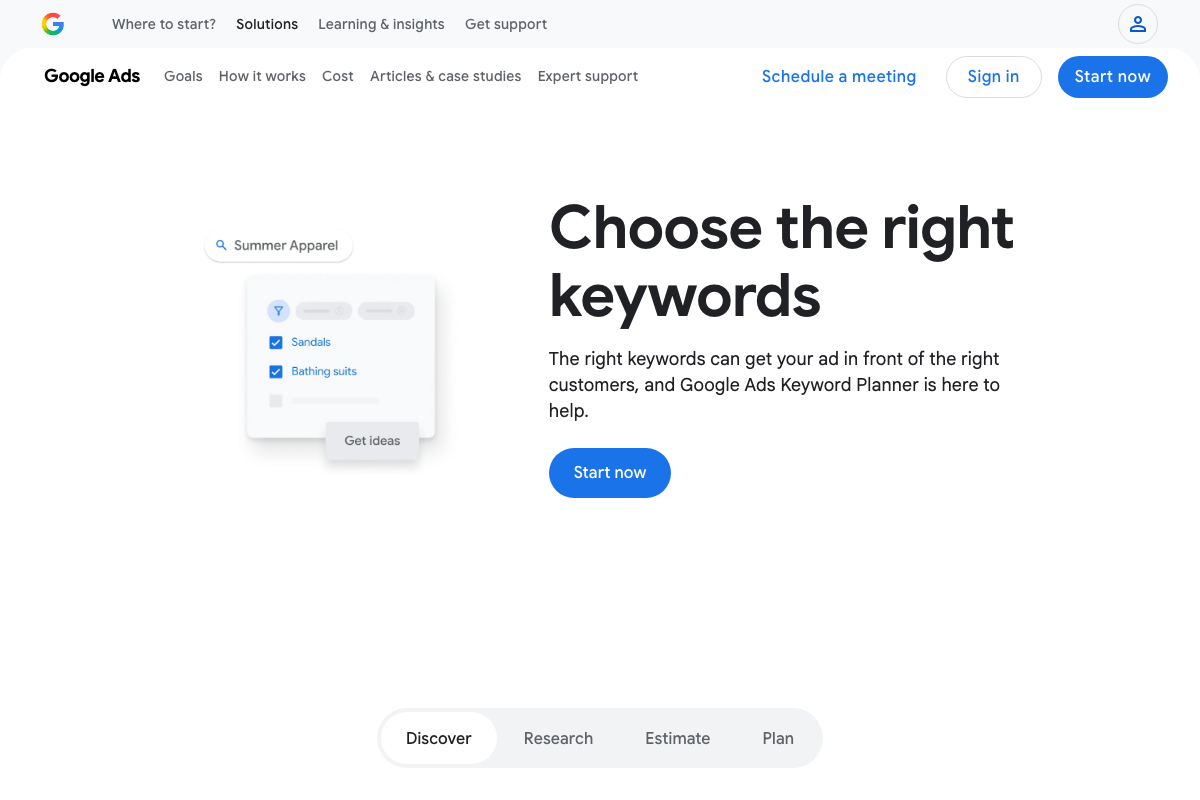
Keyword Planner accepts keyword and phrase inputs and returns suggestions via Get ideas — that part of the video’s approach matches the current docs. One difference: as of March 2026, no URL input field appears in the official Keyword Planner interface. If the domain field is absent in your account, seed phrases alone are sufficient.
While you’re here: the Estimate tab (stage 2 of the official workflow) projects conversions, clicks, and impressions based on spend. Run your selected keywords through it before finalizing the daily budget you calculated in Step 3.
Step 7: Review Keyword Themes
The video’s approach here matches the current docs exactly. Default suggestions surface broad category terms; filtering for long-tail, intent-based clusters is the right refinement.
Step 8: Copy Keywords to a Planning Document
No official documentation was found for this step — proceed using the video’s approach and verify independently.
One practical note: Google Sheets requires a Google account to access. The tutorial doesn’t flag this prerequisite — worth confirming before routing a team member to this step.
Step 9: Set Your Initial Campaign Structure
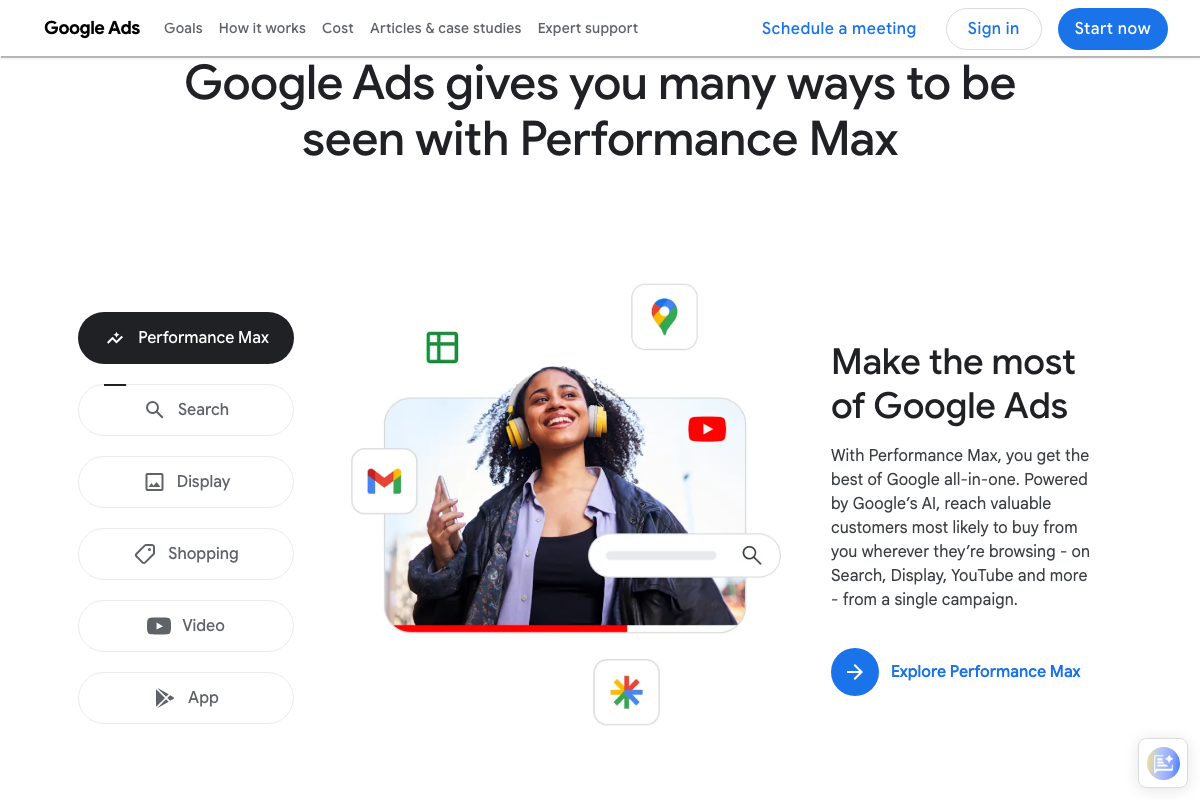
The video’s approach here matches the current docs exactly — Shopping and Search are confirmed as distinct, selectable campaign types. The clarification worth adding: Google’s current UI places Performance Max at the top of the selector, describing it as “the best of Google all-in-one.” The tutorial’s guidance to hold off on Performance Max until the account reaches 30 conversions per month is a deliberate counter to that default framing, not an omission of it.
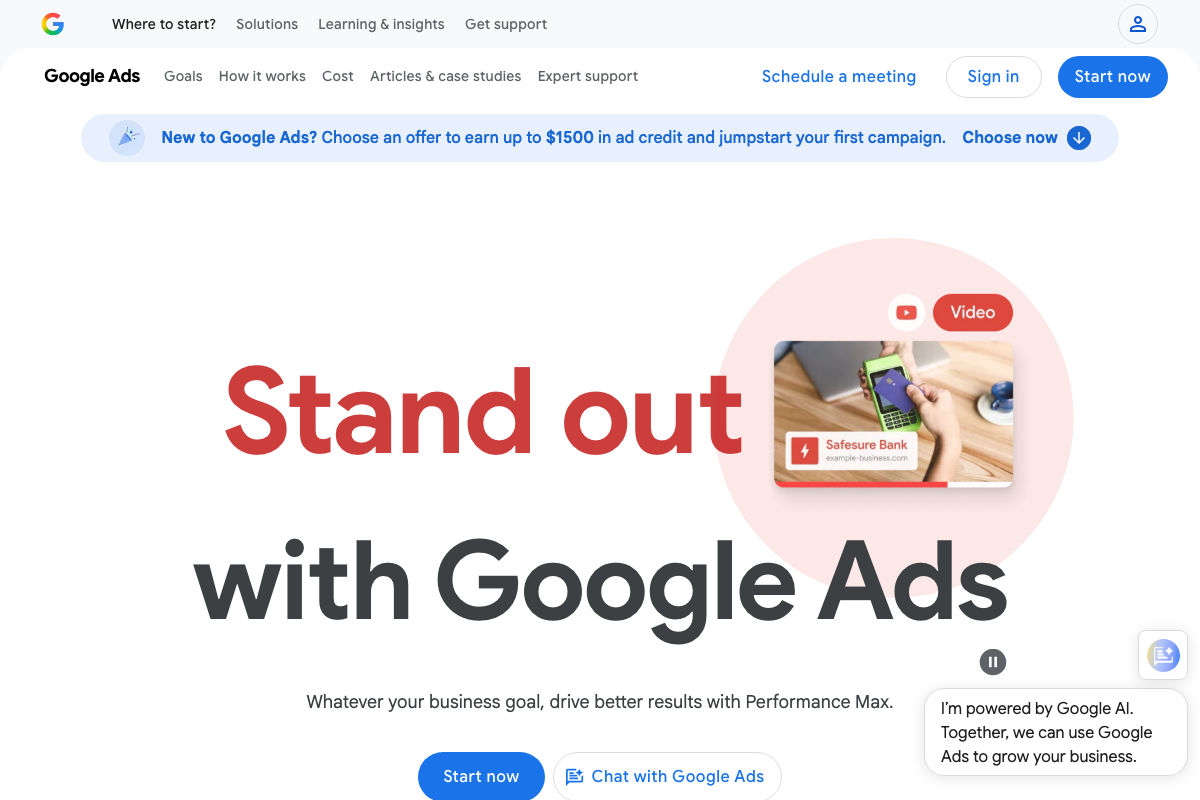
One thing the video doesn’t mention: new advertisers are currently offered up to $1,500 in ad credit on the Google Ads homepage. Claim it before you fund your first campaign. You may also encounter an AI-powered onboarding chat on the platform — it routes toward automated setup flows, which is exactly what the tutorial advises deferring until your account has sufficient conversion data.
Useful Links
- Use Keyword Planner — Google Ads Help — Official step-by-step guide to all three Keyword Planner stages, including the forecast tab that projects conversions and clicks based on spend.
- Google Ads Help Center — Google’s full Help Center for campaign setup, billing, and account management.
- Google Ads Homepage — Google Ads homepage; current source of the new-advertiser ad credit offer and AI onboarding chat widget.
- Keyword Planner — Google Ads Tools — Google’s marketing page for Keyword Planner, showing the Discover, Research, Estimate, and Plan workflow tabs.
- Triple Whale — Ecommerce intelligence platform cited in the tutorial as the source of 2025 Google Ads benchmark data; navigate directly to their reports section to locate the conversion rate figures referenced in Step 2.
- Google Sheets Help — Google Docs Editors Help Center for Sheets; a Google account is required to access the application.


0 Comments