

How to Structure Google Ads for Lead Generation in 2026
Running Google Ads for a service business in 2026 means navigating a platform that rewards account architecture as much as ad creative. After completing this walkthrough, you’ll know how to segment campaigns by the right levers, conduct keyword research inside Keyword Planner, apply the Keyword Theme Method to your ad group structure, and set a defensible starting budget before a single dollar is spent.
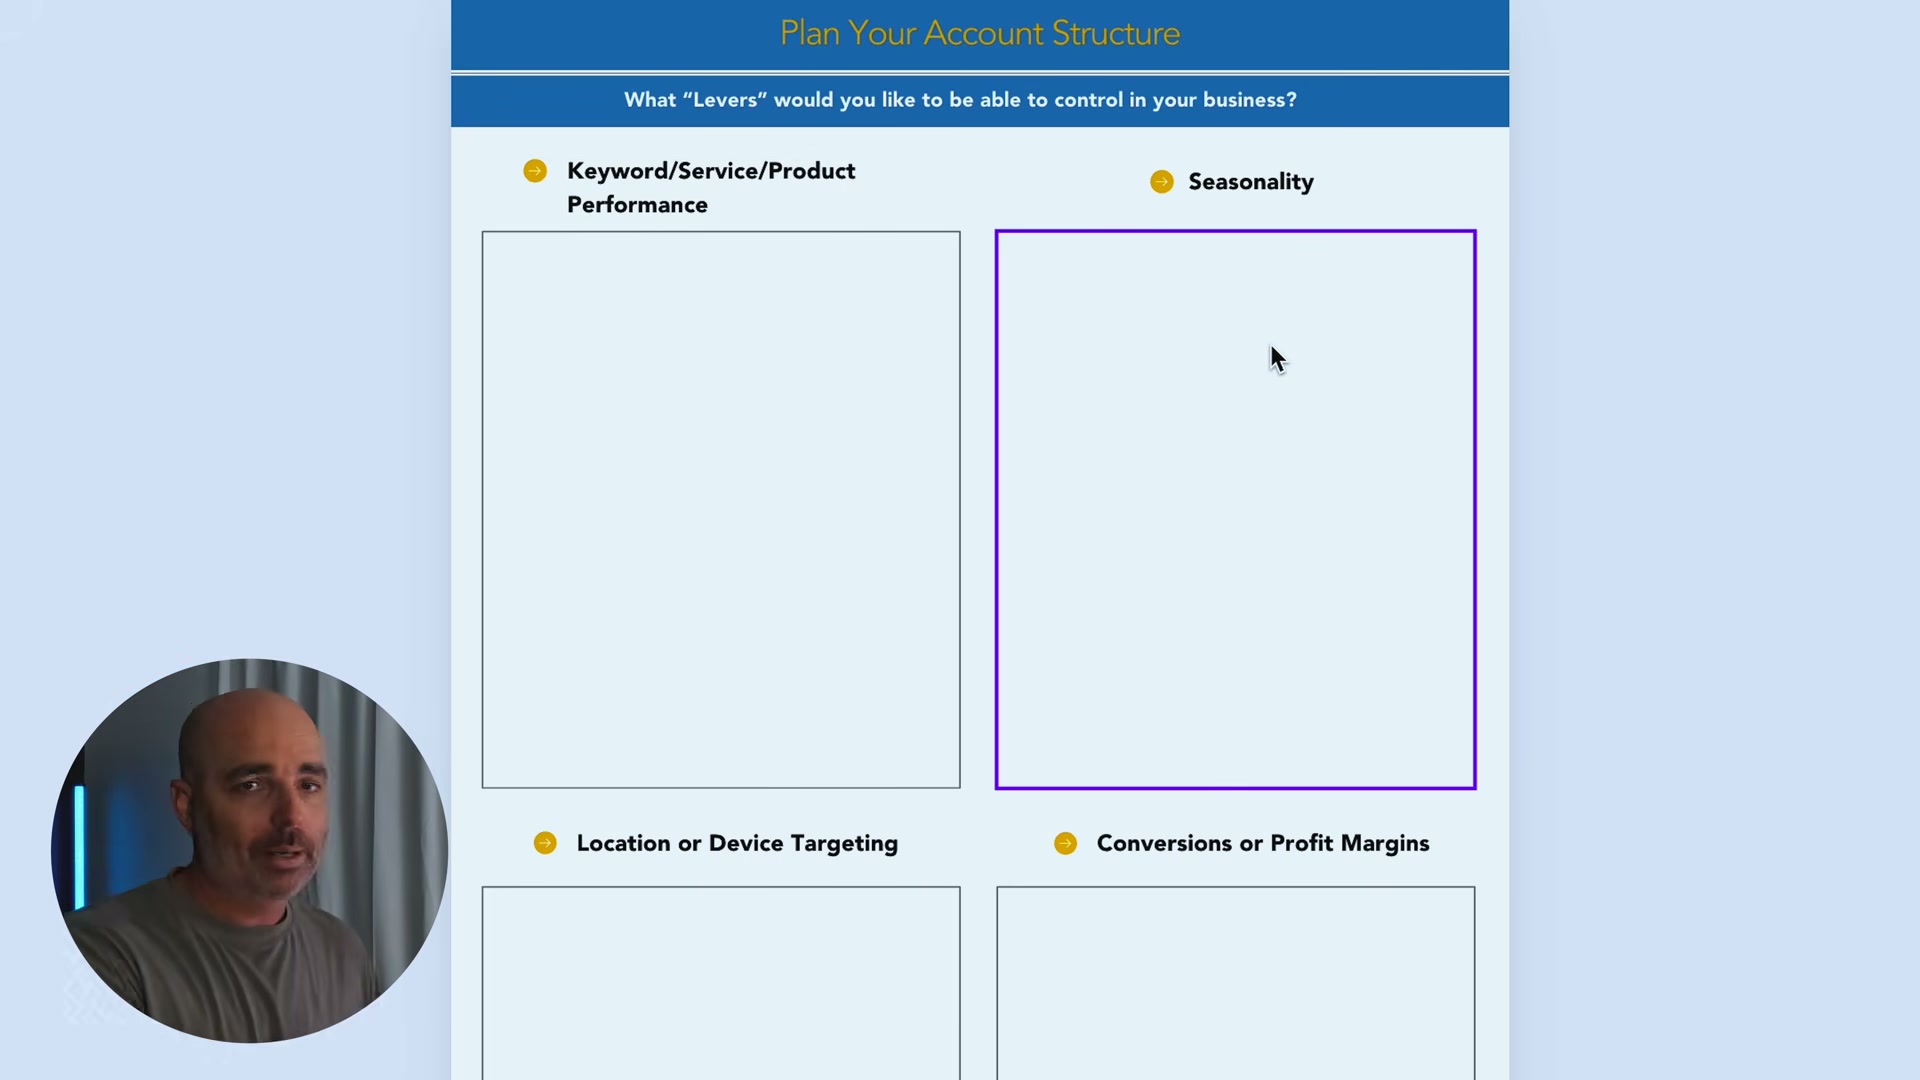
- Define your account levers before opening Google Ads. A lever is any dimension where you need independent budget or targeting control. Four factors determine your segmentation logic: keyword or service category, seasonality, location or device targeting, and conversion or profit metrics. Map these to your business before building anything — most lead gen accounts are over-segmented from day one, which dilutes data and slows smart bidding.
-
Audit your services and locations to find your natural campaign boundaries. For a multi-location franchise, geography is the lever — each franchise gets its own campaign because each controls its own ad spend. For a villa rental business with distinct product lines (one-bedroom honeymoon market vs. two-bedroom family market), the service category is the lever because the keyword themes, audiences, landing pages, and ad copy diverge completely. The right segmentation logic depends entirely on the business model, not a template.
-
Default to the fewest possible campaigns. Frame your starting architecture around a single campaign with a single ad group — then justify every addition. Adding campaigns fragments your conversion data across more campaigns, making it harder to exit manual bidding and move to smart bidding later. Fewer campaigns means faster data accumulation and faster access to Google’s AI bidding models.
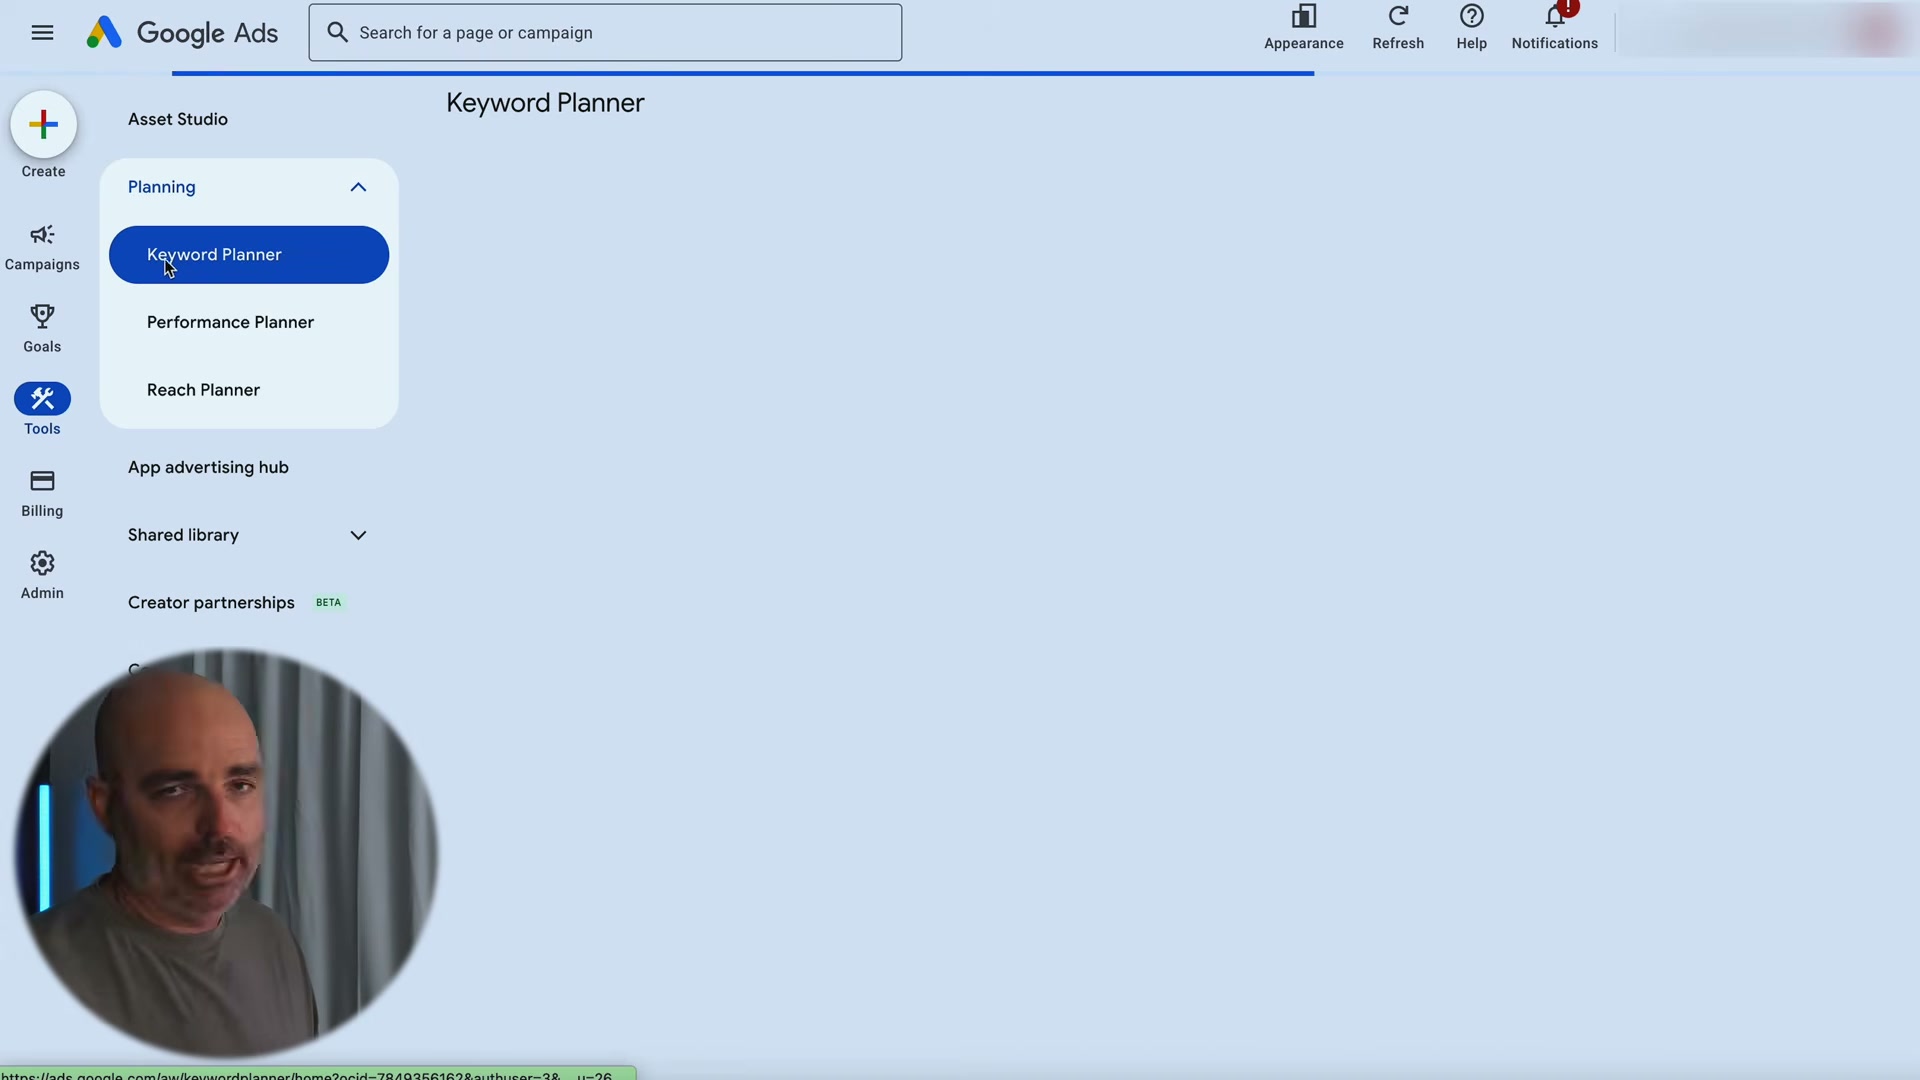
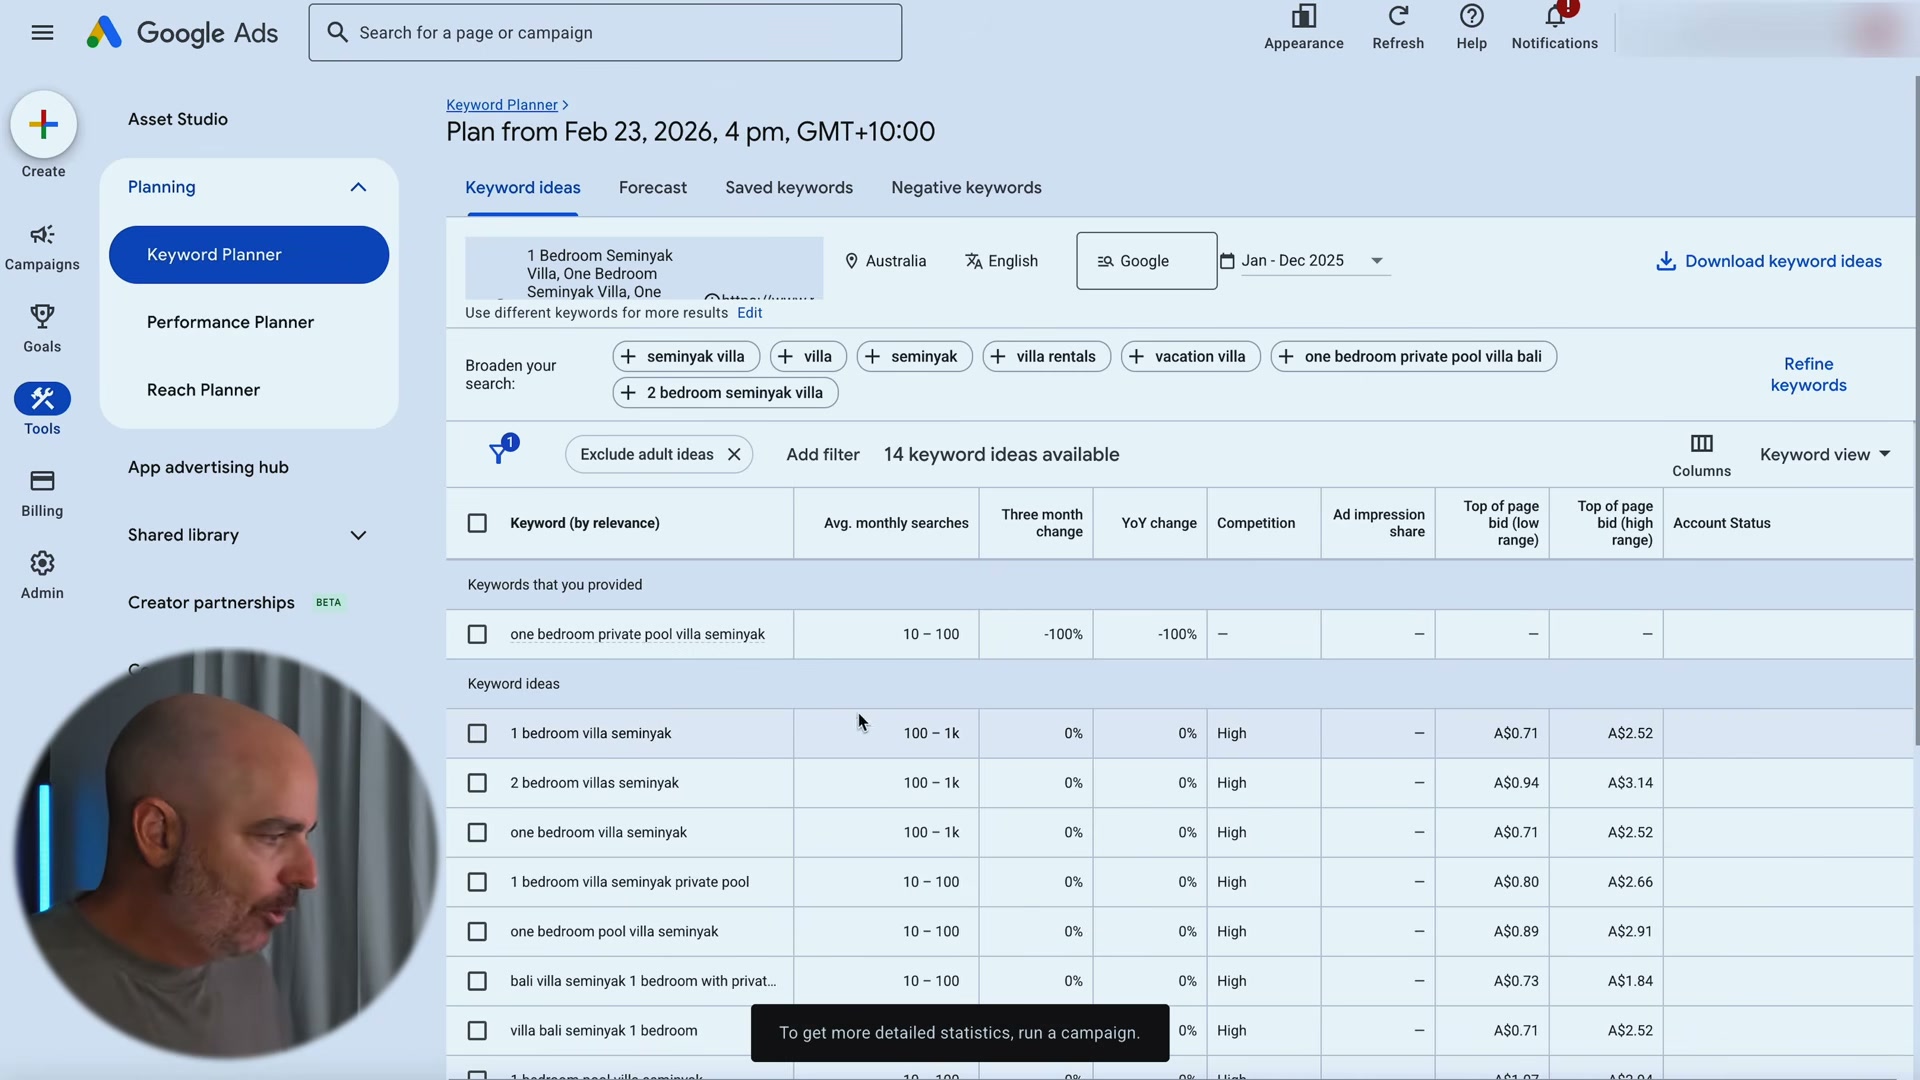
- Run keyword research inside Google Ads > Tools > Planning > Keyword Planner. Enter seed keywords that reflect how a customer would search for your service, or paste in a relevant URL from your own site. For a villa business, inputs like “one bedroom Seminyak villa” and “one bedroom private villa” surface the volume ranges, competition ratings, and CPC estimates you need to validate campaign viability before launch.
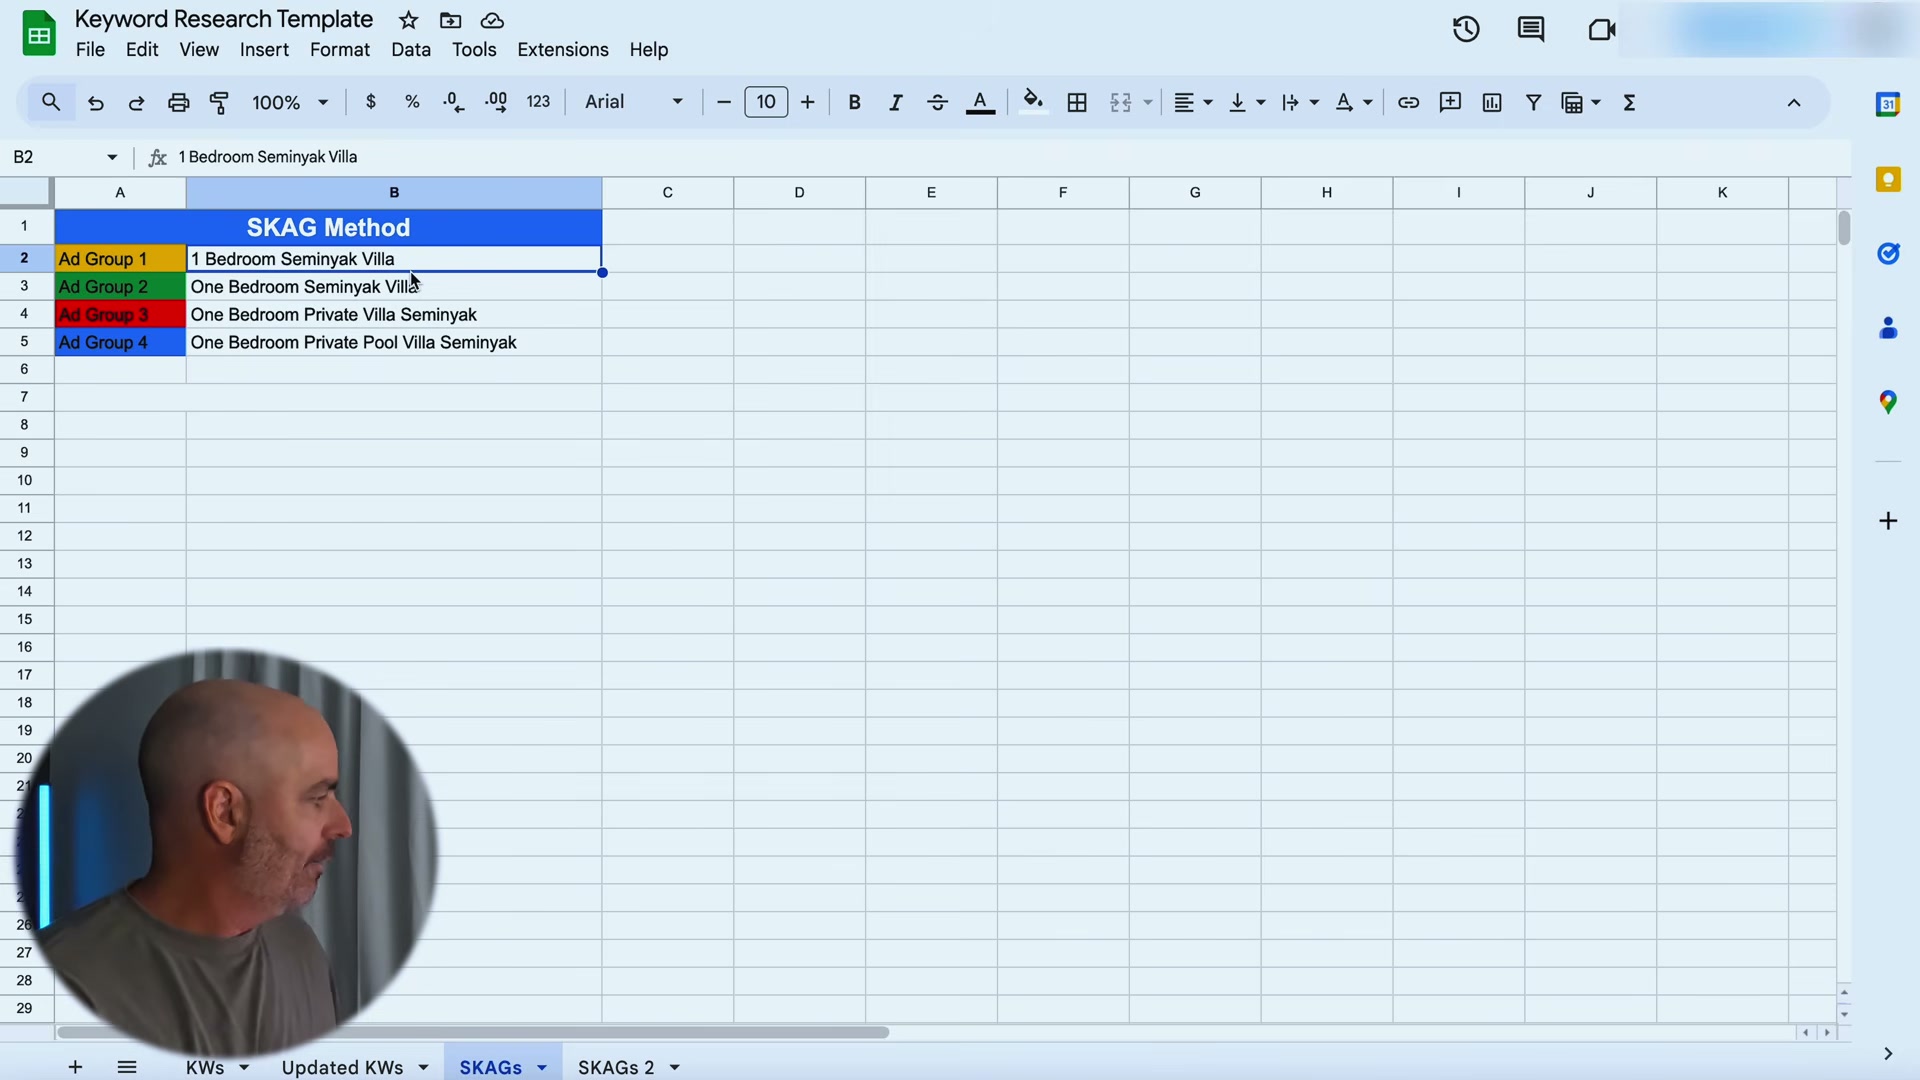
- Identify distinct keyword themes — not keyword variants. Keyword Planner will return dozens of variations. Your job is to identify whether those variations reflect genuinely different search intents or just different phrasings of the same intent. “One bedroom Seminyak villa,” “one bedroom private villa Seminyak,” and “one bedroom private pool villa Seminyak” all describe the same searcher — they belong in one ad group. A second ad group is only warranted when a separate landing page becomes necessary.
- Build ad groups around keyword themes, not individual keyword variants. The historical Single Keyword Ad Group (SKAG) method created a separate ad group for every keyword permutation. The current Keyword Theme Method collapses all close variants into one ad group and only splits when the ad copy or landing page must change. Use your keyword research spreadsheet to map themes to ad groups before touching the campaign builder.
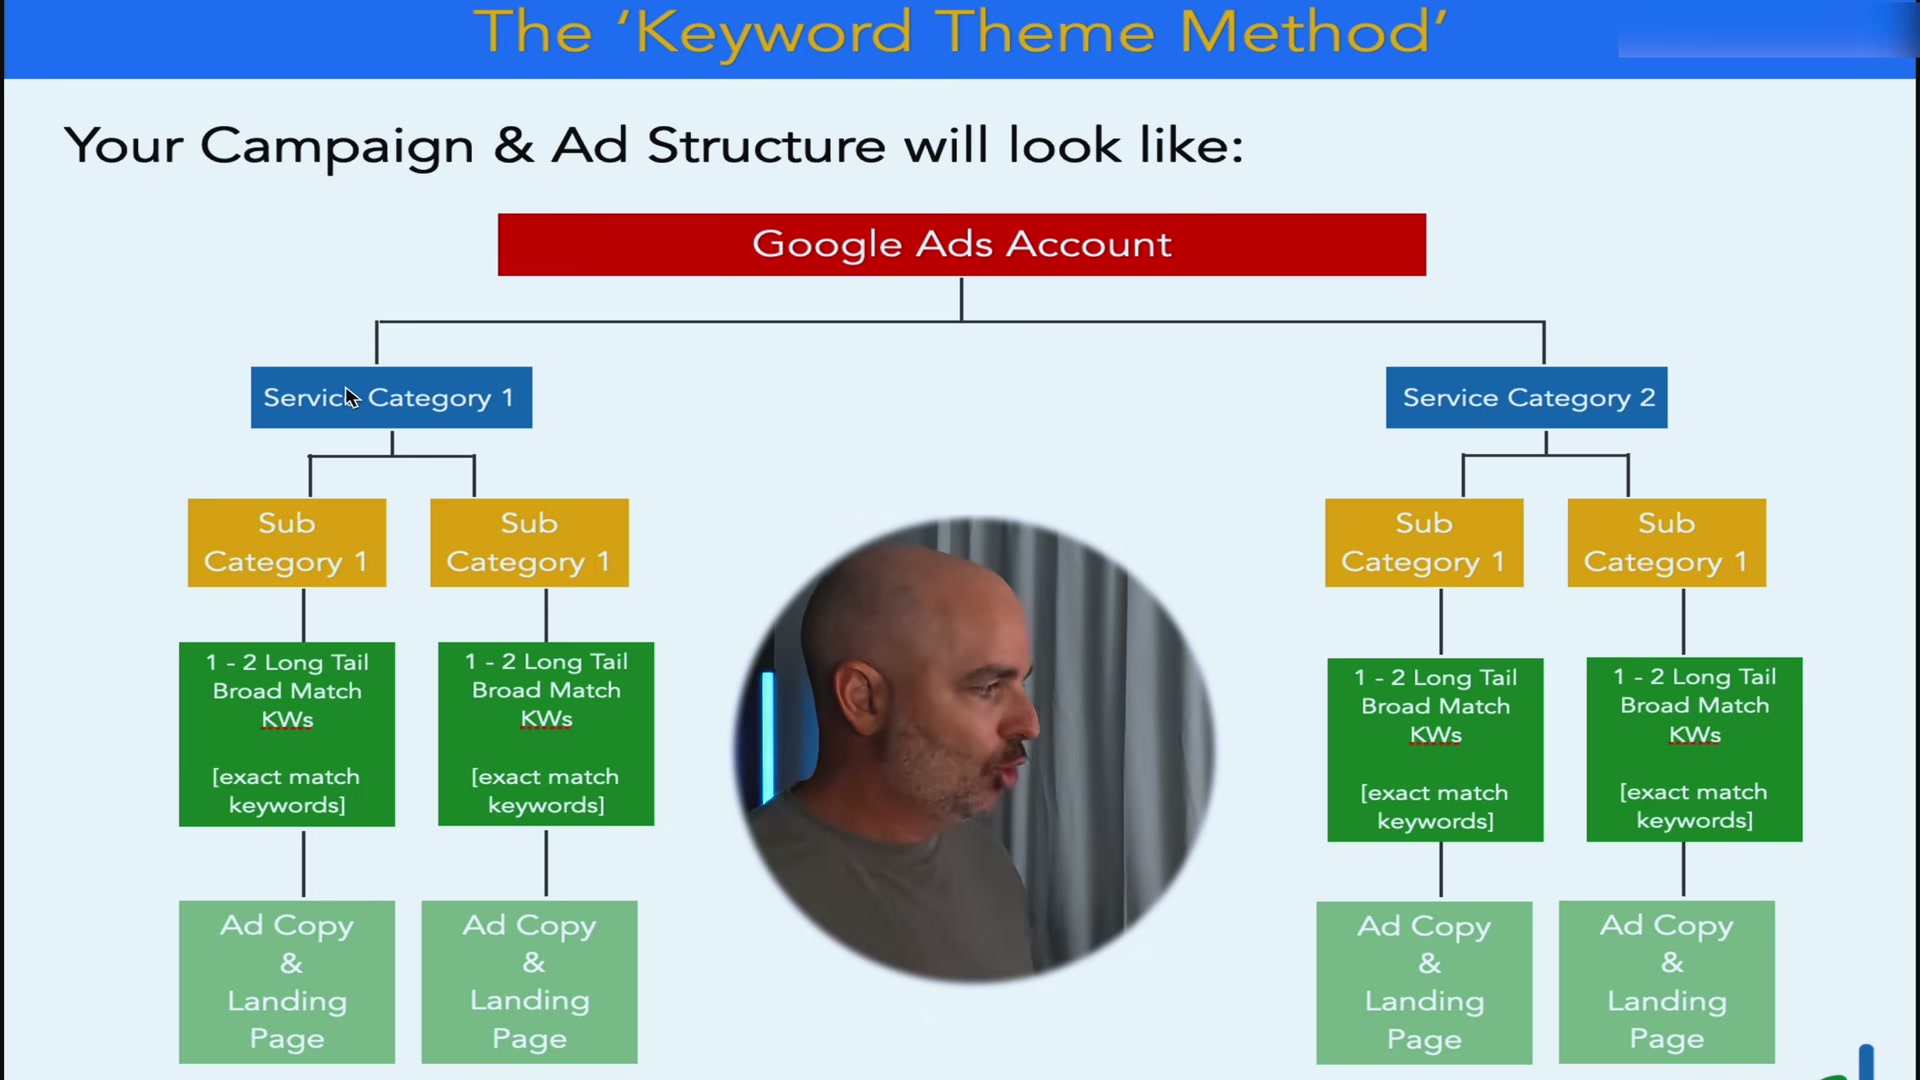
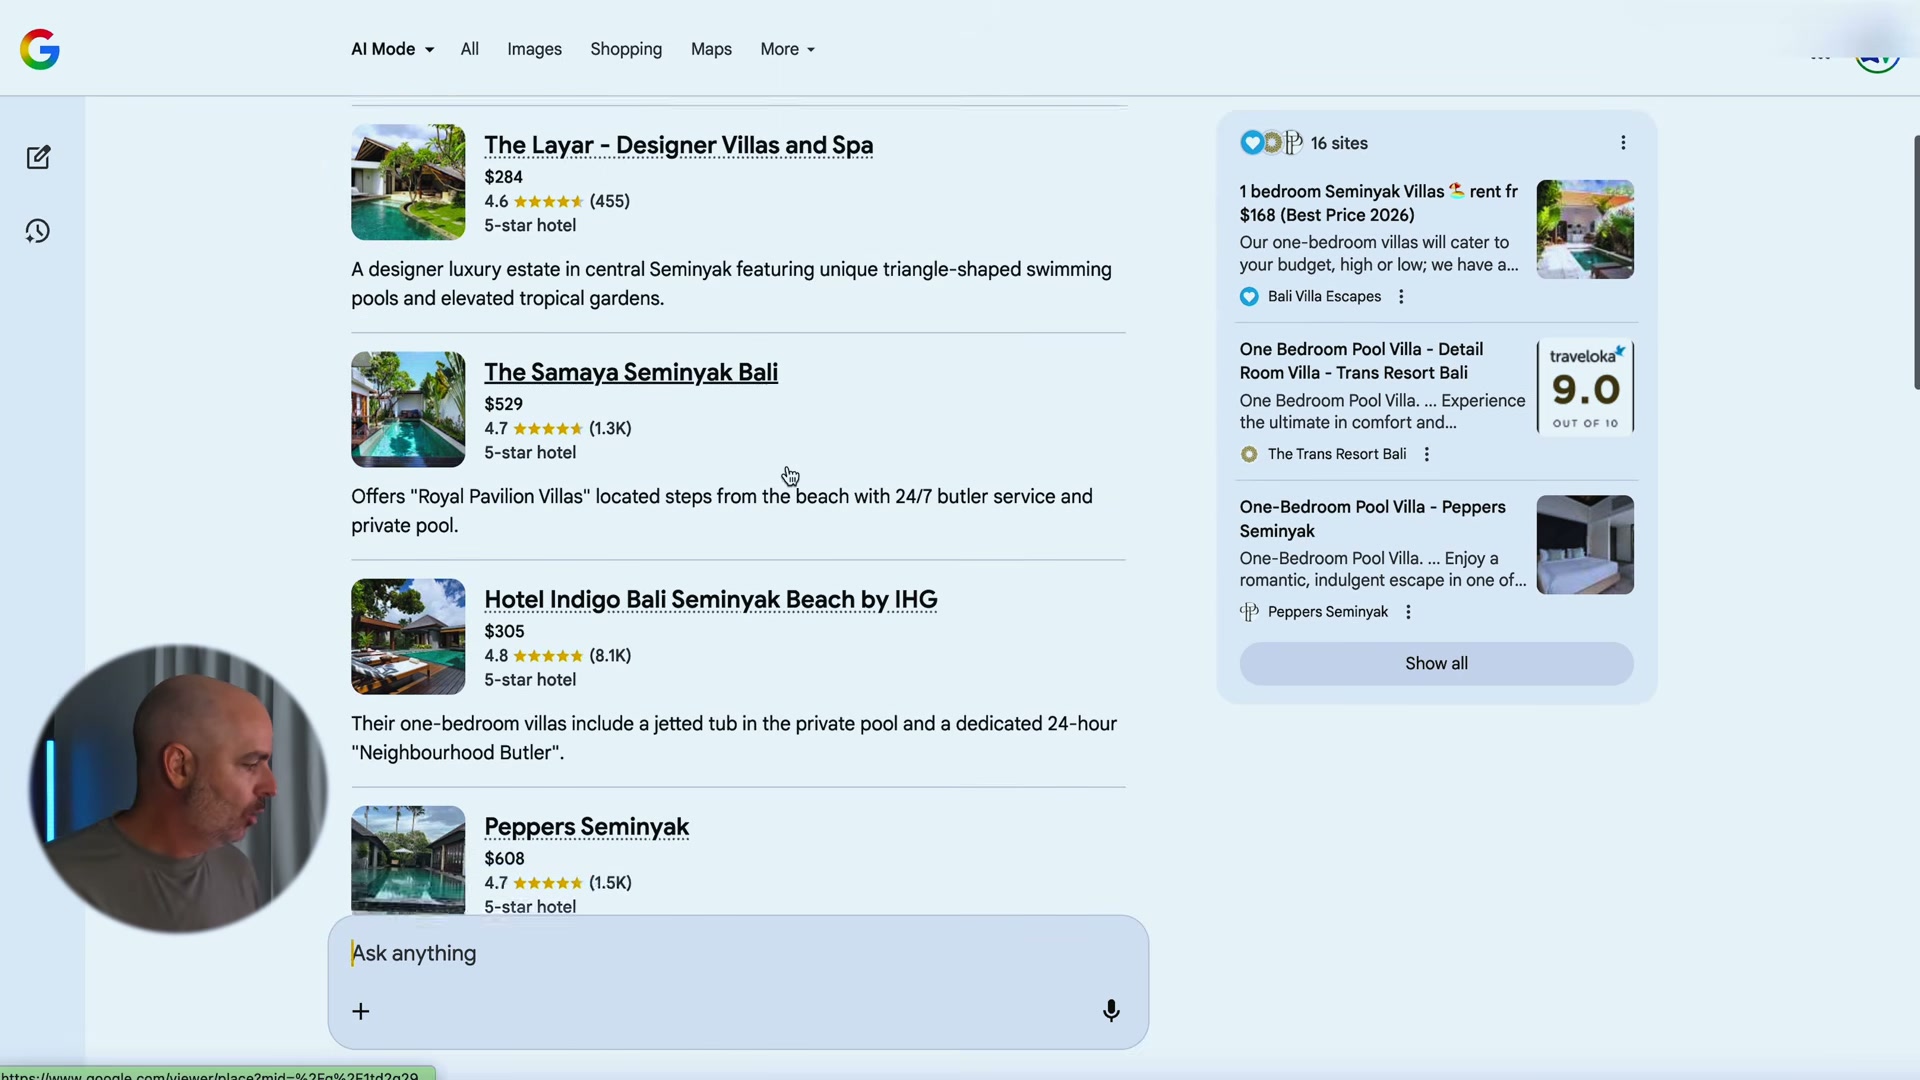
- Add both broad match and exact match keywords inside the same ad group. Broad match allows your ads to appear in Google’s AI-powered surfaces — including AI Mode search results — which exact match alone cannot reach. Exact match anchors coverage on your highest-intent terms. Running both match types in the same ad group gives the algorithm signal without abandoning precision.
Warning: this step may differ from current official documentation — see the verified version below.
-
Calculate your starting daily budget using the CPC × 20–30 multiplier. To reach 30 conversions in 30 days — the threshold for smart bidding to function effectively — multiply your target CPC by 20 to 30. A $10 CPC target means a $200–$300 daily budget. Starting below this range doesn’t save money; it extends the time-to-data period and keeps the account on manual bidding longer.
-
Launch Search campaigns only — exclude Performance Max and AI Max at the start. Ads appearing in Google AI Mode require either AI Max, Performance Max, or broad match keywords. Because AI Max and Performance Max demand a pre-existing conversion dataset to optimize effectively, launching with Search and broad match is the path that builds that dataset fastest. Transition to Performance Max only after 30 conversions within a 30-day window is consistently achieved.
Warning: this step may differ from current official documentation — see the verified version below.
-
Switch bidding to Maximize Conversions once the 30-in-30 threshold is reached. Manual CPC keeps you in control during the data-collection phase but caps the algorithm’s ability to optimize. At 30 conversions in 30 days, smart bidding has enough signal to outperform manual bidding on lead volume. Make the switch at that inflection point — not before.
-
Feed offline conversion data into the account before scaling into Performance Max. For lead gen accounts, many conversions happen offline — a phone call becomes a booked job days later. Importing that closed-revenue data back into Google Ads before expanding to Performance Max ensures the algorithm optimizes for qualified leads, not just form fills.
How does this compare to the official docs?
The Keyword Theme Method and the phased launch sequence represent specific practitioner choices layered on top of Google’s documented campaign setup flow — and the gaps between them are where the most consequential decisions live.
Here’s What the Official Docs Show
The video covers a lot of defensible ground, and most of the campaign architecture logic holds up well in practice — the documentation screenshots add important context on a few platform defaults and flag several steps that couldn’t be verified against official sources. What follows mirrors the tutorial’s step sequence exactly, with documentation grounding where it exists and clear flags where it doesn’t.
Step 1 — Define your account levers before opening Google Ads
No official documentation was found for this step — proceed using the video’s approach and verify independently.
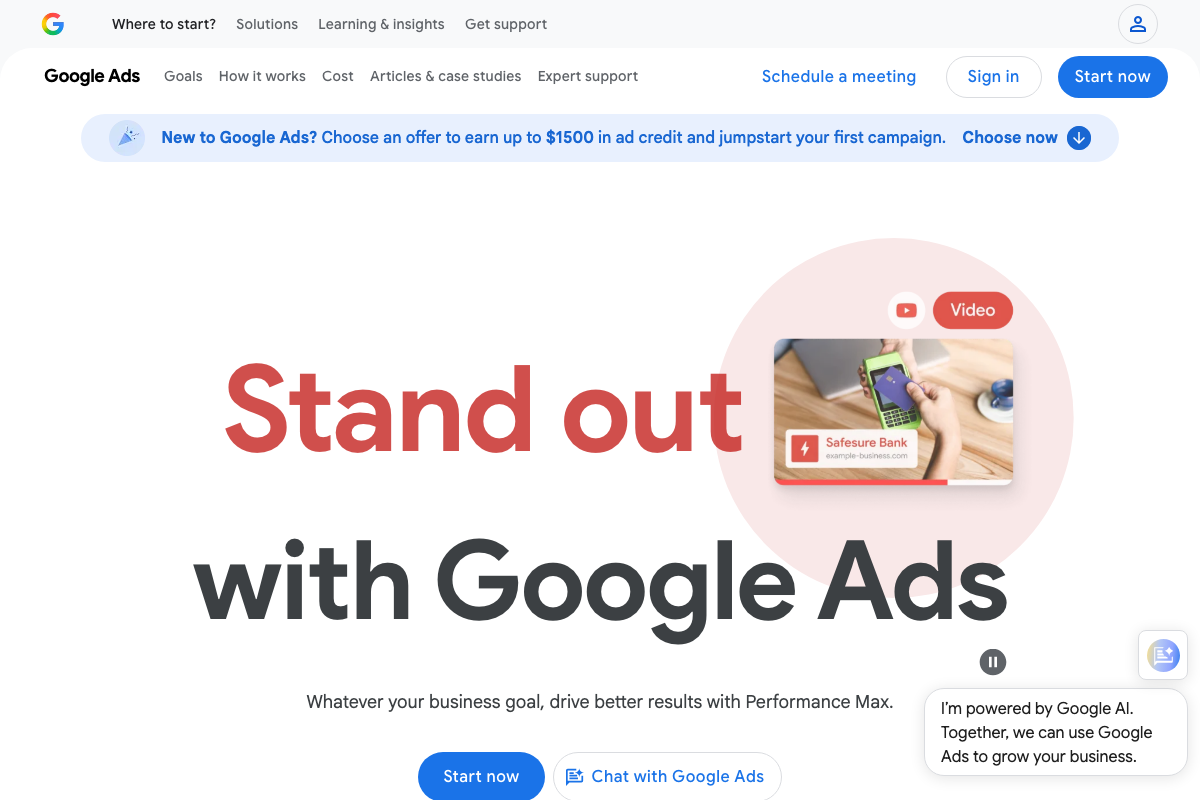
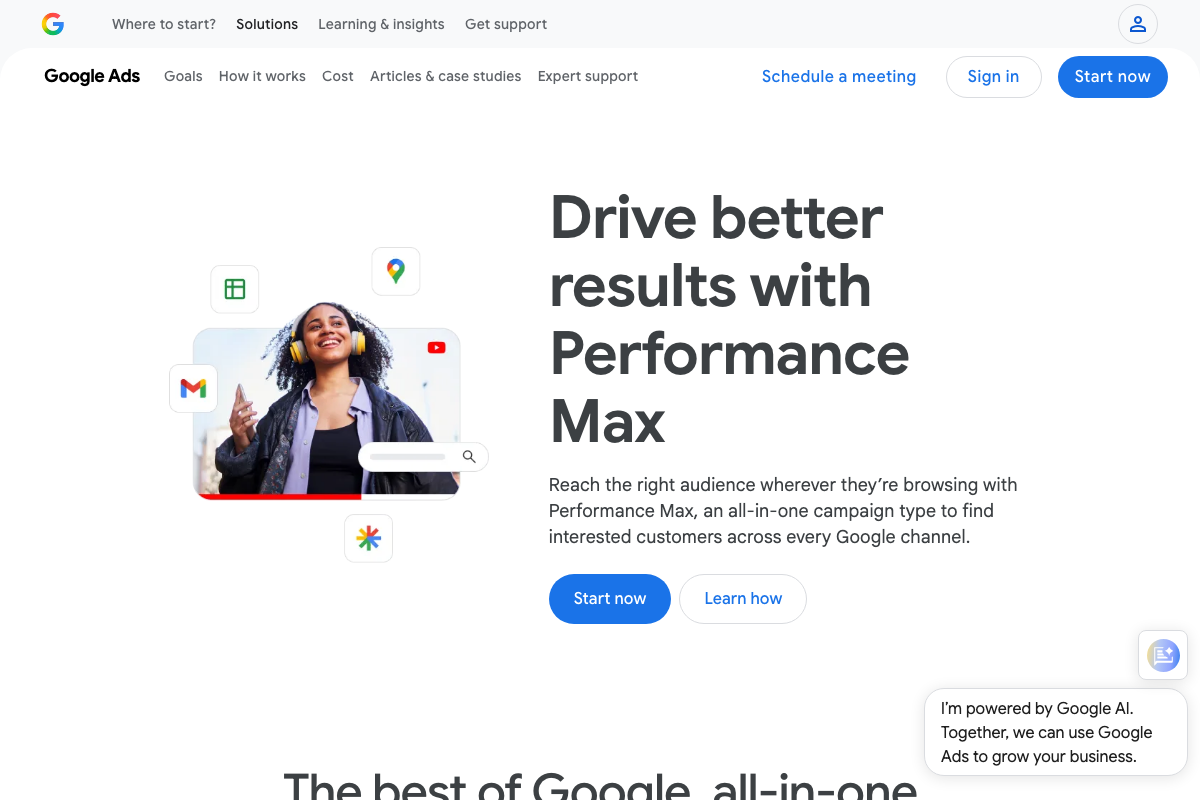
The platform homepage does, however, surface one relevant context point: Google Ads opens with a clear nudge toward Performance Max as its default recommendation for all business goals. That’s not a reason to abandon the lever-mapping exercise the video recommends — it’s a reason to do it before the platform tries to route you toward its preferred campaign type.
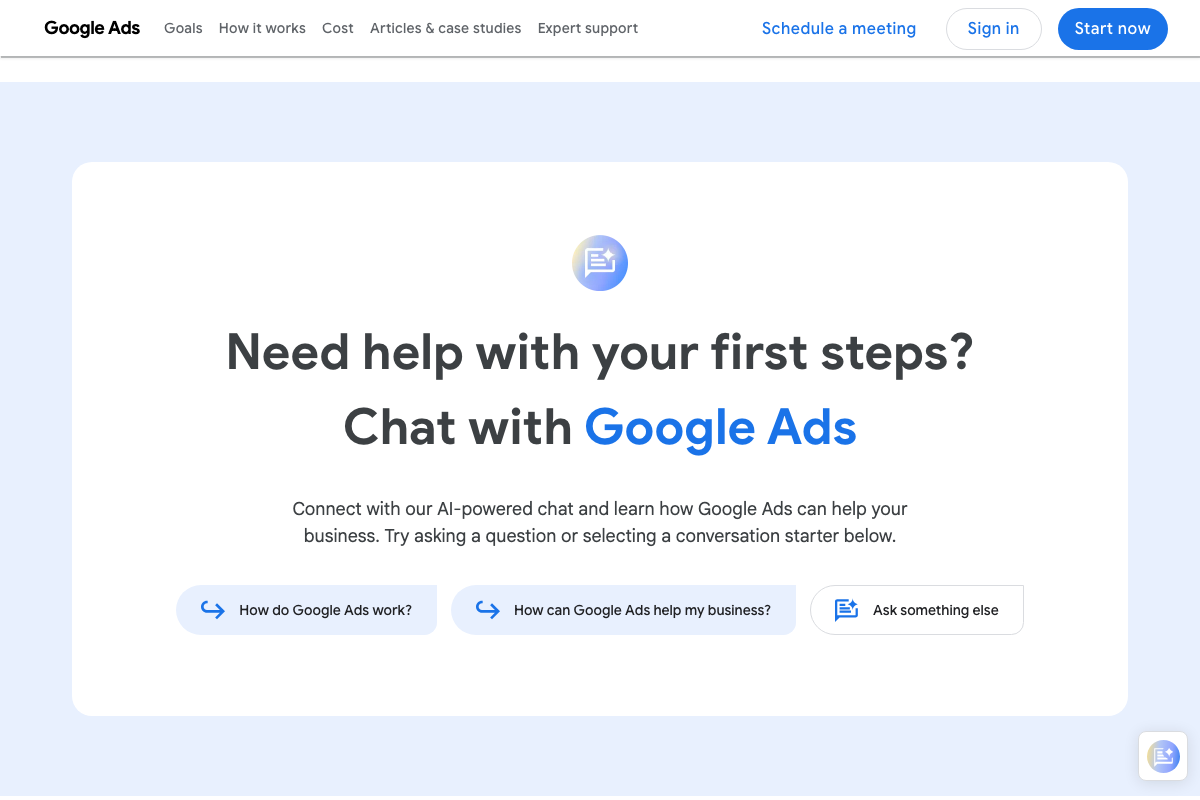
One additional feature the tutorial doesn’t mention: Google now offers an AI-powered chat assistant directly on the homepage for guided account setup. It’s worth knowing it exists, even if you don’t use it.
Step 2 — Audit your services and locations to find your natural campaign boundaries
No official documentation was found for this step — proceed using the video’s approach and verify independently.
Step 3 — Default to the fewest possible campaigns
No official documentation was found for this step — proceed using the video’s approach and verify independently.
Step 4 — Run keyword research inside Keyword Planner
The video’s approach here matches the current docs exactly. The official Keyword Planner marketing page confirms seed keyword and phrase entry as the primary discovery method, and the documented 3-step workflow — create a plan, review forecasts, build the campaign — aligns with the tutorial’s usage.
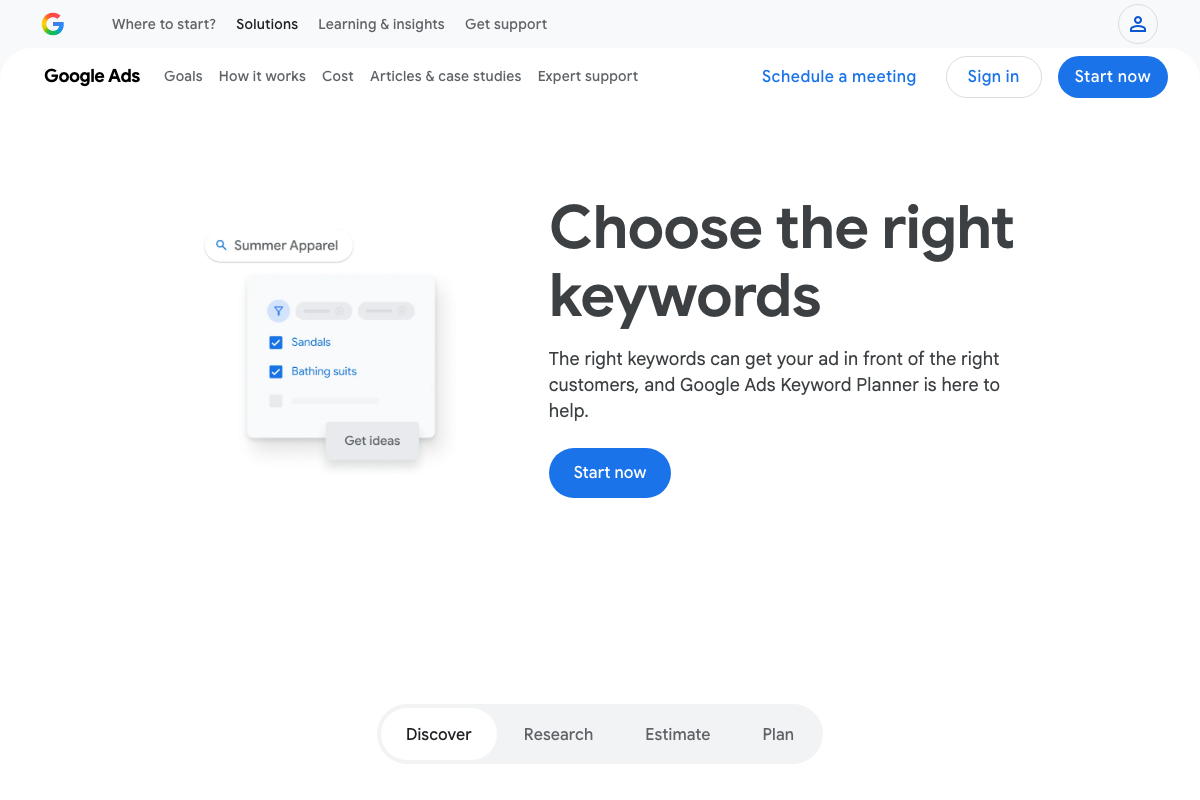
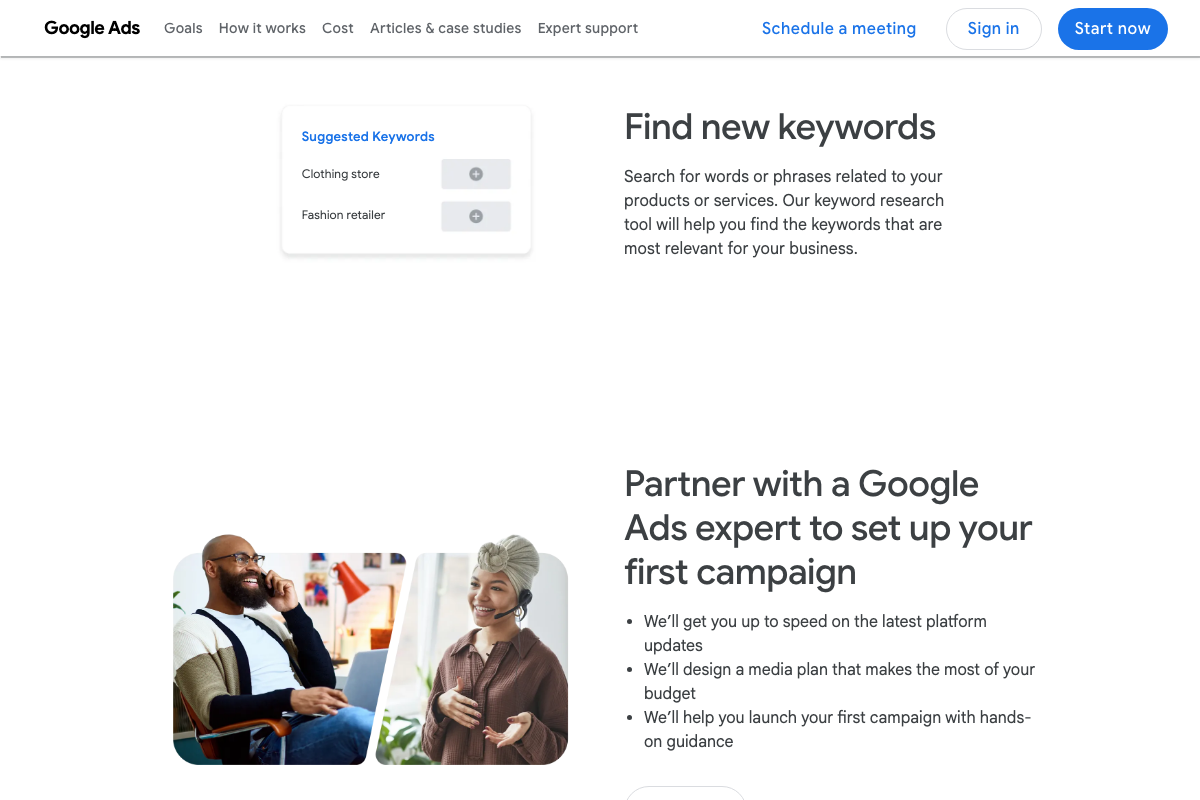
One clarification worth noting: the official documentation lists a third input method the tutorial doesn’t cover — uploading existing keywords. If you’re migrating from another platform or have a master keyword list from a prior audit, you can import it directly rather than rebuilding from seed terms.
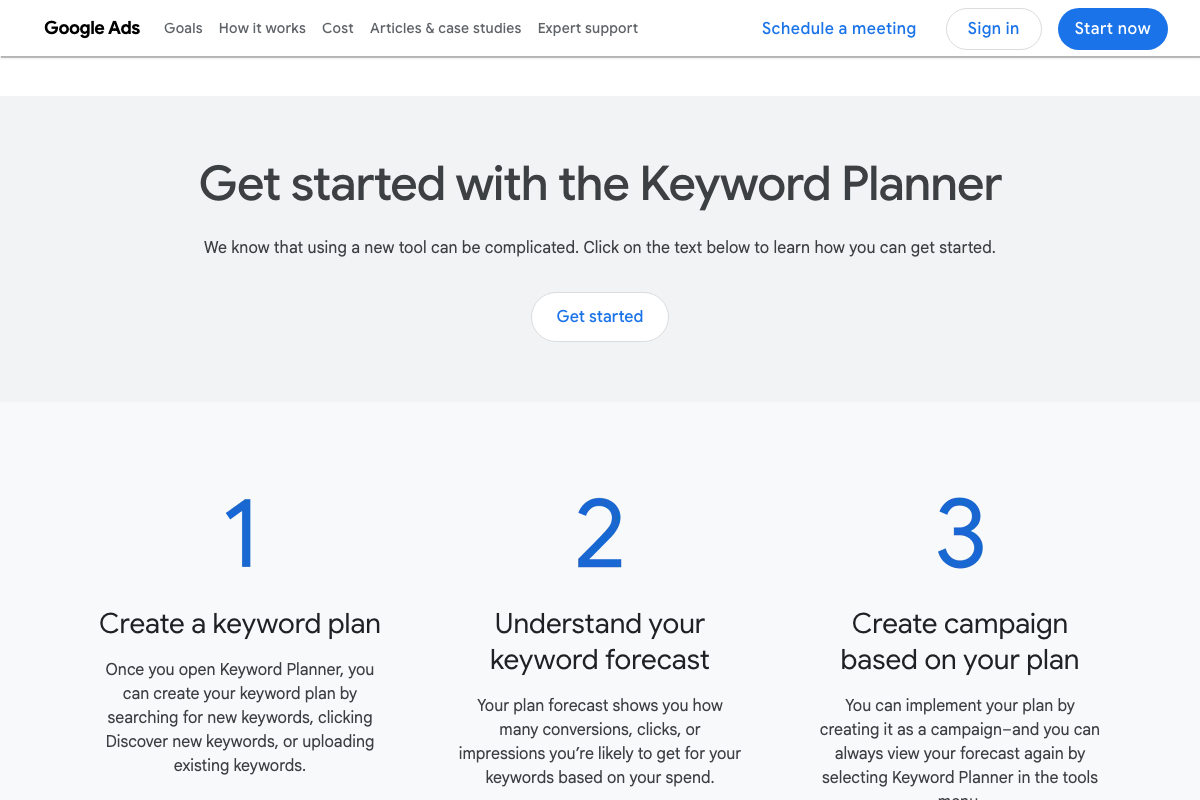
The forecast step (step 2 in the official workflow) also generates spend-based conversion and click estimates. The tutorial calculates starting budget manually using a CPC multiplier — the Keyword Planner forecast is an additional data point you can use to pressure-test that number before committing.
Step 5 — Identify distinct keyword themes
No official documentation was found for this step — proceed using the video’s approach and verify independently.
Step 6 — Build ad groups around keyword themes, not individual keyword variants
No official documentation was found for this step — proceed using the video’s approach and verify independently.
Step 7 — Add both broad match and exact match keywords inside the same ad group
No official documentation was found for this step — proceed using the video’s approach and verify independently.
Step 8 — Calculate your starting daily budget using the CPC × 20–30 multiplier
No official documentation was found for this step — proceed using the video’s approach and verify independently.
The Keyword Planner’s forecast output (see Step 4) shows projected clicks, impressions, and conversions at a given spend level — that tool can serve as a cross-check on whatever budget figure the multiplier formula produces.
Step 9 — Launch Search campaigns only; exclude Performance Max and AI Max at the start
This step requires two separate notes because the documentation picture is split.
The distinction between Search and Performance Max as separate campaign types is confirmed by the official Google Ads interface.
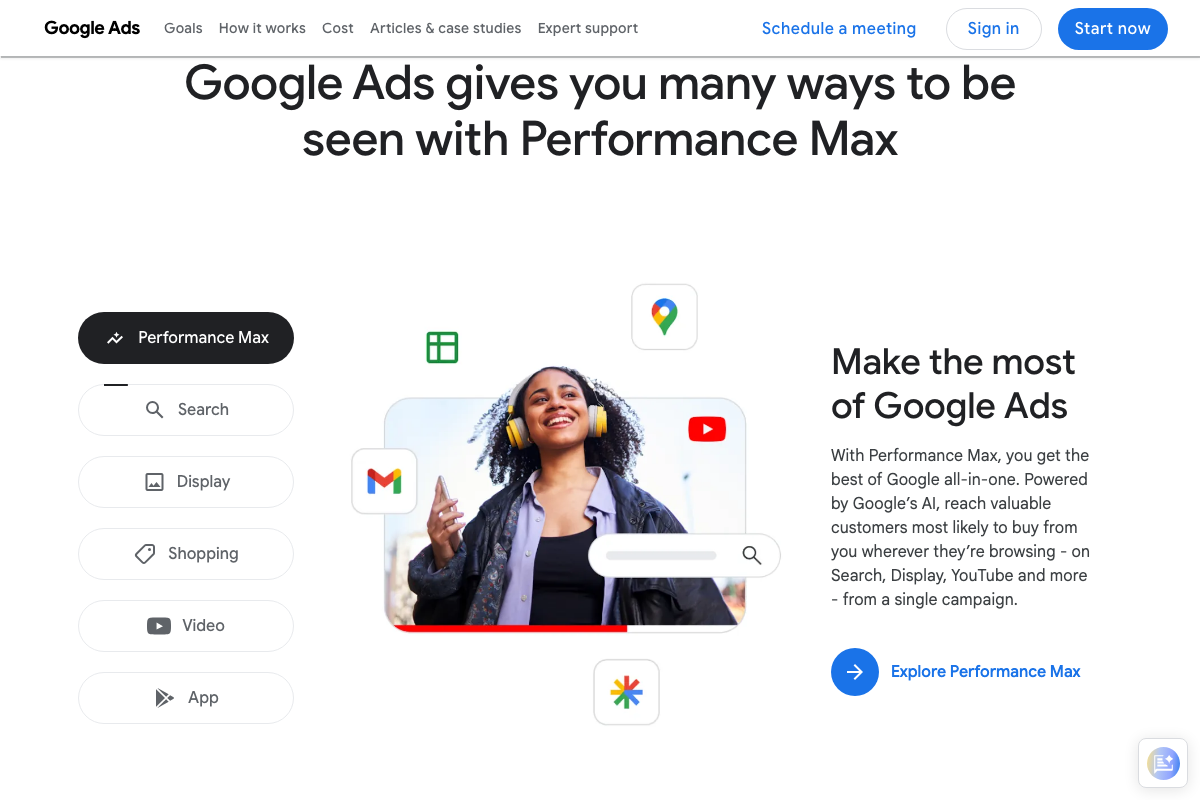
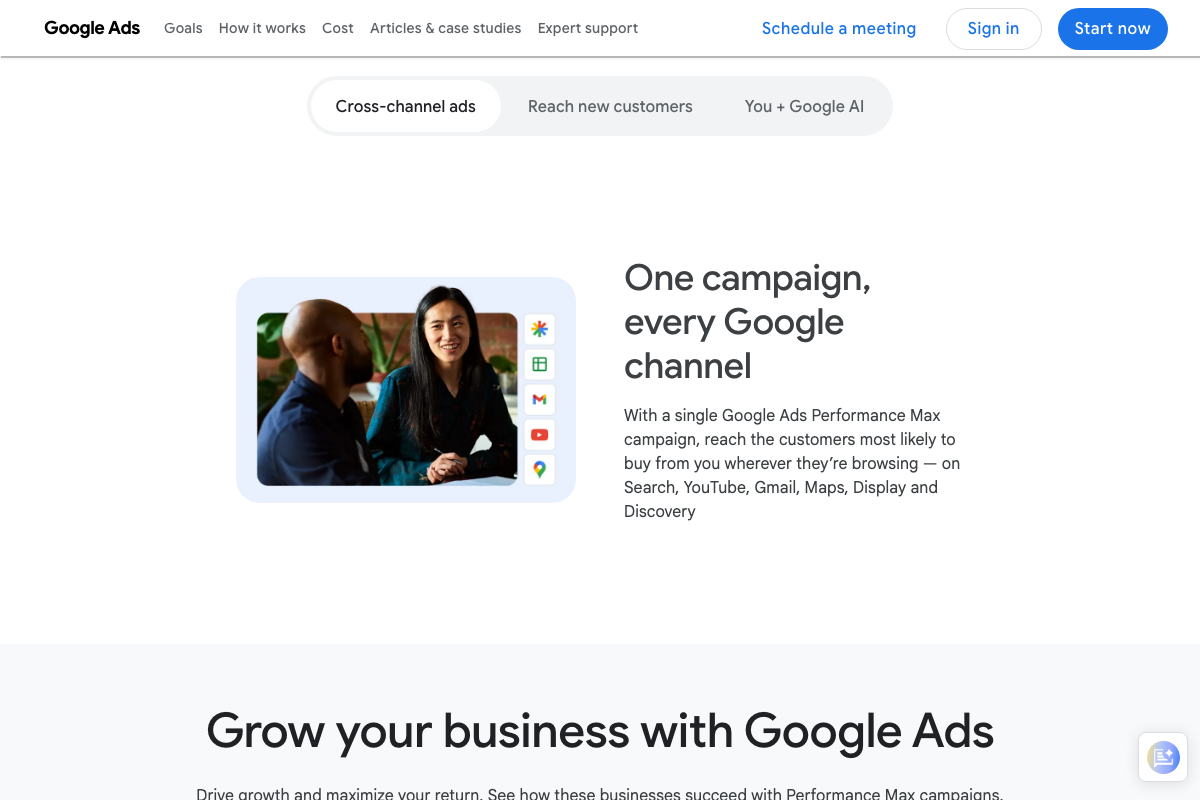
However — and this is the significant clarification — Google’s own platform materials position Performance Max first and frame it as the campaign type that covers all channels, including Search, from launch. The tutorial recommends starting with Search and delaying PMax until a conversion data threshold is reached. That’s a deliberate strategic choice, not something the official documentation endorses as a requirement. Both paths are technically available; the tutorial is arguing for one of them.
On the “AI Max” reference specifically: as of March 30, 2026, the source URL the tutorial relies on for AI Mode search documentation (https://blog.google/products/search/google-search-ai-mode/) returns a 404 error. The tutorial’s instruction to avoid “AI Max” at launch cannot be verified against official documentation from the screenshots captured.
Step 10 — Switch bidding to Maximize Conversions once the 30-in-30 threshold is reached
No official documentation was found for this step — proceed using the video’s approach and verify independently.
Step 11 — Feed offline conversion data into the account before scaling into Performance Max
Performance Max as a cross-channel campaign type is confirmed by the official documentation, and the tutorial’s framing of it as a later-stage scaling tool is consistent with how Google’s case studies present it in practice.
One gap worth flagging: every visible Performance Max case study in the documentation covers e-commerce or entertainment verticals — streaming, apparel, and entertainment. No lead generation or service-business case studies appear in the screenshots provided. The tutorial’s guidance on using offline conversion data to train PMax for qualified leads rather than raw form fills is sound reasoning, but it’s practitioner-derived rather than illustrated by Google’s own published examples for this use case.
Useful Links
- Google Ads — Get Customers and Sell More with Online Advertising — The main Google Ads platform homepage, including campaign type selection and the AI-powered onboarding chat.
- Get Campaign Keyword Suggestions with Keyword Planner — Google Ads — Official Keyword Planner feature page documenting seed keyword, URL, and bulk upload input methods and the 3-step plan-forecast-build workflow.
- Performance Max: AI-Enhanced Google Ads That Convert — Google Ads — Official Performance Max campaign landing page covering channel reach, case studies, and AI optimization features.


0 Comments