Run Claude Code Free and Locally with Ollama
Claude Code’s agentic harness doesn’t care what model powers it — swap Anthropic’s API for a locally hosted open-source model and you get the full Claude Code experience with zero API costs and zero data leaving your machine. This tutorial walks you through installing Ollama, choosing the right model for your hardware, and wiring it all together with a shell alias. By the end, you’ll have two Claude Code entry points: your standard cloud-backed setup and a fully local, private alternative you can invoke anytime.
- Confirm Claude Code is already installed on your machine. The tutorial treats this as a prerequisite — if you need the install commands, they’re available via the official Claude Code documentation or the creator’s linked community resource.
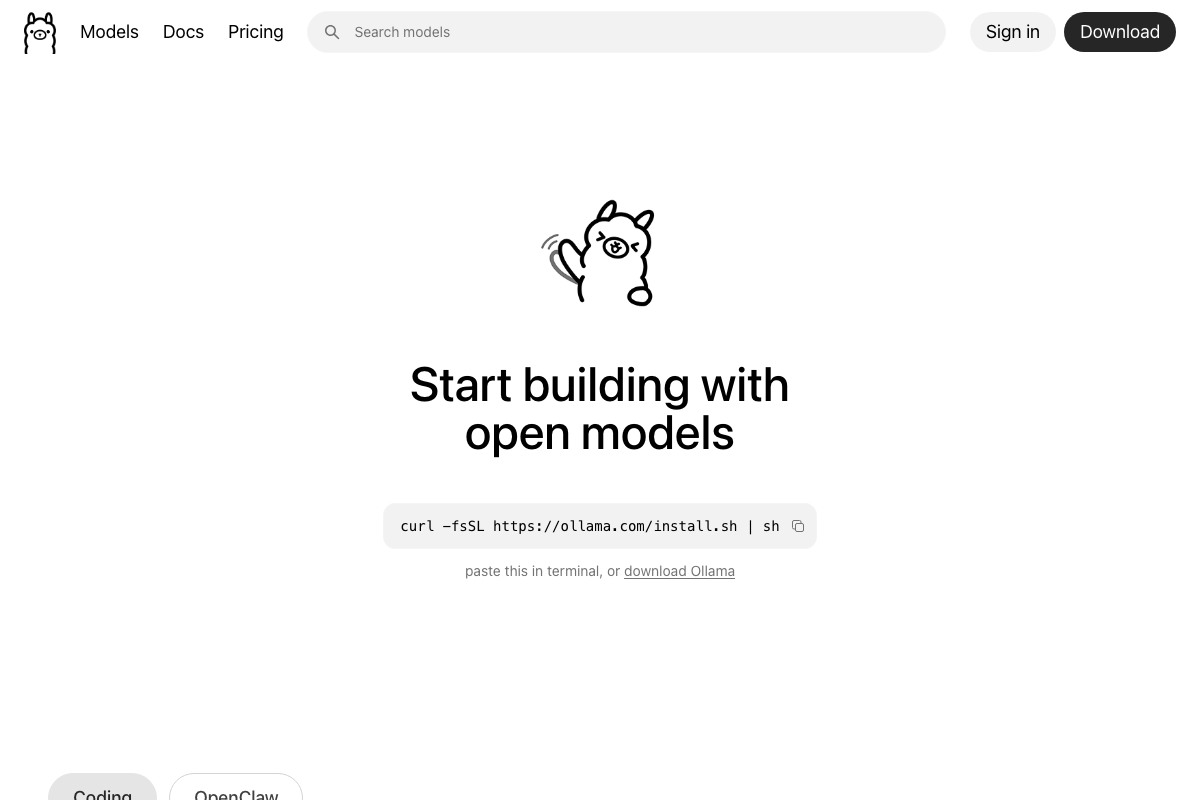
2. Install Ollama by visiting ollama.com and running the one-line installer for your OS in your terminal. On macOS and Linux the command uses curl; on Windows PowerShell it’s irm https://ollama.com/install.ps1 | iex.
3. Determine which model your hardware can actually run before downloading anything. Three approaches work equally well: ask your normal cloud Claude Code session to inspect your system and recommend a model; run the open-source LLM Fit tool from GitHub, which profiles your RAM automatically; or describe your machine to any AI chatbot and ask it to recommend an Ollama-compatible model and exact size variant. The creator recommends this research step every time, since the best available local model changes frequently.
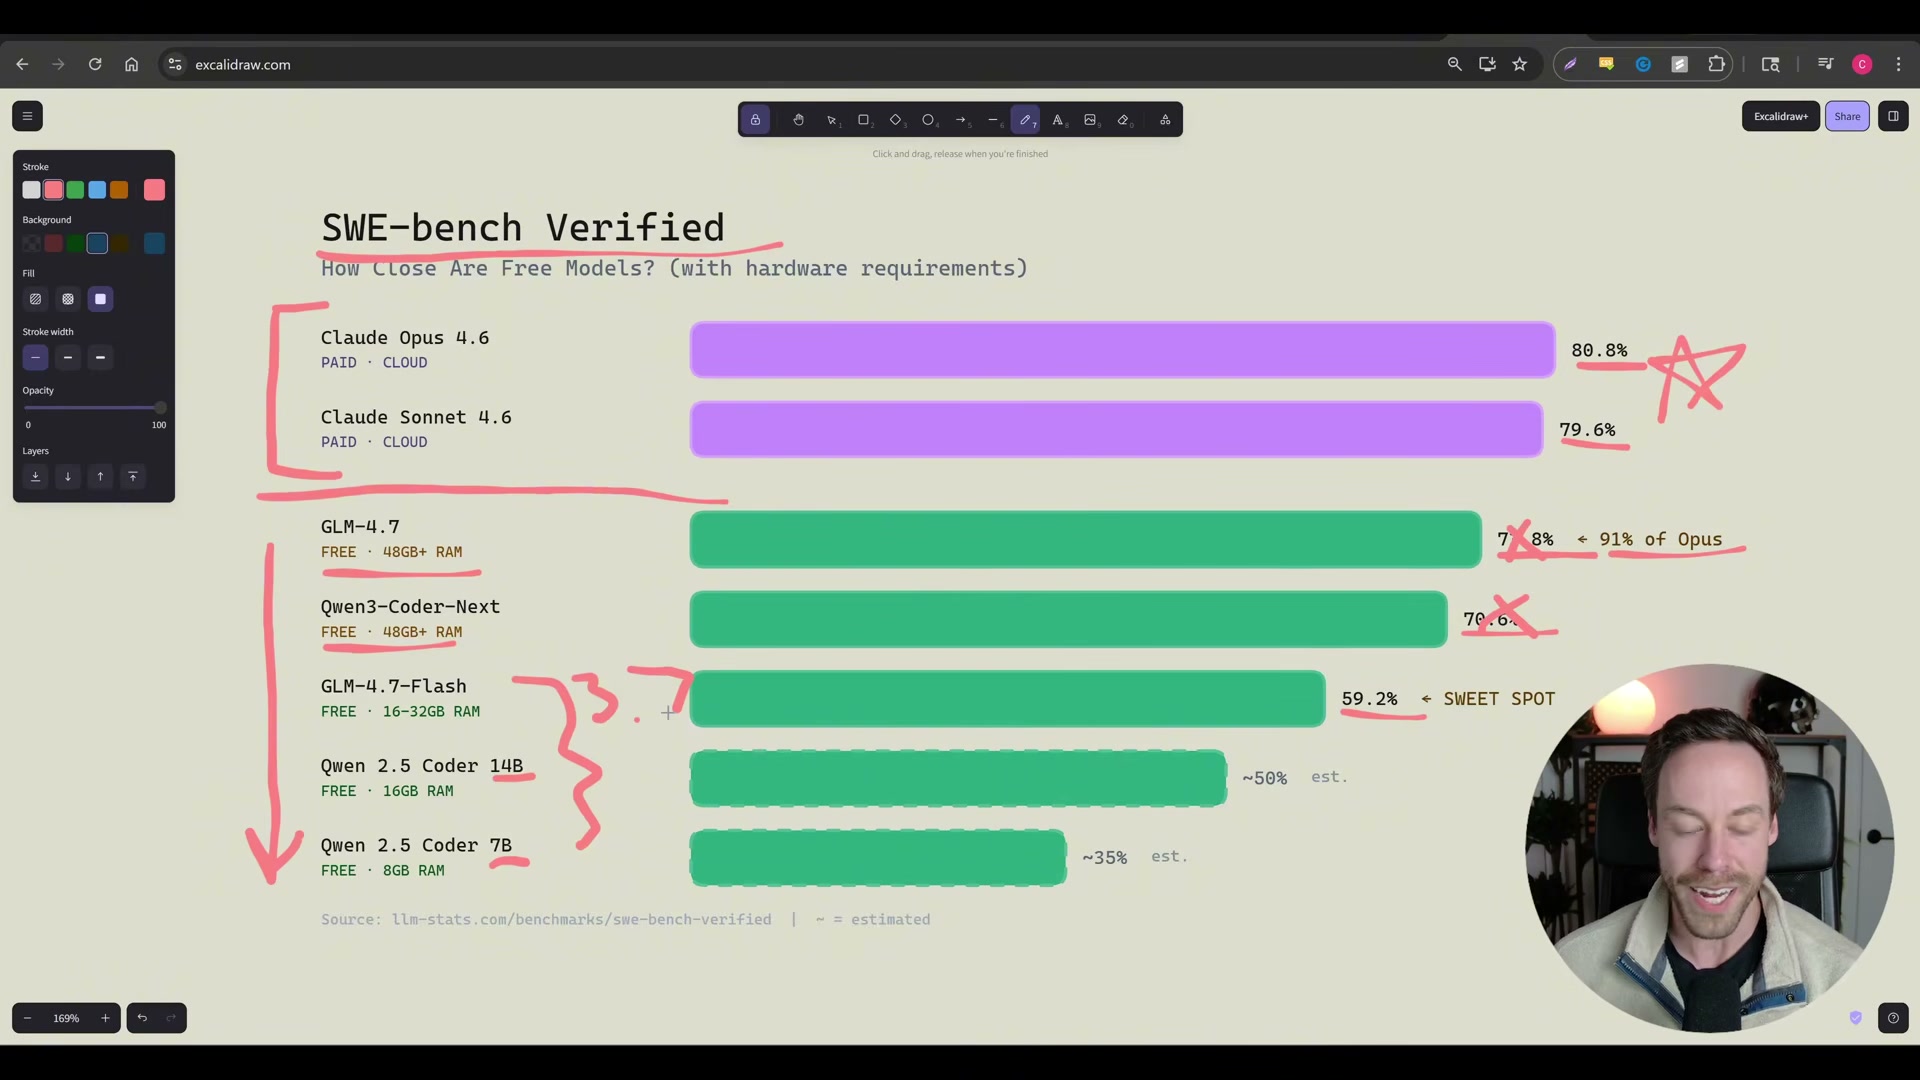
4. Open the Ollama model library at ollama.com/library, search for your target model, and note the size variant you need. For most modern laptops with 16–32GB RAM, glm4.7-flash (the 19GB q4_K_M quantization) hits the practical sweet spot at 59.2% on SWE-bench Verified — roughly equivalent to Claude 3.7 Sonnet performance.
5. Pull the model to your machine by running ollama pull glm4.7-flash (substitute your chosen model name). Ollama streams each layer with a progress indicator and prints success when the download is complete. At that point the model sits on your local drive and is ready to serve requests.

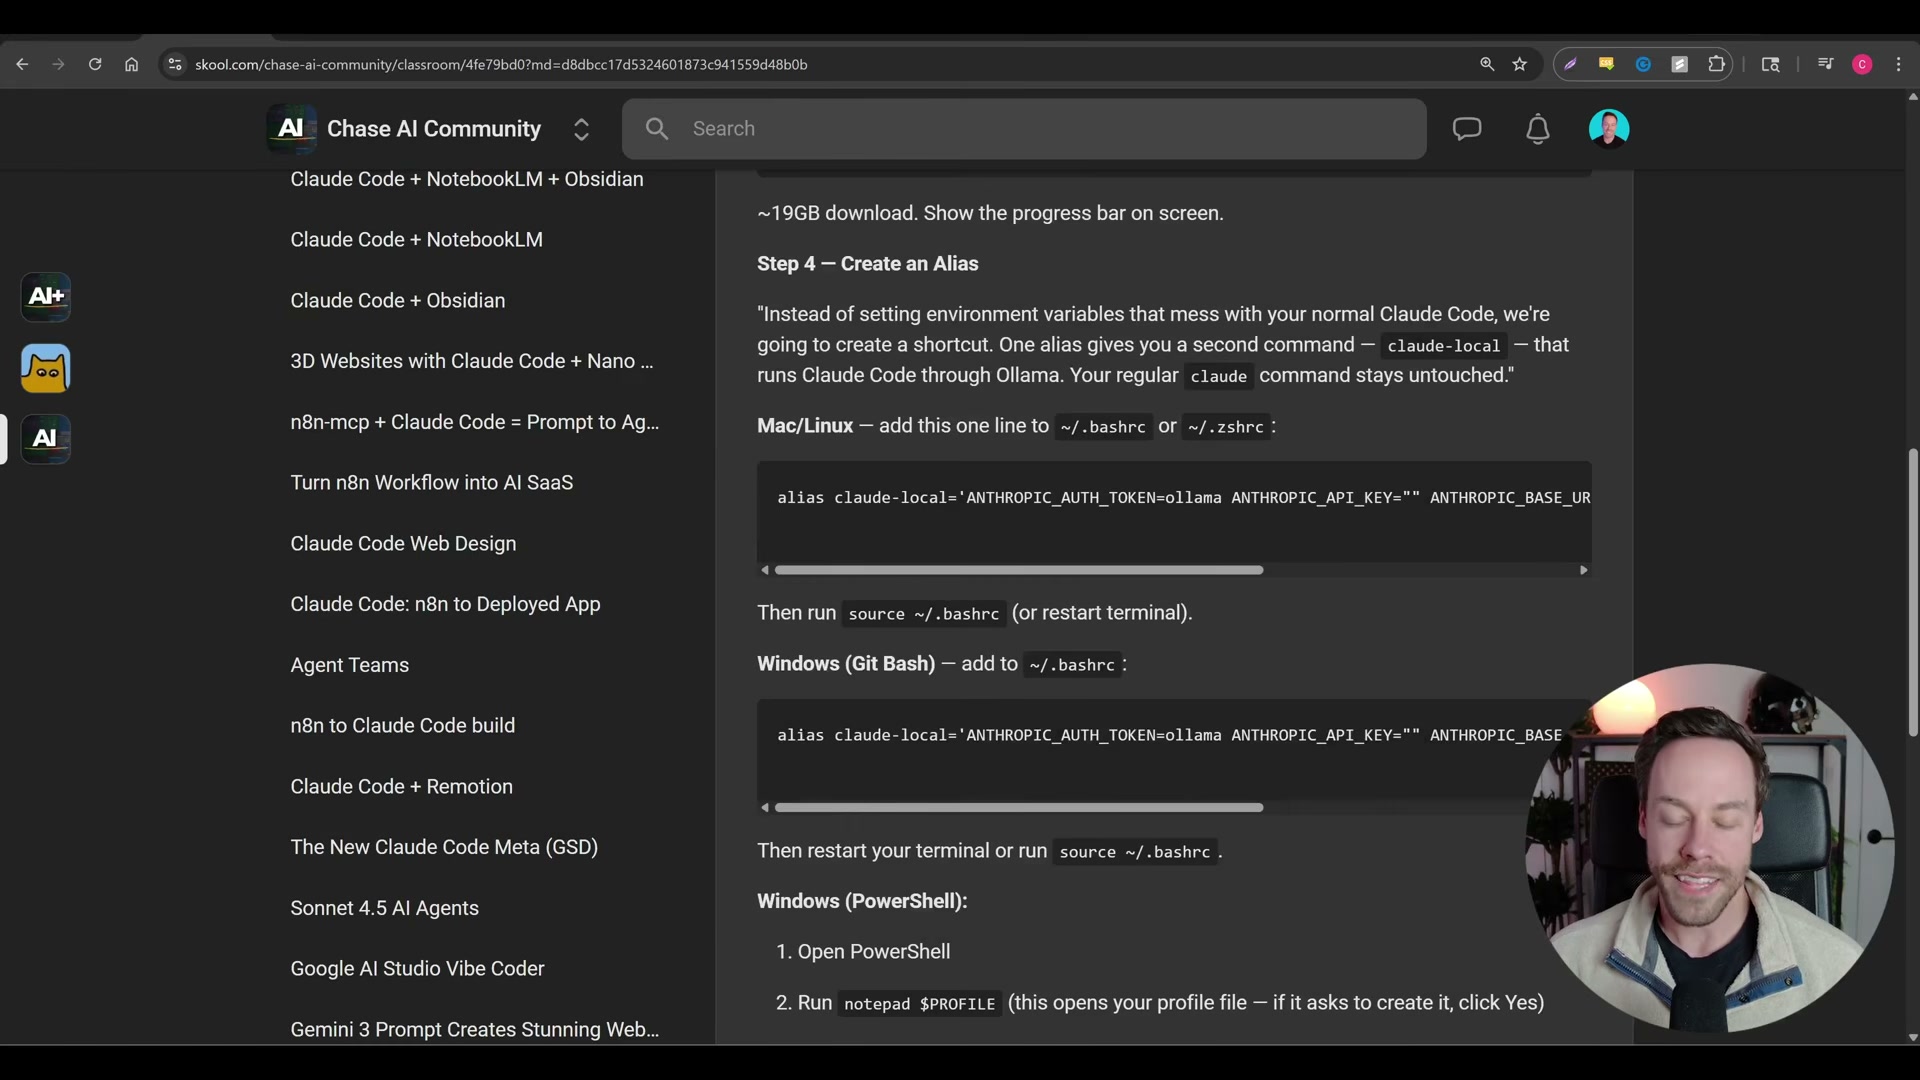
6. Create a shell alias that redirects Claude Code’s API calls to your local Ollama instance instead of Anthropic’s servers. The alias sets three environment variables: ANTHROPIC_AUTH_TOKEN=ollama, ANTHROPIC_API_KEY="", and ANTHROPIC_BASE_URL=http://localhost:11434. Add the alias to your shell profile file — .zshrc or .bashrc on macOS/Linux, your Git Bash profile on Windows, or your PowerShell $PROFILE file. The syntax differs per shell, so copy the exact line for your environment.
Warning: this step may differ from current official documentation — see the verified version below.
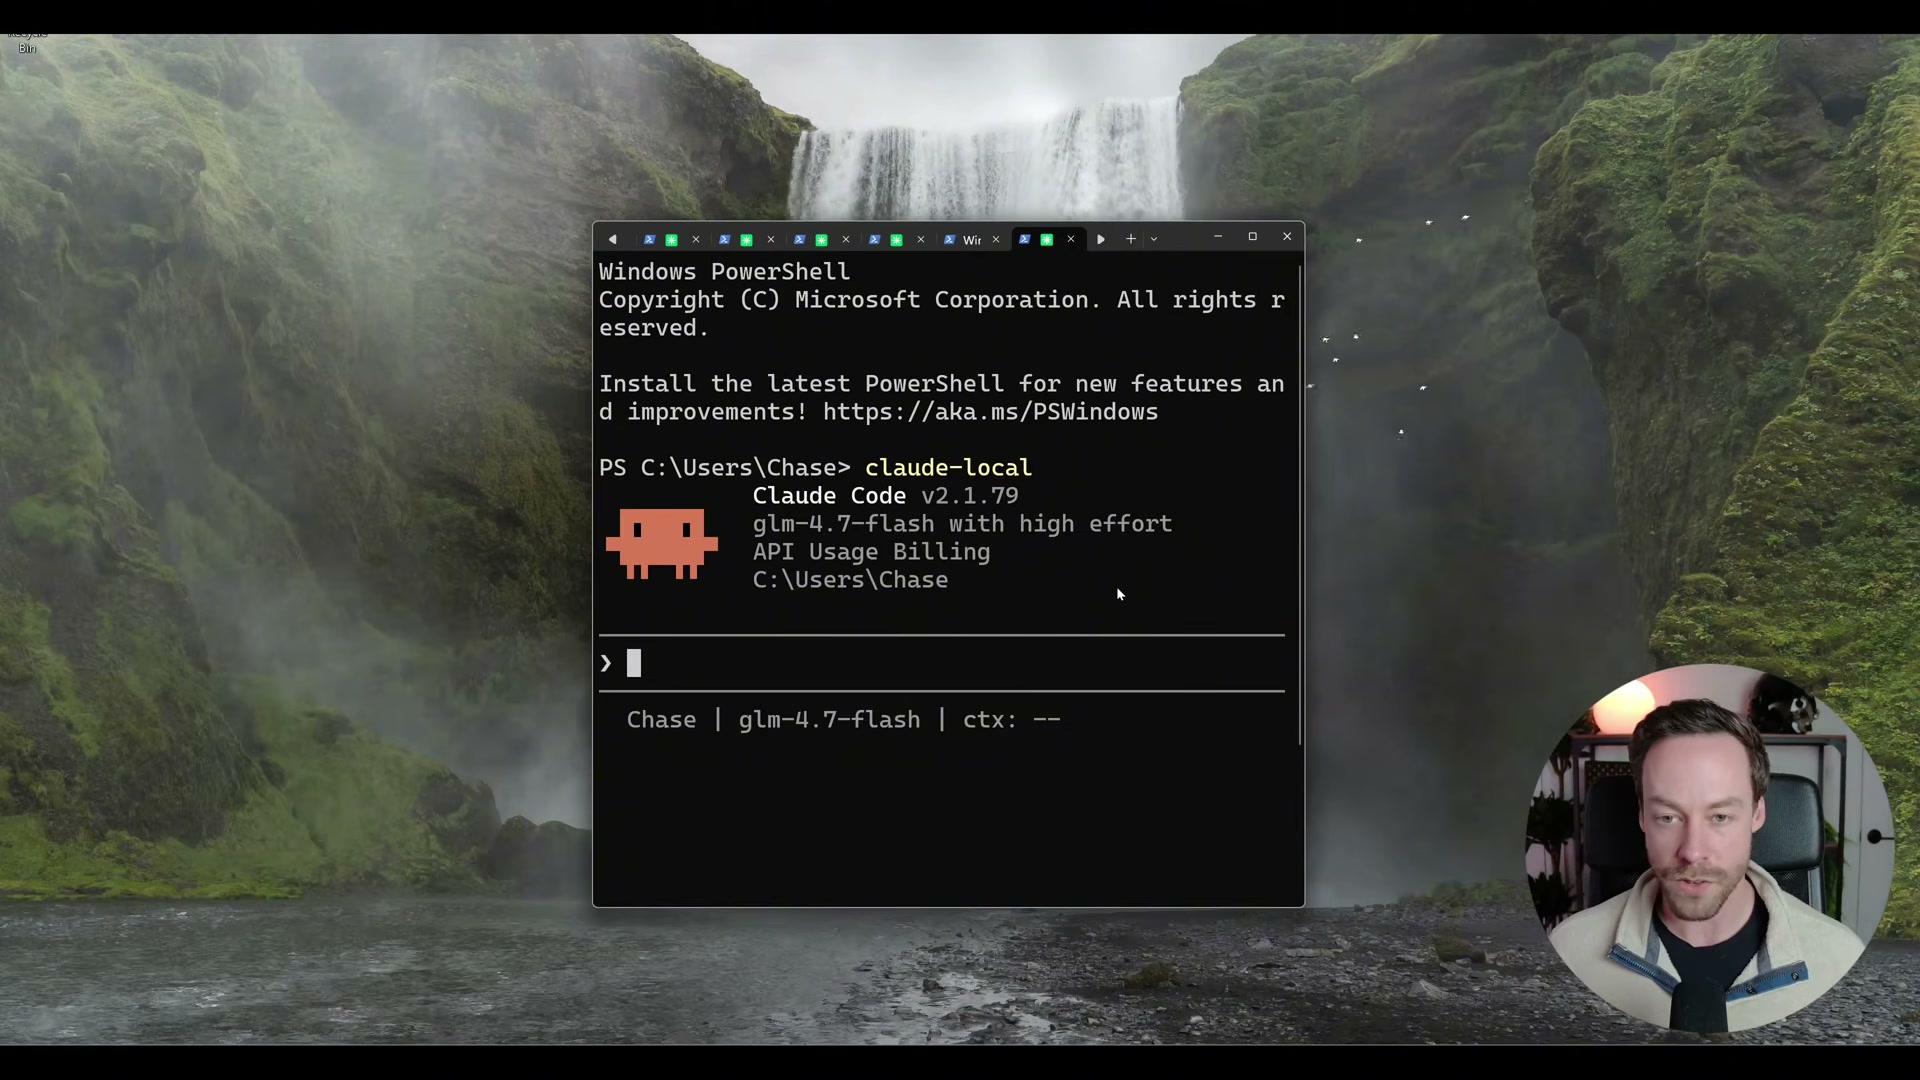
7. Launch local Claude Code using your new alias (e.g., claude-lo) instead of the standard claude command. The session header will display the local model name — glm4.7-flash in the demo — confirming Ollama is serving the requests.

8. Verify the status bar at the bottom of the session shows your local model name. The interface displays “API Usage Billing” — this is a Claude Code UI quirk and does not indicate any charges are being incurred. Nothing in this session touches Anthropic’s servers.
How does this compare to the official docs?
The alias approach shown here is a community-documented workaround, not an officially supported Claude Code configuration — and the gap between what the video shows and what Anthropic’s documentation actually specifies turns out to matter more than it might seem.
Here’s What the Official Docs Show
The video’s core approach is sound and the local-model setup works — the official Ollama documentation simply adds a cleaner first-party path that skips several manual configuration steps entirely. Walk through these in the same order and you’ll end up in the same place with less to maintain.
Step 1 — Confirm Claude Code is installed
No official documentation was found for this step — proceed using the video’s approach and verify independently.
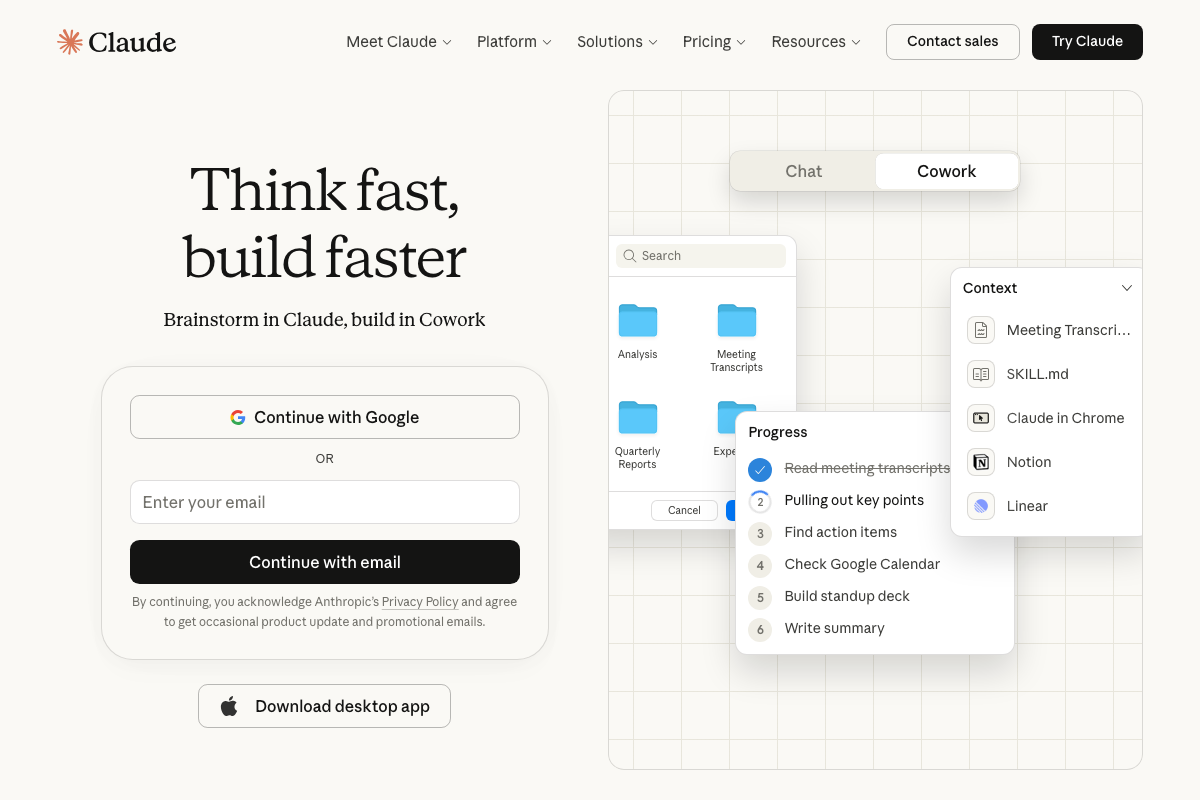
Worth noting: the screenshots attributed to docs.anthropic.com/en/docs/claude-code in the video’s reference material actually capture the claude.ai consumer web app (sign-in, Cowork, and pricing pages). For official Claude Code CLI installation instructions, go directly to docs.anthropic.com.
Step 2 — Install Ollama
Run curl -fsSL https://ollama.com/install.sh | sh in your terminal. The video’s approach here matches the current docs exactly. A GUI installer via the Download button in the Ollama nav is also available for macOS and Windows if you prefer.
Step 3 — Profile your hardware and choose a model
No official documentation was found for this step — proceed using the video’s approach and verify independently.
Step 4 — Browse the Ollama model library
Visit ollama.com/library and locate your target model and size variant. The video’s approach here matches the current docs exactly.
Step 5 — Pull the model
No official documentation was found for this step — proceed using the video’s approach and verify independently.
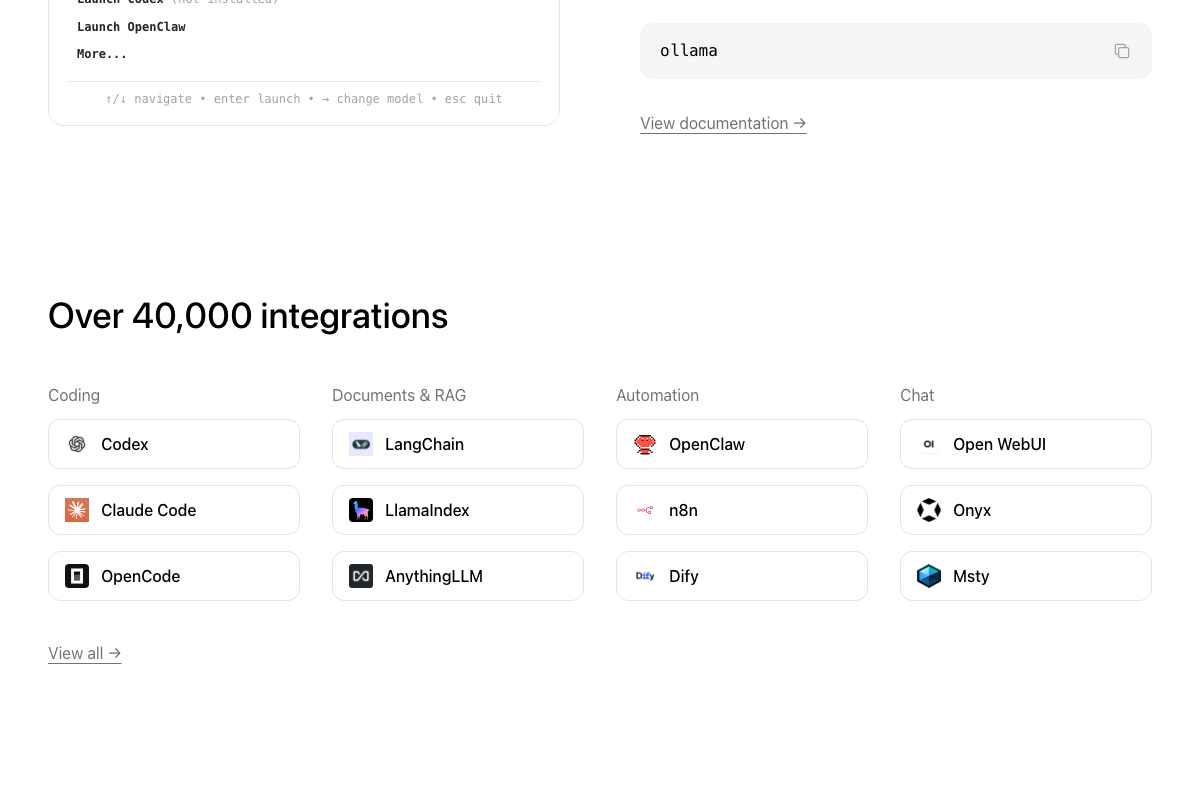
The official Ollama demo does not show ollama pull as a required prerequisite. The ollama launch claude command (Step 6) handles model selection through a built-in TUI, so a separate pull step may be unnecessary depending on your chosen launch method.
Step 6 — Wire Claude Code to your local Ollama instance
As of March 19, 2026, the correct method shown on the official Ollama homepage is ollama launch claude — a single command that handles the backend connection automatically. The video shows a manual shell alias setting ANTHROPIC_AUTH_TOKEN=ollama and ANTHROPIC_BASE_URL=http://localhost:11434, which is a community-documented workaround rather than the current first-party path. Both methods achieve the same result; ollama launch claude requires no alias configuration or manually exported environment variables.

Also worth knowing: the example model glm4.7-flash from the video does not appear in the official Ollama demo. The featured model for Claude Code integration on the Ollama homepage is qwen3 — check the library for current recommendations before committing to a download.
Step 7 — Launch local Claude Code
No official documentation was found for this step — proceed using the video’s approach and verify independently.
Running ollama with no arguments opens an interactive TUI (↑/↓ navigate • enter launch • → change model • esc quit) that lets you switch models on the fly — no per-model aliases to update. Claude Code v2.1.37 is the version shown in the official demo; compatibility of the manual alias approach with newer versions is unverified.
Step 8 — Verify the session is running on your local model
The session header displays the local model name, and the status bar shows “API Usage Billing” — this is a Claude Code UI artifact and does not mean charges are being incurred. The video’s approach here matches the current docs exactly.
Useful Links
- Ollama — Official Ollama homepage with the verified install command, model library, and the
ollama launch claudeintegration demo including the interactive TUI reference. - Claude Code — claude.ai landing page for Claude Code; note that CLI documentation and installation instructions are located at
docs.anthropic.com, not this URL.


0 Comments