Run a Local AI Agent on Mac with Nvidia NemoClaw
Announced at Nvidia GTC 2026, NemoClaw is Nvidia’s packaged implementation of OpenClaw — it spins up an isolated sandbox around the agent so you can run local AI without routing a single token through a cloud API. After completing this tutorial you will have NemoClaw installed on macOS, a locally-hosted Qwen model configured as the inference backend, and the OpenClaw TUI accepting live prompts from your terminal. The entire setup runs from a single command.
-
Navigate to the Nvidia NemoClaw GitHub repository and locate the Quick Start section. Everything you need for the initial install is consolidated there — no multi-page dependency walk required.
-
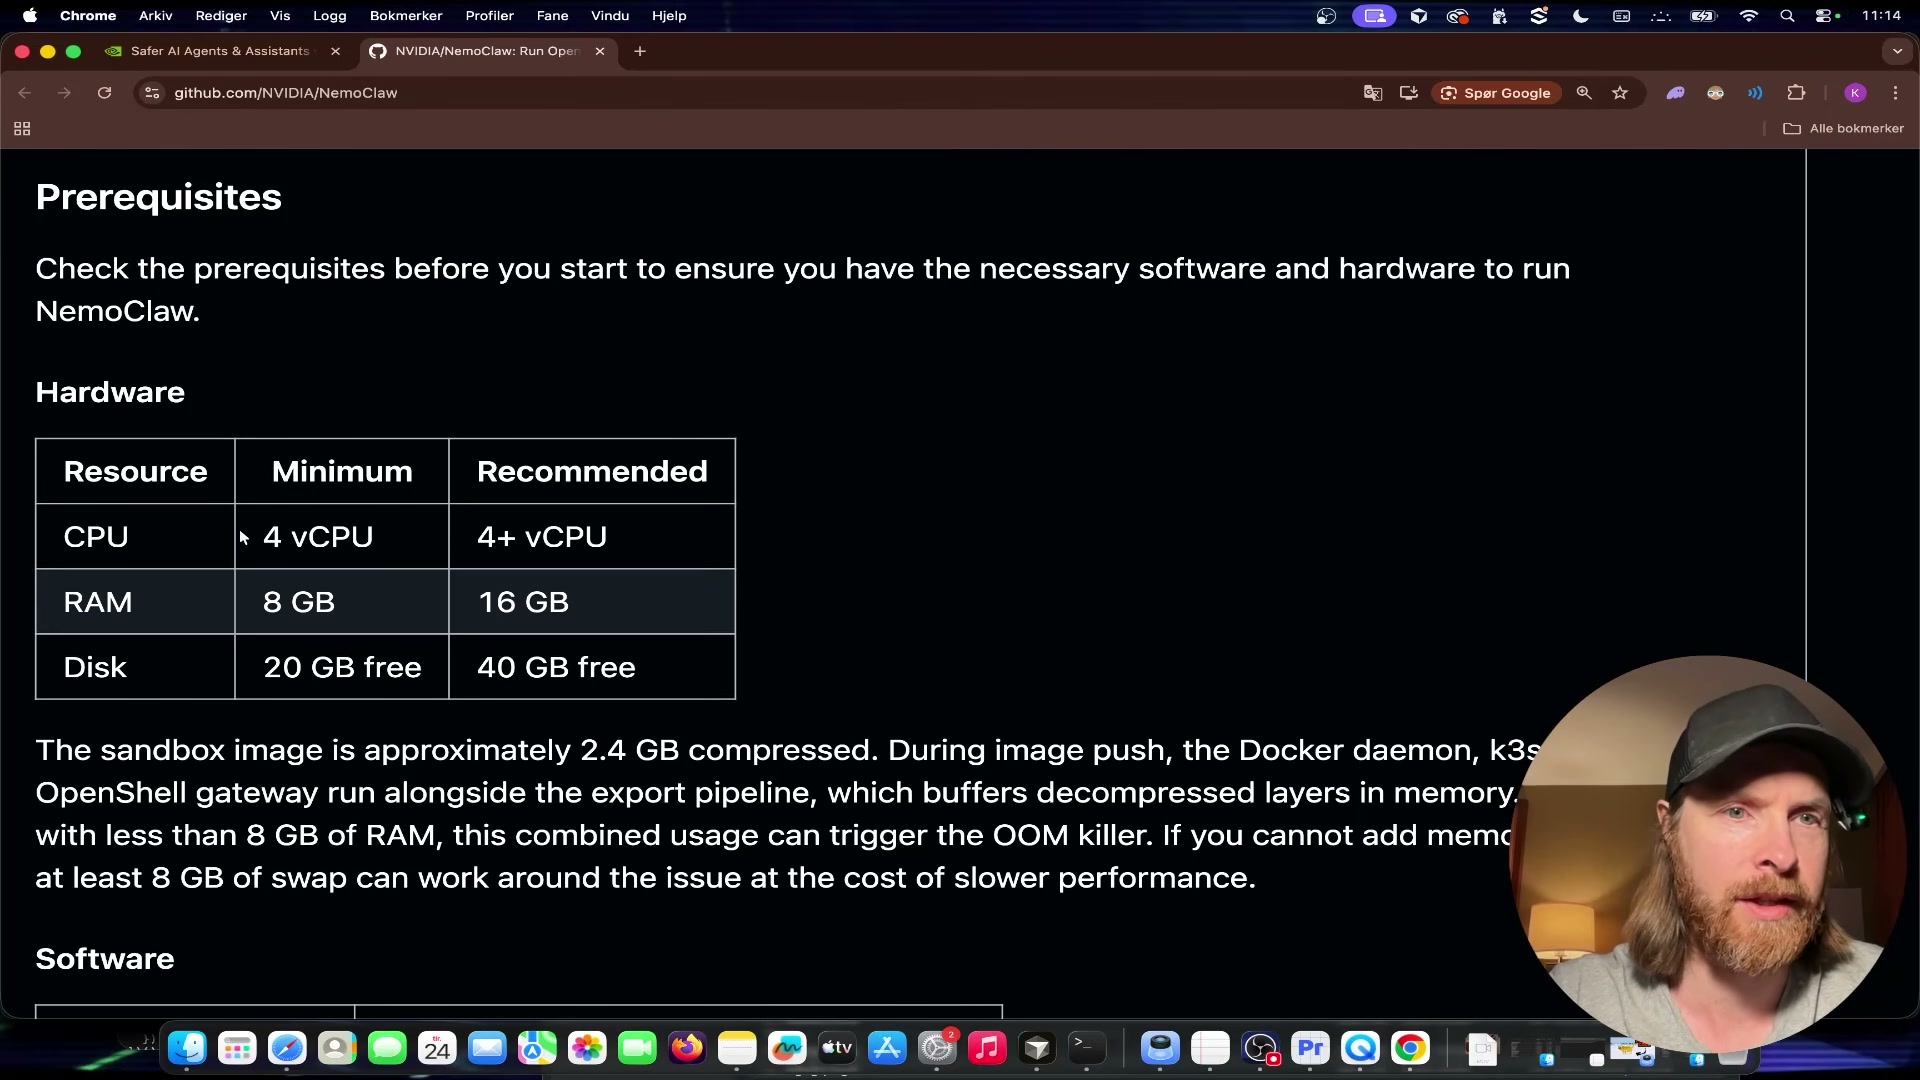
Check the prerequisites table before running anything. The demonstration here uses a Mac with an Apple M3 Pro. The minimum hardware spec is 4 vCPU, 8 GB RAM, and 20 GB of free disk; the recommended configuration bumps RAM to 16 GB and storage to 40 GB.
- Copy the single install command from the Quick Start section and paste it into your terminal. The command installs NemoClaw and onboards the OpenClaw agent in one pass — no intermediate steps.
-
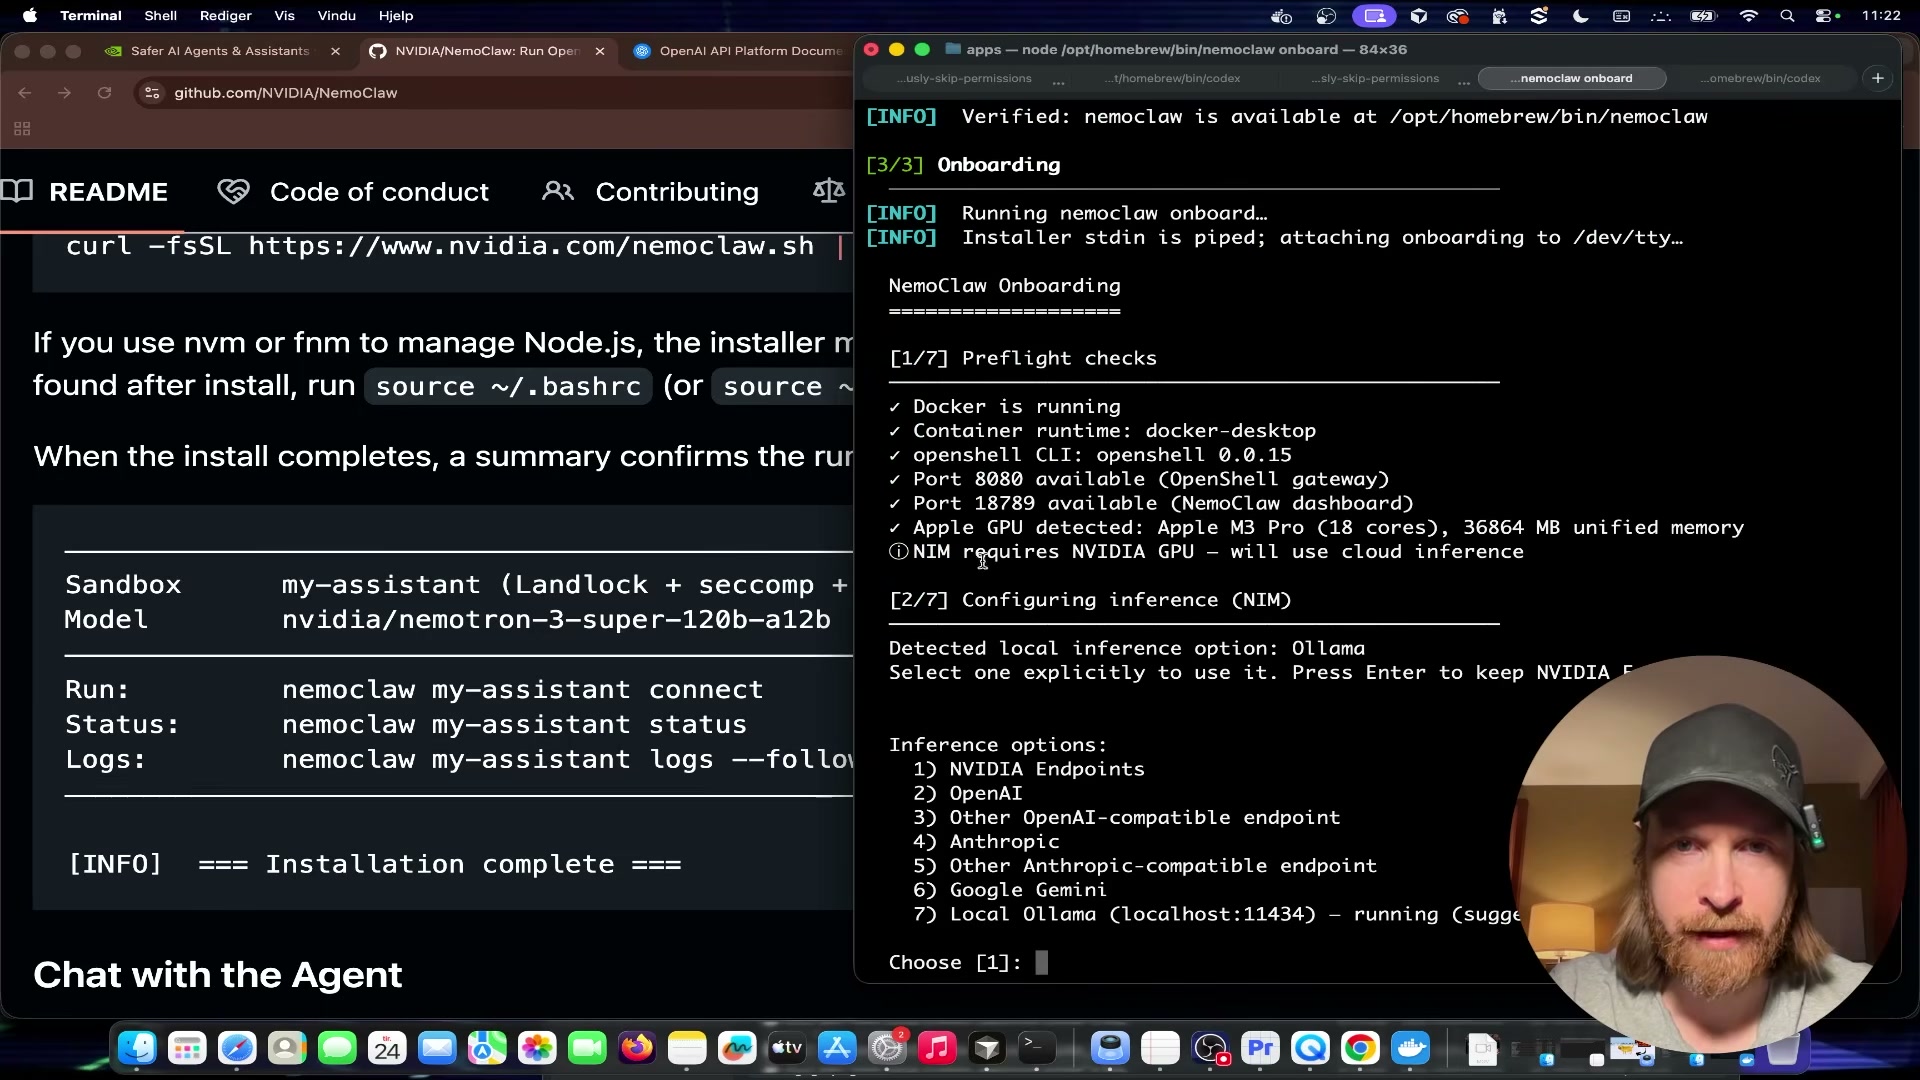
Let the installer run. It performs hardware detection automatically. On an Apple M3 Pro, the chip is identified during the preflight phase and the appropriate inference configuration is loaded.
-
When the CLI prompts you to select an inference provider, choose Local Ollama (option 6). The other available options include Nvidia NIM, OpenAI-compatible, Anthropic-compatible, and Google Gemini — all require external API keys. Local Ollama keeps everything on-device.
Warning: this step may differ from current official documentation — see the verified version below.
-
When prompted to select a model, choose Qwen 3.5 4B. The installer pulls and configures the model through your local Ollama instance.
-
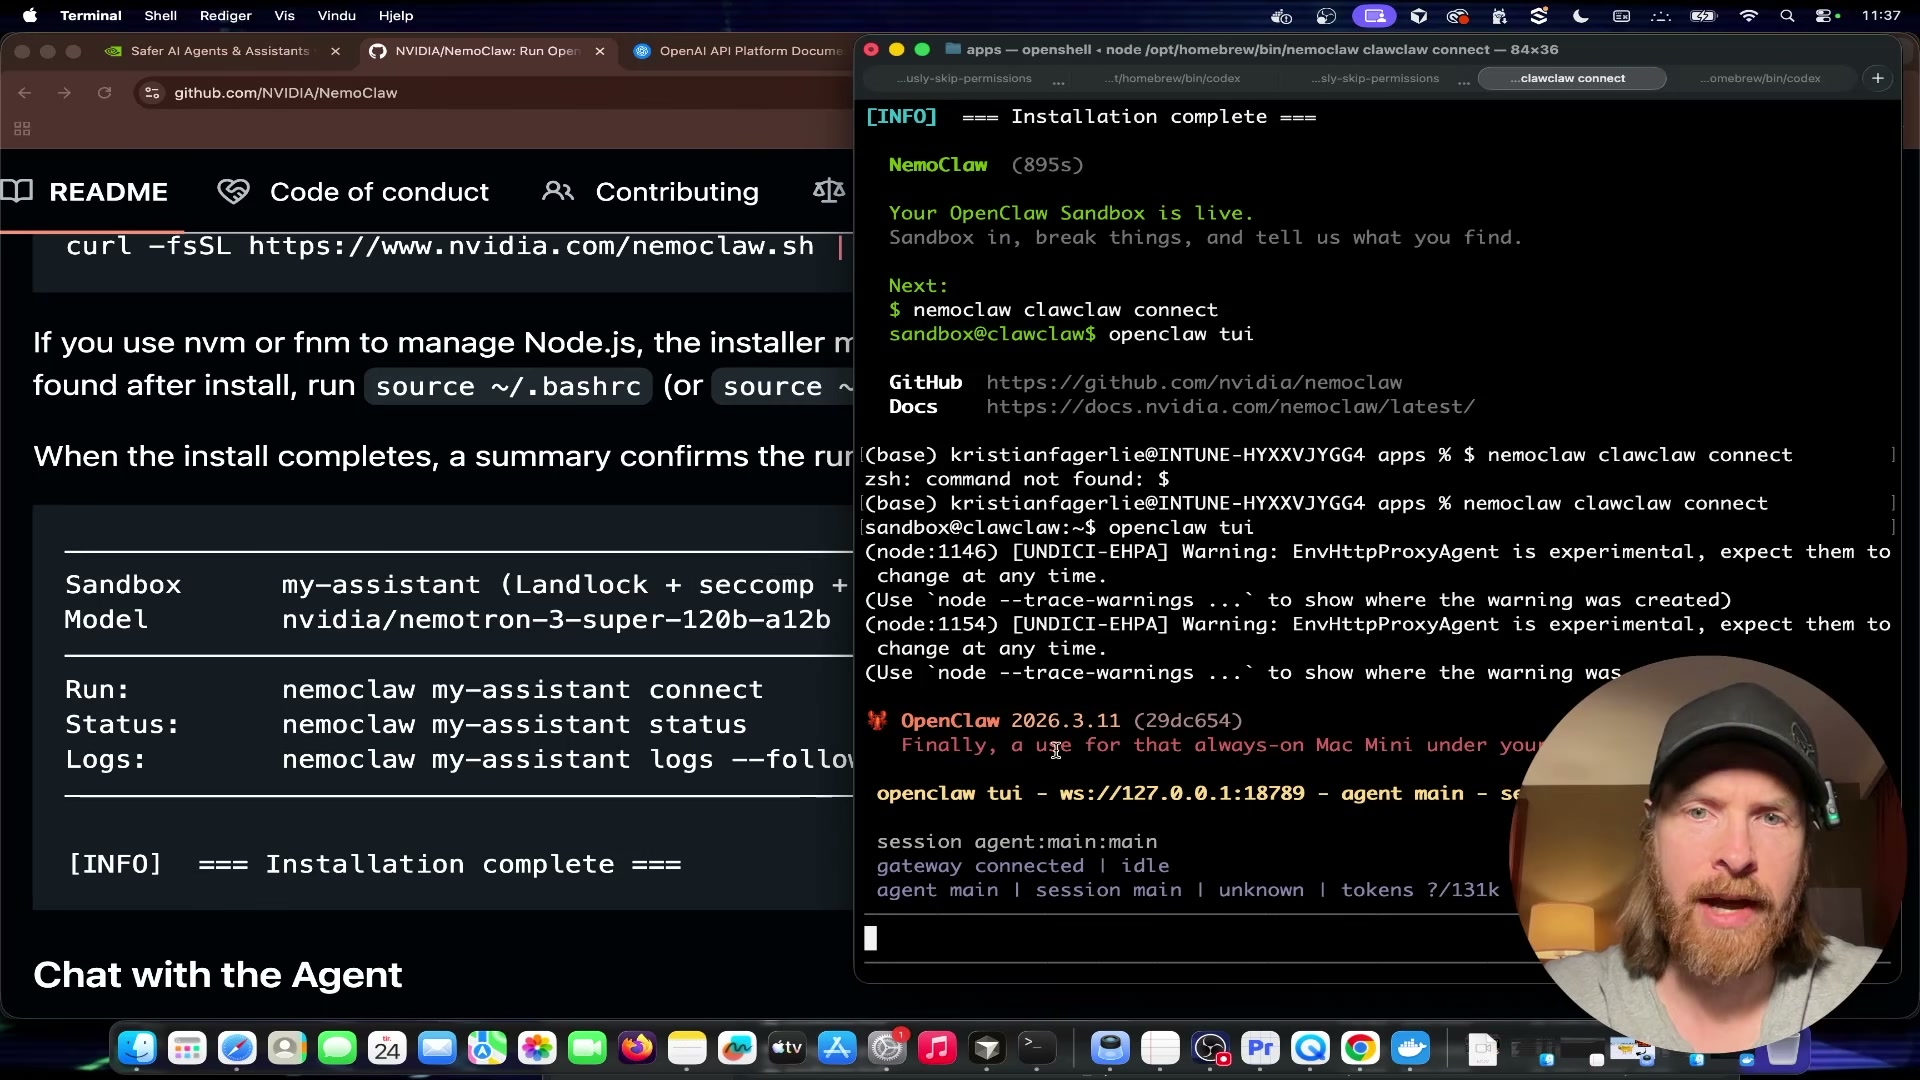
Allow setup to complete without interruption. The installer sequences through four automatic stages: the shell gateway starts, the sandbox is created, OpenClaw is configured inside the sandbox, and security policies are applied. No manual input is required between stages.
-
Once the terminal displays
=== Installation complete ===, launch the agent:
bash

   openclaw tui
The TUI connects to the sandbox on localhost:18789.
-
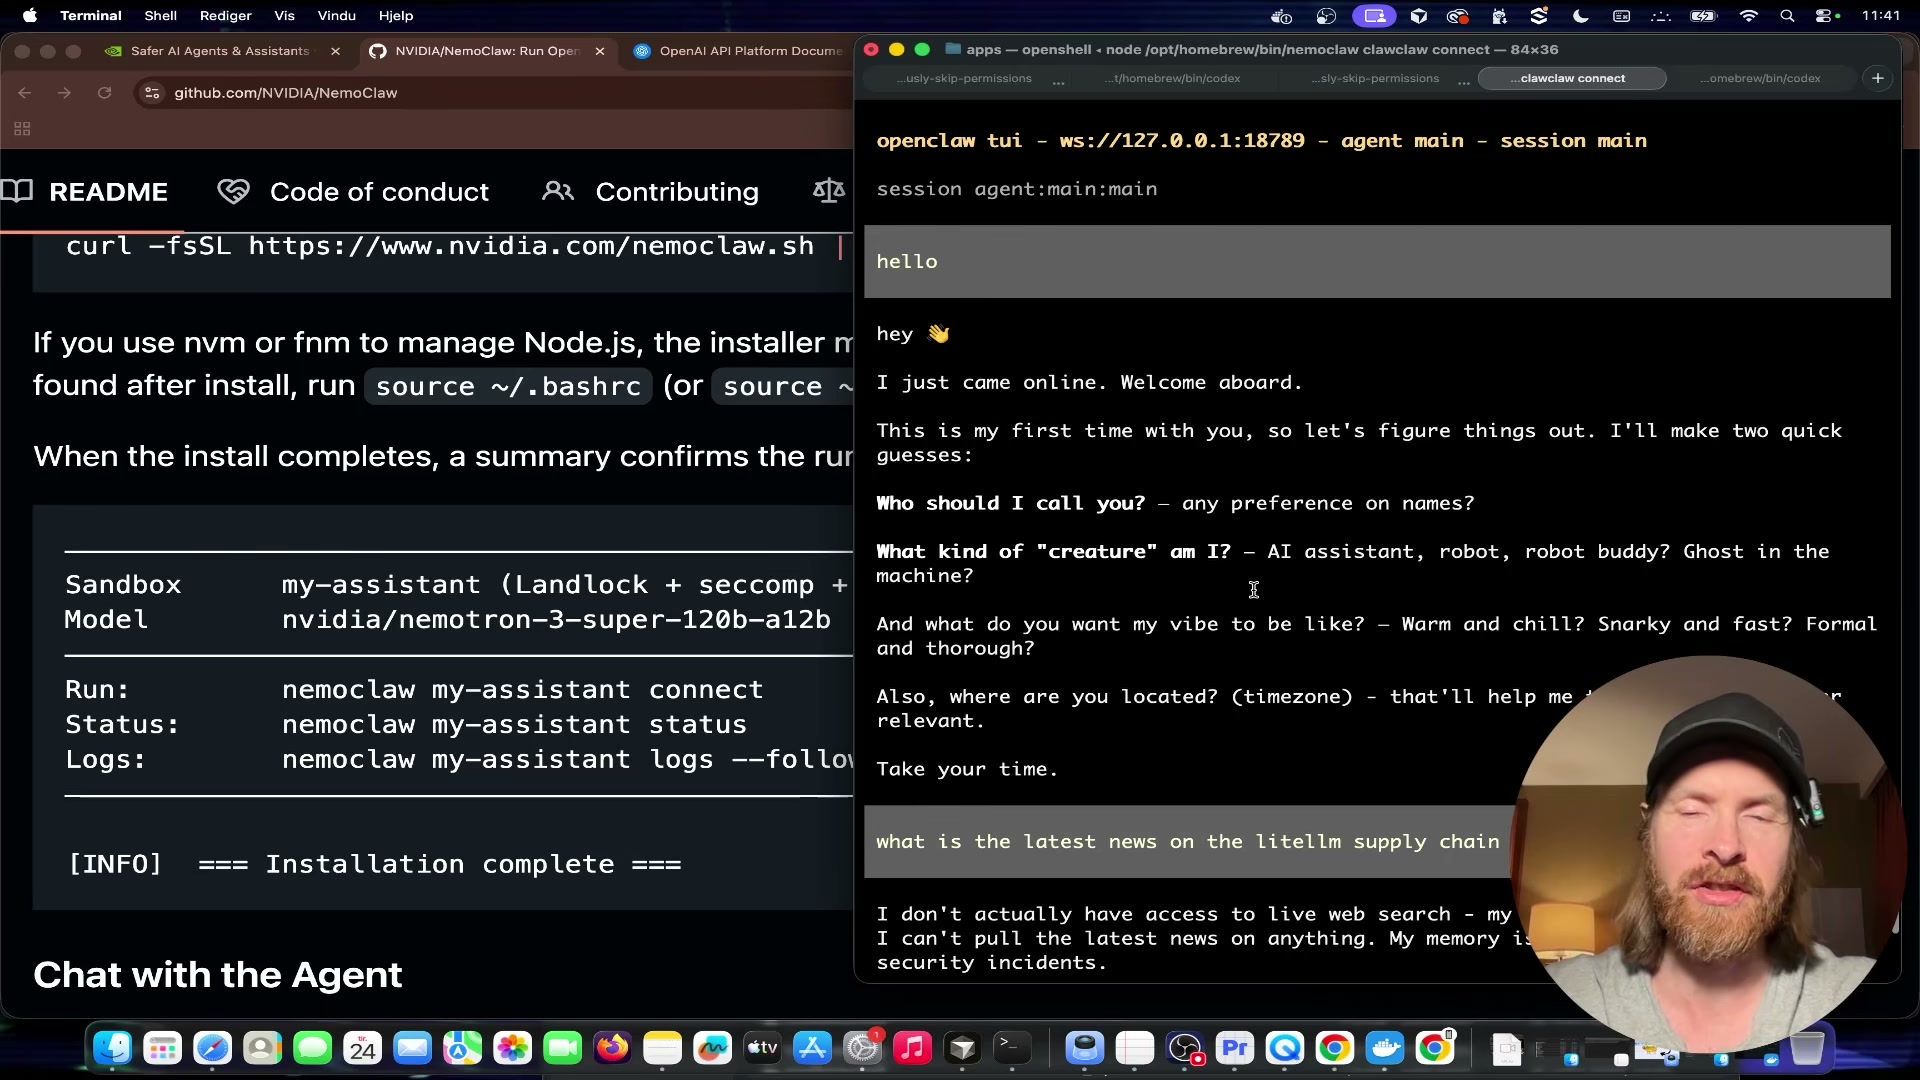
Send a minimal test prompt —
hello— to confirm the agent is live. On first launch, OpenClaw follows its standard onboarding flow and asks a short set of setup questions before entering the main chat loop. -
Follow up with a substantive query to test reasoning. The demonstrator asks about the latest news on the LiteLLM supply chain attack. The locally-hosted Qwen model returns a reasoned response with no outbound API calls. Web search is available as an optional enhancement — it requires a Brave API key configured separately — but is not needed to confirm the agent is working.
How does this compare to the official docs?
The one-command install and the Local Ollama inference path look frictionless here, but a few decisions — particularly around model selection and sandbox policy defaults — are worth cross-referencing against Nvidia’s published documentation before you build anything production-adjacent on top of this setup.
Here’s What the Official Docs Show
The video does a solid job walking you through NemoClaw’s installation flow end-to-end — the gaps that follow aren’t missing steps so much as missing prerequisites and one model name that needs a closer look before you go searching for it. What’s here fills in those blanks so you don’t hit a wall mid-setup.
Step 1 — NemoClaw GitHub repository (Quick Start)
No official documentation was found for this step — proceed using the video’s approach and verify independently.
Step 2 — Hardware prerequisites
No official documentation was found for this step — proceed using the video’s approach and verify independently.
Step 3 — Single install command
No official documentation was found for this step — proceed using the video’s approach and verify independently.
Step 4 — Hardware detection
No official documentation was found for this step — proceed using the video’s approach and verify independently.
Step 5 — Selecting Local Ollama as the inference provider
No official documentation was found for this step — proceed using the video’s approach and verify independently.
Step 6 — Selecting the Qwen model
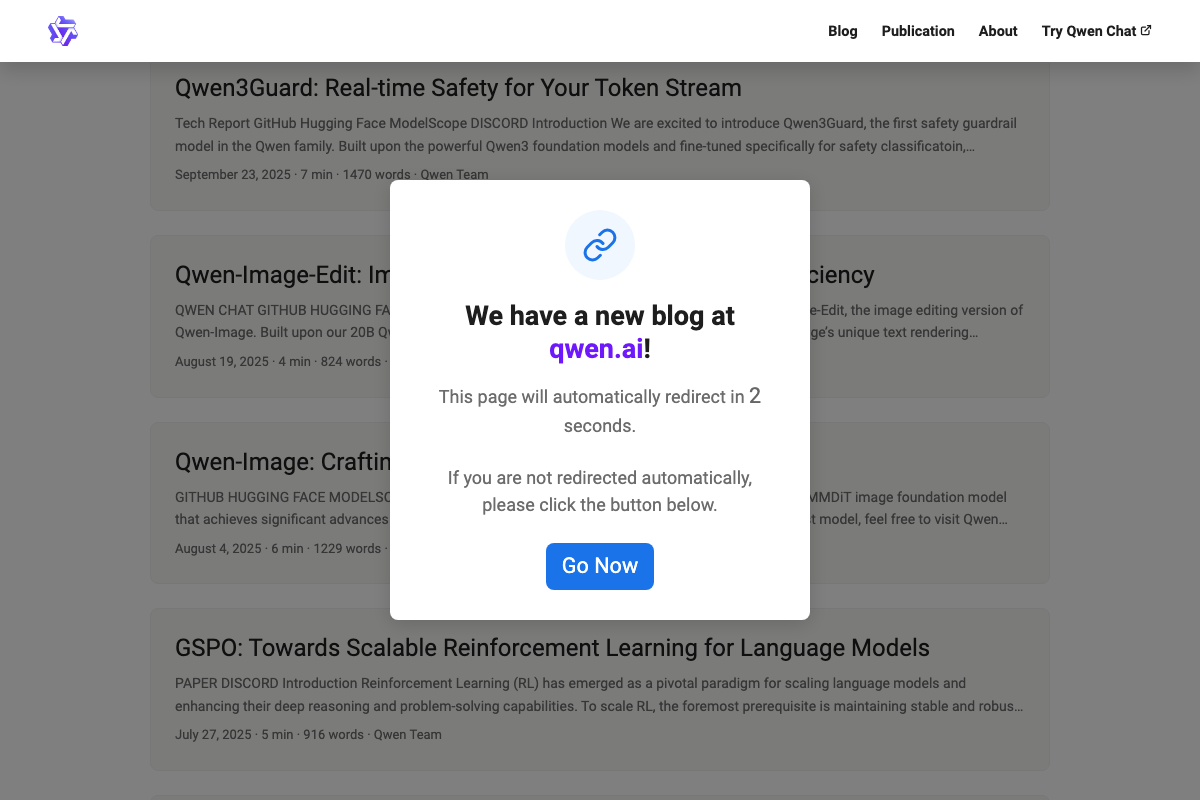
The video instructs you to select Qwen 3.5 4B from the model prompt. As of March 25, 2026, no model designated “Qwen 3.5” appears in any official Qwen documentation or blog. The naming conventions confirmed across the Qwen blog are Qwen3 and Qwen2.5 — a “3.5” family is not among them. Before running the installer, verify the exact model identifier against the Qwen model hub at qwen.ai or Hugging Face to avoid a failed pull.
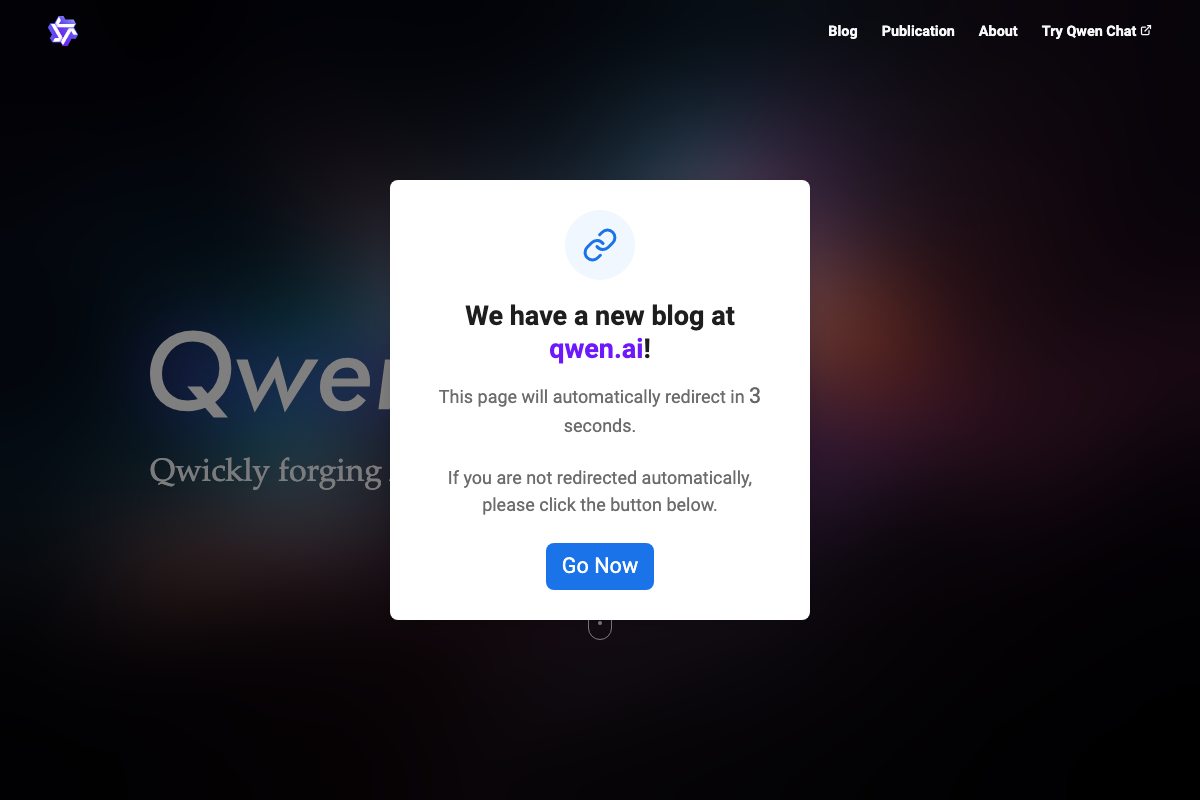
Also worth noting: the Qwen blog has migrated. qwenlm.github.io now redirects automatically to qwen.ai. Old links still work via redirect, but bookmark the new domain for any future reference.
Step 7 — Automatic installation stages (shell gateway → sandbox → OpenClaw config → security policies)
The video’s approach here matches the current docs exactly.
Step 8 — Launching the TUI (openclaw tui)
No official documentation was found for this step — proceed using the video’s approach and verify independently.
Step 9 — Initial test prompt
No official documentation was found for this step — proceed using the video’s approach and verify independently.
Step 10 — Substantive reasoning query
No official documentation was found for this step — proceed using the video’s approach and verify independently.
Step 11 — Web search via Brave API
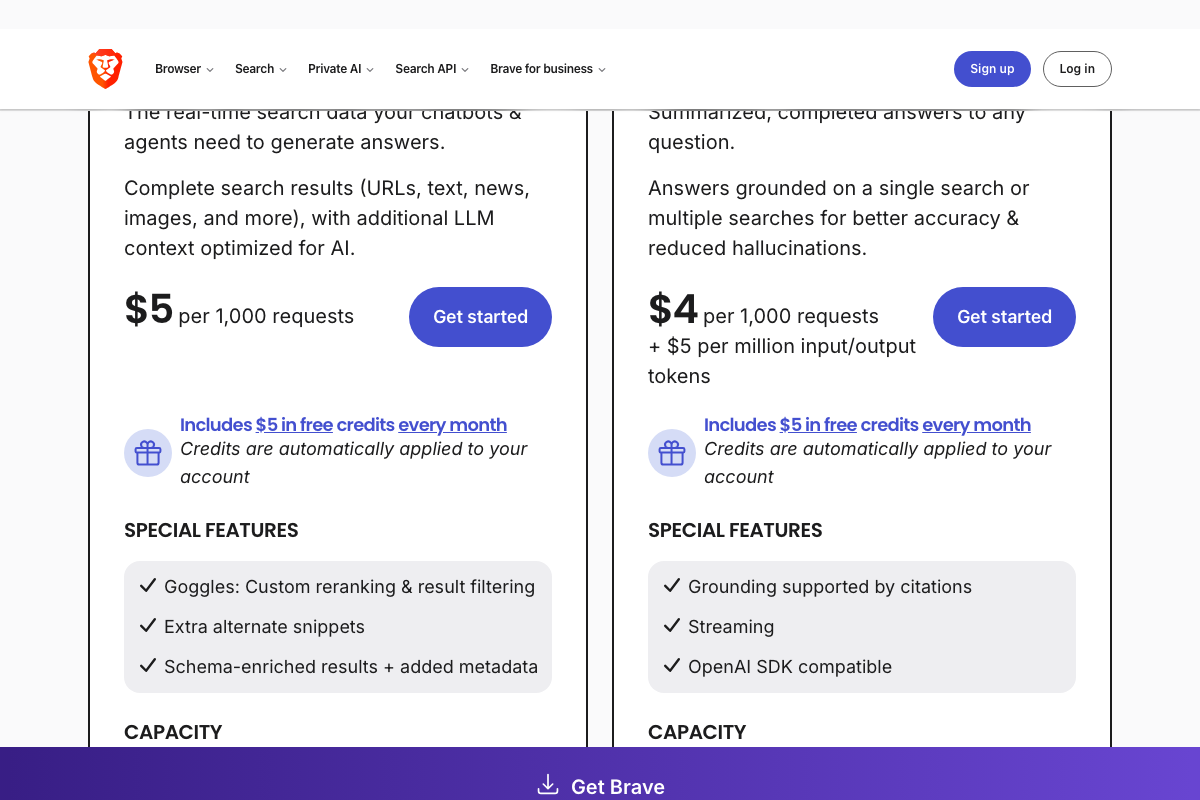
The video mentions Brave API key configuration as an optional add-on and moves on quickly. The official Brave Search API docs are more direct: account creation and API key generation are required before any query executes, including on the free tier. There is no unauthenticated access path.
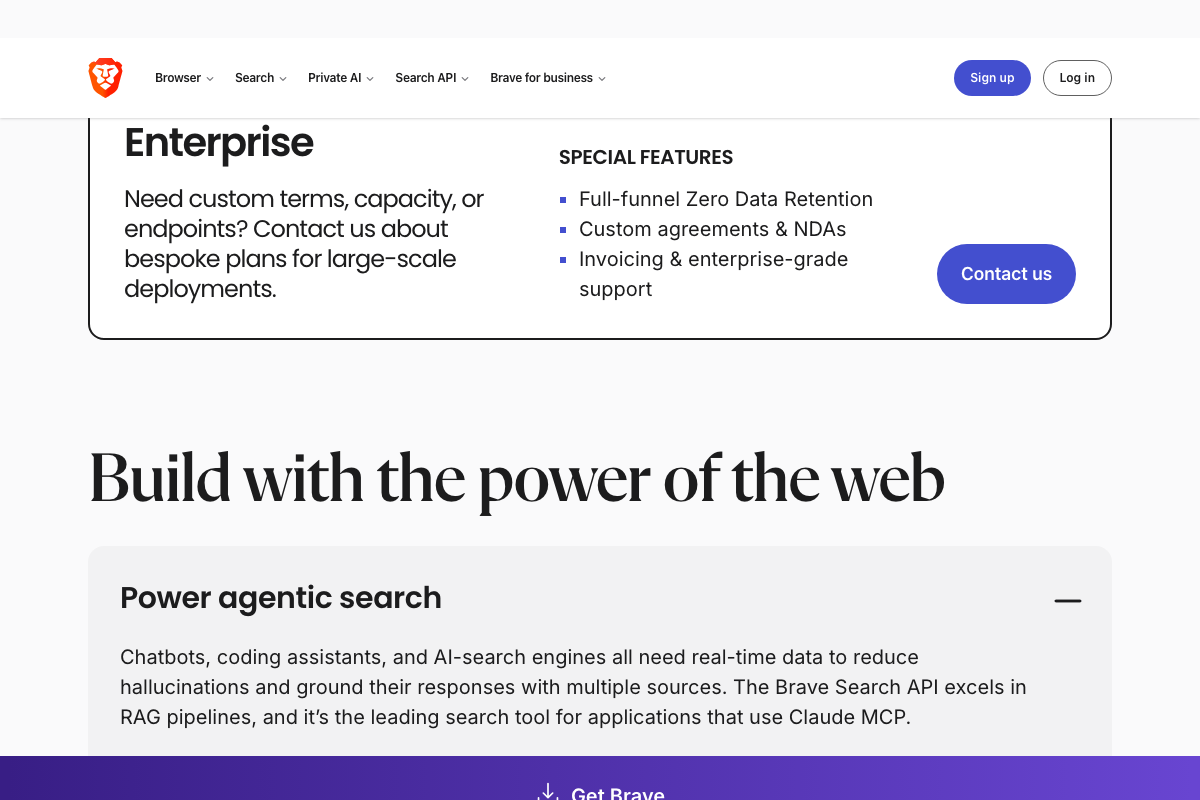
The good news: the free tier includes $5 in monthly credits automatically, which comfortably covers light agent use. Two tiers are relevant here — the Web Search tier ($5/1K requests) and the AI tier ($4/1K requests plus token costs). The AI tier’s OpenAI SDK compatibility is worth noting given NemoClaw’s OpenAI-compatible API layer described in the video’s Step 6. Brave explicitly positions its API for RAG pipelines and agentic search, which maps directly to NemoClaw’s use case.

Useful Links
- Qwen — Official Qwen model hub and blog, now hosted at qwen.ai following migration from qwenlm.github.io.
- Brave Search API — Brave’s search API landing page covering pricing tiers, free credits, and agentic search positioning relevant to NemoClaw’s web query capability.


0 Comments