Build a Branded Design System and Landing Page with Claude Design
Claude Design is not a Figma replacement, and treating it like one will waste your time and token quota. This walkthrough turns a real business — Agentic Academy’s Skool community — into a production-ready landing page by combining reference screenshots, GPT Image 2.0, and a Claude Code handoff for final polish. By the end, you will have a repeatable system for going from zero brand assets to a deployable page without the generic AI-slop aesthetic.

-
Accept that every Claude Design output is code, not a raster image or a draggable canvas element. The mental model is Claude Code with a visual layer — you prompt, it builds, and you iterate through conversation. Dragging rectangles is not part of this workflow.
-
Classify your design goal before opening the tool. Asset design (a single post, a flyer) is not Claude Design’s arena. System design (a website, a multi-screen app, a consistent front end) is — and that distinction changes how you structure your session entirely.
-
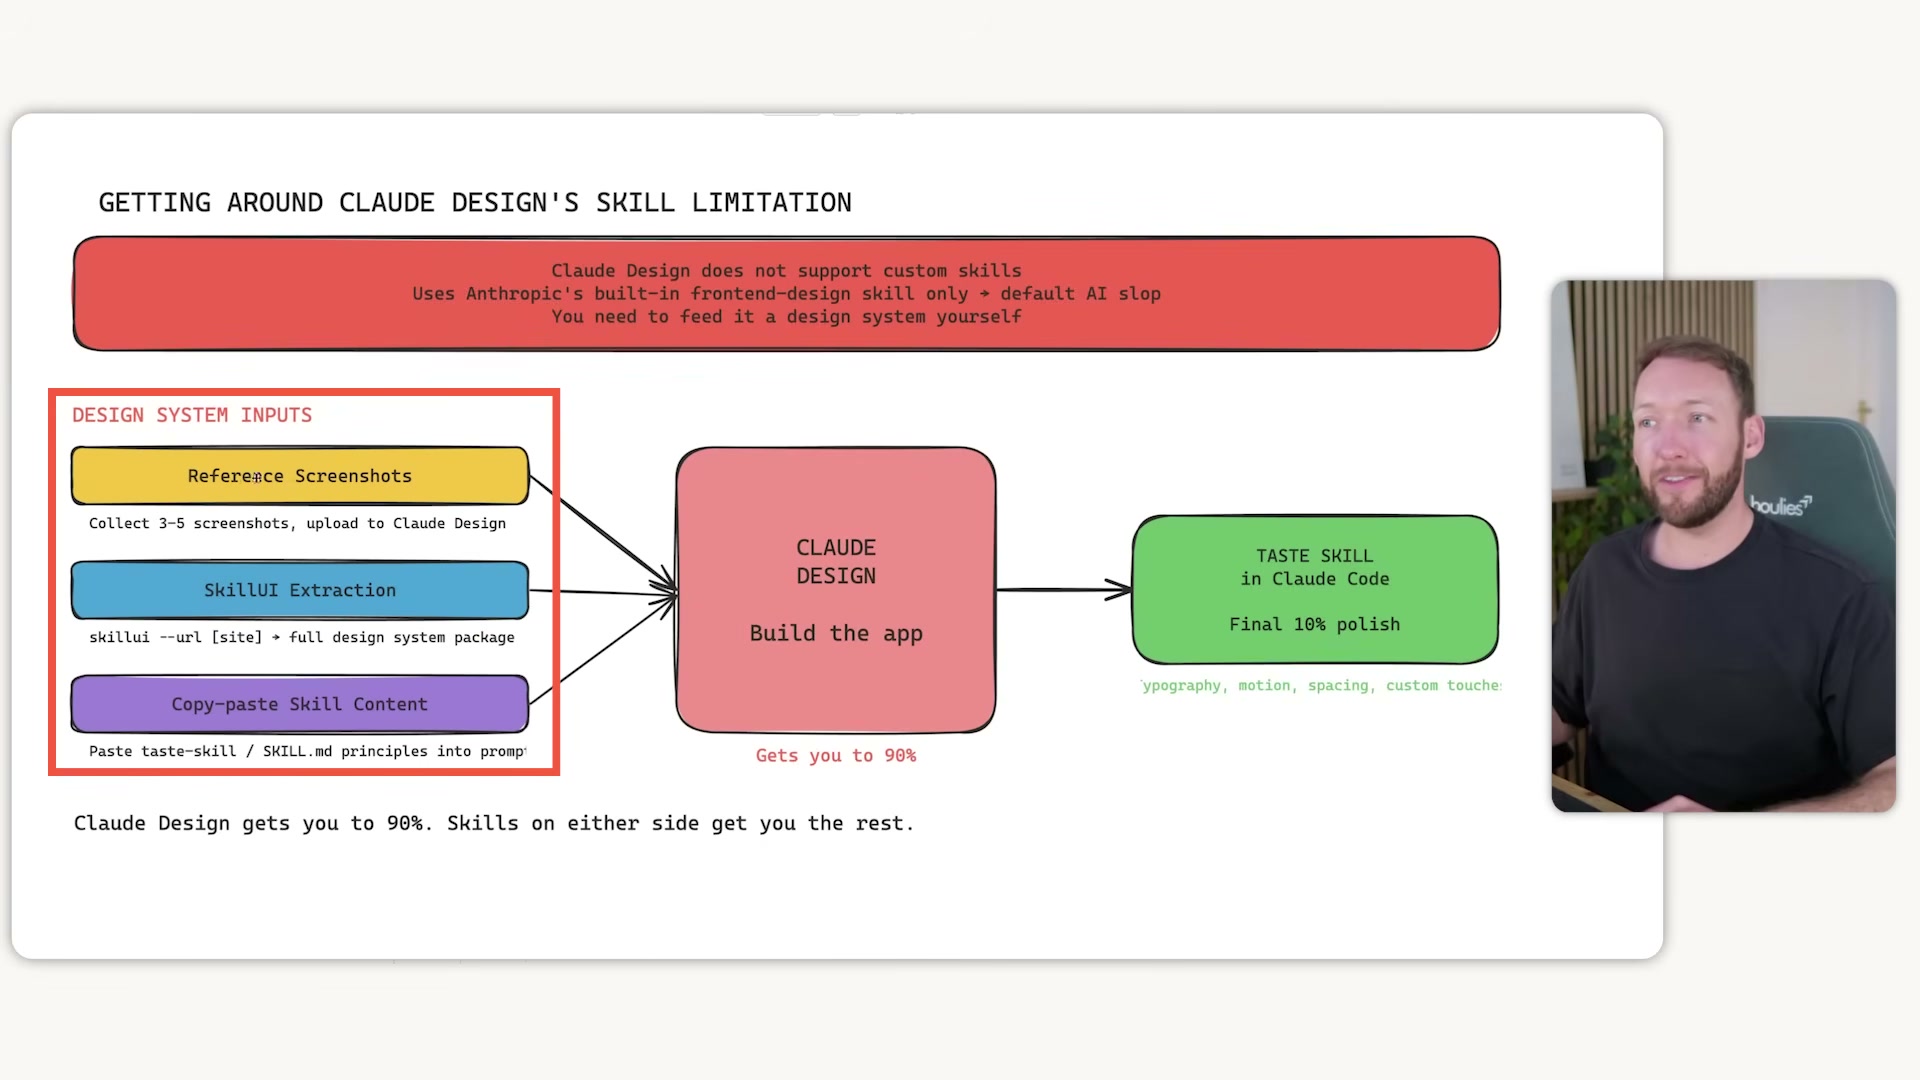
Set your expectations around the 90/10 rule. Claude Design reaches roughly 90% of a production result quickly. The remaining 10% — exact icons, custom microcopy, brand-specific motion — still requires human judgment or additional tooling outside the app.
- Choose one of three methods for injecting a design system into Claude Design: (1) upload reference screenshots from sites whose aesthetic you want to blend; (2) run a SkillUI extraction (
skillui --url [site]) outside Claude Design and import the resulting package; or (3) copy-paste skill content directly into the Claude Design prompt.

-
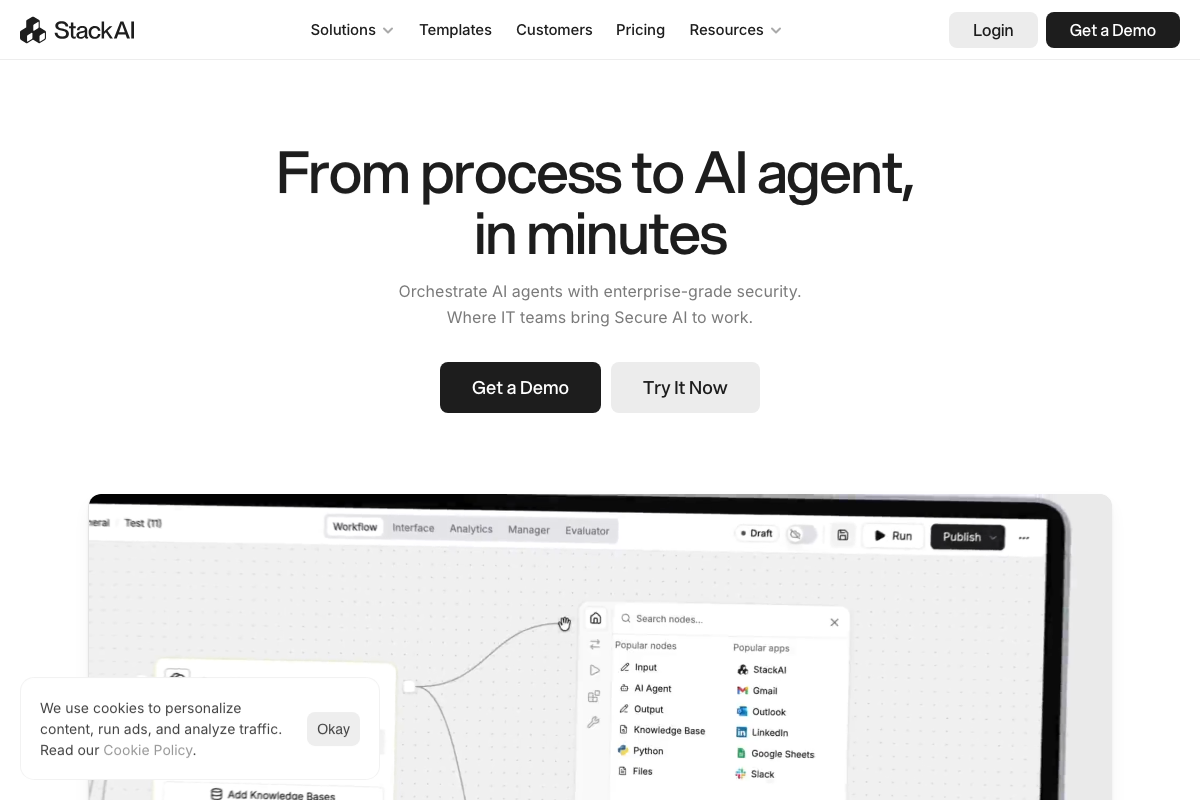
Collect three to five reference screenshots from websites with the visual language you want. The tutorial pulls from Zerno and Stack AI to establish a cold, monochrome direction that deliberately counters Claude’s default palette.
-
Open ChatGPT with GPT Image 2.0, paste your reference screenshots, and generate a blended design system mockup before touching Claude Design at all. Pre-generating this context externally reduces the inferential work Claude Design needs to do, preserving token quota for the actual build.
Warning: this step may differ from current official documentation — see the verified version below.
-
Open Claude Design at
claude.ai/designin a single committed session. Token quota for Claude Design is separate from Claude Code and Claude desktop — spreading design system setup across multiple sessions compounds the cost with no benefit. -
Upload both the GPT Image 2.0 mockup and your original reference screenshots as context at the session start.
-
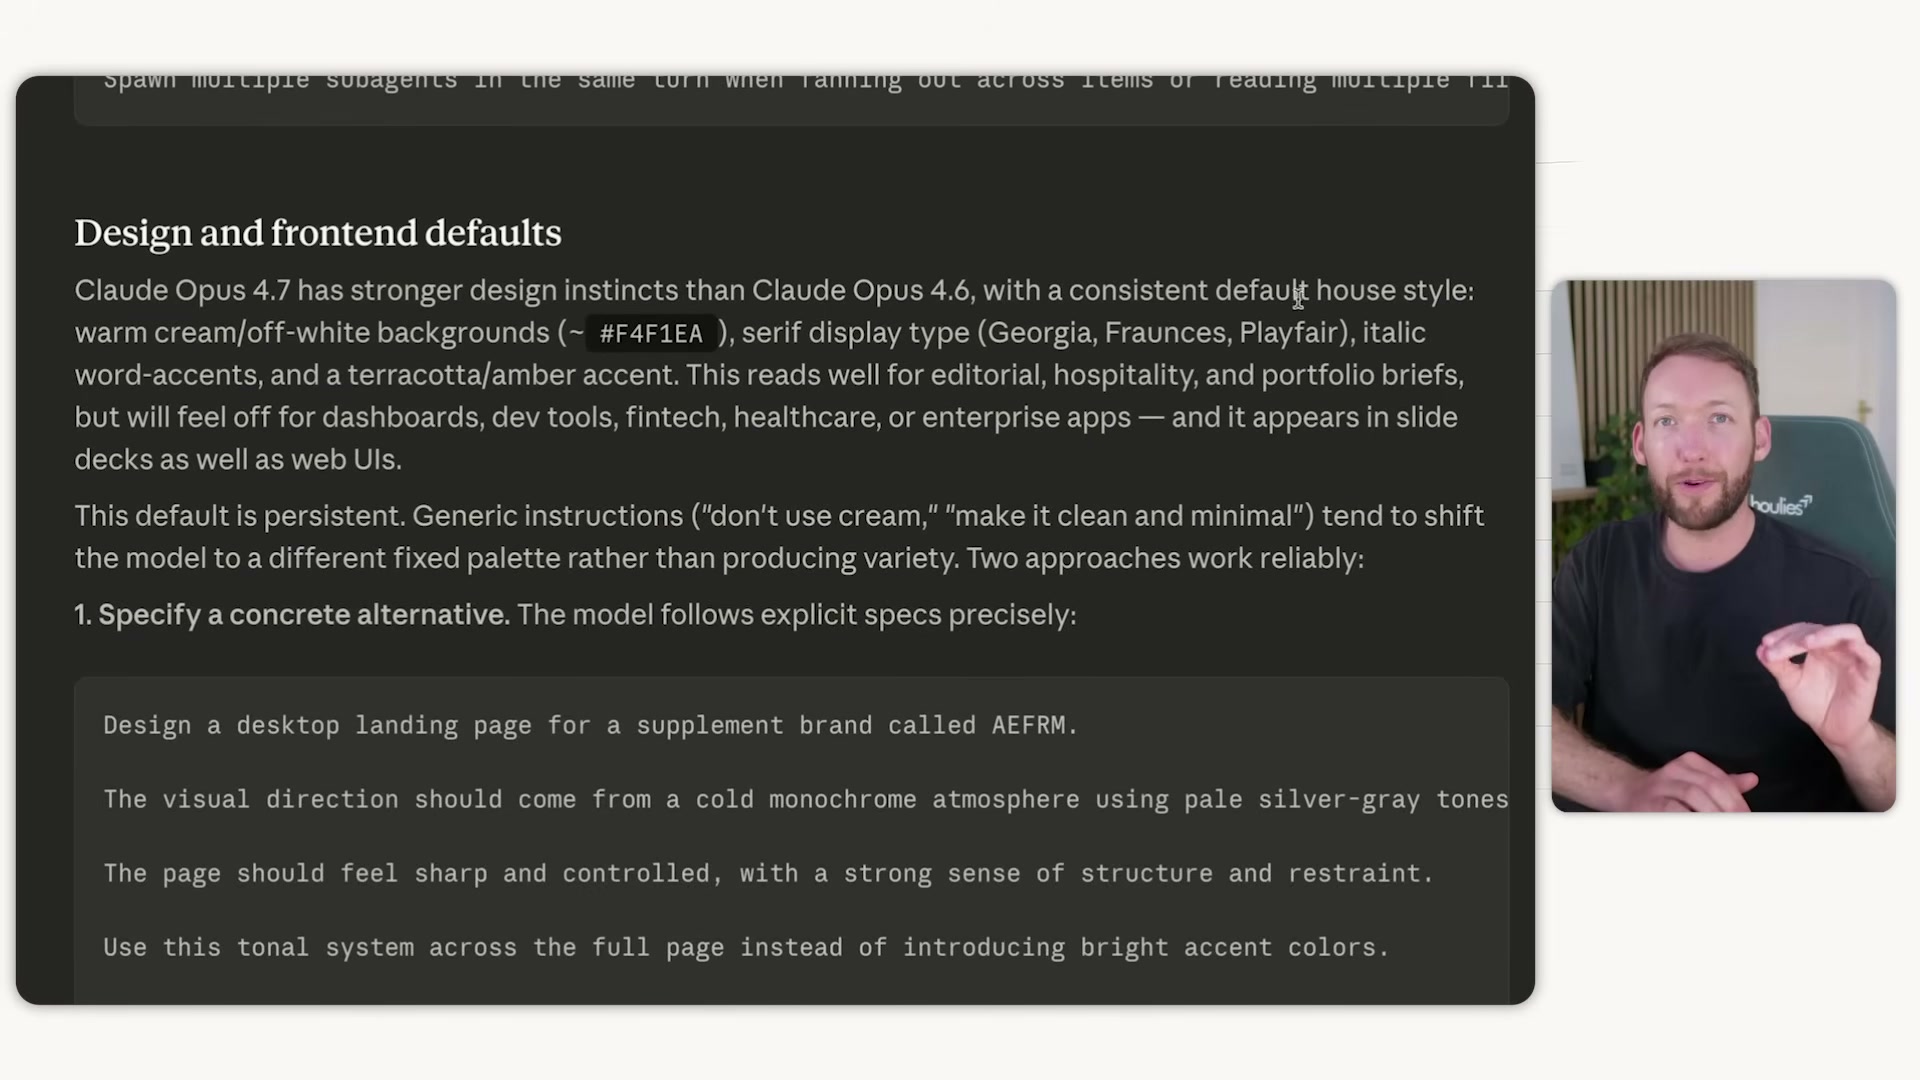
Build the design system before generating a single page: define colors, typography, spacing, and key reference screens first. Skipping this step is the direct cause of the identical cream-and-serif dashboards filling Reddit. Claude Opus 4.7’s documented default house style (warm cream, serif type, terracotta accents) kicks in whenever you give it an underspecified prompt.
-
Use the established design system to generate the hero, testimonial section, and remaining page sections in sequence.
-
Iterate by targeting specific on-screen elements through conversation rather than re-prompting from scratch. This preserves design system coherence across revisions.
-
Export the Claude Design output directly to Claude Code once you hit the 90% threshold.
-
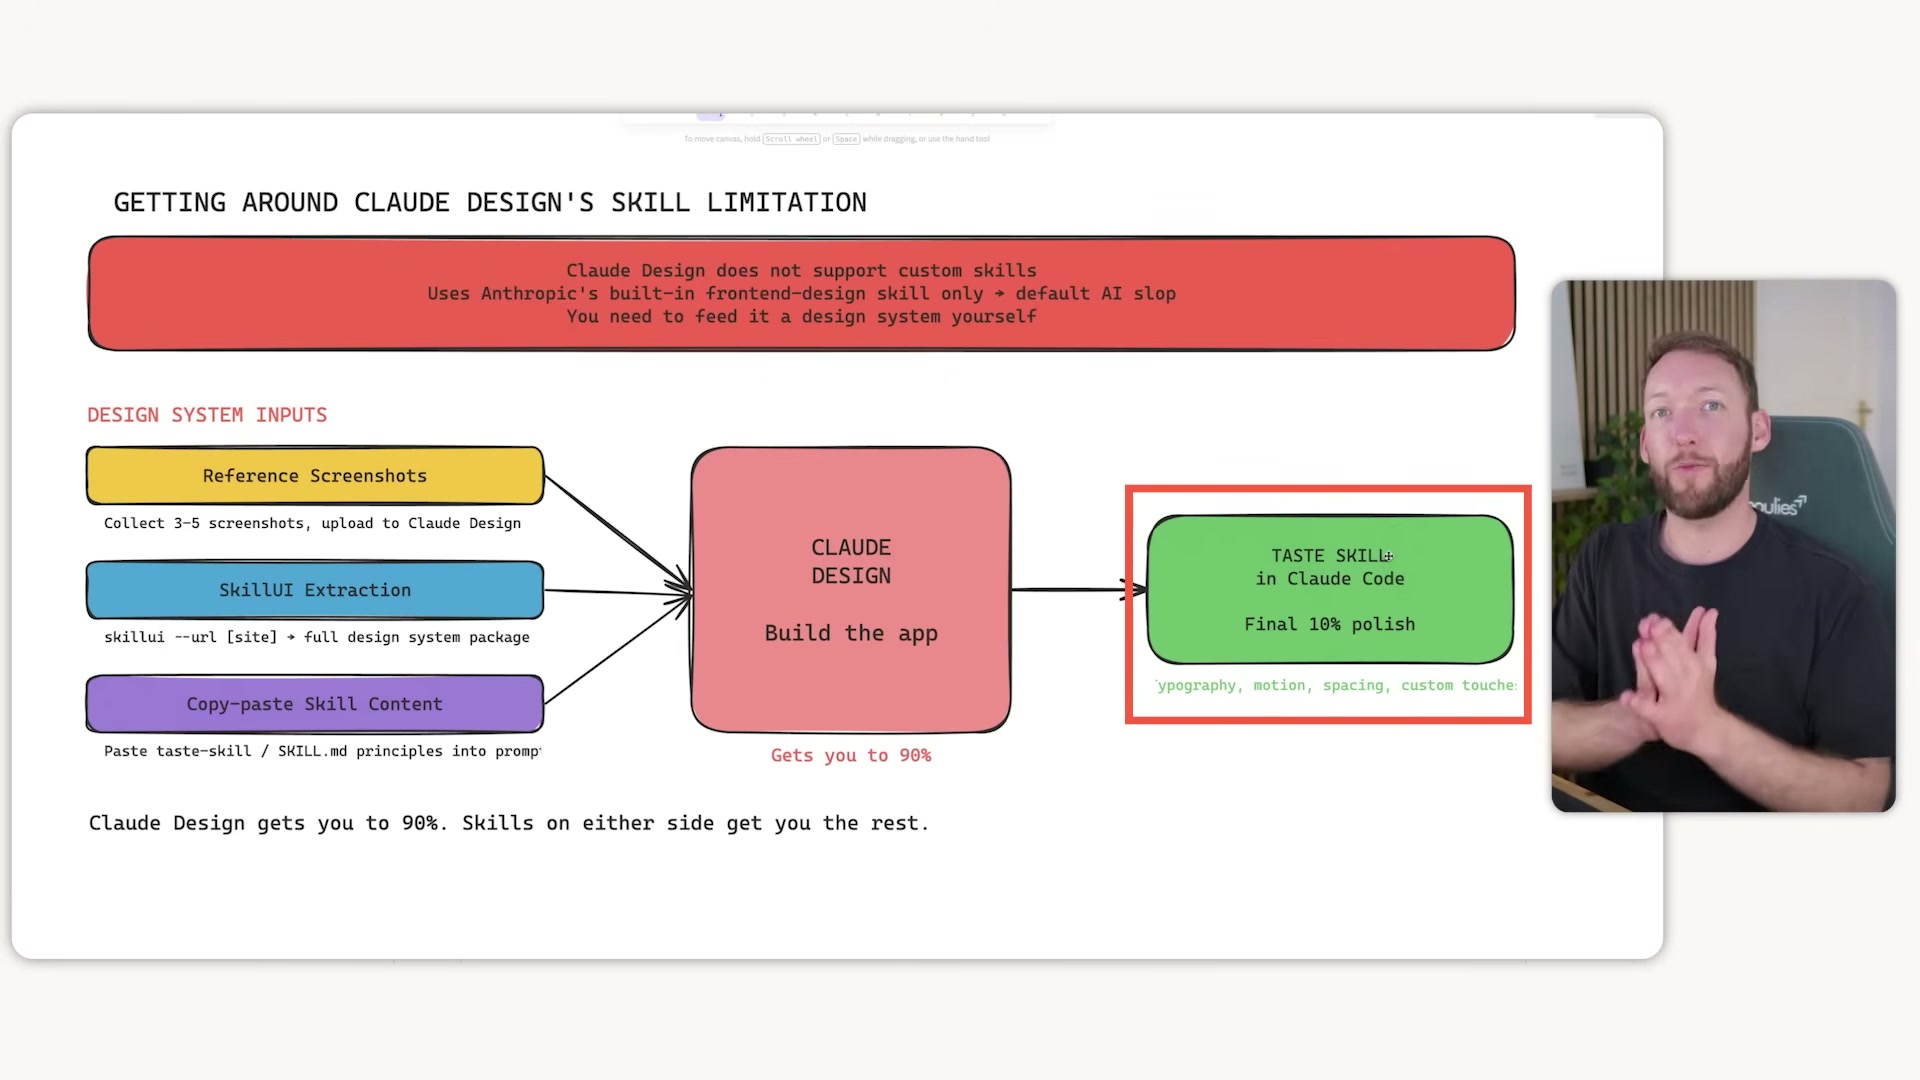
Apply the Taste Skill inside Claude Code to handle typography refinement, motion, spacing calibration, and custom brand touches that push fidelity from 90% to 95–100%.
How does this compare to the official docs?
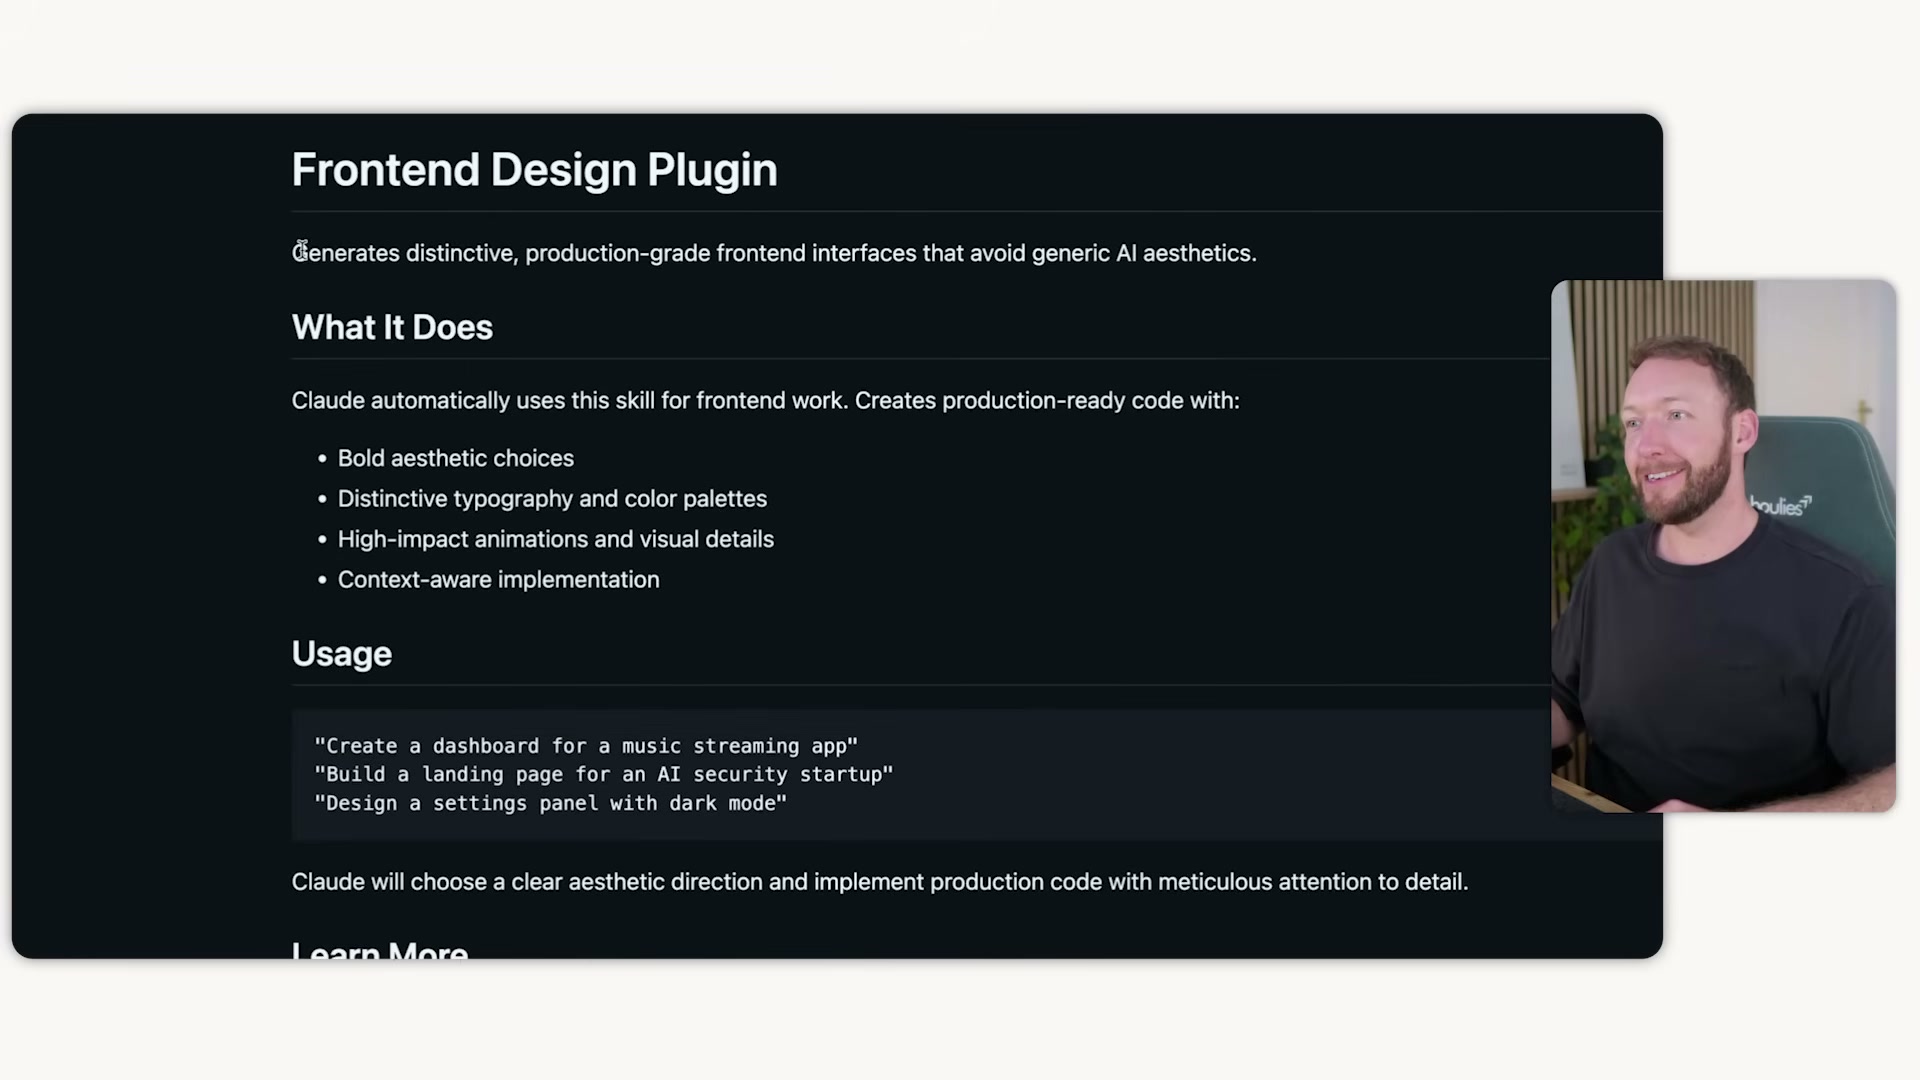
Anthropic’s documentation on the Frontend Design Plugin and Claude’s default house style provides a more precise account of how to override those defaults — and the prompt structures it recommends diverge from the workflow shown here in a few meaningful ways.
Here’s What the Official Docs Show
The video delivers a solid end-to-end workflow and most of it holds up. What the docs layer on top are a product name correction, one model identifier update, and richer context for the VS Code environment you’ll land in at the end.
Steps 1–4 — Mental model, goal classification, 90/10 rule, injection methods
No official documentation was found for these steps —
proceed using the video’s approach and verify independently.
Step 5 — Collect reference screenshots
The video’s approach here matches the current docs exactly. Stack AI and Skool.com are confirmed real platforms with visually distinct systems worth extracting from. One addition: the session screenshots show Skool.com was used in practice even though the video narration names only Zerno and Stack AI — it’s worth adding to your reference set deliberately.

Step 6 — Pre-generate with ChatGPT image generation
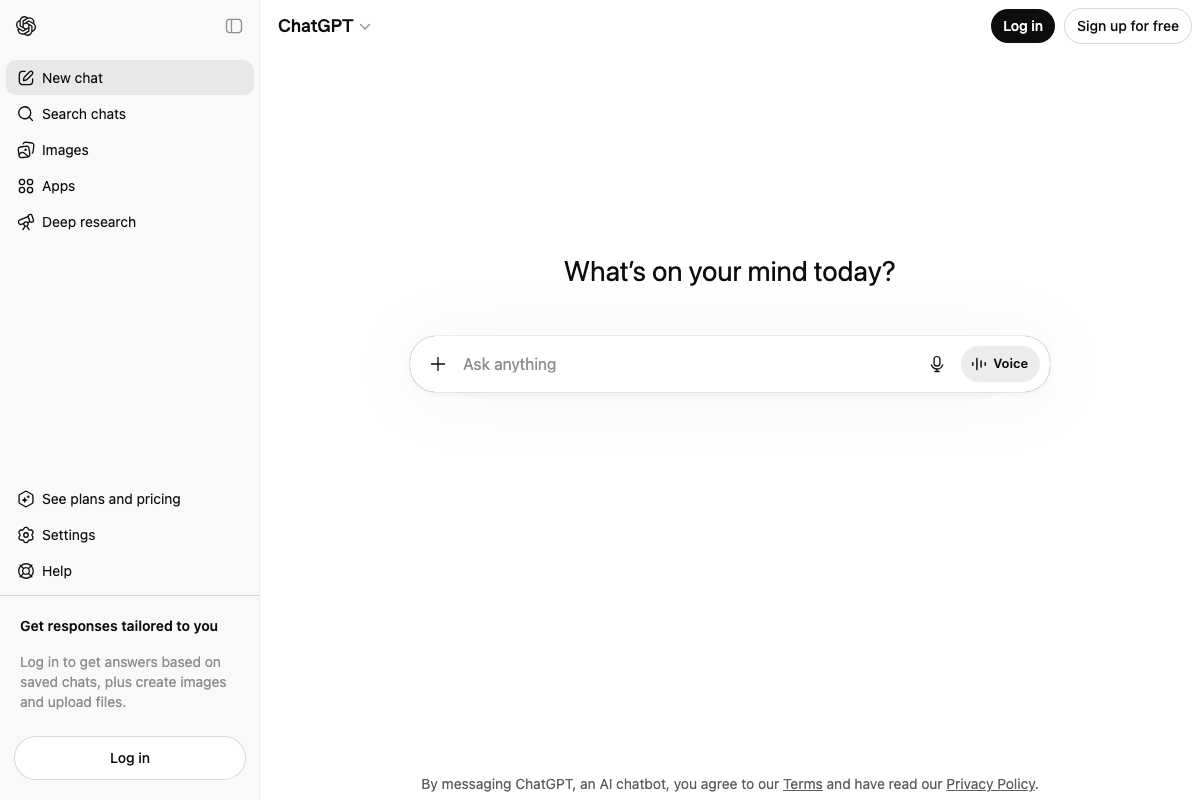
The token-conservation logic is sound and worth keeping. One name correction: as of April 2026, the correct OpenAI model identifier is gpt-image-1 — the video calls it “GPT Image 2.0,” which does not appear in any current OpenAI documentation or UI. Image generation also requires a logged-in ChatGPT account; the feature is not accessible from the homepage.
Step 7 — Open claude.ai/design in a single committed session
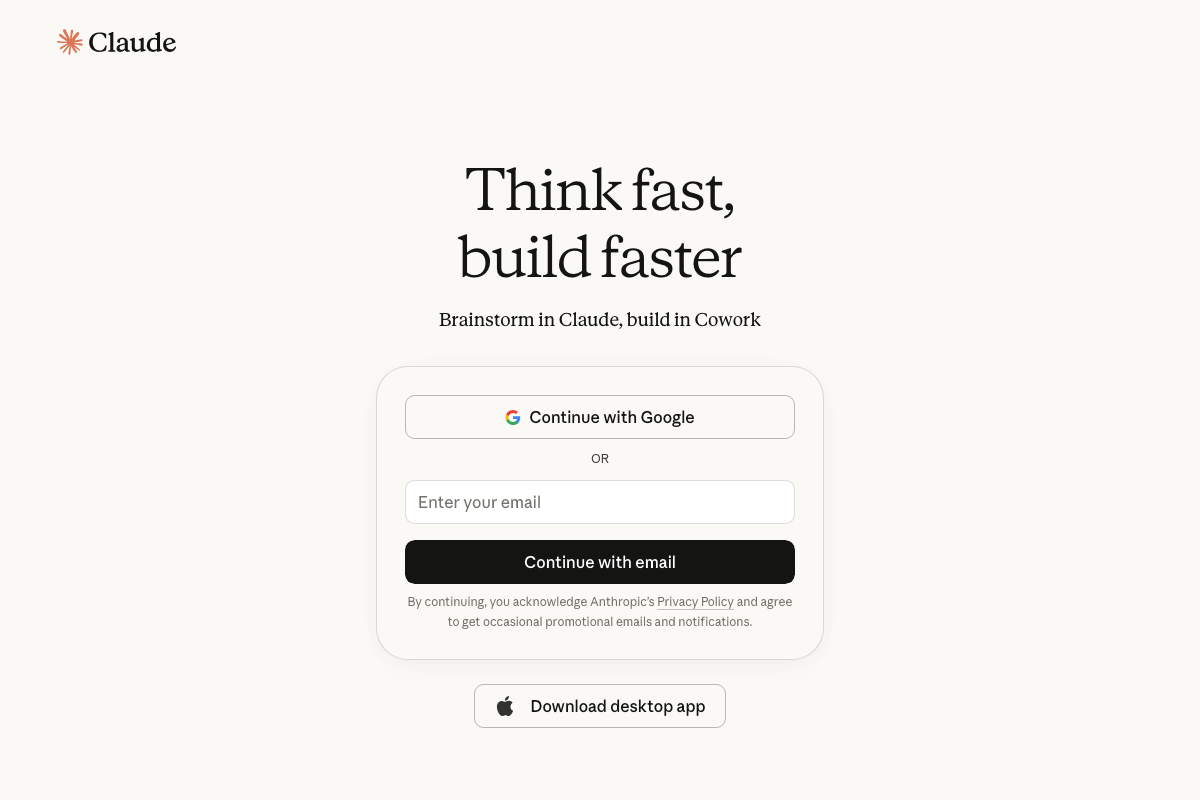
The URL is valid and resolves correctly. As of April 2026, the build product at that address is officially branded Cowork — the sign-in page reads “Brainstorm in Claude, build in Cowork.” The video calls it “Claude Design” throughout, which reflects an earlier label. The single-session discipline the video recommends still applies regardless of the name.
Steps 8–11 — Upload context, build the design system, generate sections, iterate
No official documentation was found for these steps —
proceed using the video’s approach and verify independently.
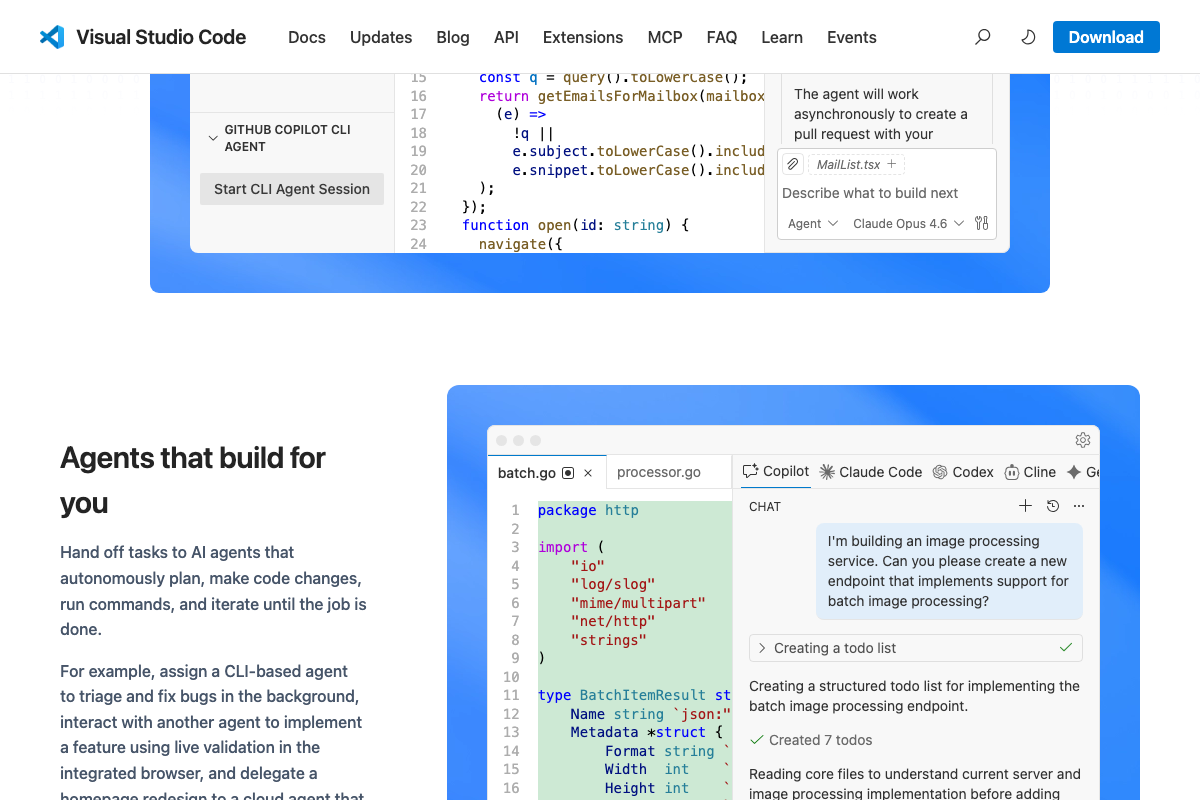
Step 12 — Export to Claude Code
The video’s approach here matches the current docs exactly. Claude Code is confirmed as a selectable agent inside VS Code’s built-in panel. One useful addition: VS Code now surfaces Claude Code alongside Copilot, Codex, Cline, and others simultaneously — users will encounter a richer multi-agent environment than the tutorial implies, but Claude Code’s tab is right there.
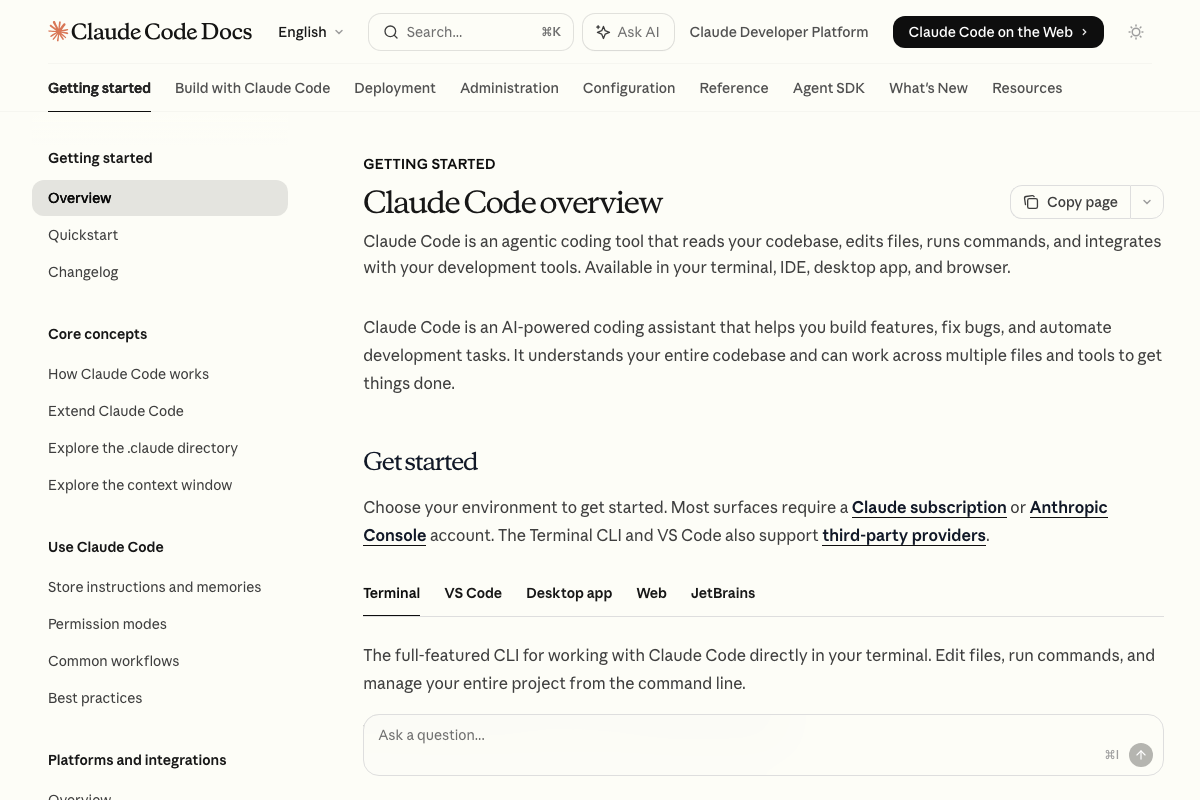
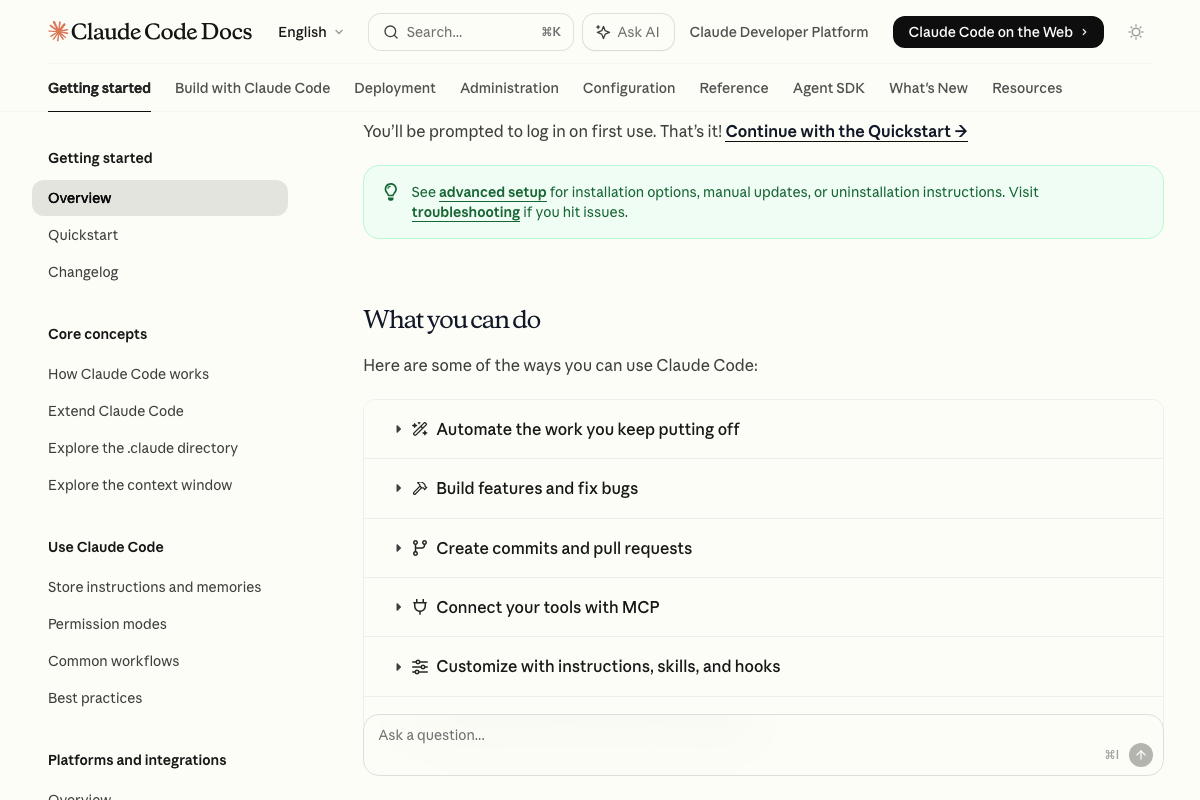
Step 13 — Apply the Taste Skill in Claude Code
The video’s approach here matches the current docs exactly. “Customize with instructions, skills, and hooks” appears verbatim in Claude Code’s official “What you can do” section — the Taste Skill the tutorial references maps directly to this documented capability.
Useful Links
- Sign in – Claude — The claude.ai/design entry point where the Cowork build product is accessible after authentication
- Claude Code overview – Claude Code Docs — Official documentation covering Claude Code installation, supported environments, and the skills/hooks/instructions customization model
- ChatGPT — OpenAI’s ChatGPT platform, where image generation via
gpt-image-1is available from the sidebar after login - Skool: Discover Communities or Create Your Own — Community platform whose card-grid design system was captured as a visual reference in the actual session
- AI Agents for the Enterprise | StackAI — Stack AI’s homepage confirming the high-contrast enterprise design language named in step 5 as a blending source
- Visual Studio Code – The open source AI code editor — VS Code’s current homepage documenting its multi-agent environment and Claude Code’s position as one of several simultaneously available agents


0 Comments