Building an AI-Powered Carousel Generation System with Claude
Carousel posts consistently outperform every other format on both LinkedIn and Instagram — but producing them at scale requires brand consistency across slides that manual workflows can’t sustain. This tutorial walks through an orchestration pipeline that uses Claude as the central agent to handle brand voice capture, visual identity setup, research, slide generation, and publishing from a single input. By the end, you’ll understand how to configure the full system, what happens on every subsequent run, and exactly where each sub-agent hands off to the next.

- On first launch, the pipeline triggers a one-time onboarding flow that takes between 5 and 25 minutes depending on what brand assets you already have. It introduces itself, explains what it can produce, and checks the environment before asking you a single question.
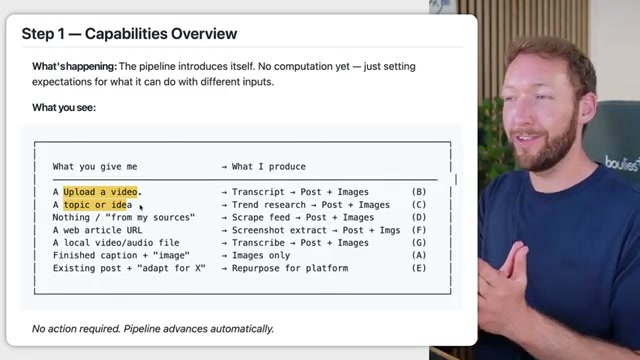
- The pipeline presents an input selector. Your options are: upload a video file, enter a topic or idea, paste a web article URL, supply a local audio file or PDF, or paste an existing post you want to adapt for another platform. Each route maps to a different downstream skill — topic input triggers trending research, video input triggers transcription, URL input triggers scraping.

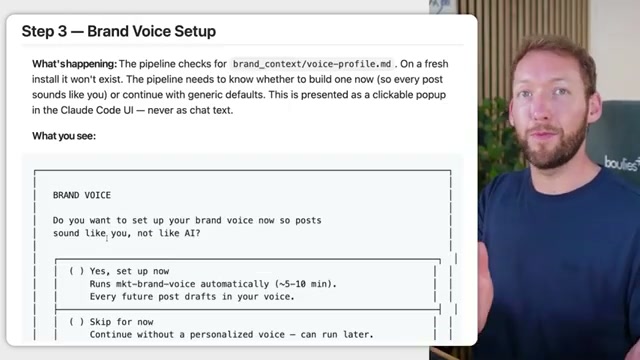
- The brand voice skill activates if no
voice-profile.mdexists in your config directory. It quizzes you on communication style, ingests writing samples you paste in or reference, analyzes tone and register, and writes a structured voice profile document to disk. If you skip this, a default profile loads instead.
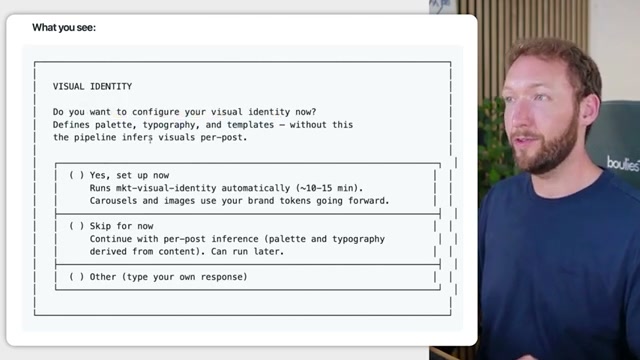
- Visual identity setup runs next. The pipeline checks for a
tokens.jsonfile containing your color palette, typography scale, and layout templates. If the file is missing, a sub-agent calledmkt-visual-identitylaunches and walks you through collecting 3–5 reference images from Instagram, Canva, or Figma. It extracts design primitives from those images and generates carousel template variants — hero, body, and CTA — using your actual brand tokens rather than the reference brand’s colors.

-
If you have no brand guidelines document at all, the pipeline generates one — covering logo usage rules, color palette combinations, type scale, and usage examples rendered across dashboard and social post mockups. This output mirrors what a brand agency would produce, and it feeds directly into the token extraction phase.
-
Once visual identity is complete, the pipeline writes
tokens.jsonand acomposition-primitives.jsonalongside yourvoice-profile.mdand sets default platform and output format preferences — carousel multi-slide, single image, or text-only — to a local config file. These files persist across all future sessions. -
On every subsequent run, the pipeline loads the config directory, confirms all context files are present, and skips every setup stage entirely. The environment check screen confirms which providers are active and whether you’re operating in full brand mode or fallback mode.

-
With config loaded, the pipeline reads your input and routes it: topic strings go to the trending research skill, which queries Reddit, X, and the open web and returns a ranked summary of content angles; video and audio files go to transcription; URLs go to a scraper. Each route surfaces structured content for the generation stage.
-
For topic-based inputs, the trending research skill returns multiple content angles ranked by relevance and engagement potential. You review the summary and confirm or adjust the angle before any generation begins.
-
A designer sub-agent builds a visual inventory by cataloguing available logos, icons, photos, and approved screenshots in your asset library. This inventory informs which visuals are available for each slide position.
-
The pipeline selects a narrative arc — typically problem → insight → proof → action — and stress-tests the slide-one hook against your voice profile before generating the full slide set.
-
Slides generate in sequence: a hero slide, three to seven body variation slides, and a CTA slide. Every slide pulls color values, font weights, and spacing from
tokens.jsonand references the approved composition primitives, so layout variety is systematic rather than random. -
Completed draft posts upload automatically to Zernio, where you can review all slides and publish with one click directly from the Claude interface.
Warning: this step may differ from current official documentation — see the verified version below.
How does this compare to the official docs?
The pipeline Simon demonstrates relies on several interacting components — Claude’s orchestration layer, third-party APIs, and a proprietary config schema — and the next section maps each stage against what Anthropic’s own documentation specifies for building agent systems like this.
Here’s What the Official Docs Show
The tutorial’s core architecture holds up well against official documentation, with a handful of platform capabilities the video skips that are worth knowing before you build. What follows adds those documented details at each stage — nothing here overturns the foundation the video establishes.
Step 1 — Onboarding and environment check
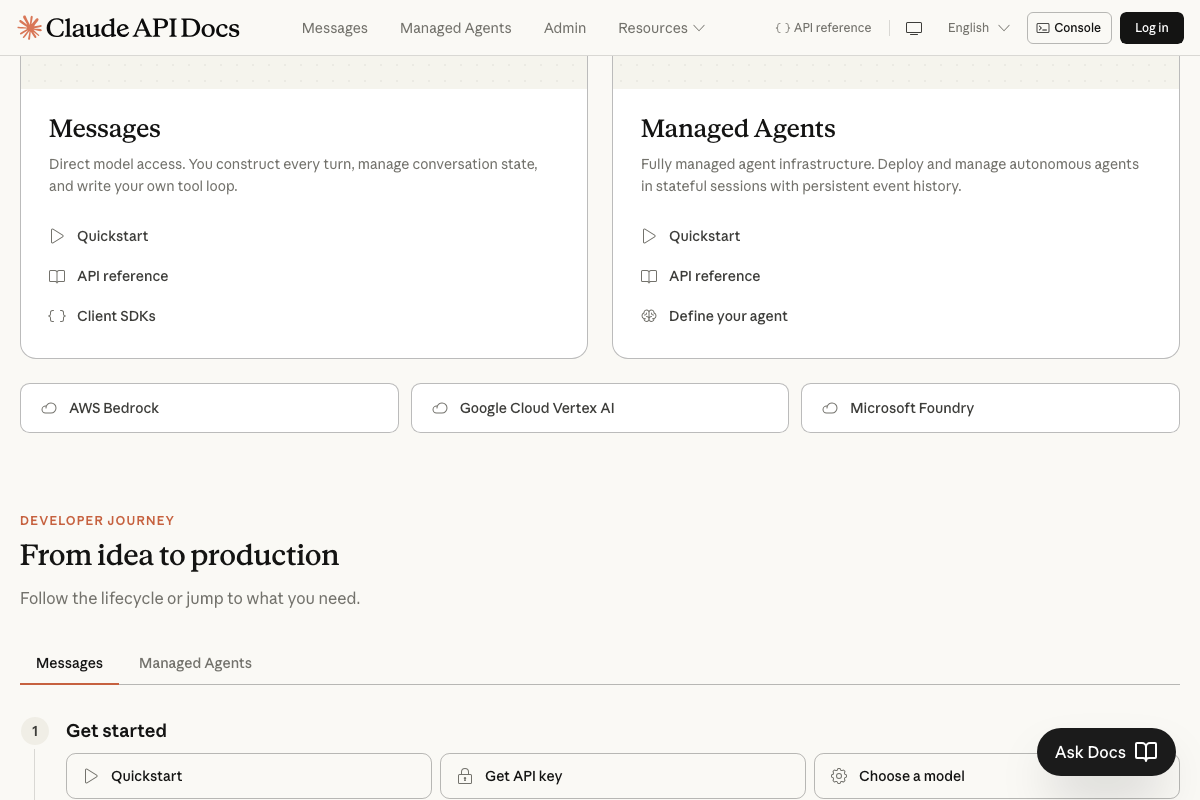
The video’s approach here matches the current docs exactly. Claude Code ships as a desktop app (claude.ai/download), with Desktop, Terminal, and VS Code listed as supported environments. The docs make one distinction the tutorial doesn’t: the Claude API offers Messages API and Managed Agents as two separate build surfaces — the tutorial’s onboarding flow aligns with the Managed Agents model.


Step 2 — Input type selection
No official documentation was found for this step — proceed using the video’s approach and verify independently.
Step 3 — Brand voice profile generation
The video’s approach here matches the current docs exactly. Structured outputs is a documented Claude API capability, confirming that writing a structured voice-profile.md to disk is a supported pattern.
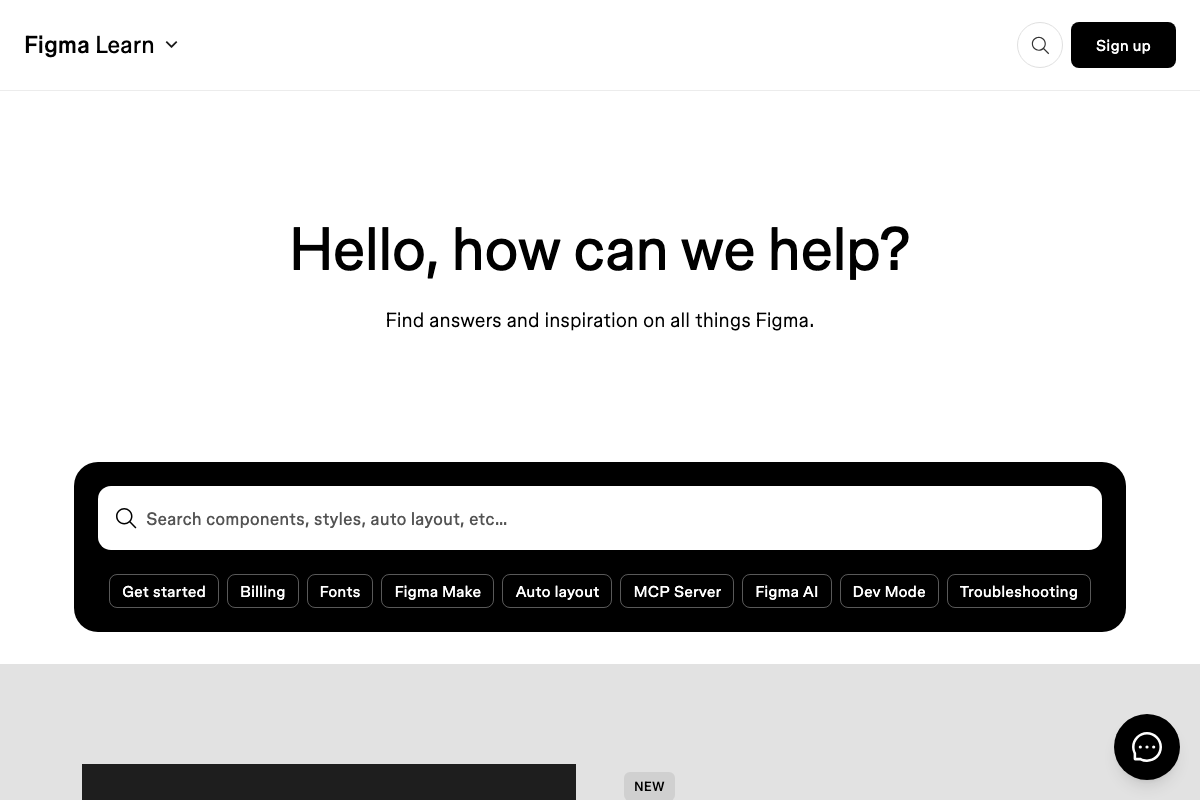
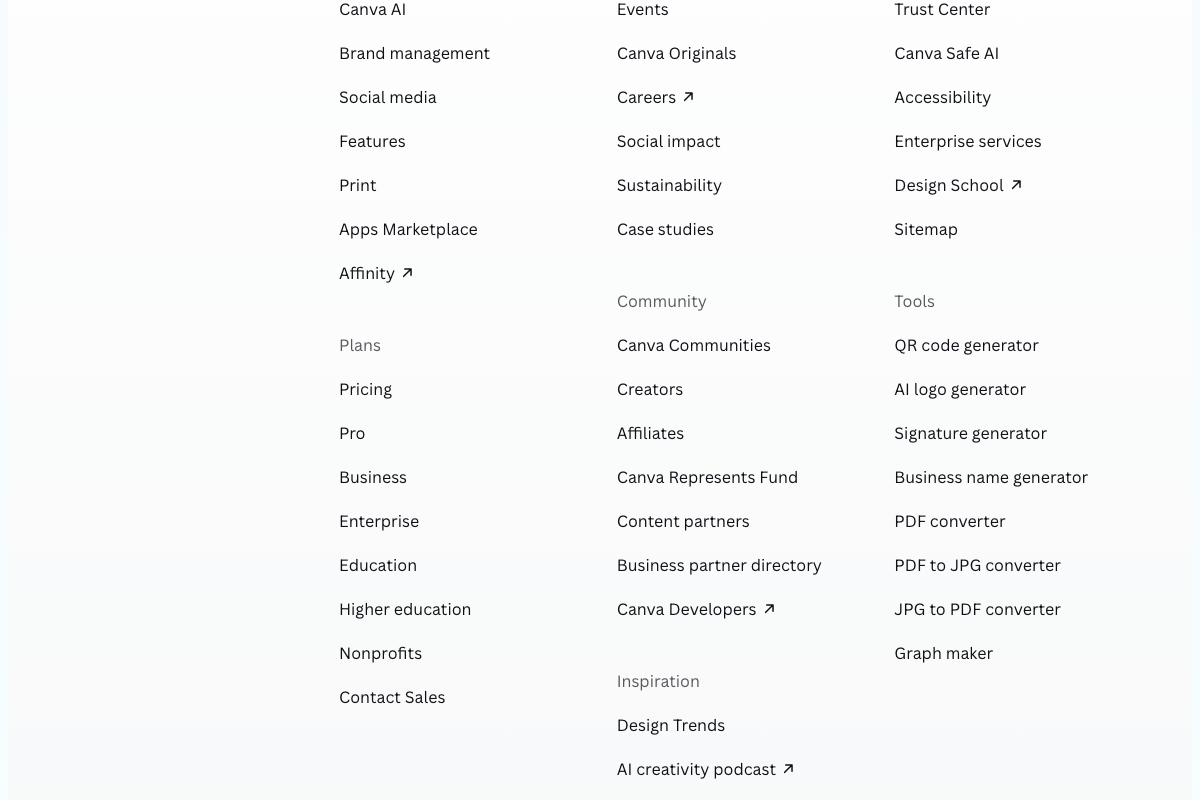
Step 4 — Reference image collection from Canva or Figma
Neither the Canva Help Center nor Figma Learn documents an automated image retrieval pathway. Canva Developers and an Apps Marketplace are formally listed in the Canva footer — the tutorial does not reference them. More directly useful: Figma officially documents an MCP Server that enables programmatic access to Figma files from an agent. If your asset library lives in Figma, that is the documented integration path the tutorial omits.
Step 5 — Brand guidelines generation
No official documentation was found for this step — proceed using the video’s approach and verify independently.
Step 6 — Config file write and session persistence
The local config file approach is a valid implementation path. For context: Claude’s Managed Agents surface provides built-in stateful sessions with persistent event history — a platform-native alternative to manual file management that the tutorial does not address.
Step 7 — Config load on subsequent runs
The video’s approach here matches the current docs exactly. One applicable optimization the tutorial skips: prompt caching. Caching brand voice and visual identity context in the Claude API would reduce cost and latency on every run after the first.
Step 8 — Input routing to skills
The video’s approach here matches the current docs exactly. Tool use is a documented Claude API capability, confirming the routing and sub-agent dispatch pattern.
Step 9 — Trending research and content angle ranking
The video’s approach here matches the current docs exactly. Web search is a documented built-in. Reddit is publicly accessible with keyword search; a formal Reddit Developer Platform also exists if the implementation needs to move beyond web-based queries to subreddit-filtered API calls.

Step 10 — Visual asset inventory
No official documentation was found for this step — proceed using the video’s approach and verify independently.
Step 11 — Narrative arc selection and hook generation
No official documentation was found for this step — proceed using the video’s approach and verify independently. Figma’s MCP Server (figma_03.png) is the documented path for programmatic asset retrieval if the designer sub-agent needs to pull directly from Figma files.

Step 12 — Slide generation sequence
No official documentation was found for this step — proceed using the video’s approach and verify independently.
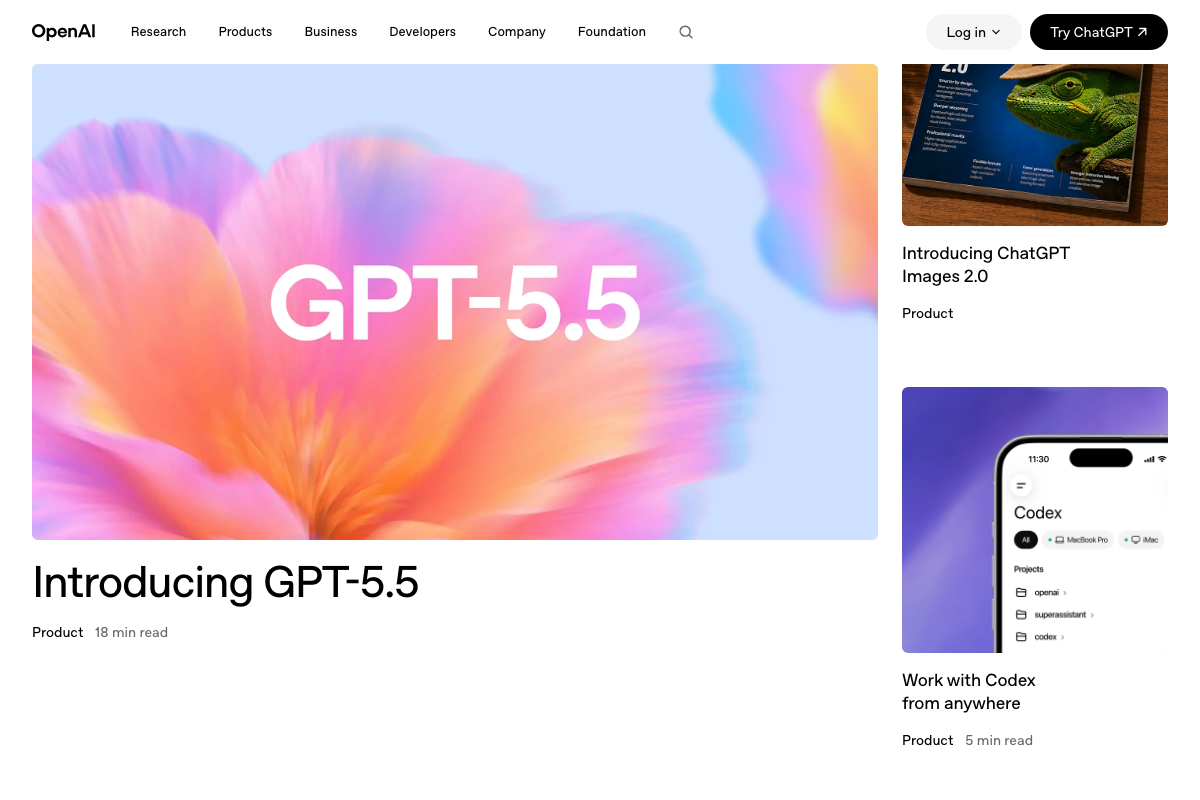
Step 13 — Carousel image generation via OpenAI
As of May 27, 2026, the available OpenAI screenshots show the consumer homepage and blog pages — not the image generation API reference at platform.openai.com/docs/guides/images. No API endpoints, model identifiers, or generation parameters are visible. Verify the current API directly before implementing this step.
Step 14 — Upload to Zernio for publishing
No official documentation was found for this step — proceed using the video’s approach and verify independently.
Useful Links
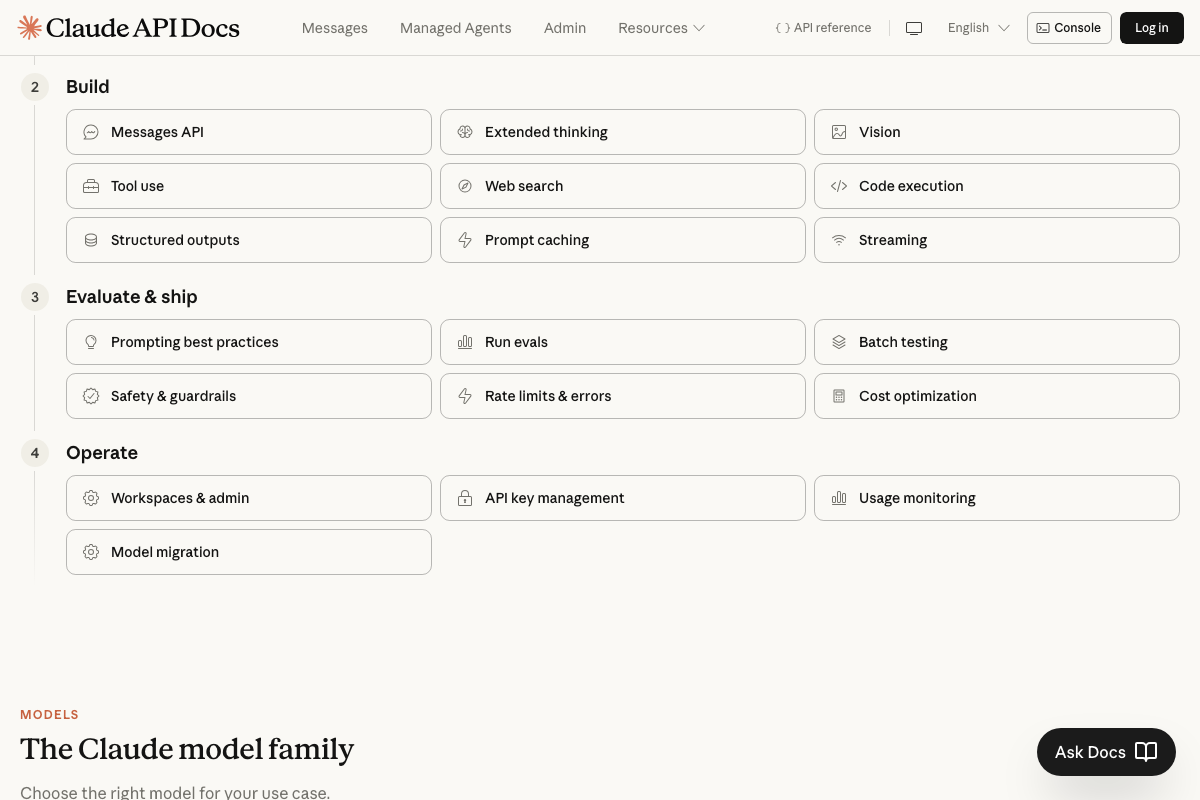
- Documentation – Claude API Docs — Full API reference covering Messages API, Managed Agents, Tool use, Structured outputs, Prompt caching, Vision, and Extended thinking
- Download Claude | Claude by Anthropic — Official download page for the Claude desktop app with Claude Code available for Desktop, Terminal, and VS Code
- Reddit – The heart of the internet — Publicly searchable platform with a formal Developer API; used for trending content angle research in Step 9
- Canva Help Center — User support hub for Canva; Canva Developers and Apps Marketplace are listed as formal third-party integration surfaces
- Figma Learn – Help Center — Official Figma documentation including the MCP Server integration guide, Figma Make, and the Introduction to Design Systems course
- OpenAI | Research & Deployment — OpenAI homepage; the image generation API documentation for Step 13 is located separately at platform.openai.com/docs/guides/images


0 Comments