Build a Self-Organizing Personal Knowledge Wiki with Obsidian and OpenAI Codex
By the end of this tutorial, you’ll have a live wiki that ingests web content automatically, cross-links related ideas without any manual effort, and answers plain-language questions by citing your own saved sources. The system runs on a nightly schedule — clip content during the day and let the LLM do the filing while you sleep.
-
Download and install Obsidian, the free desktop app that stores your knowledge as plain markdown files. Every piece of content you capture lands here as a
.mdfile your LLM can read and write directly. -
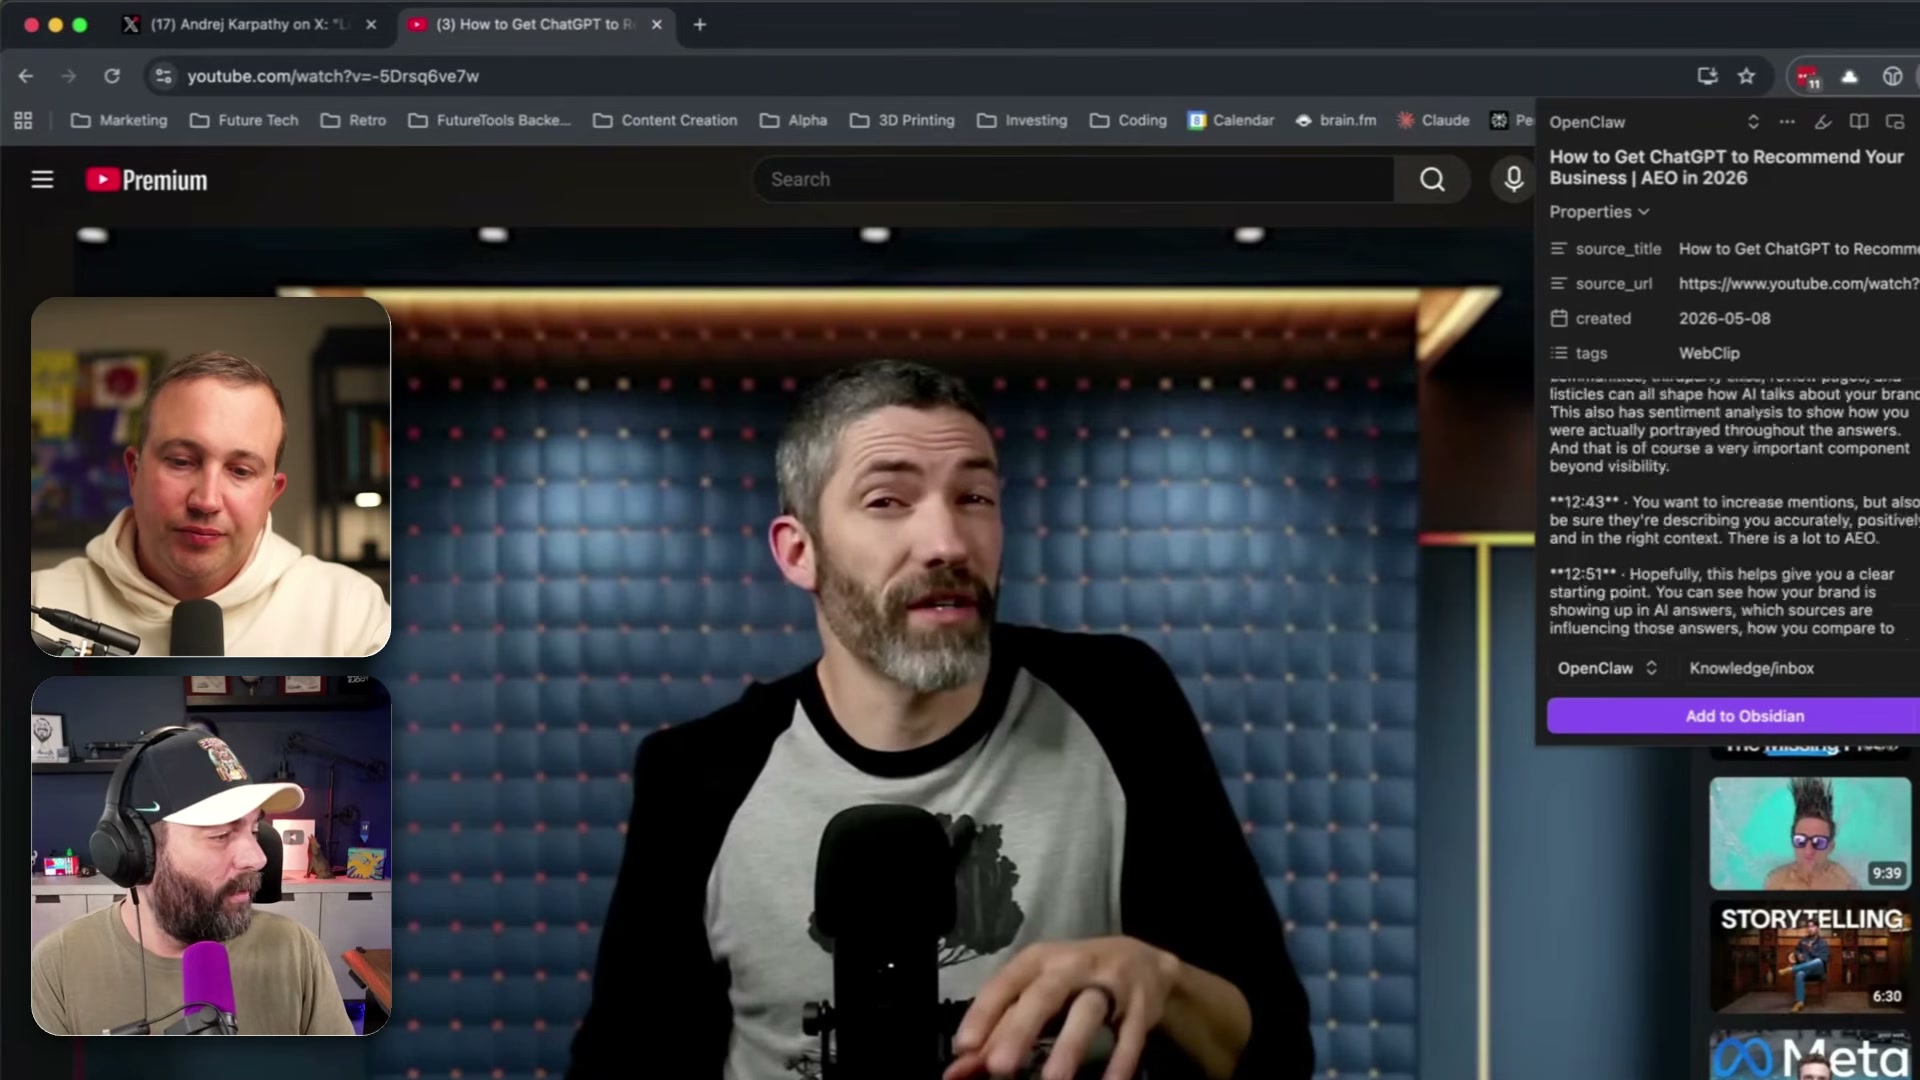
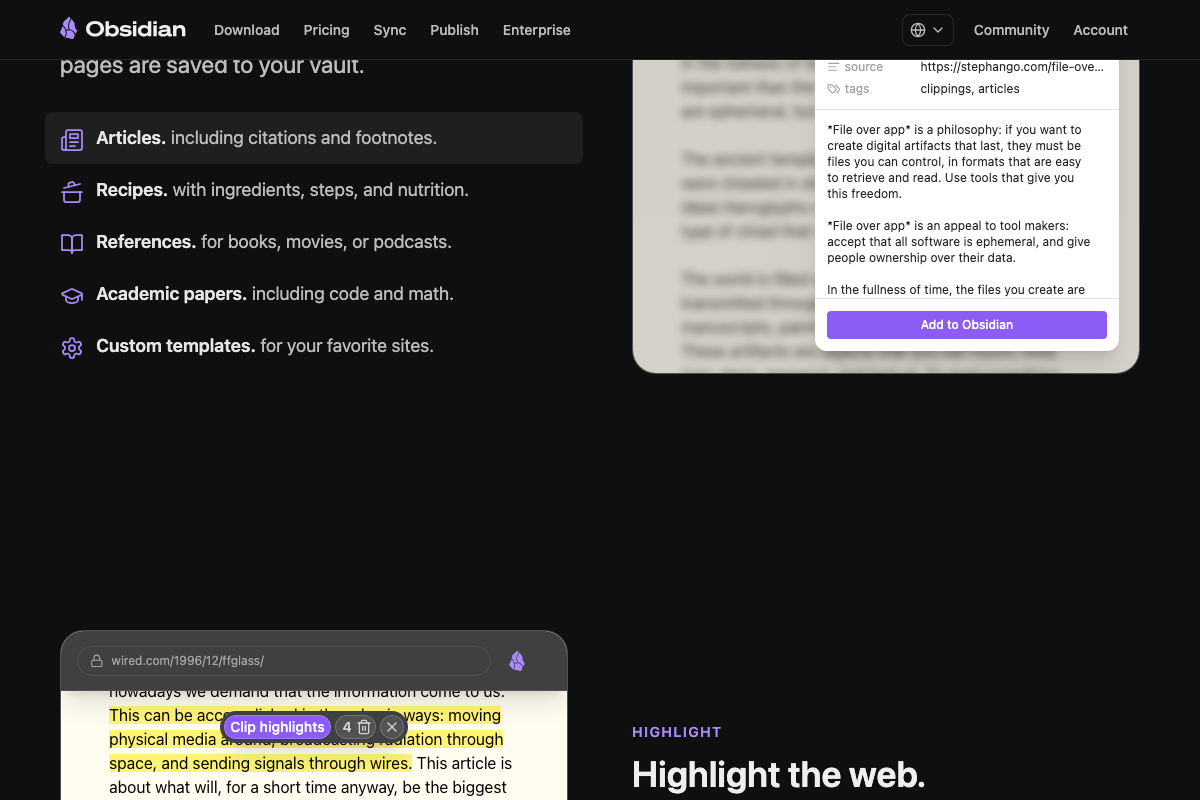
Install the Obsidian Web Clipper extension for Chrome. This bridges your browser to the vault — when you’re on a tweet, article, or YouTube video, a single click sends that content straight to Obsidian.
-
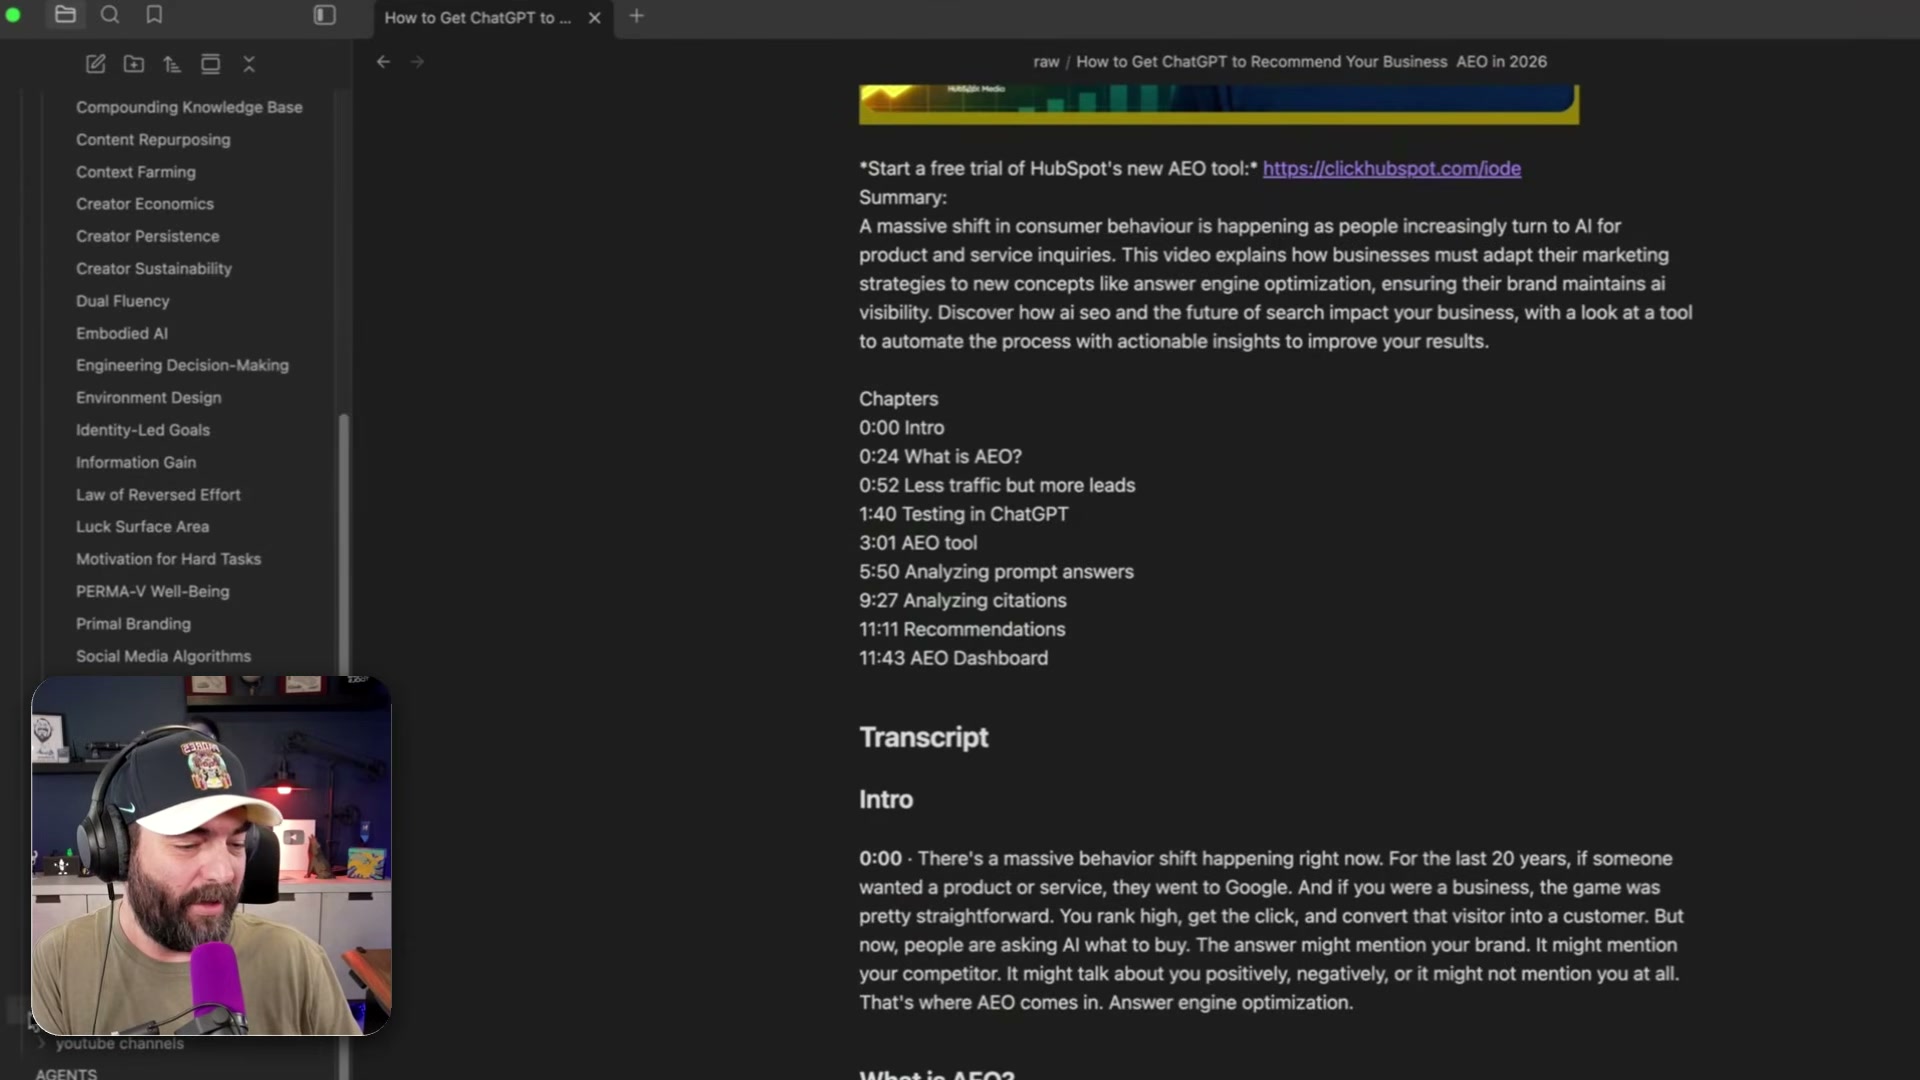
Clip your first piece of content. Open any webpage, click the extension, and hit Add to Obsidian. For YouTube videos, the clipper pulls the full timestamped transcript automatically. Every clipped item lands in a folder called
raw/— your unprocessed inbox.
- Download and install the OpenAI Codex desktop app and connect it to an OpenAI account with available credits. Codex acts as the agentic layer — it reads your vault’s markdown files and writes new pages back into the folder structure.
Warning: this step may differ from current official documentation — see the verified version below.
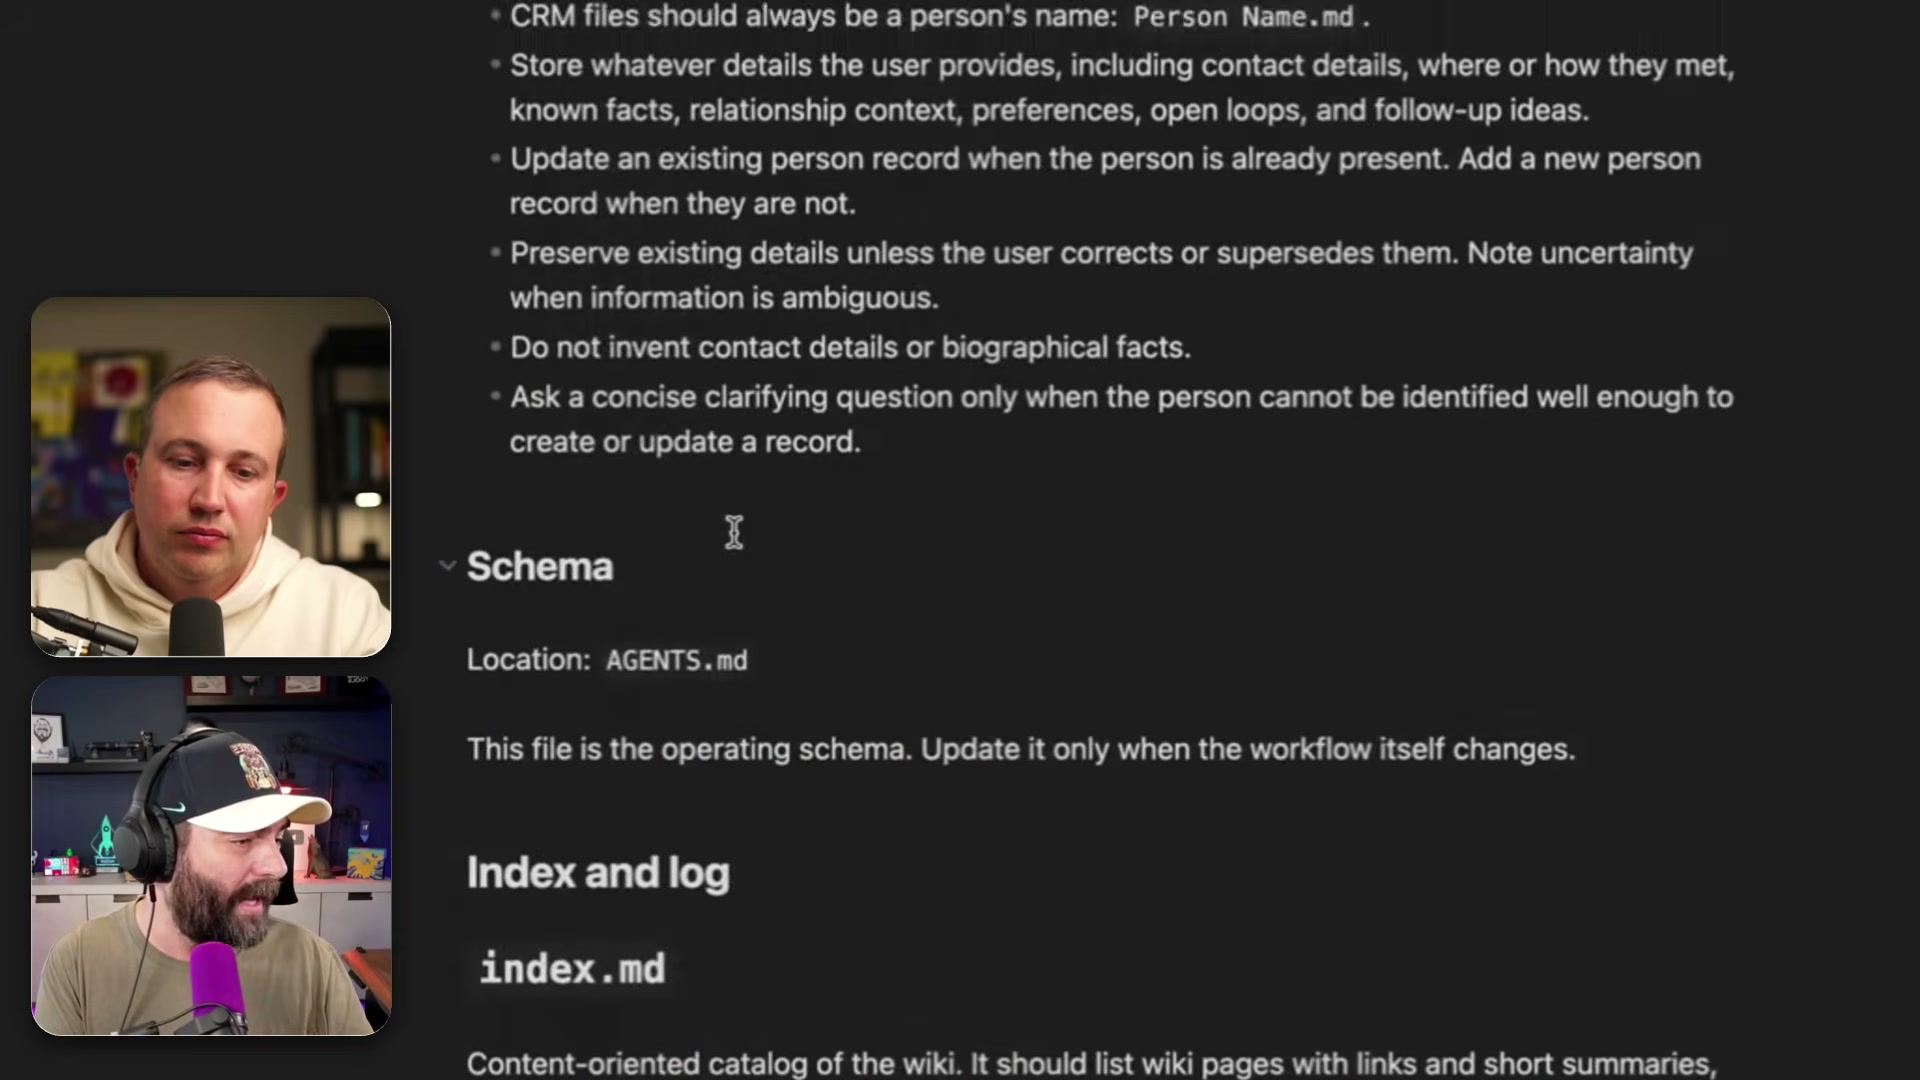
- Create a file named
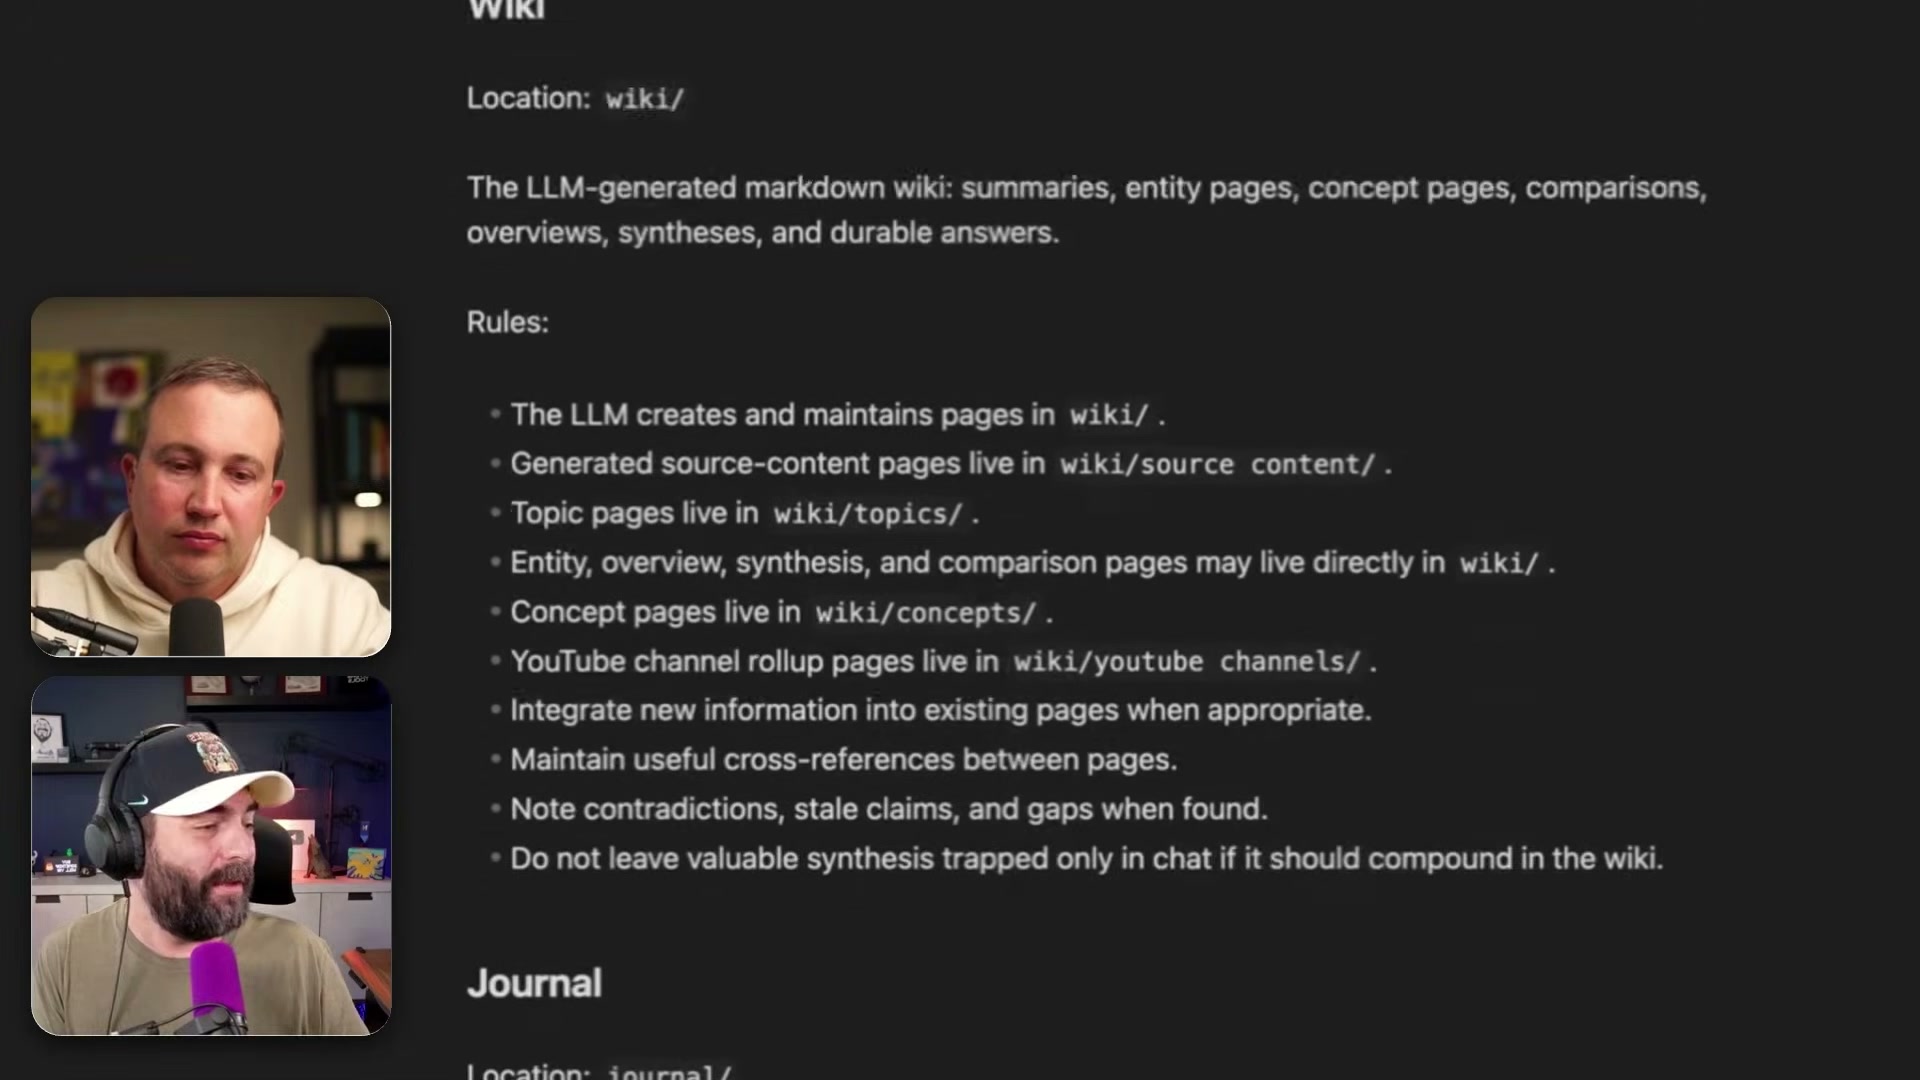
agents.mdinside your Obsidian vault. This file holds named sub-prompts that define exactly what Codex does when triggered. The core sub-prompt isingest, which specifies the full processing sequence: validate for duplicate URLs, create or update source pages inwiki/source content/, build topic pages inwiki/topics/, generate entity and synthesis pages, cross-link everything, updateindex.md, append tolog.md, and move the processed file toraw/processed/.
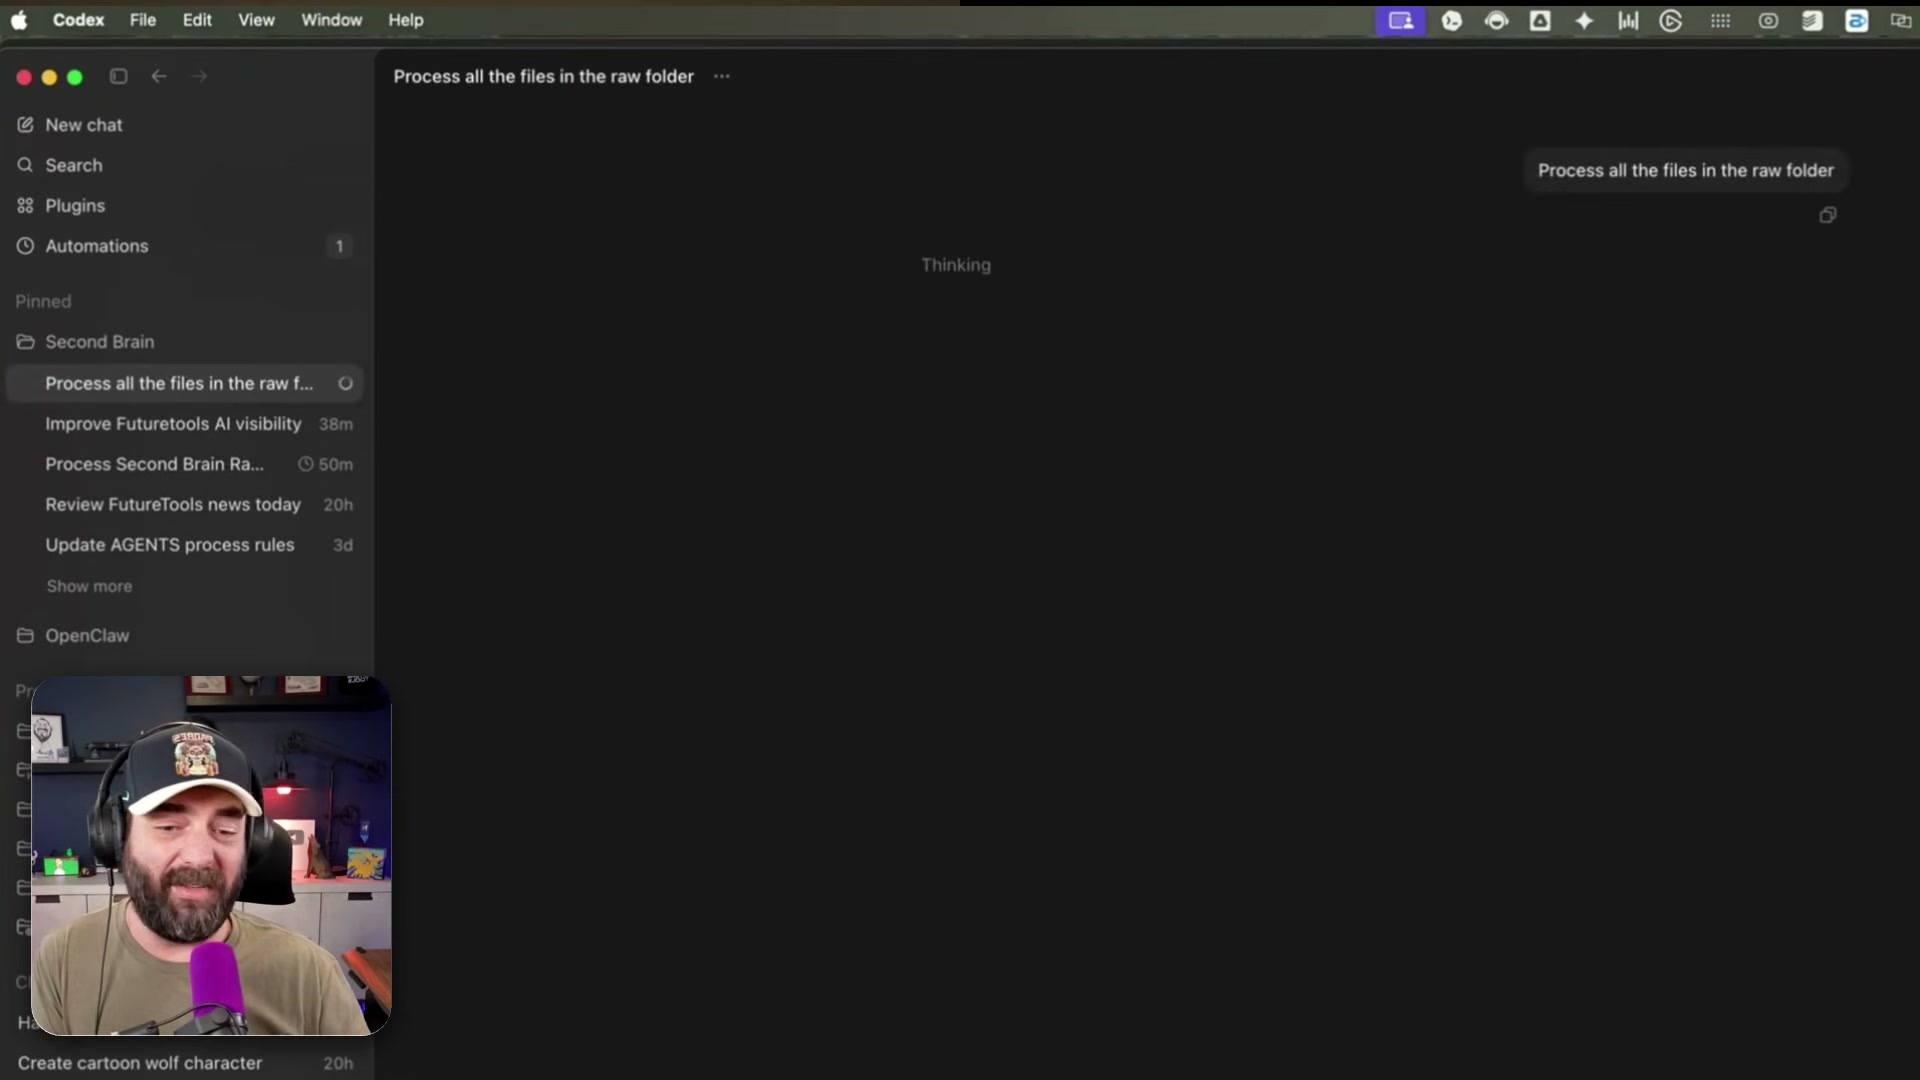
- In Codex, type:
Process all the files in the raw folder. Codex readsagents.md, locates theingestsub-prompt, and executes the full pipeline without further input. Processing takes roughly two minutes per file.
- After processing completes, open Obsidian to find a fully cross-linked wiki. Topic pages include structured checklists, sourced references, and Related links to connected concepts — all maintained automatically as new content arrives. Concept pages in
wiki/concepts/aggregate sources across every saved item on that theme.

-
Create a Codex scheduled automation. In the automations panel, add a prompt: If there are any unprocessed files in the raw directory, please process them now. Set it to run nightly — the tutorial uses 12:50 a.m. daily. From this point on, the pipeline runs without any intervention.
-
Query your wiki through Codex using plain-language questions. Ask something like “What’s the best strategy to get my site to show up in ChatGPT responses?” — Codex reads your wiki, synthesizes an answer, and cites the specific saved sources it drew from.
How does this compare to the official docs?
The setup is fast and the results are compelling, but the agents.md schema conventions and Codex automation scheduling aren’t defined in any published specification — Act 2 grounds each step in what the official documentation actually prescribes.
Here’s What the Official Docs Show
Act 1 gives you a solid mental model of how the pipeline fits together. What follows uses official documentation screenshots to confirm what holds up, flag two setup details the video leaves implicit, and mark the Codex-dependent steps honestly where documentation wasn’t available to verify them.
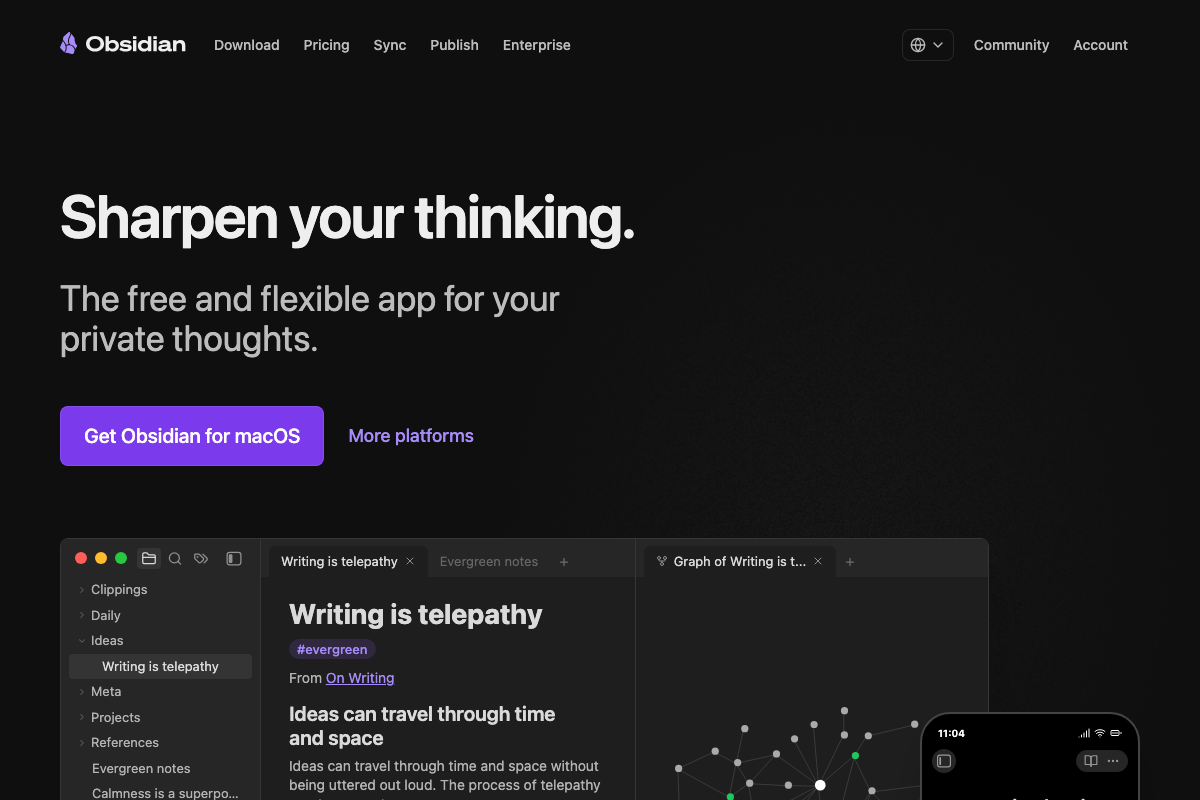
Step 1 — Download and install Obsidian
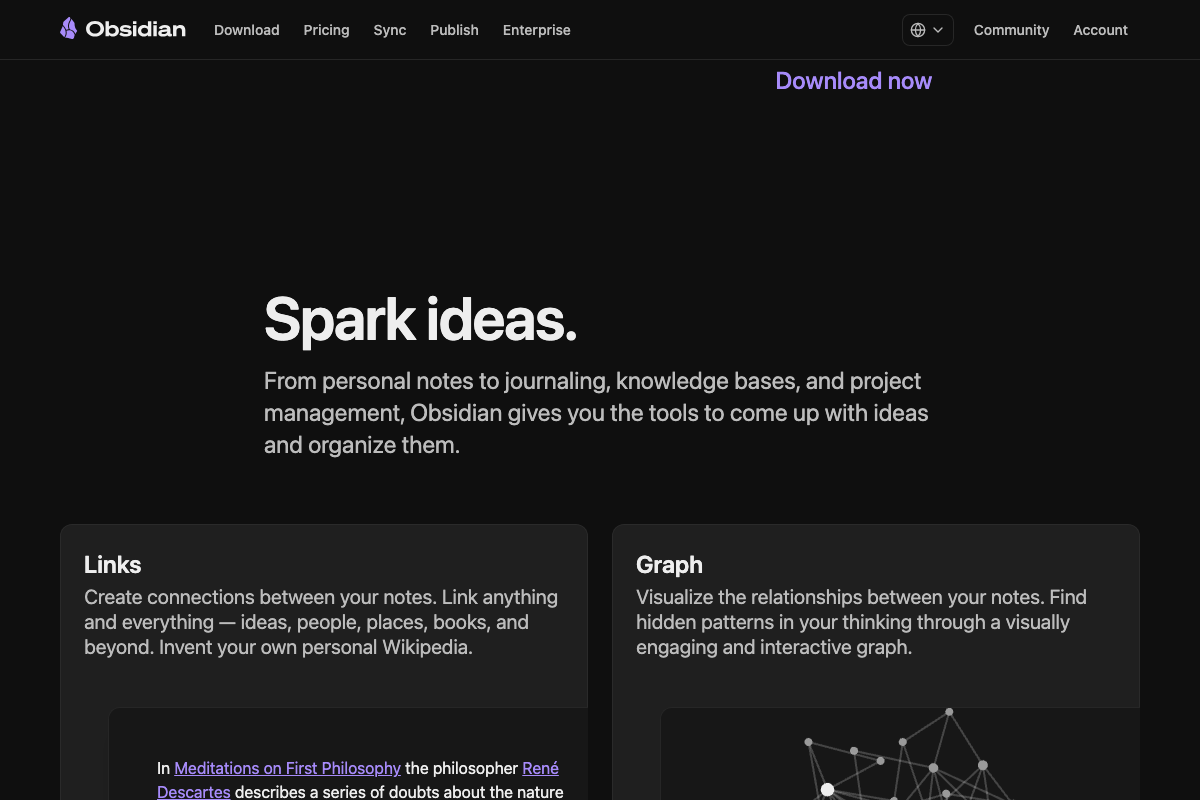
The official Obsidian homepage confirms the app is free, available for macOS and additional platforms via a “More platforms” option, and stores all notes as plain files in a local, private vault. The video’s characterization of Obsidian as a free desktop app with local markdown storage is accurate on every point. One useful clarification from the docs: the folder names visible in Obsidian’s marketing screenshots — Clippings, Daily, Ideas, Projects, References — are illustrative examples, not prescribed defaults. The raw/ inbox folder used in this tutorial is a user-created convention, not a built-in directory.
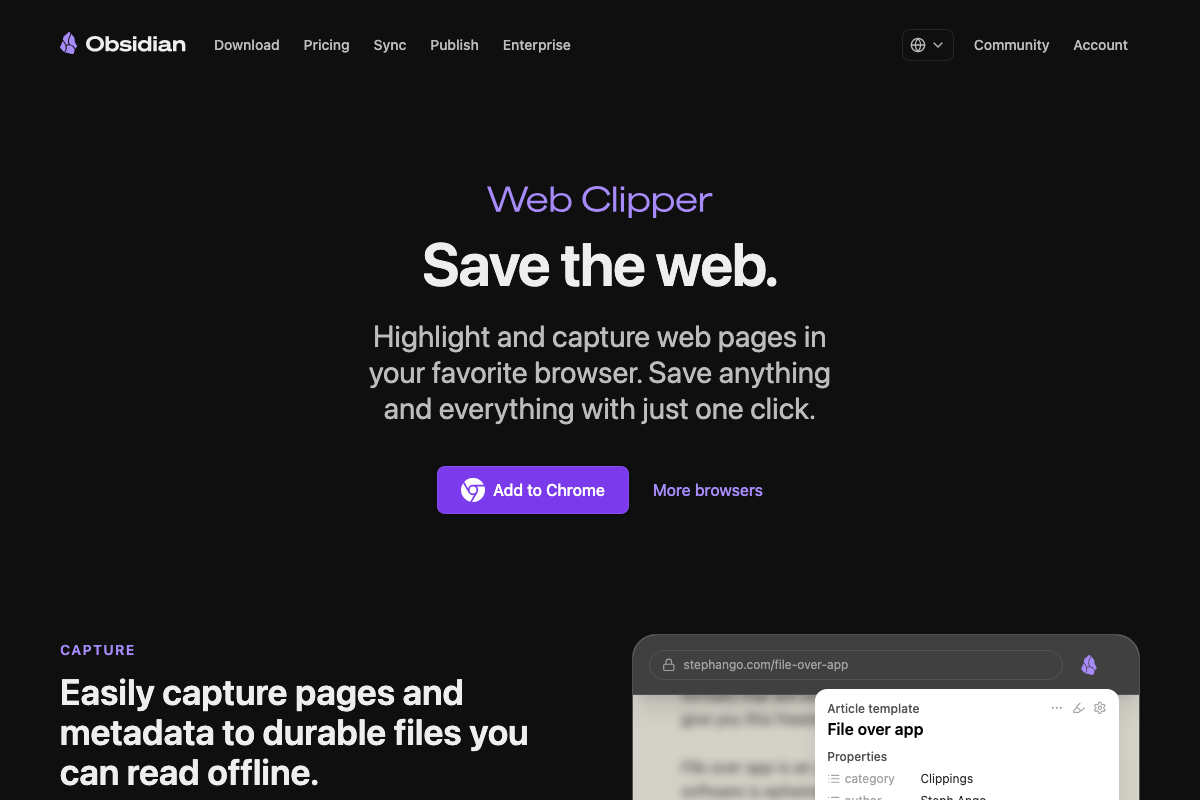
Step 2 — Install the Obsidian Web Clipper
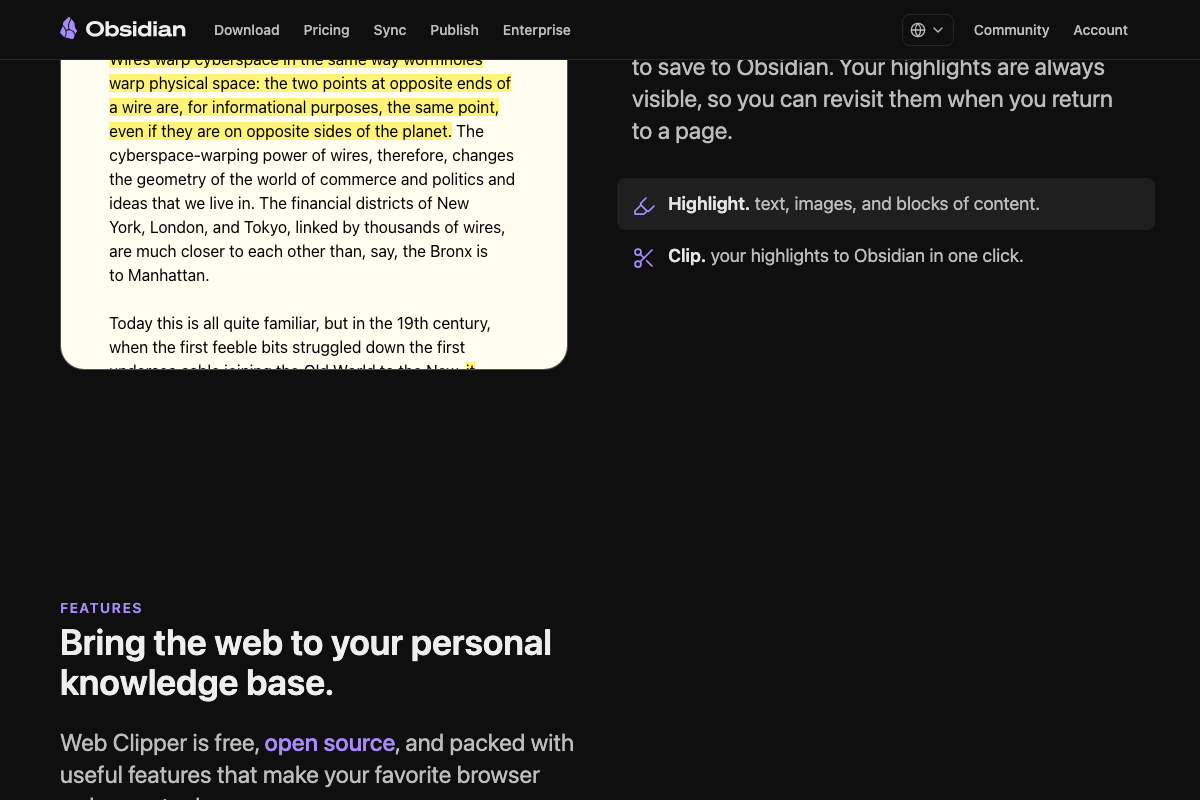
The video’s approach here matches the current docs exactly — the official Web Clipper page shows an “Add to Chrome” button confirming Chrome support. One addition worth noting: the page also displays a “More browsers” option alongside it. As of May 2026, the Web Clipper is not Chrome-exclusive; Firefox and other browsers are supported installation targets. The extension is also confirmed free and open source — a detail the tutorial skips.
Step 3 — Clip your first piece of content
Saving articles works exactly as the video describes. The clarification is meaningful here: the official Web Clipper docs list built-in named templates for Articles, Recipes, References, and Academic papers only. Tweets and YouTube transcripts are not first-class content types. Clipping either of those sources requires configuring a Custom template for your favorite sites — a prerequisite the tutorial does not walk through. If your workflow depends on saving tweets or video transcripts, plan for that configuration step before your first clip.
Steps 4–9 — Codex installation, agents.md configuration, folder processing, scheduling, and querying
No official documentation was found for these steps —
proceed using the video’s approach and verify independently.
All three OpenAI Codex documentation screenshots captured browser error pages at the time of verification. Nothing in steps 4 through 9 — covering Codex installation, the agents.md schema, the processing prompt, nightly scheduling, and plain-language querying — could be confirmed or corrected against live documentation.
One architectural note the docs do support: the cross-linking you see in Obsidian after step 7 is produced by two distinct layers. Codex writes the [[wiki-link]] syntax into your markdown files. Obsidian’s native Links engine then resolves and visualizes those connections as the graph. The tutorial presents this as a single Codex output — the official Obsidian docs make clear the rendering is Obsidian’s own built-in capability, not Codex’s.

Useful Links
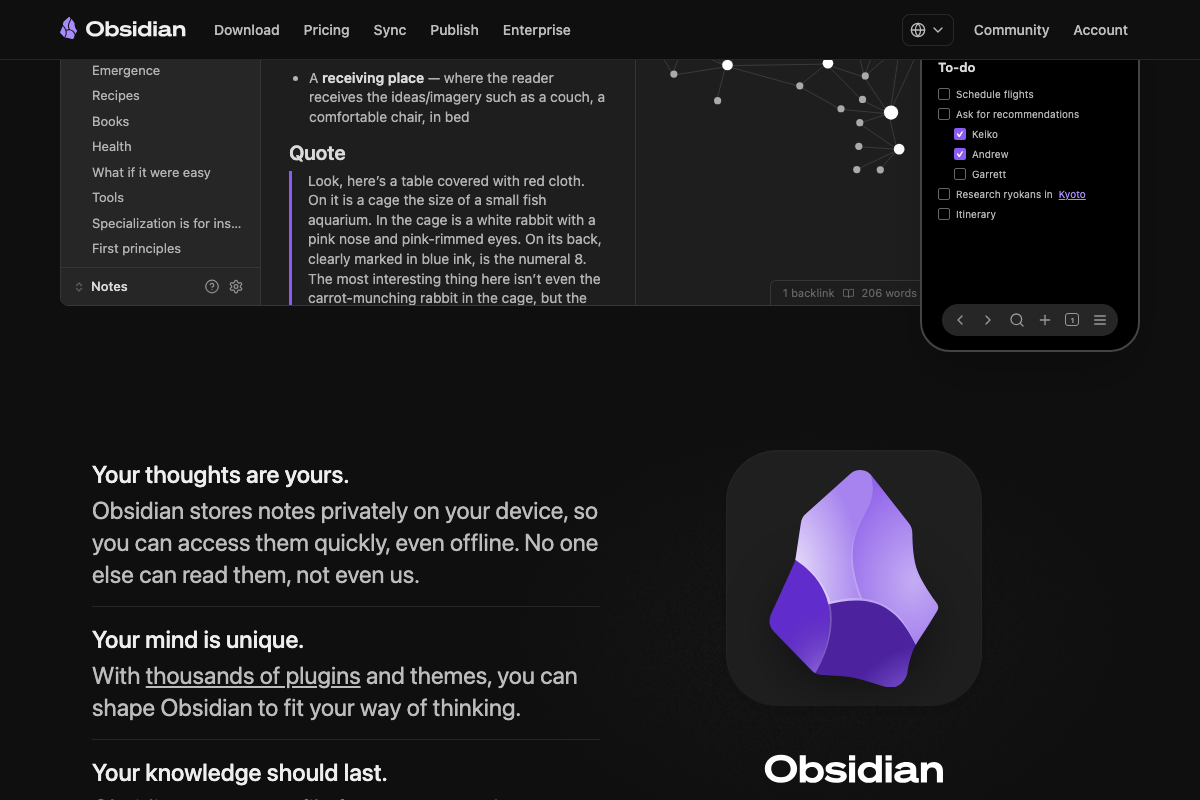
- Obsidian — Sharpen your thinking — Official homepage confirming Obsidian is a free, local-first, plain-markdown desktop app available across platforms.
- Obsidian Web Clipper — Official page for the browser extension, including supported browsers, built-in content templates, and the free/open-source confirmation.
- Codex | AI Coding Partner from OpenAI — OpenAI’s Codex product page; documentation for steps 4–9 should be verified here directly, as the page was unavailable at time of capture.


0 Comments