Export Your Entire WordPress Blog to ChatGPT and Turn It Into Social Content
Your existing blog archive is a knowledge base waiting to be activated. By exporting every post you’ve ever written as a single PDF and uploading it to a ChatGPT Project, you give the model your voice, your expertise, and your content history — and get back ready-to-publish Instagram posts, Reels scripts, and consolidated articles in minutes. This workflow lets you extract genuine value from years of writing even as organic search traffic declines.
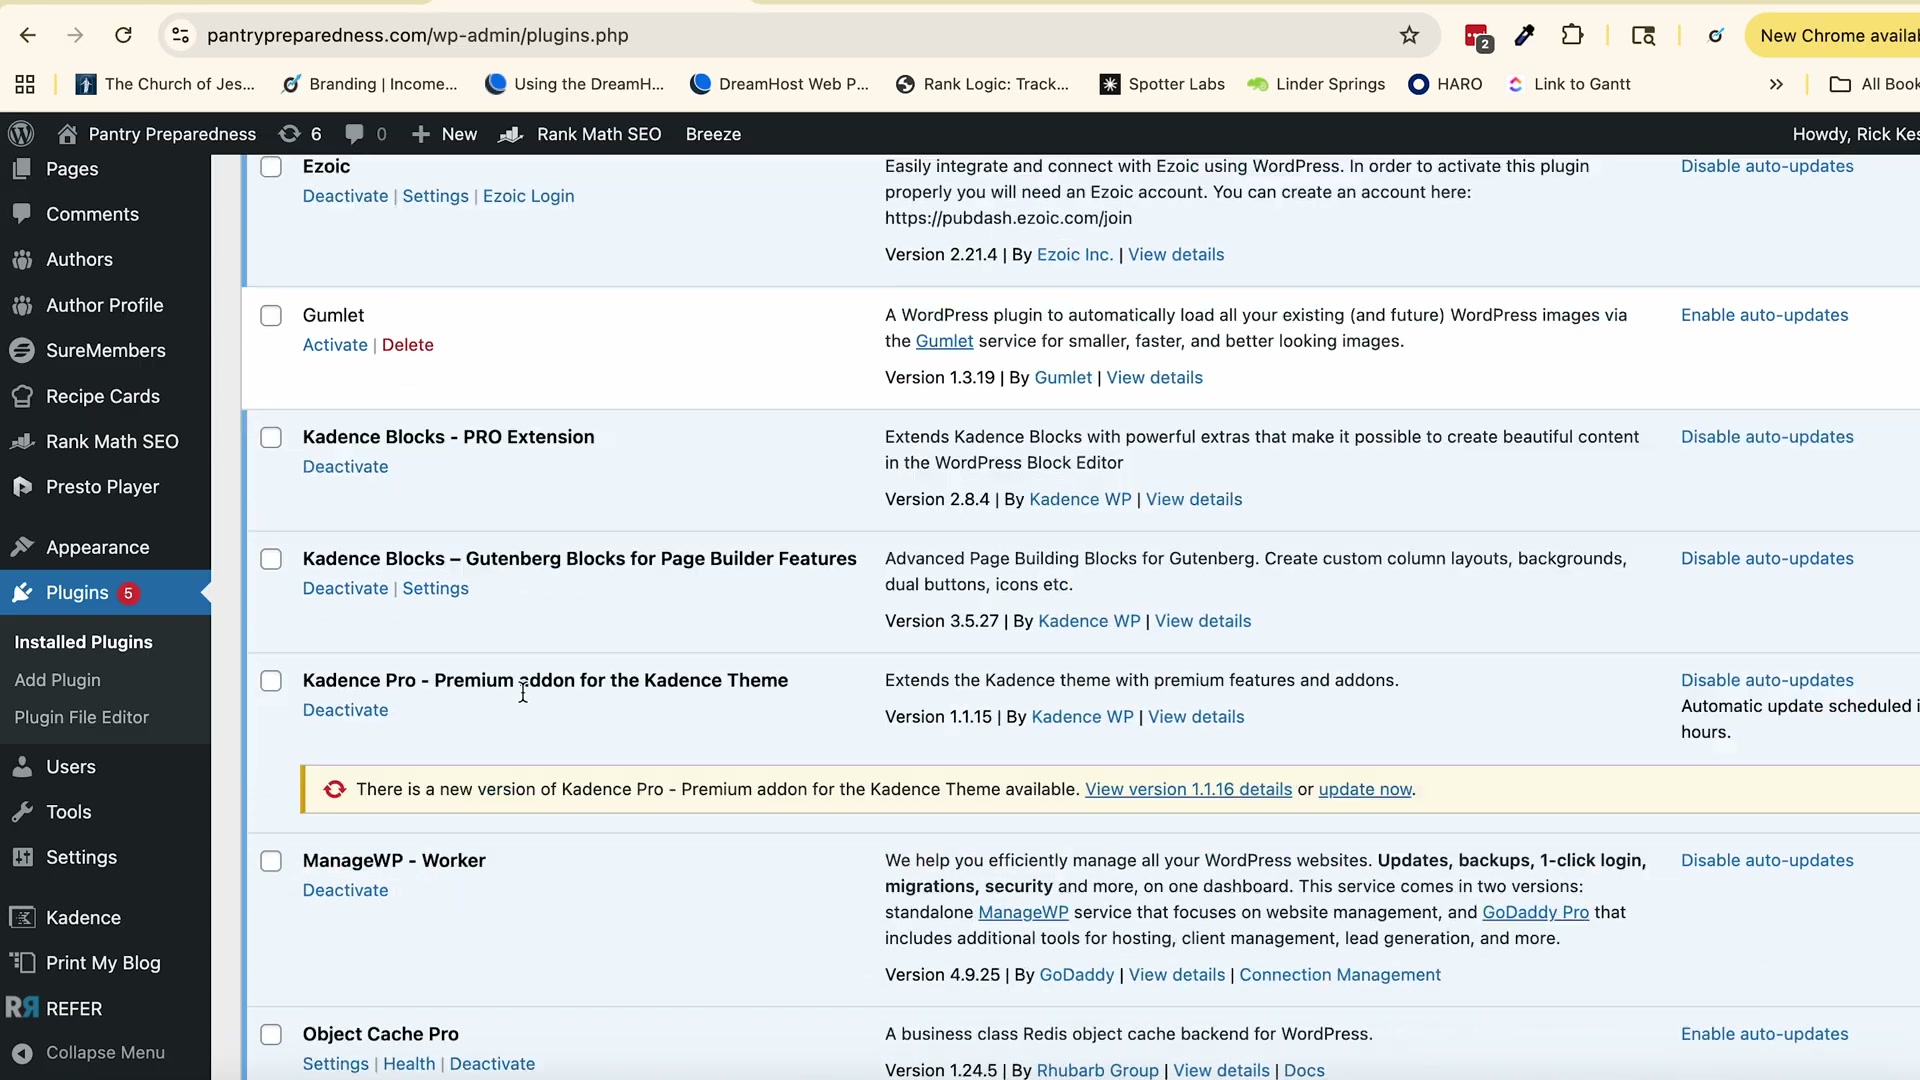
- From your WordPress dashboard, go to Plugins → Add New and search for Print My Blog. Install and activate it.
-
In your WordPress sidebar, navigate to Print My Blog → Quick Print.
-
Under output format, select Digital PDF. This format preserves hyperlinks and structures the text for machine readability rather than physical printing.
- Configure the print settings: set post type to Posts, order to Oldest First, and check Published under Statuses. Enable all authors and all categories. Under content options, include post content, author, URL, and comments. Leave the excerpt unchecked.
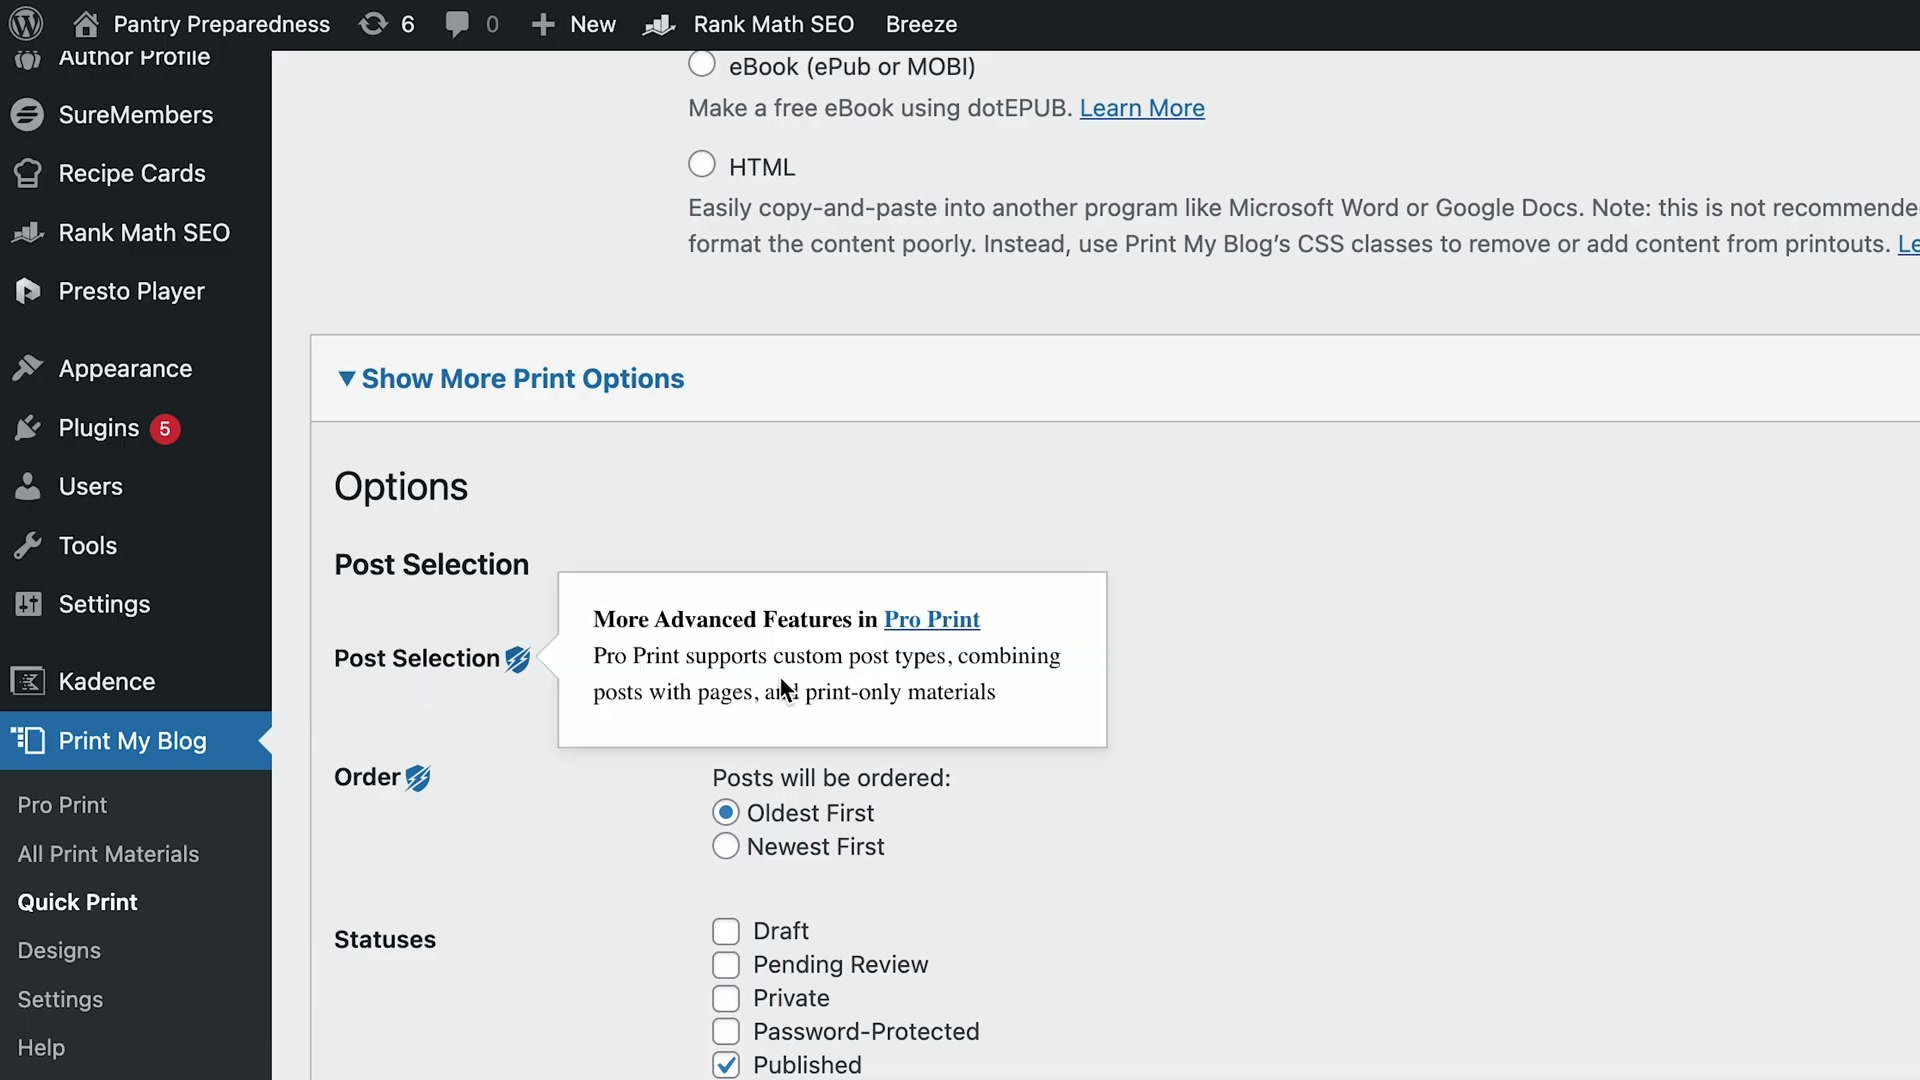
- Under Page Layout, set columns to 1, font size to Normal, image size to Medium, and ensure Include Hyperlinks is active. Click Prepare Print-Page.

-
When the print preview loads, use your browser’s Print → Save as PDF function to export the file locally. A large blog can produce a 500+ page PDF — that’s expected.
-
Log in to ChatGPT with a paid account (currently $20/month), then click New Project in the left sidebar. Name it something descriptive — for example,
[Site Name] Content KB— and create it.
Warning: this step may differ from current official documentation — see the verified version below.
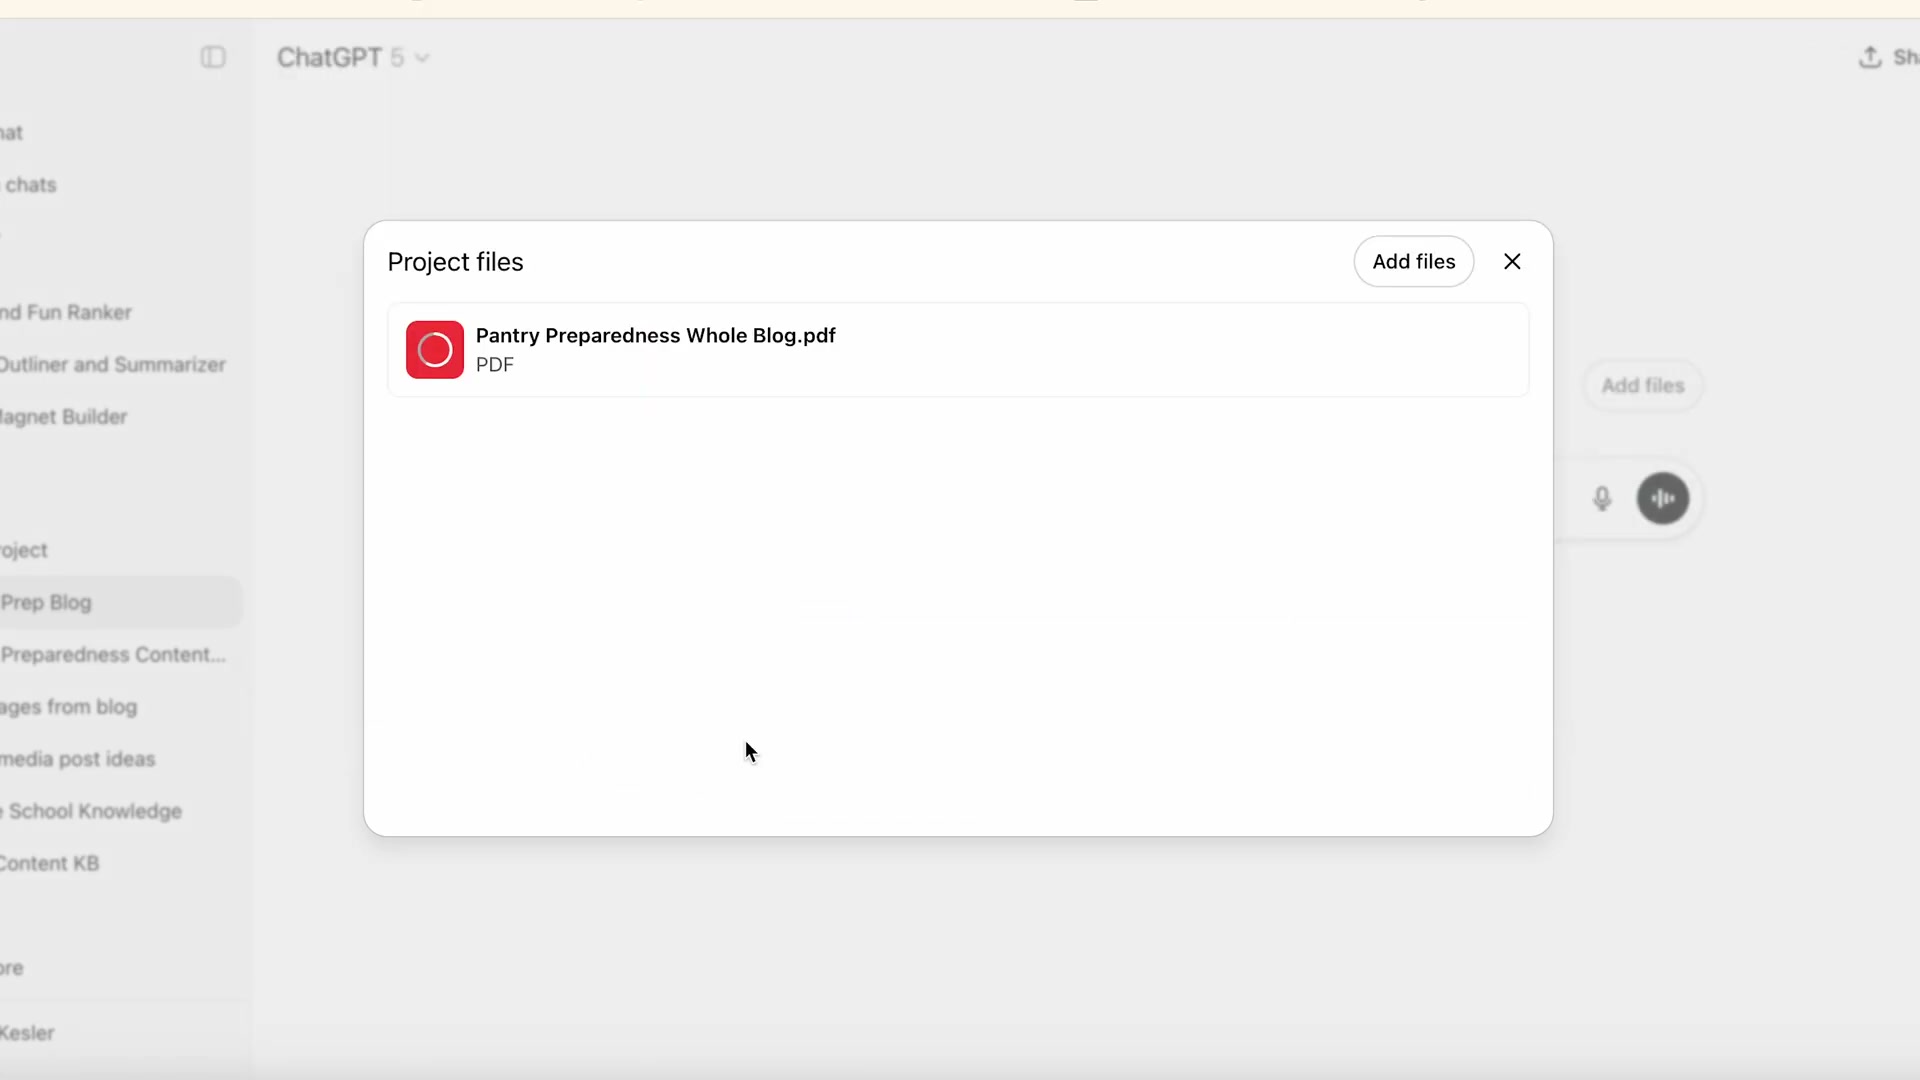
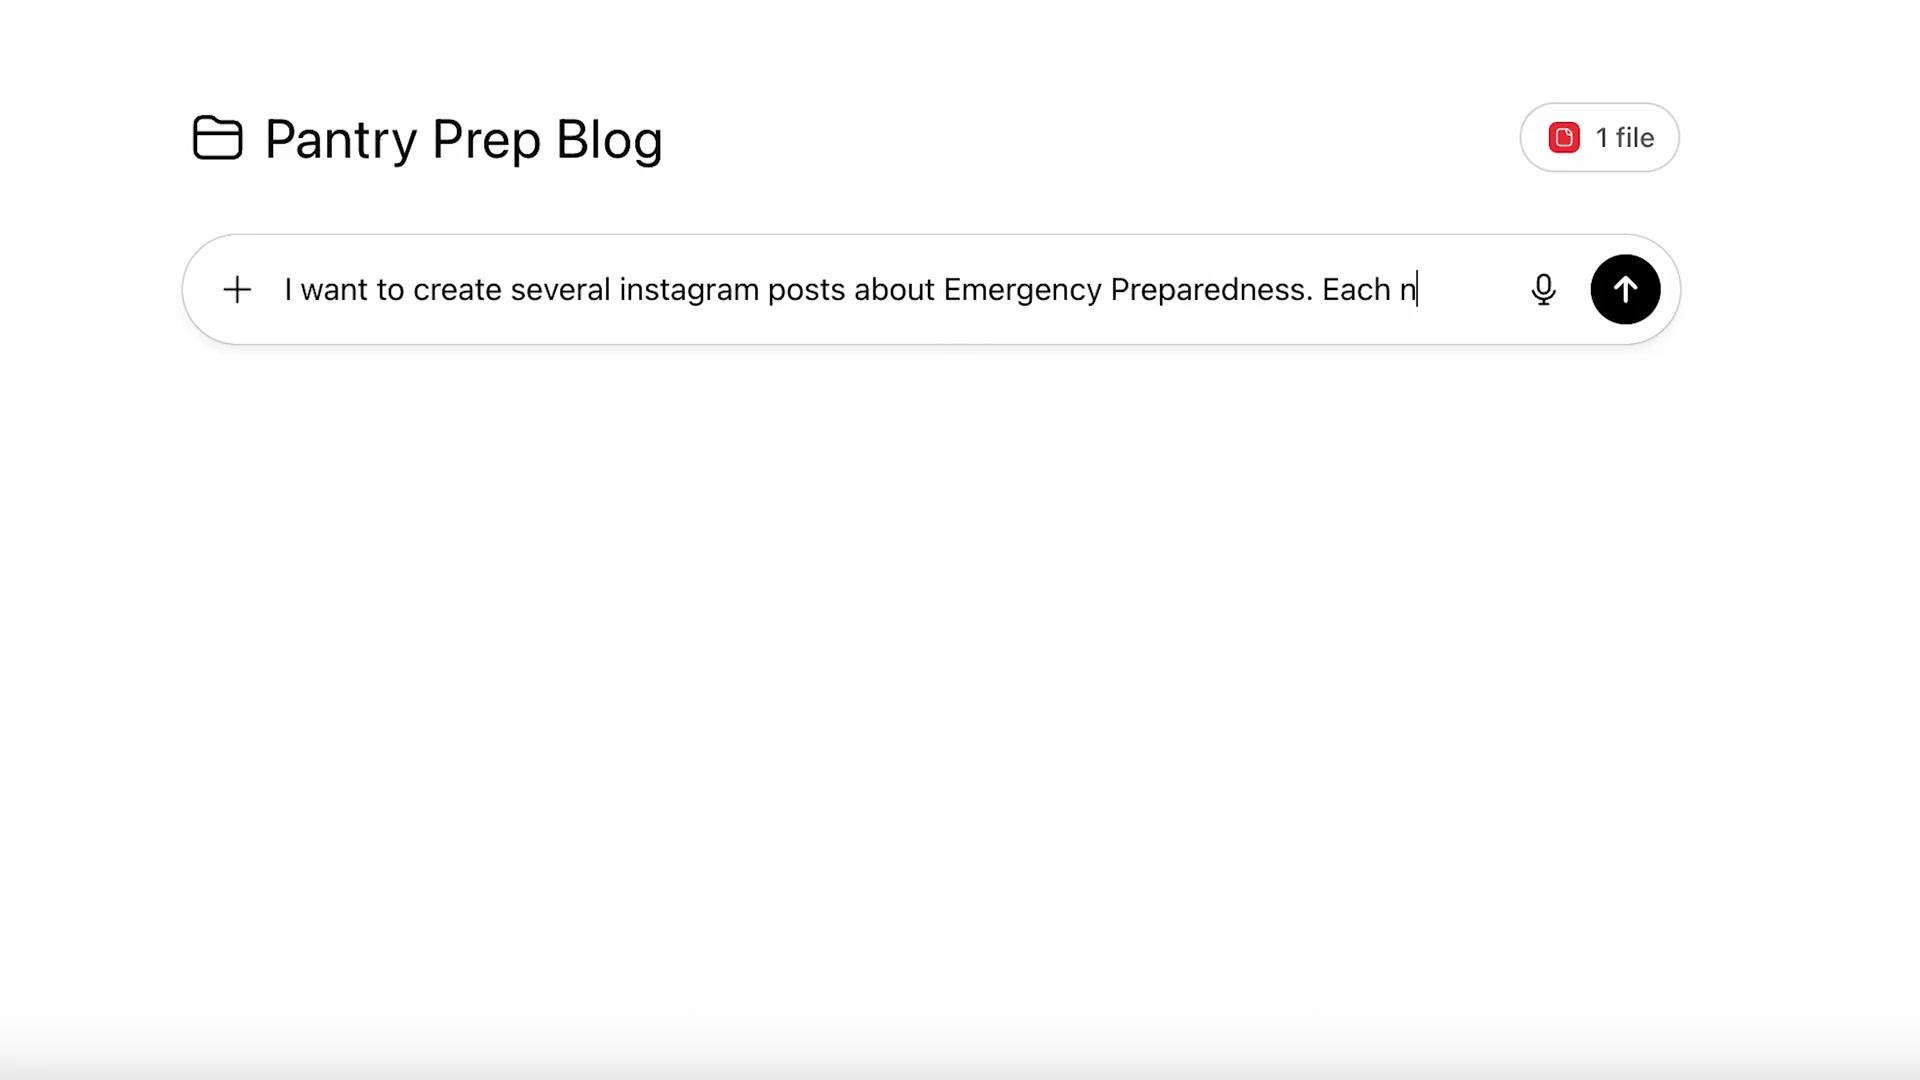
- Inside your new project, click Add Files (or drag and drop) to upload the PDF you just exported. Once the upload completes, a file badge appears in the project interface confirming the document is loaded as context.
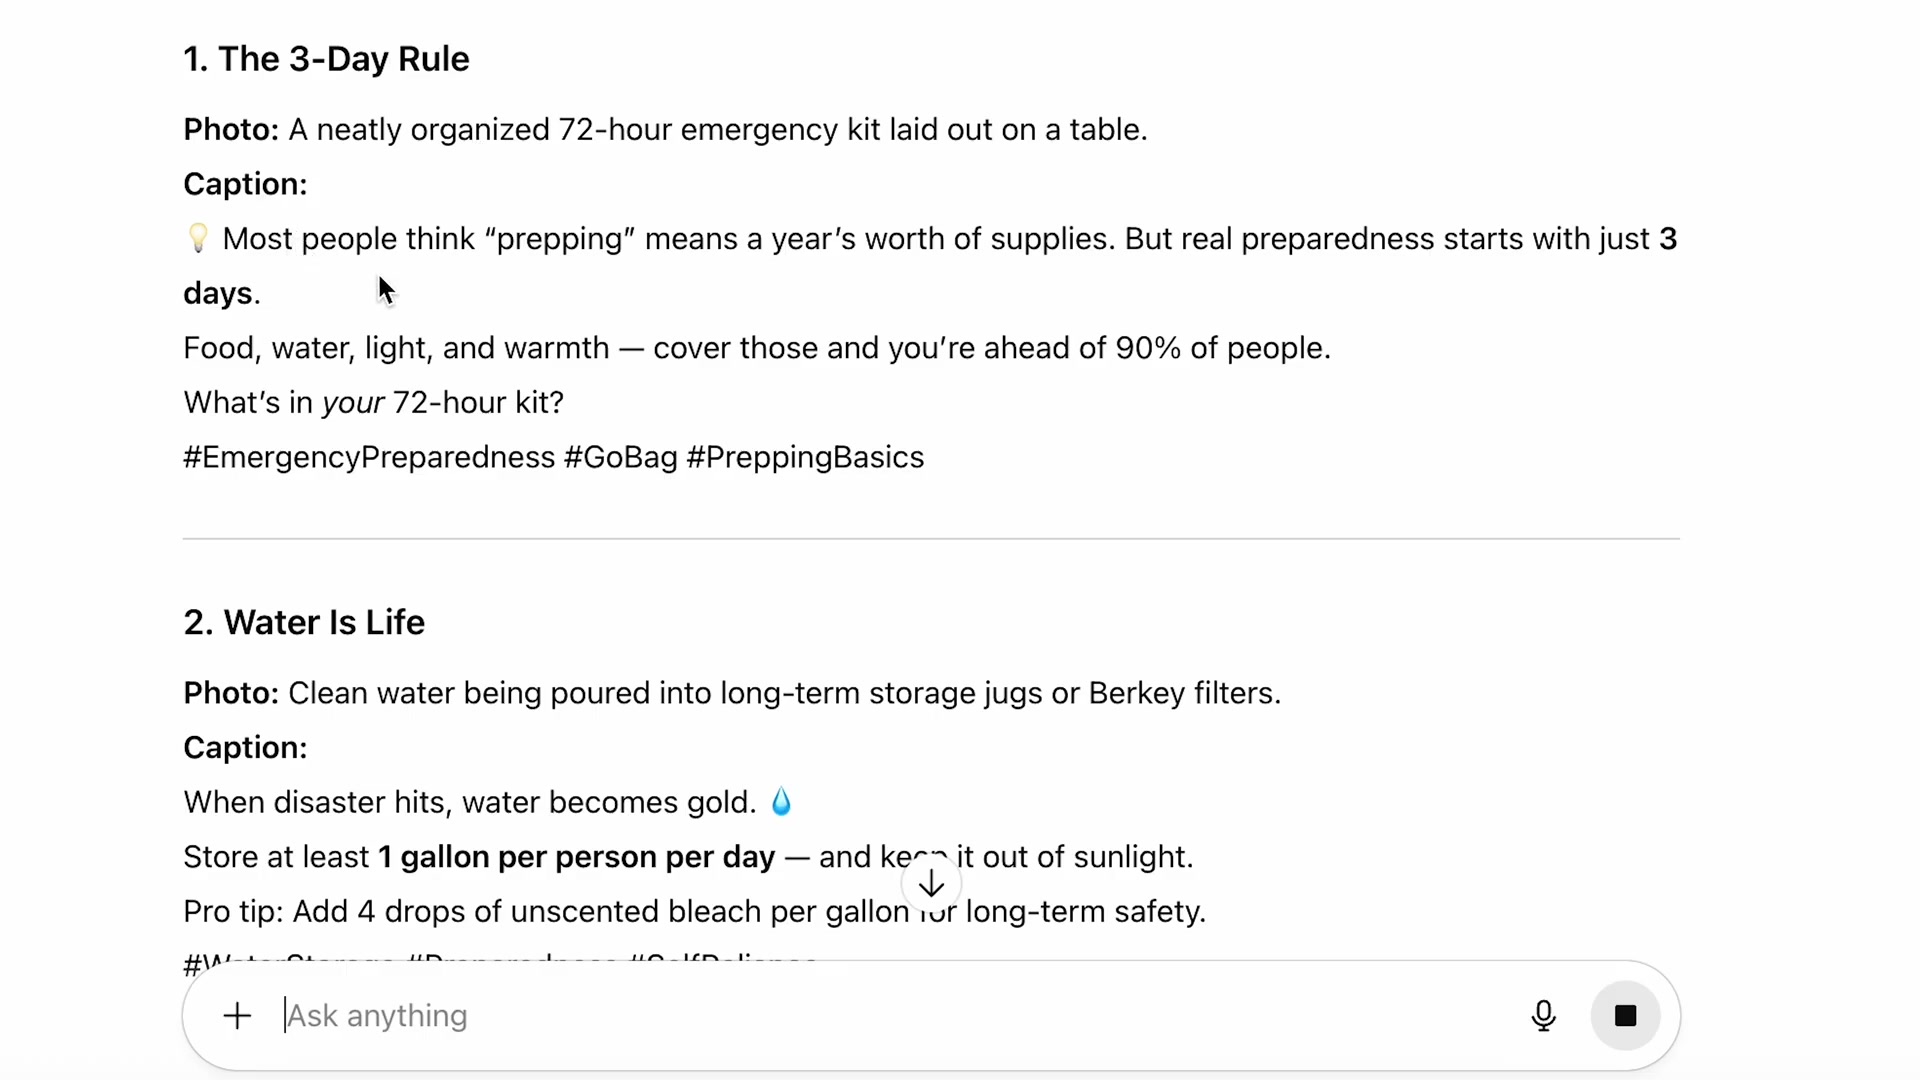
- Open a new chat within the project. Prompt ChatGPT to generate Instagram posts on a specific topic from your blog — request a photo concept and a captivating caption with hashtags for each idea.
- Review the output. Tell ChatGPT which ideas you like and which you don’t — even without explaining why — and ask it to generate more based on that feedback. For a selected concept, request a branded, square Instagram-sized image.
-
Prompt ChatGPT to generate Reels or short-video topic ideas from the same knowledge base. Once you select a concept, request a full script that matches your blog’s tone, a shot list, and both a 30-second and a 2-minute version.
-
Optionally, ask ChatGPT to identify which existing blog posts cover overlapping topics and draft a consolidated article merging them.
How does this compare to the official docs?
The Print My Blog plugin and ChatGPT Projects each have their own documented behavior and limitations worth examining — particularly around file size caps, PDF parsing accuracy, and the distinction between Projects and custom GPTs — which is exactly what Act 2 addresses.
Here’s What the Official Docs Show
The video walks through a genuinely useful workflow, and steps 1–4 hold up well against the official plugin documentation. What follows adds precision where the docs reveal specifics the video glossed over, and flags honestly where documentation coverage ran out.
Step 1 — Install Print My Blog from the WordPress Plugin Directory
The plugin’s full official name in the WordPress.org directory is Print My Blog – Print, PDF, & eBook Converter WordPress Plugin by Michael Nelson. You can install it directly from your dashboard (Plugins → Add New → search “Print My Blog”) or download it manually from the listing page.
The video’s approach here matches the current docs exactly.
One compatibility note worth flagging: as of March 2026, the plugin is tested up to WordPress 6.9.4. WordPress 7.0 is announced for release April 9–11, 2026 (WCAsia 2026) — compatibility with 7.0 is not yet confirmed by the plugin’s documentation.
Step 2 — Navigate to Print My Blog → Quick Print
The video’s approach here matches the current docs exactly. The plugin documentation confirms Quick Print as the first of three named features, and the one intended for bulk blog export. (The other two — Print Buttons for site visitors and Pro Print for professional books — are separate use cases not relevant to this workflow.)
Step 3 — Select Your Output Format
The video’s approach here matches the current docs exactly in terms of outcome — Quick Print does produce a PDF of your entire blog. One label to clarify: the tutorial refers to a “Digital PDF” format option inside the plugin. The official WordPress.org documentation does not use that term. What the plugin does is load all your posts into a single web page and route the output through your browser’s native print/save-as-PDF function. “Digital PDF” may be a label in a paid tier of the plugin or simply the tutorial’s informal description of the browser print step — it does not appear in the plugin’s official listing.
The docs also surface two output options the tutorial skips: ePub and MOBI are listed alongside PDF as supported formats via Quick Print. If you’re feeding content into a tool that handles ePub better than large PDFs, that’s worth knowing.
Step 4 — Configure Print Settings and Export
The video’s approach here matches the current docs exactly. The plugin documentation confirms it “prints posts and pages” with support for thousands of posts in a single session (the documented record is 3,000+). It also notes that output styling follows your active theme and plugins, including Gutenberg page builders — so visual formatting in the PDF will vary by site.
Steps 5, 6, 7 — Log In to ChatGPT, Create a Project, Upload the PDF
No official documentation was found for these steps —
proceed using the video’s approach and verify independently.
The documentation captures available confirm only that ChatGPT exists at chatgpt.com, that a login flow is required, and that tiered plans are available via a “See plans and pricing” link. The Projects interface, the Add Files workflow, and the $20/month price point stated in the tutorial are not visible in any captured screenshot. For current Projects documentation and pricing, visit help.openai.com directly.
Steps 8–13 — ChatGPT Prompting for Instagram Posts, Image Generation, Reels Scripts, and Blog Consolidation
No official documentation was found for these steps —
proceed using the video’s approach and verify independently.
All three Instagram screenshots captured the logged-out login page only. No post format specifications, square image dimensions, Reels format details, or caption/hashtag conventions referenced in steps 8, 10, and 11 are documented in the available captures. Similarly, steps 9, 12, and 13 (prompt refinement, blog consolidation, and content merging workflows) have no corresponding documentation in any screenshot.
Useful Links
- Print My Blog – WordPress.org Plugin Listing — Official plugin directory page with installation, compatibility metadata, and download
- Print My Blog Plugin Description — Full feature breakdown covering Quick Print, ePub/MOBI output, and compatibility details
- WordPress.org Homepage — Current stable release information and WordPress 7.0 announcement (WCAsia 2026, April 9–11)
- ChatGPT — Entry point for ChatGPT login, plan selection, and Projects access (authentication required for Projects)
- Instagram — Platform login page; post format and Reels specifications require an authenticated session to access
- YouTube Shorts — Confirms YouTube Shorts as an active vertical short-form video format parallel to Instagram Reels


0 Comments