

Automate LinkedIn Outreach with SendPilot AI: Lead Scoring, Multi-Account Sequencing, and Unified Inbox
Manual LinkedIn outreach is a grind — finding leads, qualifying them, writing follow-ups, and tracking replies across multiple accounts eats hours you don’t have. SendPilot AI collapses that entire workflow into a single platform with AI-driven lead scoring, multi-account sequencing, and a unified inbox. By the end of this walkthrough, you’ll have a live outreach campaign running across multiple LinkedIn accounts, with an ICP scoring node that automatically filters out unqualified leads before a single connection request fires.
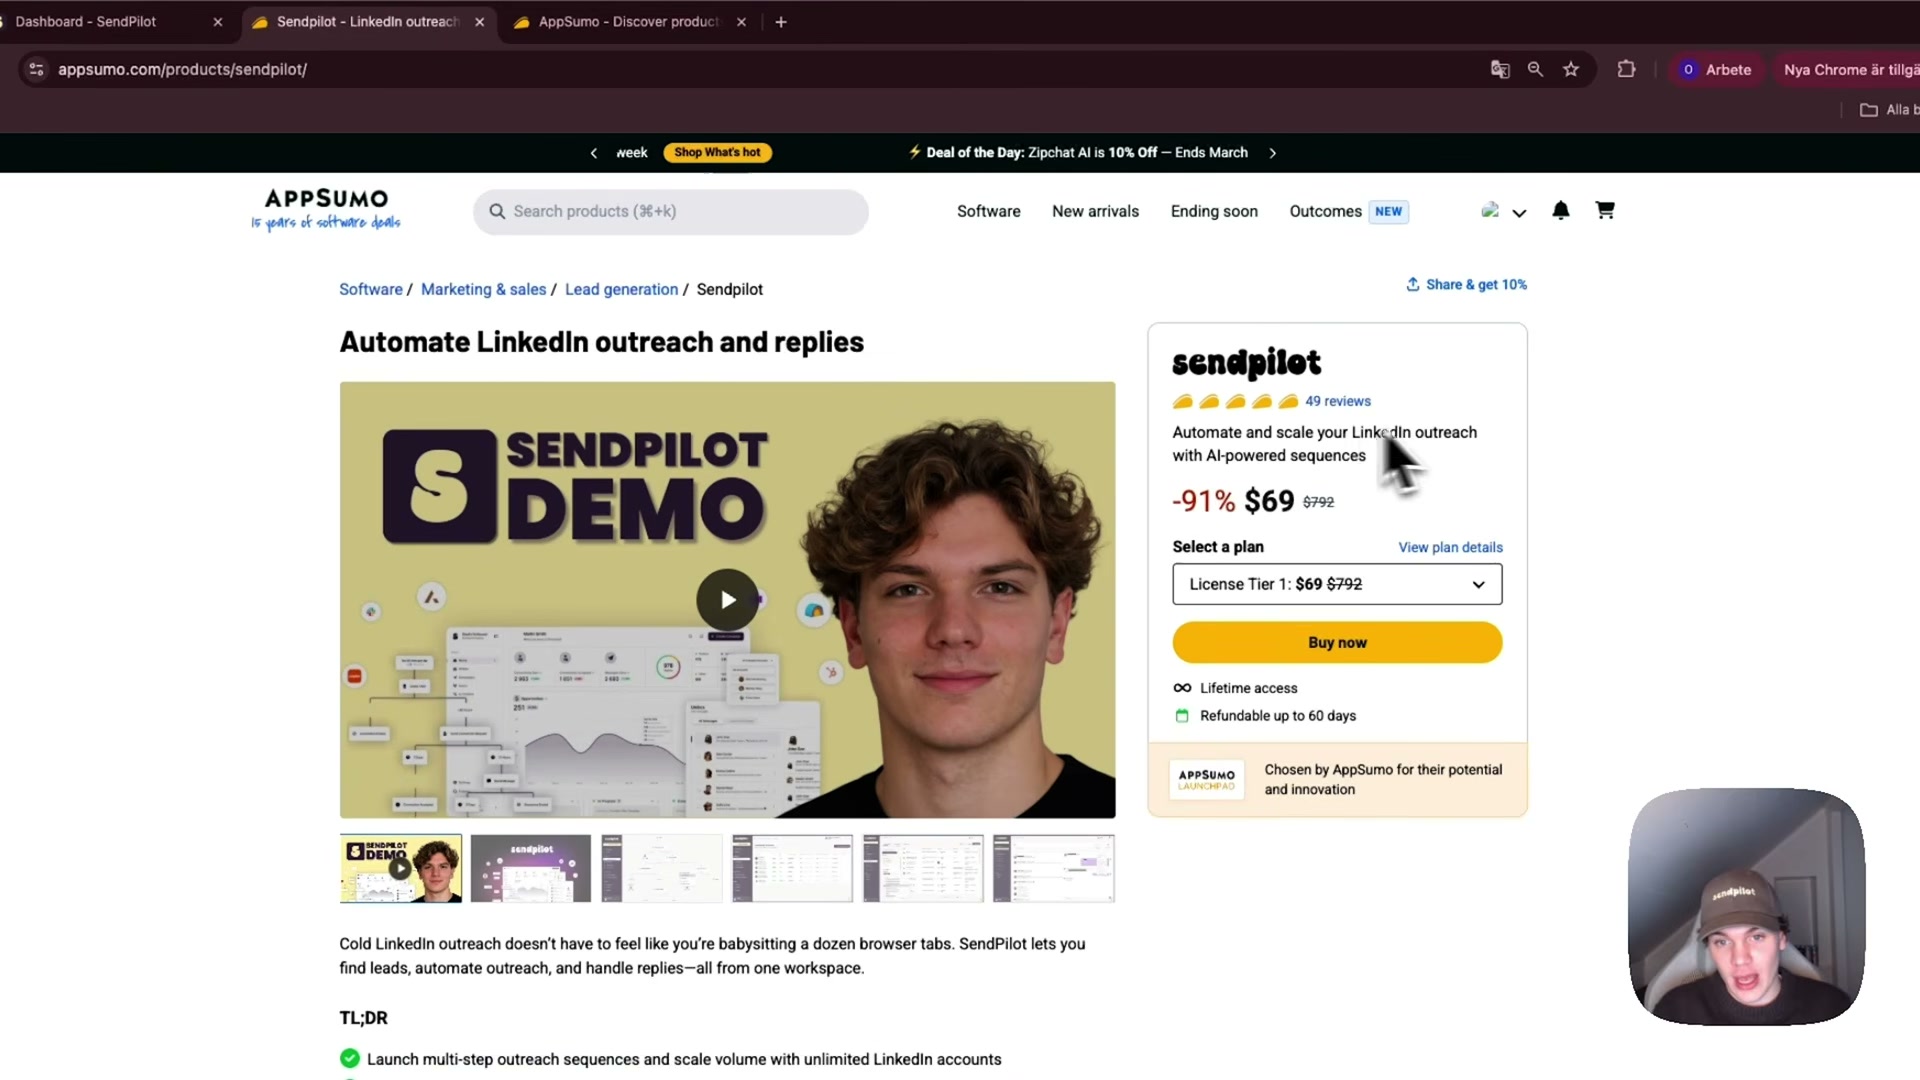
- Open SendPilot and orient yourself on the analytics dashboard. The home view shows reply rates, messages sent per day, and per-sender breakdowns. Nothing is live yet on a fresh account — this view becomes your north star once campaigns are running.
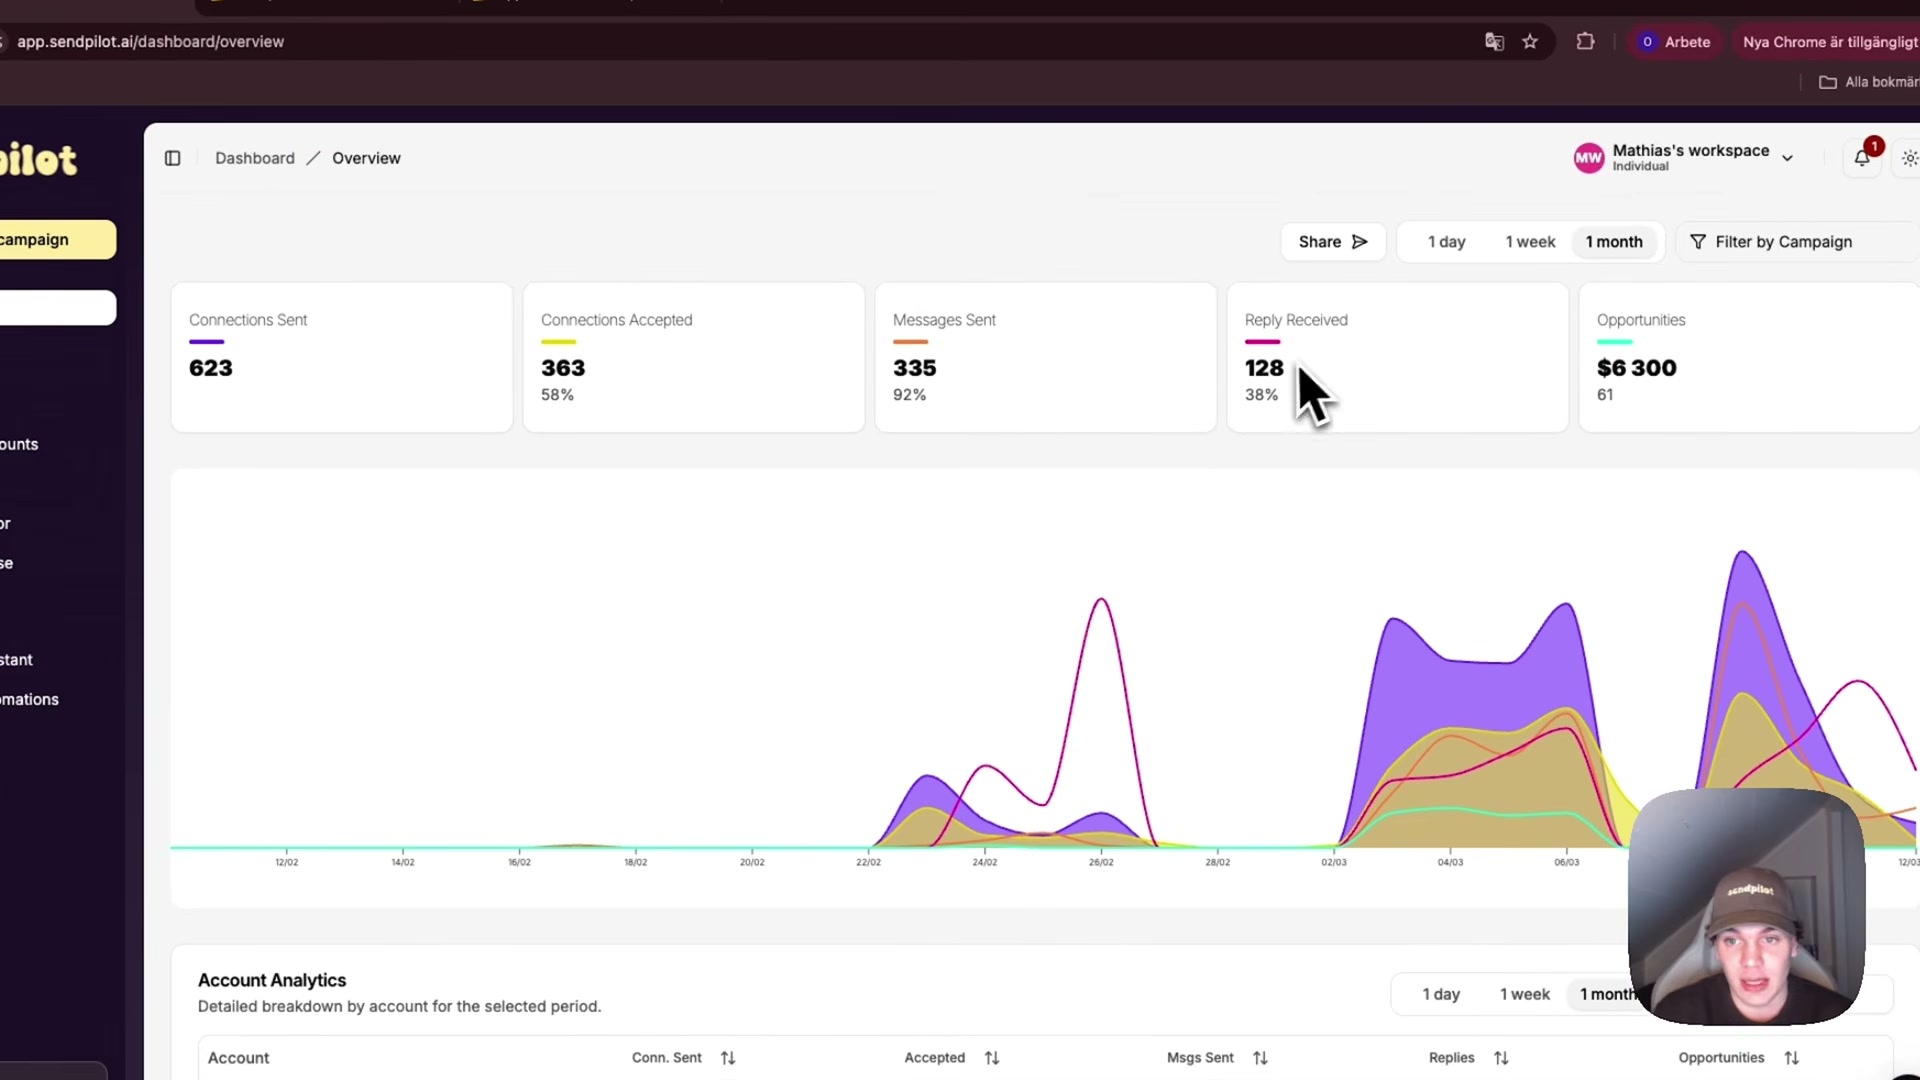
- Connect your LinkedIn account by selecting Connect LinkedIn Account. SendPilot offers three connection methods — Credentials (recommended), Chrome Extension, or Browser Cookies. After entering your login details, open Proxy Settings and set the proxy country to match your actual physical location. This eliminates the IP discrepancy that LinkedIn’s automation detection looks for.
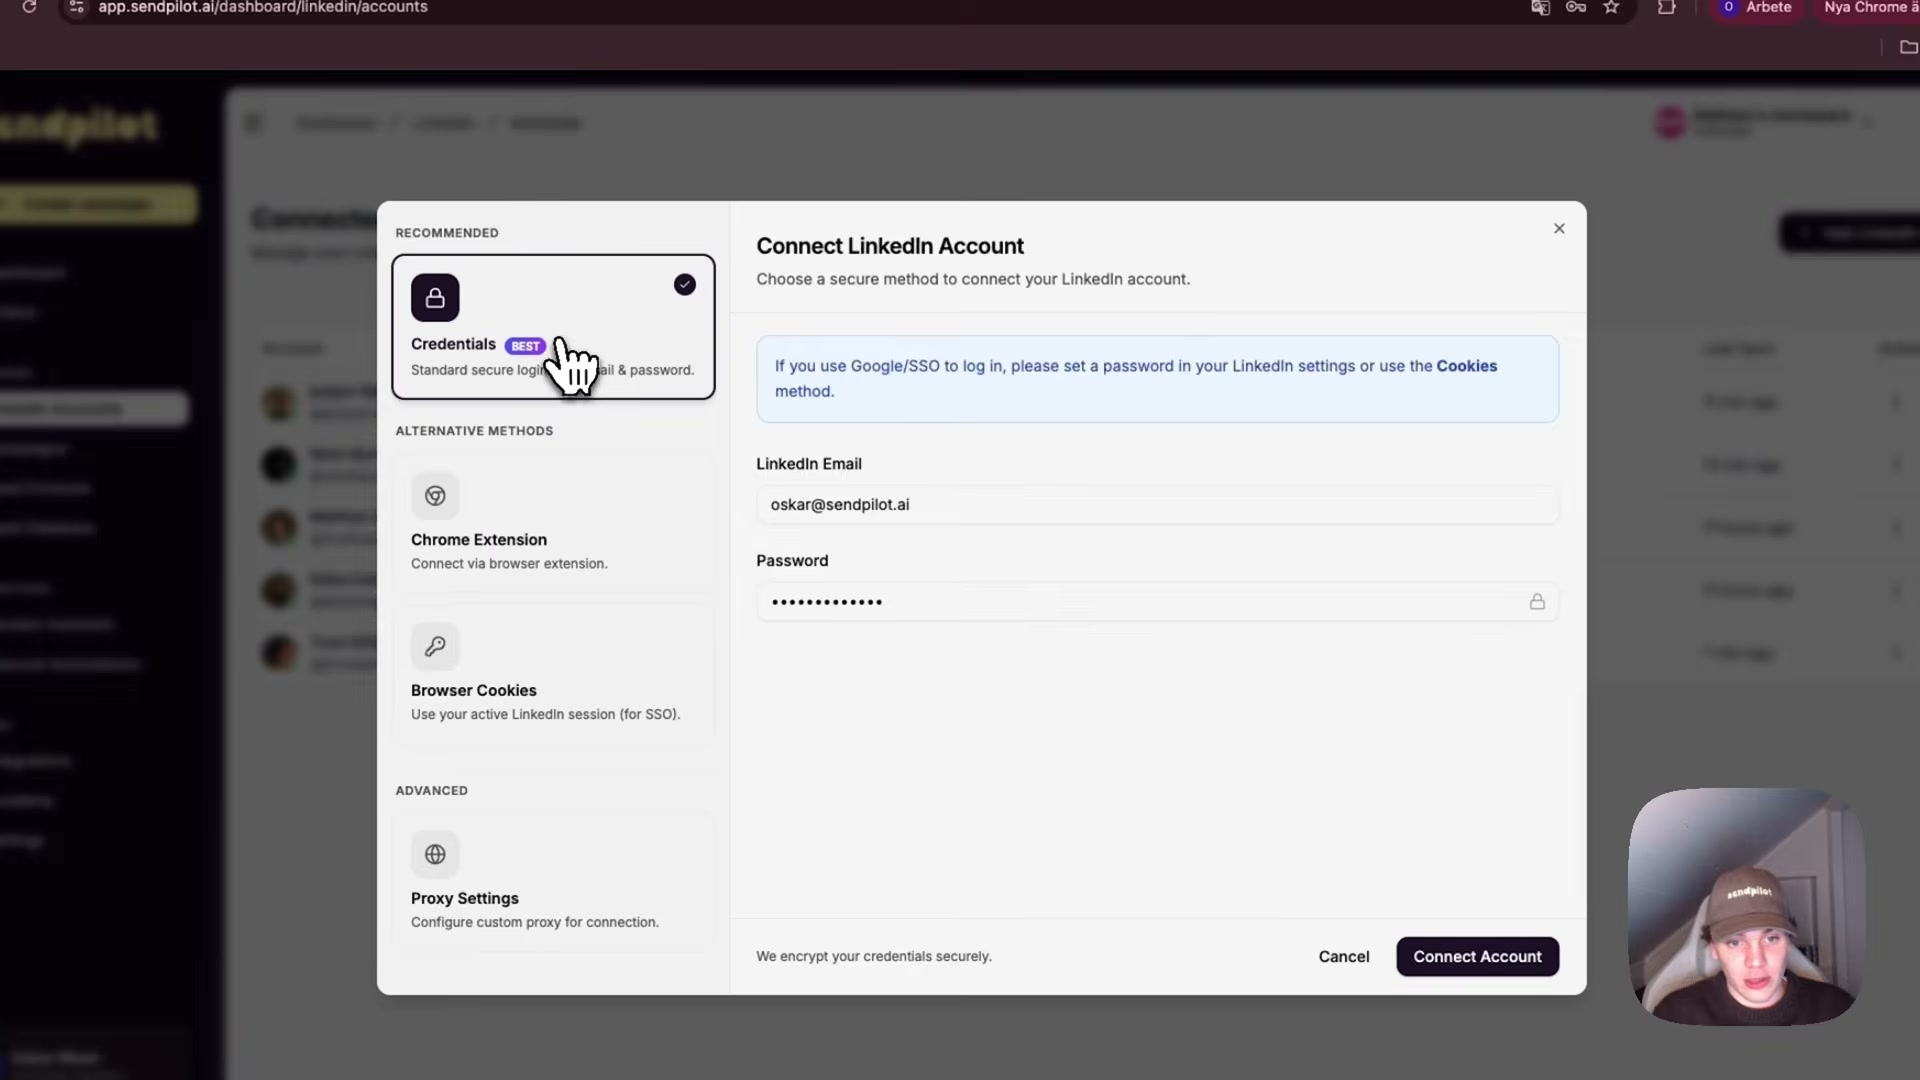
- If your LinkedIn account has two-factor authentication enabled, SendPilot surfaces a 6-digit code prompt immediately after login. Enter the code from your authenticator app to complete the connection. You can connect additional accounts from the same screen — each one becomes an available sender for future campaigns.
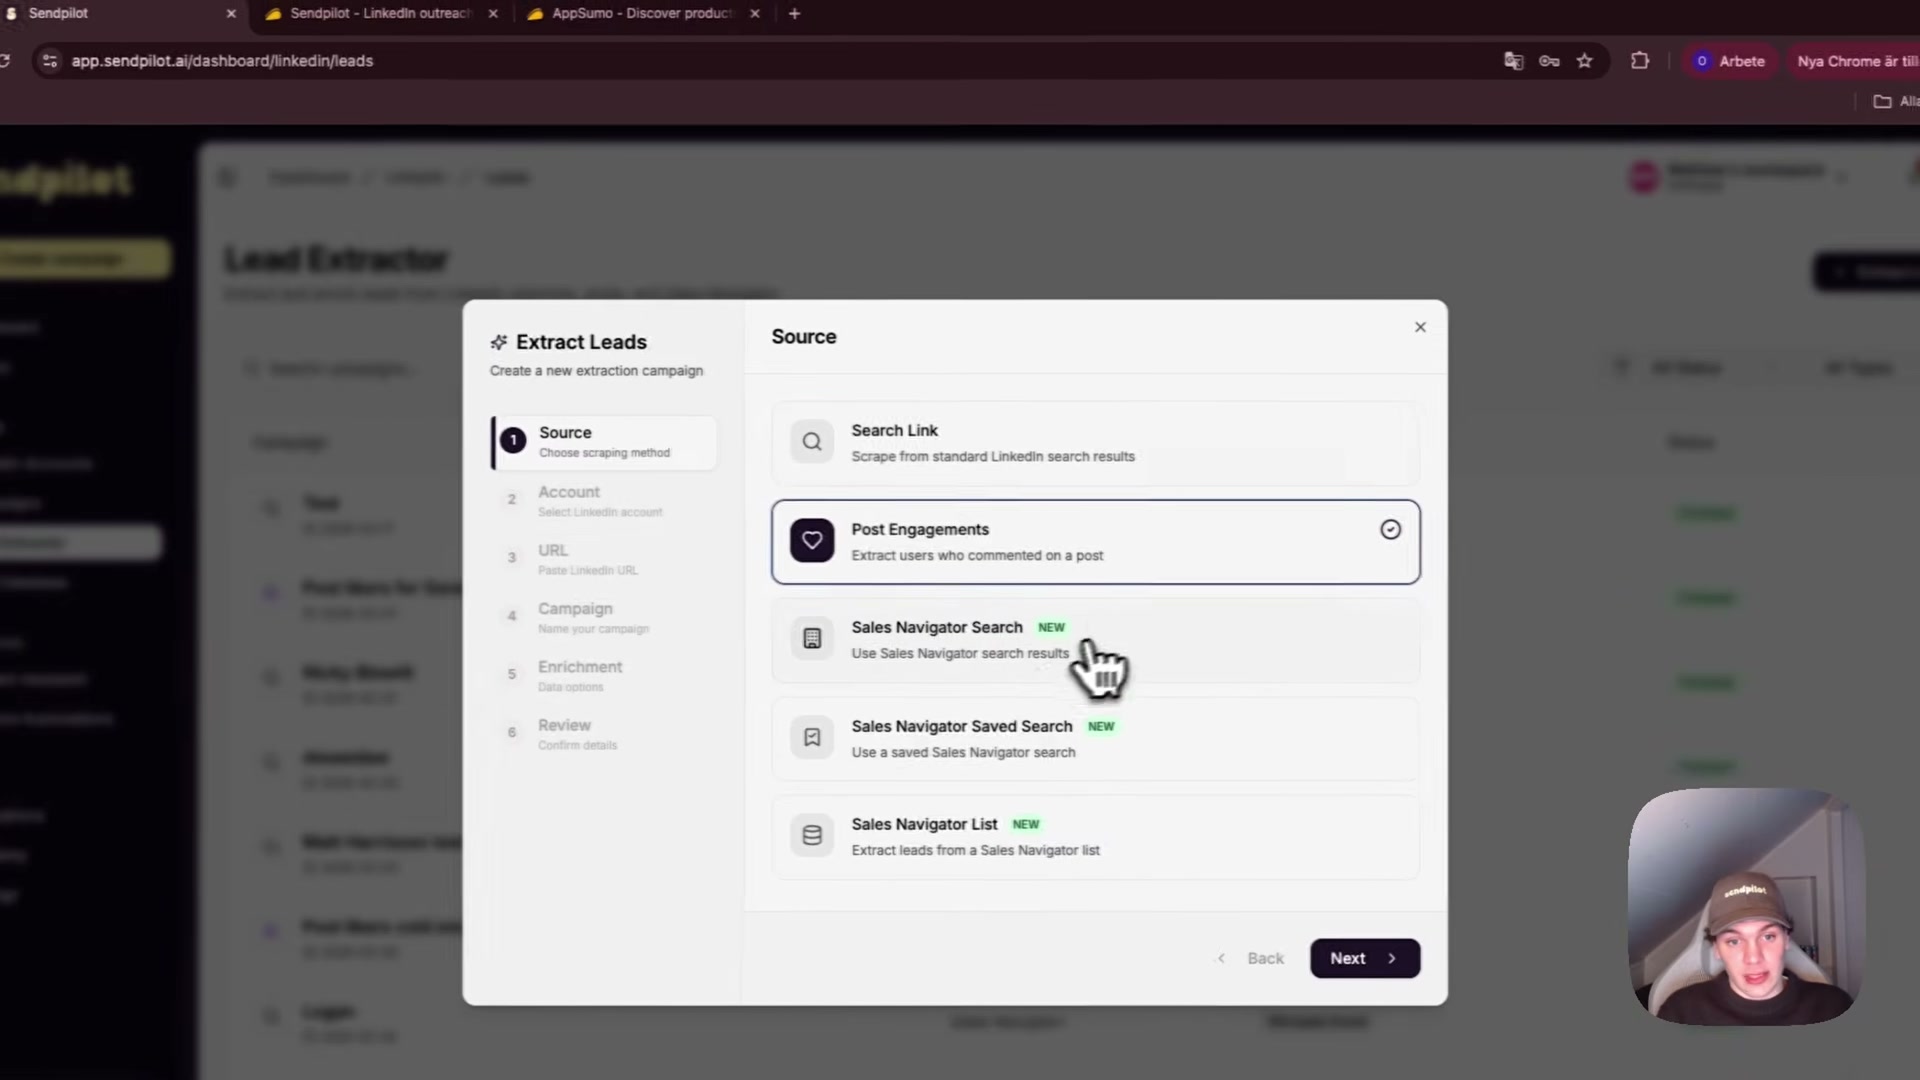
- Source leads using the Lead Extractor. Run a LinkedIn people search, apply your filters (location, degree of connection, job title, etc.), copy the results URL, and paste it into the Lead Extractor wizard. Name the campaign, set your credit allocation, and SendPilot scrapes the search results and returns them as an enriched lead list.
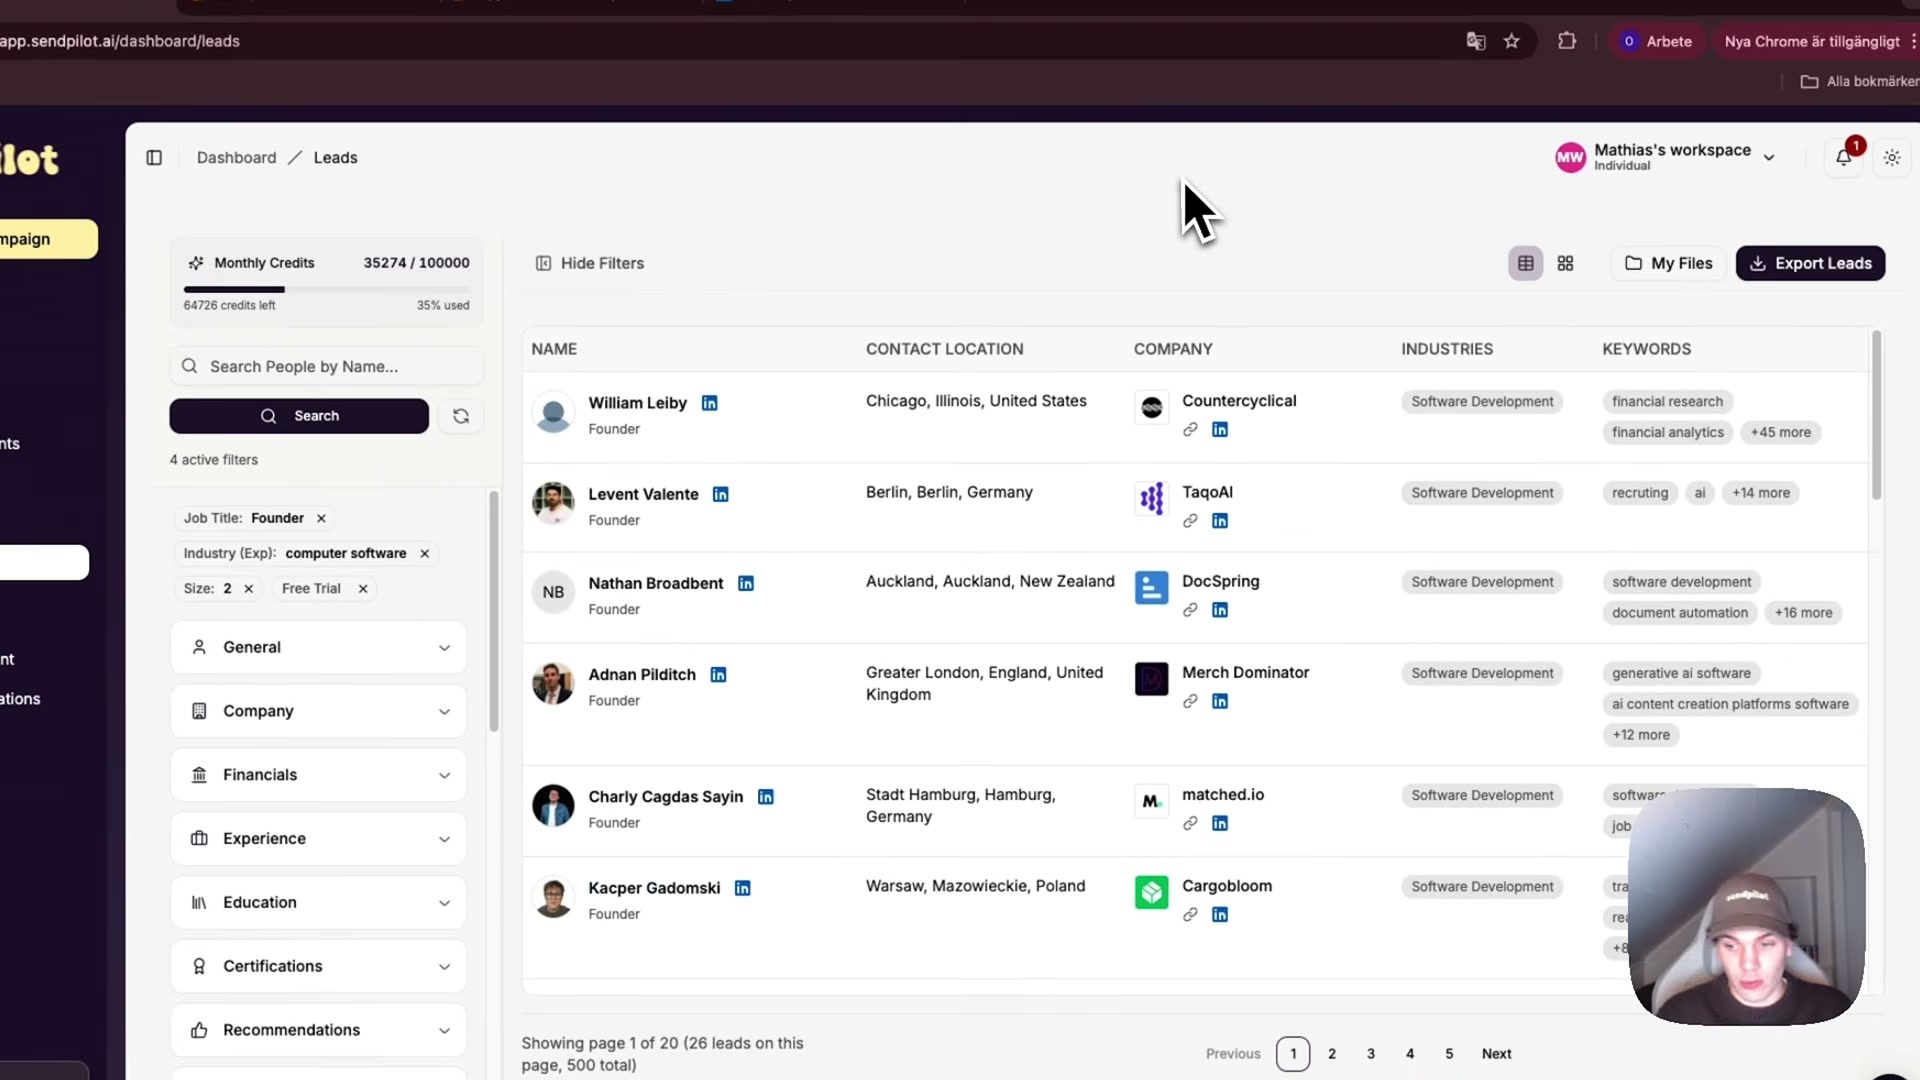
- Alternatively, use the Lead Database — SendPilot’s built-in prospecting tool with 300M+ verified contacts. Filter by job title, skills, department, location, industry, company size, B2B flag, and company-level insights like “Free Trial Available.” A search for SaaS founders at companies with free trials, for example, returns a targeted list you can export and enrich in real time.
-
Create a new campaign, name it, and choose your lead source — Lead Database export, Lead Extractor results, or a CSV upload. SendPilot auto-maps column variables so personalization tokens like
{{first_name}}are available immediately in your message templates. -
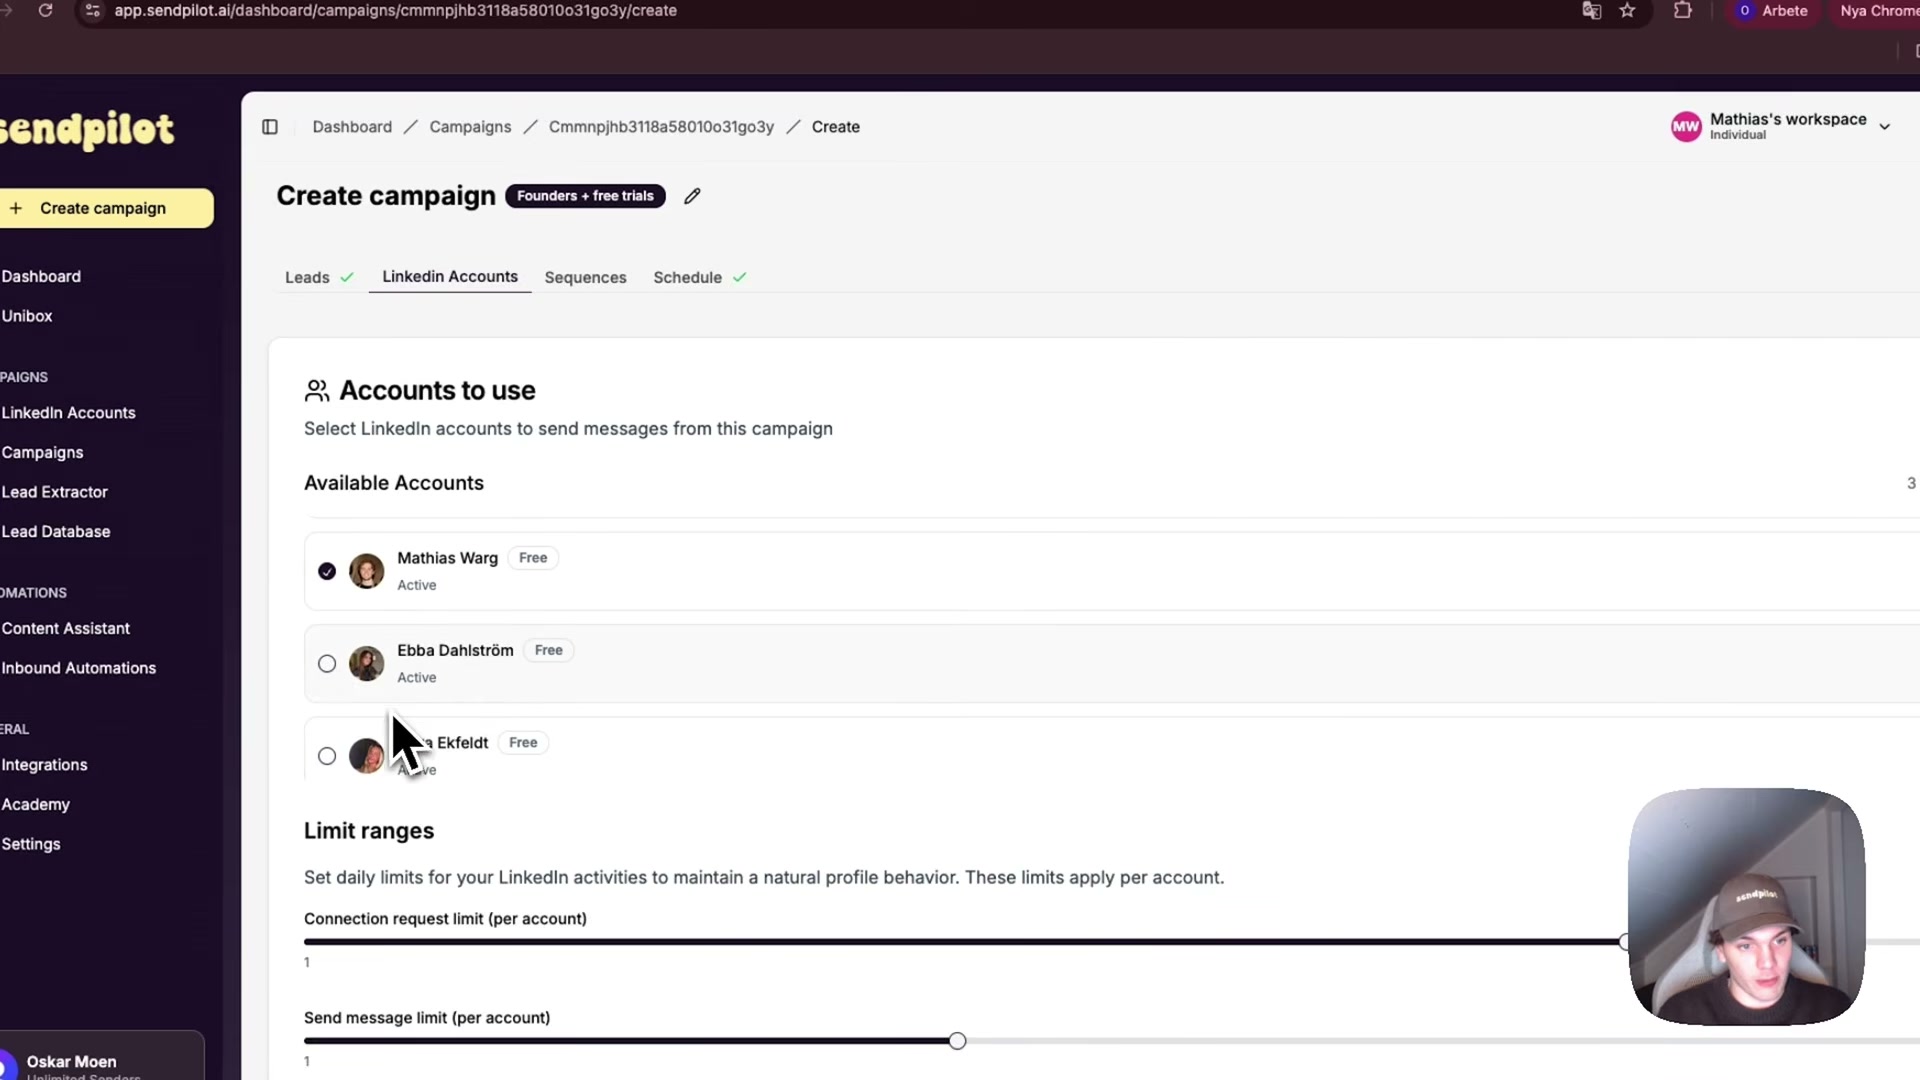
On the LinkedIn Accounts tab, select one or more sender accounts for the campaign. Each account gets its own daily limit sliders for connection requests and messages. Spreading volume across multiple accounts lets you exceed the per-account ceiling without violating LinkedIn’s per-user thresholds.
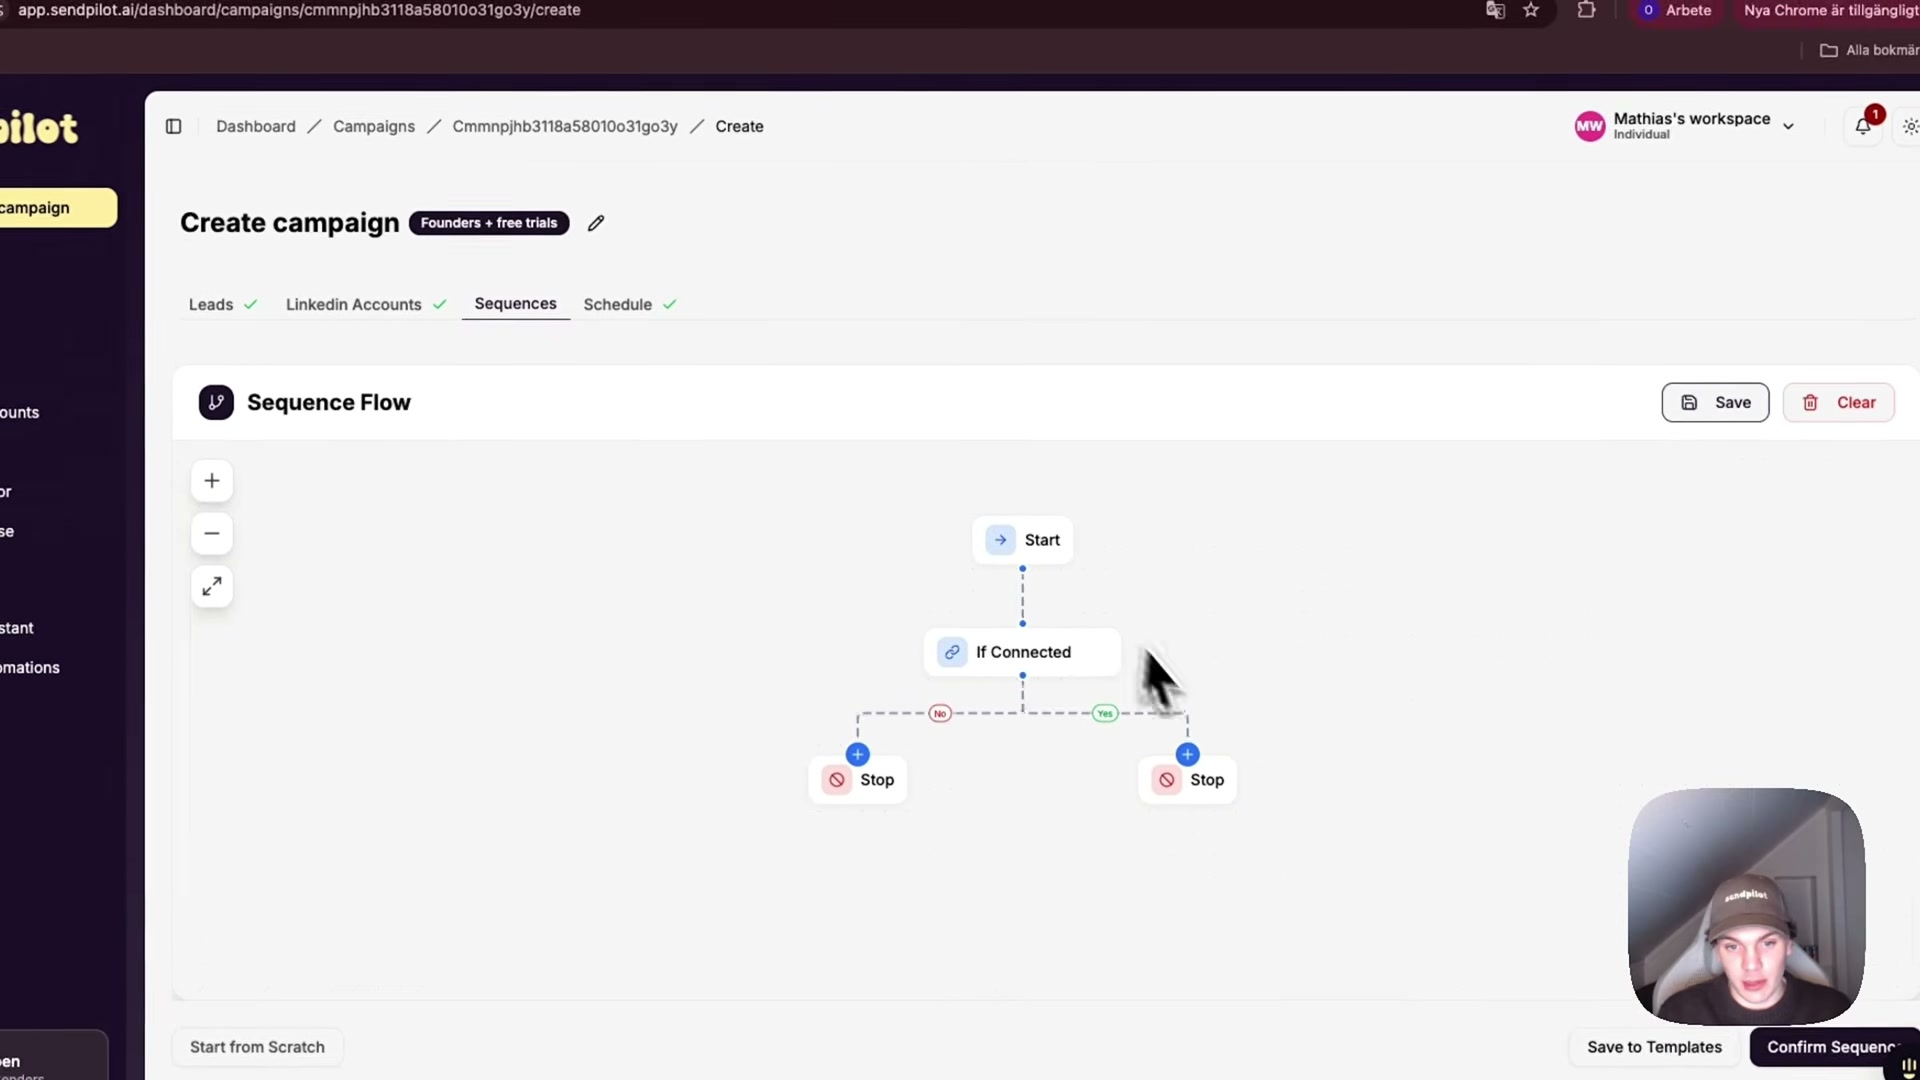
- Open the Sequence Flow builder and start from scratch. Add an If Connected branch as the first node — the “Yes” path routes existing connections to a Stop, so the sequence only continues for people not yet in your network.
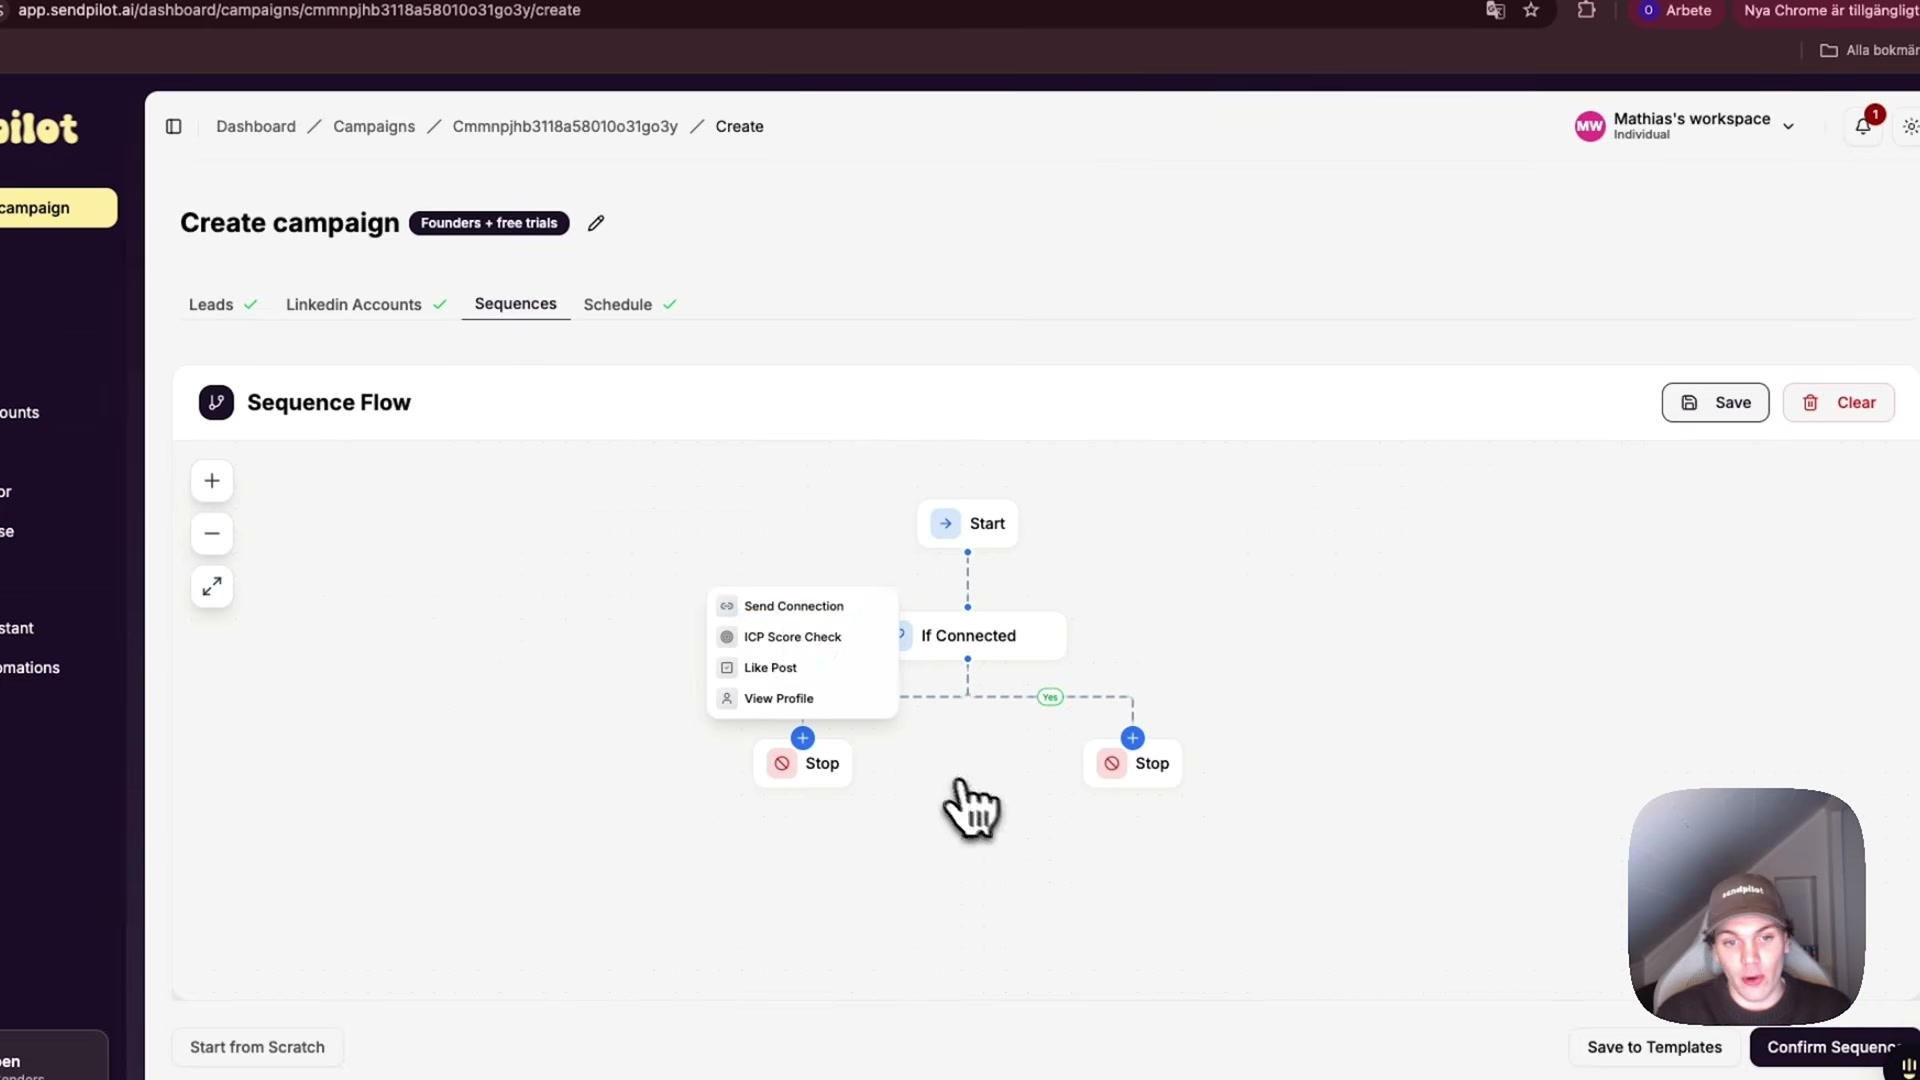
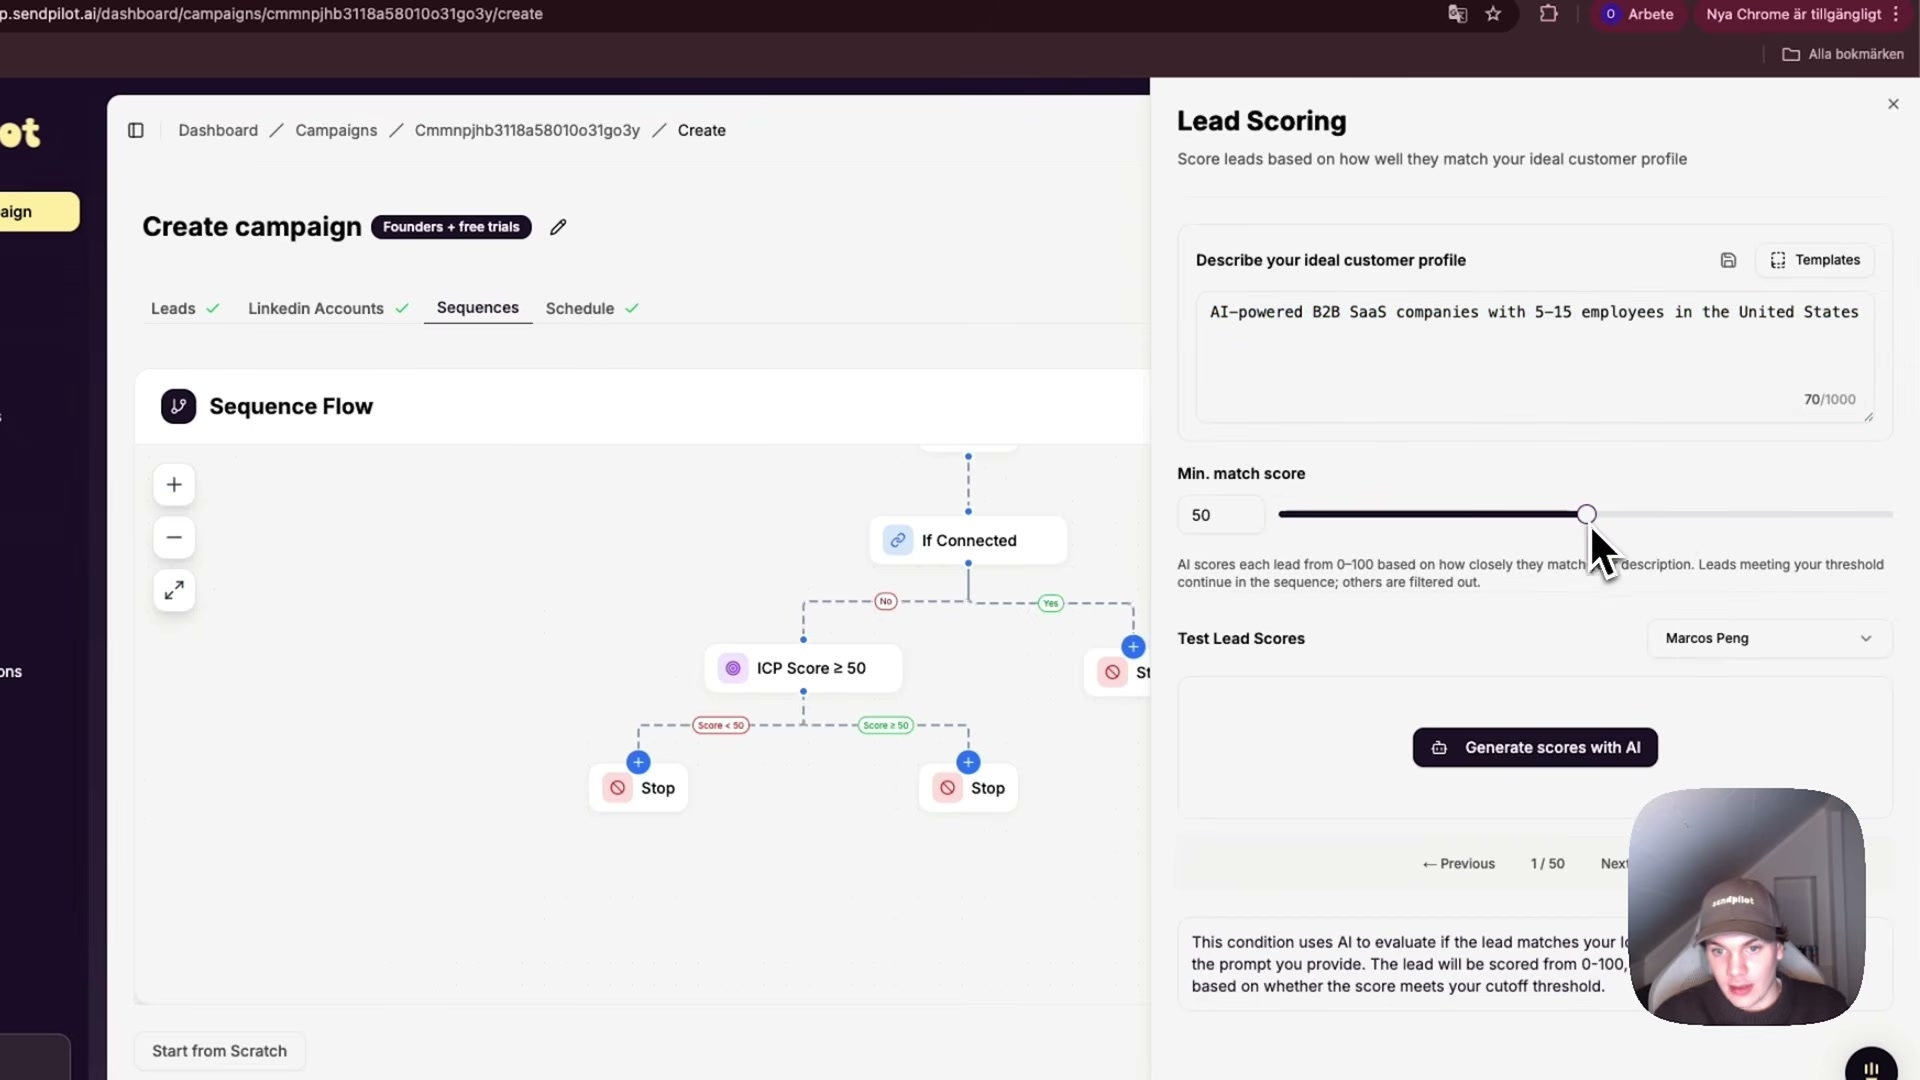
- On the “No” branch, add an ICP Score Check node before any outreach action fires. This is where SendPilot’s AI qualification layer lives.
- In the ICP Score Check panel, write a natural-language description of your ideal customer — for example, “AI-powered B2B SaaS companies with 5–15 employees in the United States” — and set a minimum match score between 0 and 100. A score of 50 requires a 50% match; 100 requires an exact match. Use the Test Lead Scores section to run individual leads through the model and inspect the AI’s reasoning before the campaign goes live.

-
Build the rest of the sequence on the qualifying branch: Send Connection Request (with or without a note) → Wait 1 day → Like Post (targets the lead’s most recent post) → Wait 1 minute → Send Message (using a saved template with first-name variables).
-
Add a Voice Note step for non-responders: record audio directly inside SendPilot, preview it, and set a delay (e.g., 2 days) before it sends to leads who haven’t replied.
-
Confirm the sequence, set a sending schedule, and launch across your selected accounts. The campaign dashboard shows connection requests sent, accepted, and pending in real time. Use the Univox inbox to manage all inbound replies and outbound messages from every connected account in one place. To pause or stop the campaign at any point, use the controls directly on the campaign dashboard.
How does this compare to the official docs?
The walkthrough moves fast and covers a lot of ground — but what SendPilot’s own documentation says about sequence limits, LinkedIn Terms of Service compliance guardrails, and safe daily sending volumes is worth a closer look before you scale.
Here’s What the Official Docs Show
The video gives you a solid end-to-end picture of SendPilot’s outreach workflow, and most of what it demonstrates is directionally sound. This section layers in what third-party and platform documentation can actually confirm — and flags the substantial portion of the workflow that couldn’t be verified from available sources so you know exactly where to do your own due diligence before scaling.
Step 1: Orienting on the Analytics Dashboard
No official documentation was found for this step — proceed using the video’s approach and verify independently.
AppSumo confirms Sendpilot’s existence and its positioning as an AI-powered LinkedIn automation platform. The specific analytics dashboard metrics the video shows — reply rates, per-sender breakdowns, pipeline value — cannot be verified from available documentation.
Step 2: Connecting Your LinkedIn Account
The video’s approach here matches the current docs exactly.
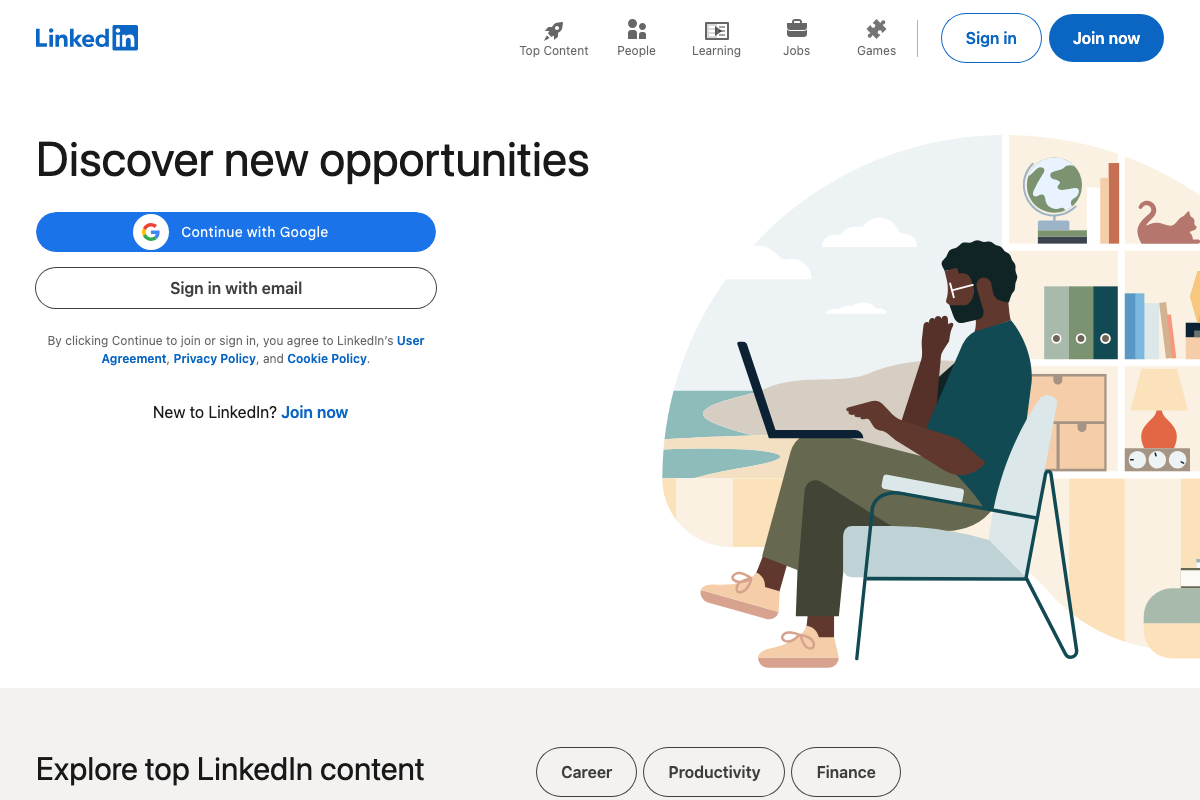
LinkedIn confirms a credential-based sign-in path (“Sign in with email”) consistent with the tutorial’s recommended Credentials connection method. One useful addition the video doesn’t mention: LinkedIn also surfaces a “Continue with Google” SSO option at sign-in — if that’s how your LinkedIn account was originally created, you may need to set a standalone password before the credential method works inside SendPilot.
Steps 3–4: Two-Factor Authentication and the Lead Extractor
No official documentation was found for these steps — proceed using the video’s approach and verify independently.
Step 5: Sourcing Leads via LinkedIn People Search
The video’s approach here matches the current docs exactly — with one important caveat for Sales Navigator users.
The docs confirm that the LinkedIn People search interface is only accessible to authenticated users. If you’re following this step cold, log in first — you won’t see the search filters from a logged-out state.
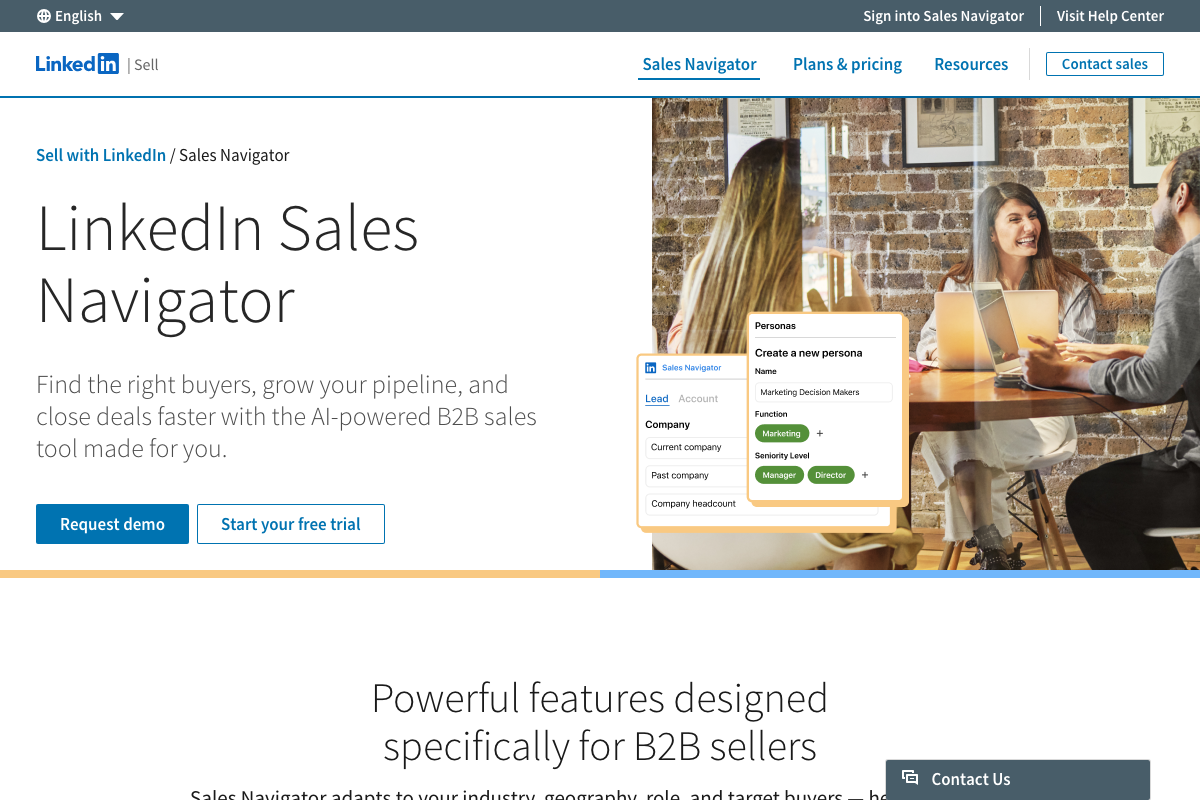
As of March 21, 2026, the standard LinkedIn People search URL format (linkedin.com/search/results/people/) is what the tutorial’s Lead Extractor workflow is built around. If you’re on Sales Navigator, the search interface lives at linkedin.com/sales/search and produces a structurally different URL. The video’s copy-paste method applies to standard LinkedIn only — Sales Navigator users will need to confirm whether SendPilot’s Lead Extractor accepts the Sales Navigator URL format before proceeding.
Step 6: Applying Search Filters and Sourcing from the Lead Database
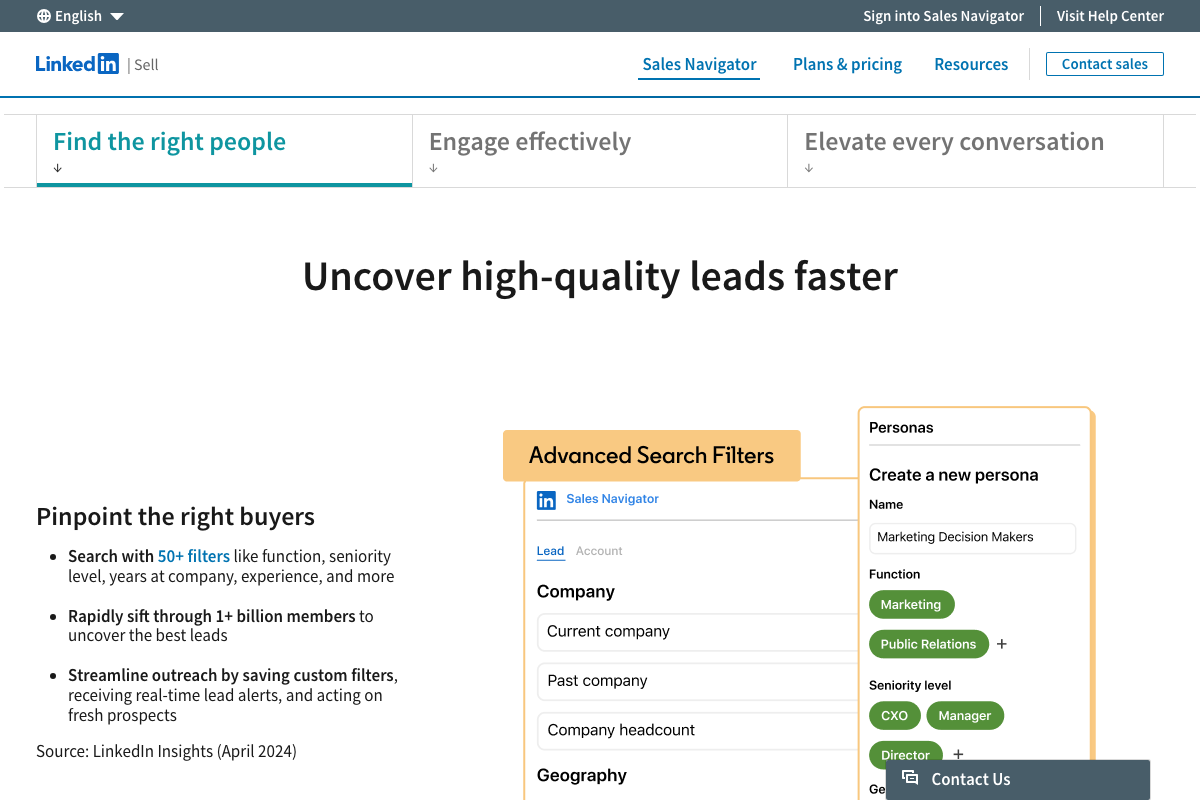
Sales Navigator’s filter set broadly supports the targeting logic the tutorial describes — job function, seniority, geography, and company size are all present. One label difference worth noting: Sales Navigator calls the company size field “Company headcount,” not “company size” as the video labels it.
A capability the tutorial skips entirely: Sales Navigator’s Personas feature lets you save a named filter set (for example, “Marketing Decision Makers” scoped to Function=Marketing, Seniority=Director+) and reapply it to future searches in one click. If you’re running repeatable ICP-targeted searches, Personas can significantly reduce setup time per campaign cycle.
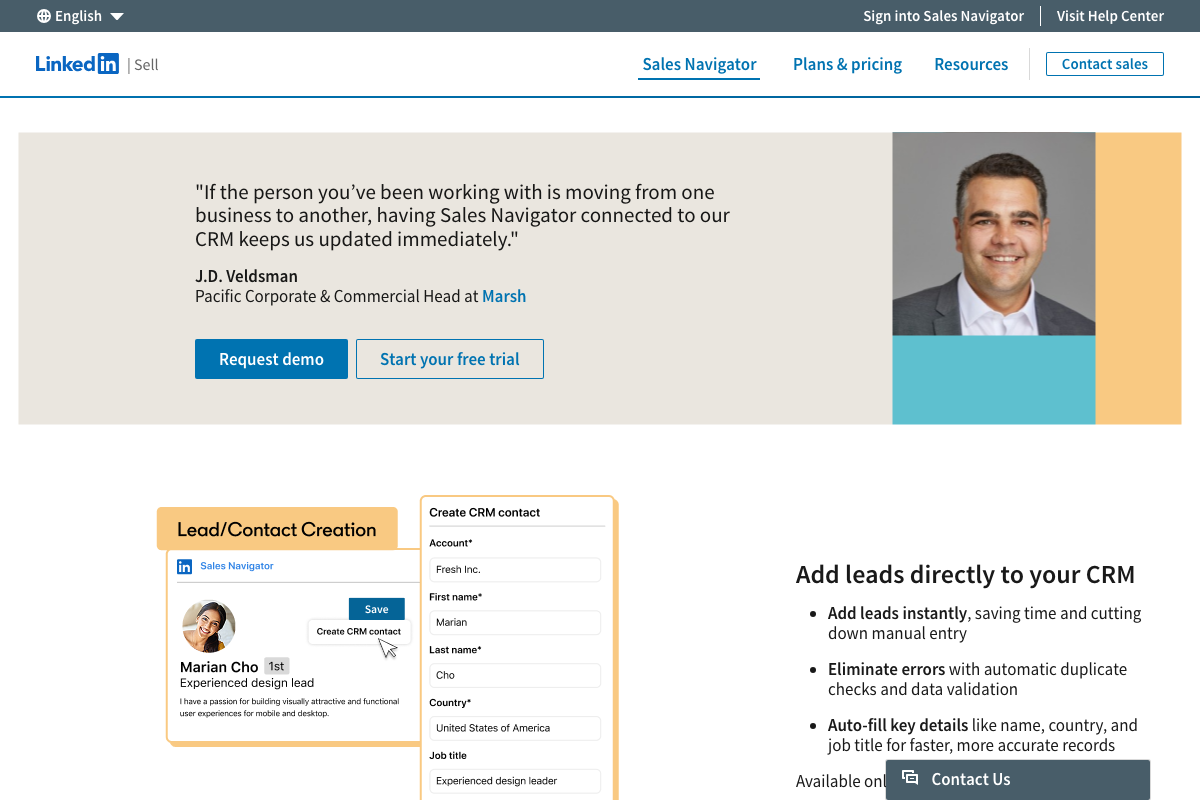
Sales Navigator also includes native CRM integration that auto-fills name, country, and job title when pushing a lead directly to your CRM — with duplicate checking built in. The tutorial routes leads through SendPilot’s own campaign system rather than directly to a CRM, so this doesn’t change the workflow as shown. But if your stack includes a CRM, this is a parallel path worth knowing exists before you build a separate enrichment step.
No official documentation was found for the remaining filter and database steps specific to SendPilot’s Lead Database interface — proceed using the video’s approach and verify independently.
Steps 7–19: Campaign Setup, Sequence Flow, ICP Scoring, Voice Notes, Univox Inbox, and Campaign Controls
No official documentation was found for these steps — proceed using the video’s approach and verify independently.
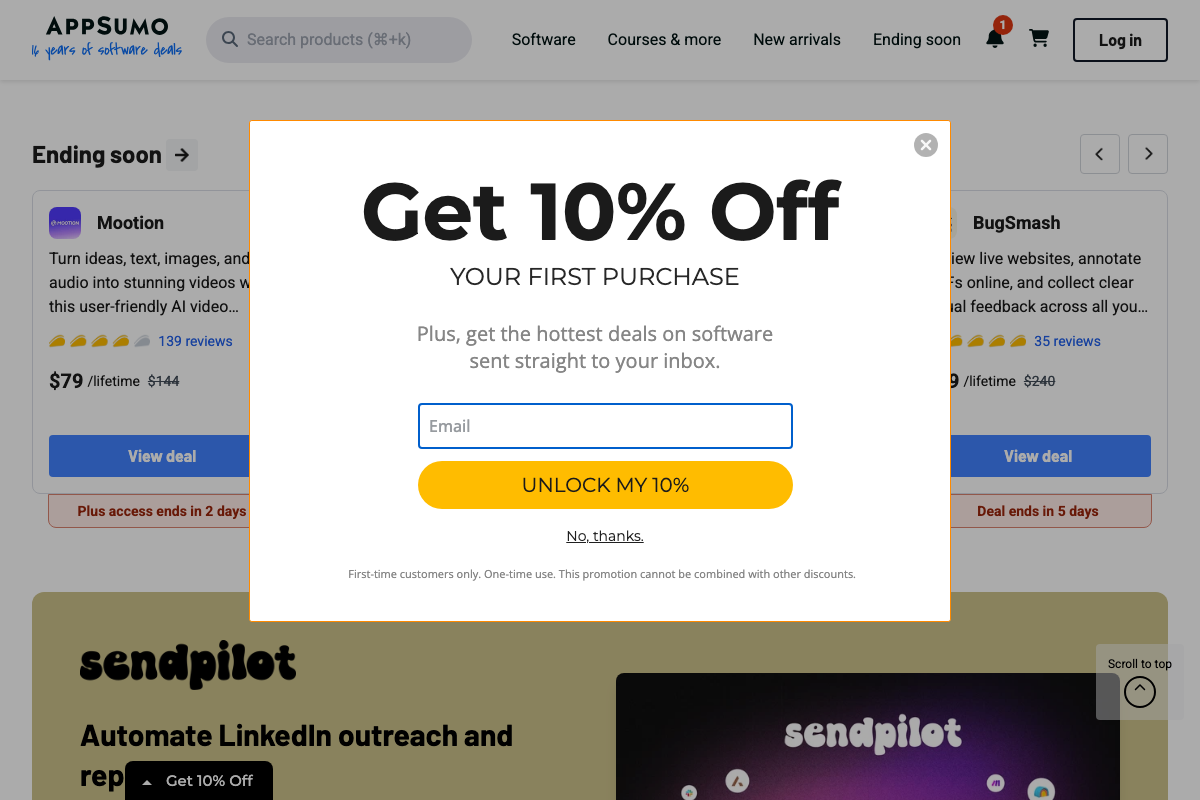
AppSumo’s listing confirms that automated outreach and reply management are within Sendpilot’s stated scope, consistent with the workflow shown in steps 11–18. Specific internal feature names — ICP Score Check, Voice Notes, Univox inbox, multi-account sequencing — do not appear in any available documentation and cannot be confirmed or denied from third-party sources.
Useful Links
- LinkedIn: Log In or Sign Up — LinkedIn’s public sign-in page confirming credential-based and Google SSO authentication paths.
- Sales Tool | LinkedIn Sales Navigator — LinkedIn’s dedicated B2B prospecting platform covering advanced search filters, Personas, and native CRM integration.
- AppSumo – Discover products. Stay weird. | AppSumo — AppSumo marketplace listing confirming Sendpilot’s existence and positioning as an AI-powered LinkedIn outreach automation tool.


0 Comments