Installing OpenClaw on a Raspberry Pi: From Zero to a Security-Hardened Telegram Bot
By the end of this walkthrough, you’ll have OpenClaw running on a dedicated device, connected to a private Telegram bot only you can message, and capable of auditing its own security posture. The setup routes model access through OpenRouter so you can swap between Claude, GPT-4, Gemini, and open-source alternatives without juggling multiple API keys. The whole process takes under 30 minutes on a Raspberry Pi.

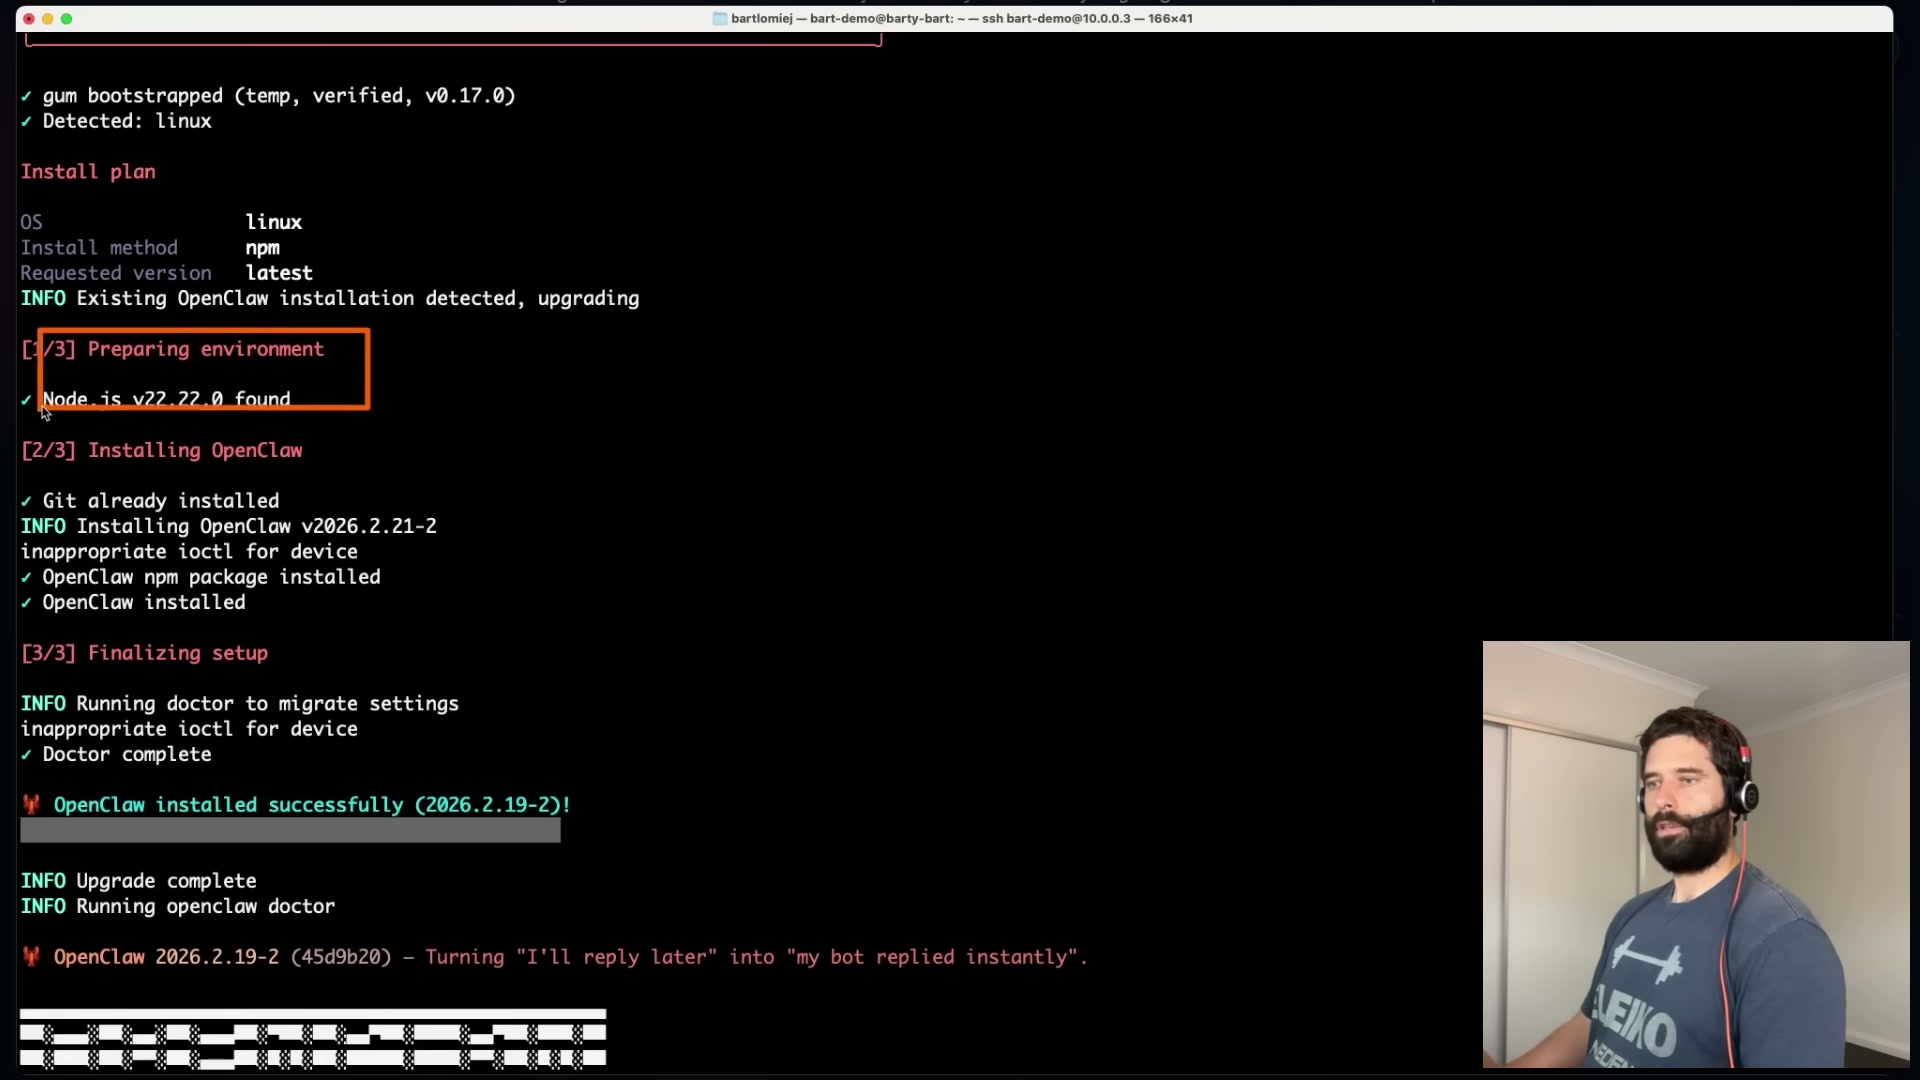
- Run the one-line installer. On the device where you want OpenClaw to live — a Raspberry Pi, spare laptop, or clean VPS — open a terminal and paste the install command from openclaw.ai. The script runs three phases: environment preparation, package installation, and finalization. When the terminal prints
OpenClaw installed successfully, the onboarding wizard launches automatically.
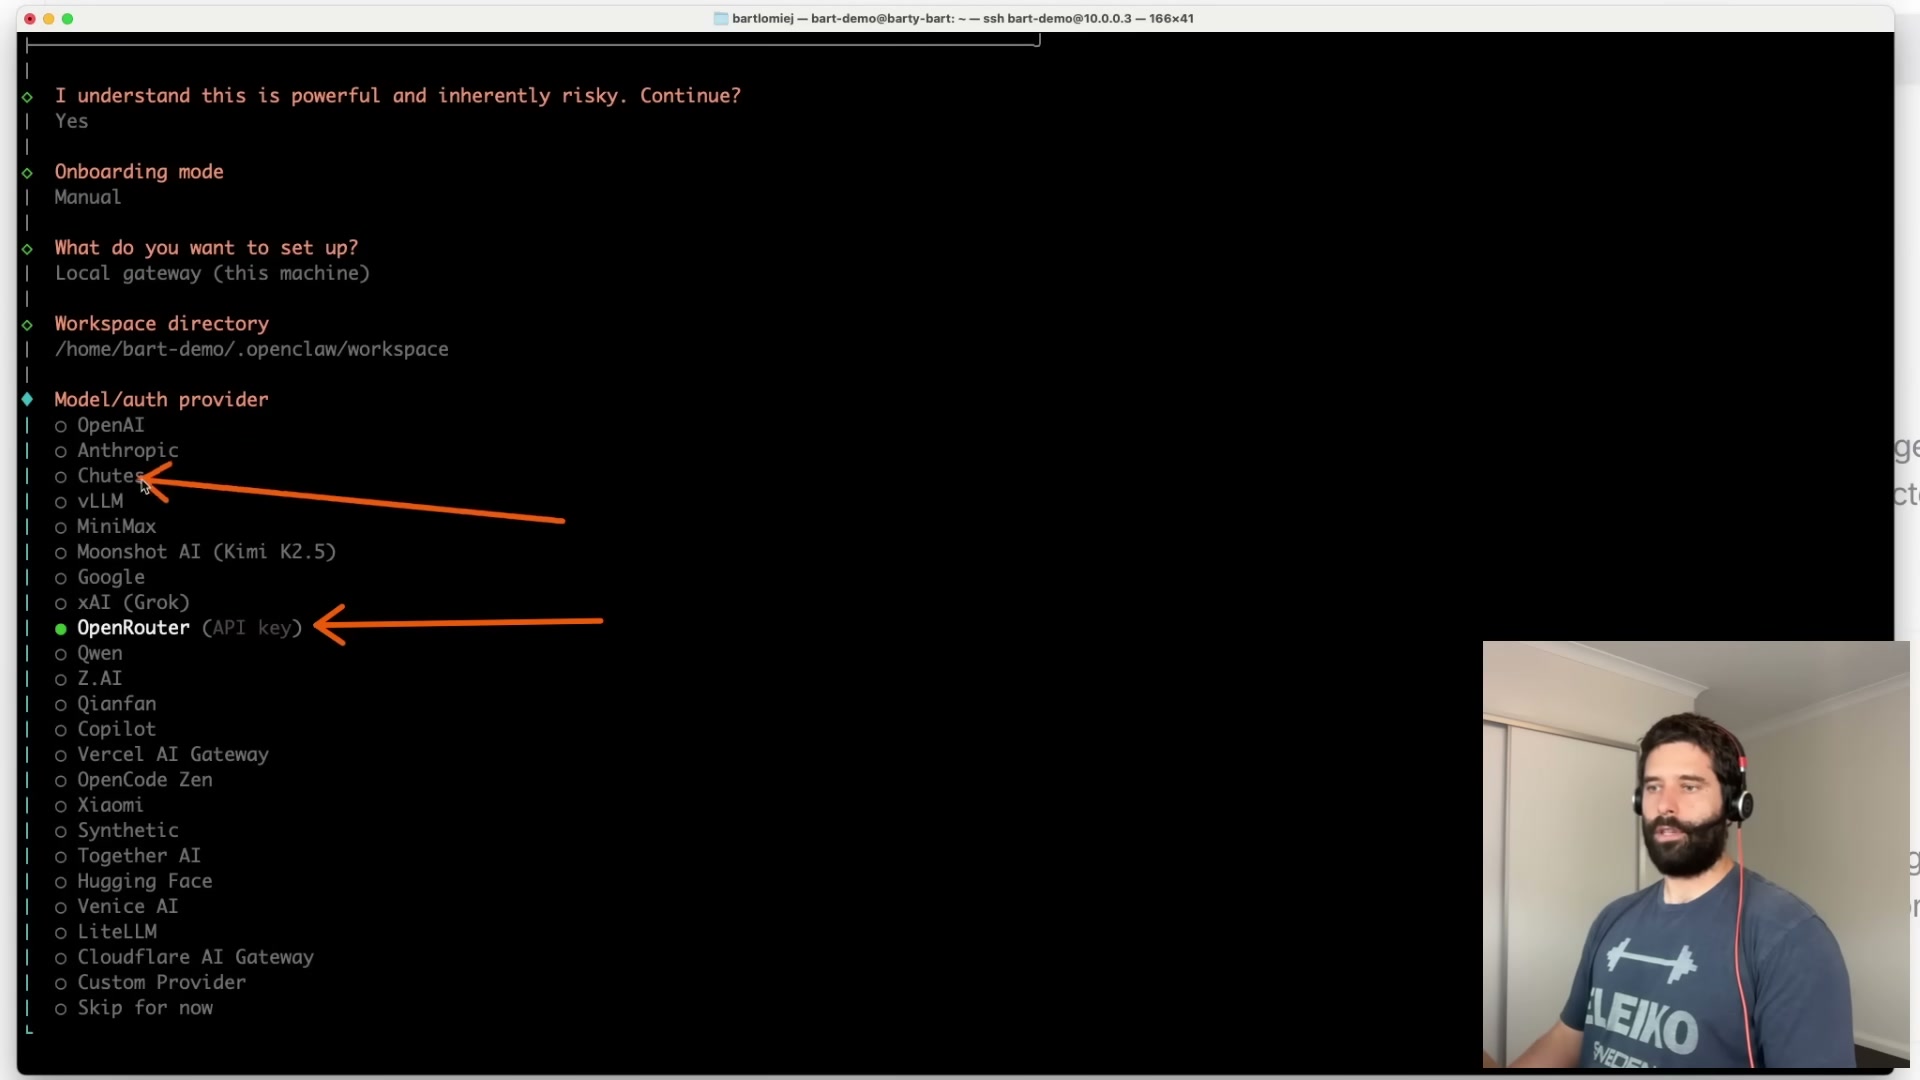
- Select manual onboarding. When the wizard asks how to proceed, choose manual. If you’re on a VPS, avoid any marketplace one-click images — they bake in configurations that may be difficult or impossible to change later. Starting from a clean OS keeps every setting under your control from the start.
- Create an OpenRouter account and paste in your API key. At openrouter.ai, create an account and add $5–$10 in credits. Navigate to API Keys, generate a new key, and copy it. Paste it into the OpenClaw prompt and press Enter.
- Choose a model and accept the gateway defaults. From the OpenRouter model list, pick a starting model — the tutorial uses Claude Sonnet 4.6. Accept the default gateway port unless it conflicts with a running service, keep the gateway bound to loopback, and let the installer generate an auth token.
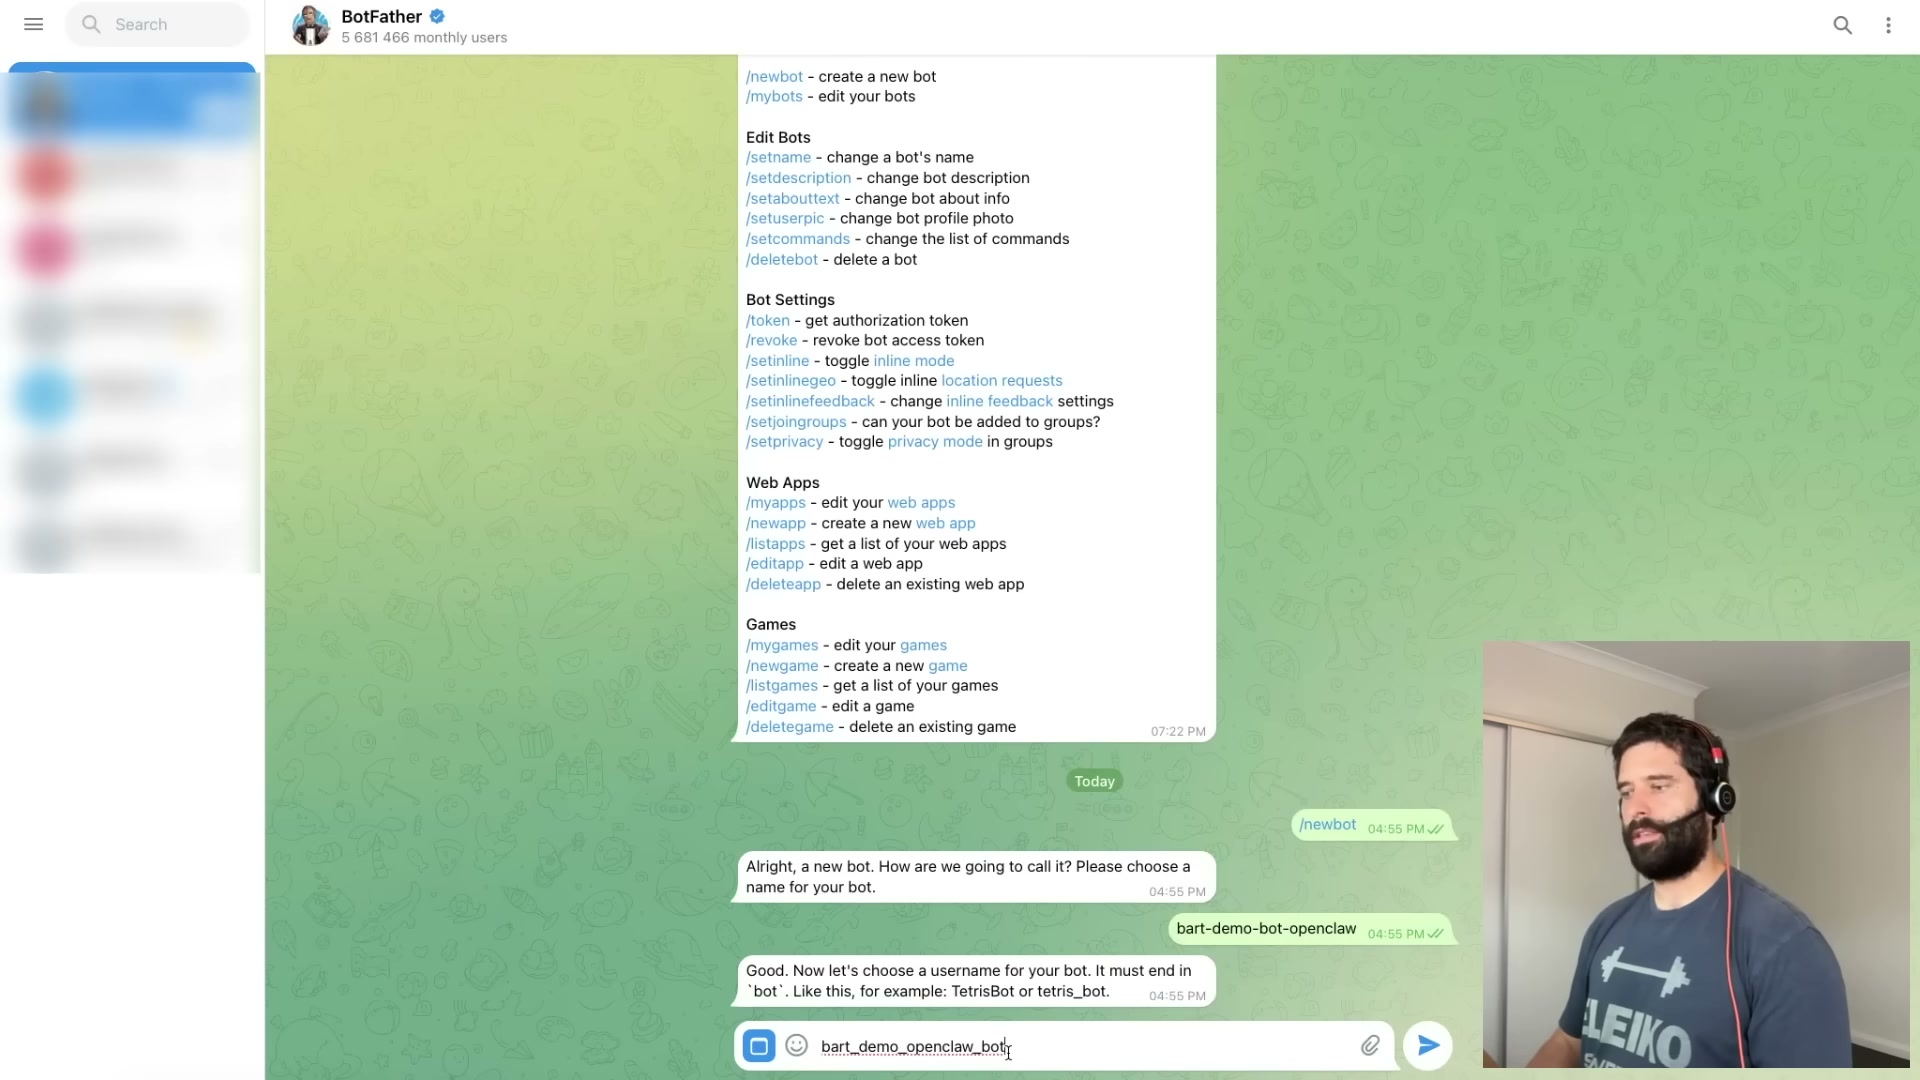
- Create a Telegram bot via BotFather. Open a conversation with @BotFather in Telegram and send
/newbot. Enter a display name, then a username ending inbot— use underscores instead of dashes. Copy the token BotFather returns and paste it into the OpenClaw installer.
- Lock down access with a Telegram allowlist. When prompted for DM access policy, select Allowlist. Retrieve your Telegram numeric user ID from the profile page URL in the web client — the username field can fail to resolve in this configuration — and paste only the digits into the allowlist prompt.
Warning: this step may differ from current official documentation — see the verified version below.

- Skip optional skills, enable all hooks, and finish installation. Press spacebar to skip skills configuration for now — you can layer in integrations once you understand your use case. Enable all hooks, install the gateway service with Node support, and enable Bash execution when prompted. The wizard exits and prints the dashboard URL with an embedded token.
- Complete the bootstrap conversation. Paste the dashboard URL into a browser and send a message in the Chat tab. The agent will ask you to define its identity, your identity, and shared goals — this exchange populates
IDENTITY.md,USER.md,SOUL.md, and related files that persist between sessions. Budget 5–10 minutes here. - Run security hardening prompts. Ask the agent to scan the device and the OpenClaw deployment for vulnerabilities, then follow up with a prompt instructing it to redact API keys and user IDs from logs. Review and approve each recommended fix — the agent can apply most of them directly through its Bash access.

How does this compare to the official docs?
The video delivers a solid path from zero to a working agent, but several choices here — including the Telegram ID workaround and OpenRouter as an intermediary — diverge enough from OpenClaw’s published guidance to warrant a direct look at the source.
Here’s What the Official Docs Show
Act 1 lays out a complete path from install to hardened bot — a solid foundation worth building on. What follows adds what official documentation confirms, clarifies, and flags as unverifiable from available sources, so you can move forward with both perspectives in hand.
Step 1: Run the one-line installer
No official documentation was found for this step — proceed using the video’s approach and verify independently.
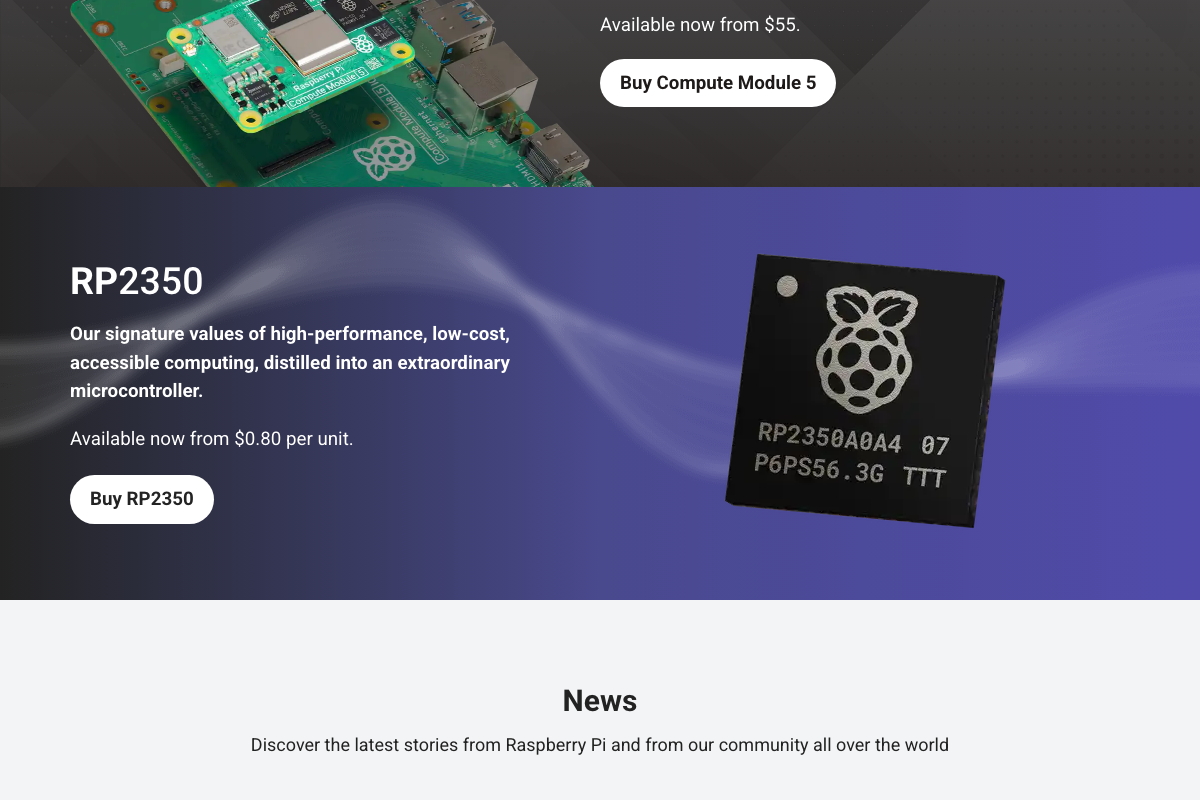
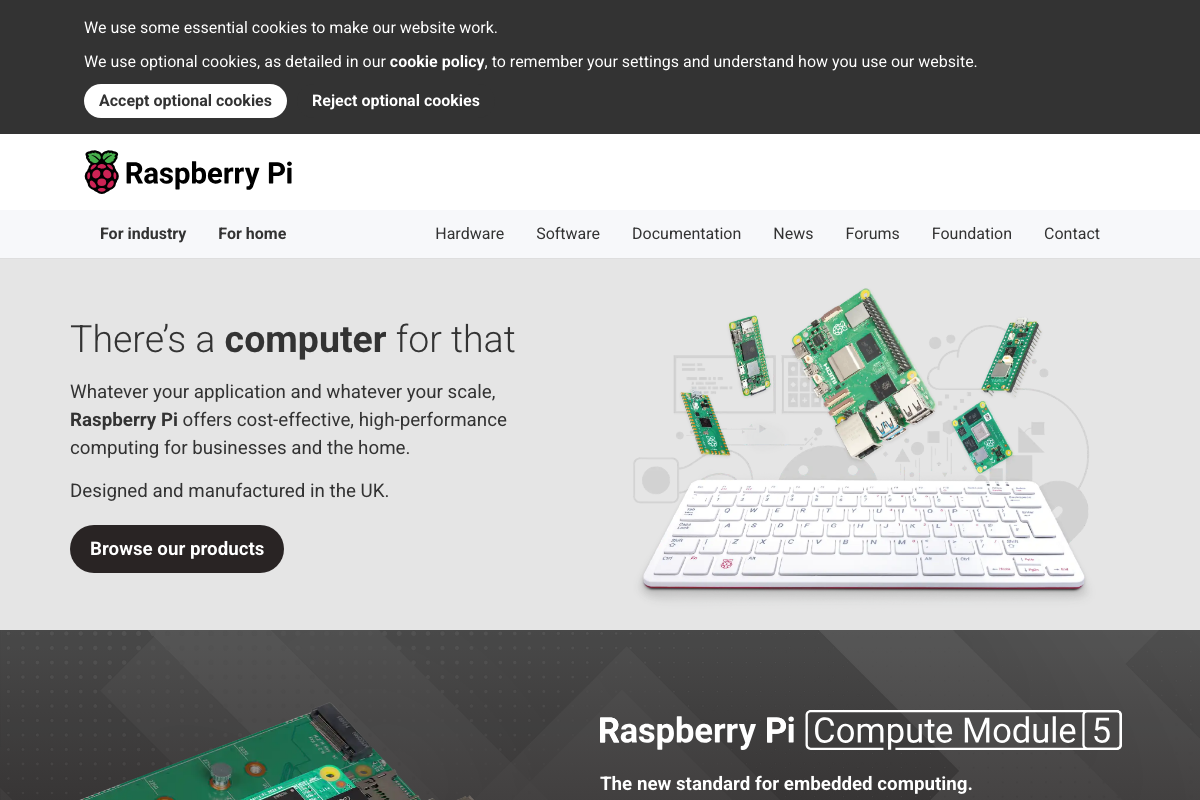
One hardware note from the Raspberry Pi product pages: the RP2350 is a microcontroller chip (from $0.80/unit), not a Linux-capable computer. A device running only the RP2350 cannot execute a terminal install command. Your target must be a Linux-capable single-board computer or Compute Module — the Compute Module 5 (from $35) is the current flagship listed at raspberrypi.com.
Step 2: Select manual onboarding
No official documentation was found for this step — proceed using the video’s approach and verify independently.
Step 3: Create an OpenRouter account and paste in your API key
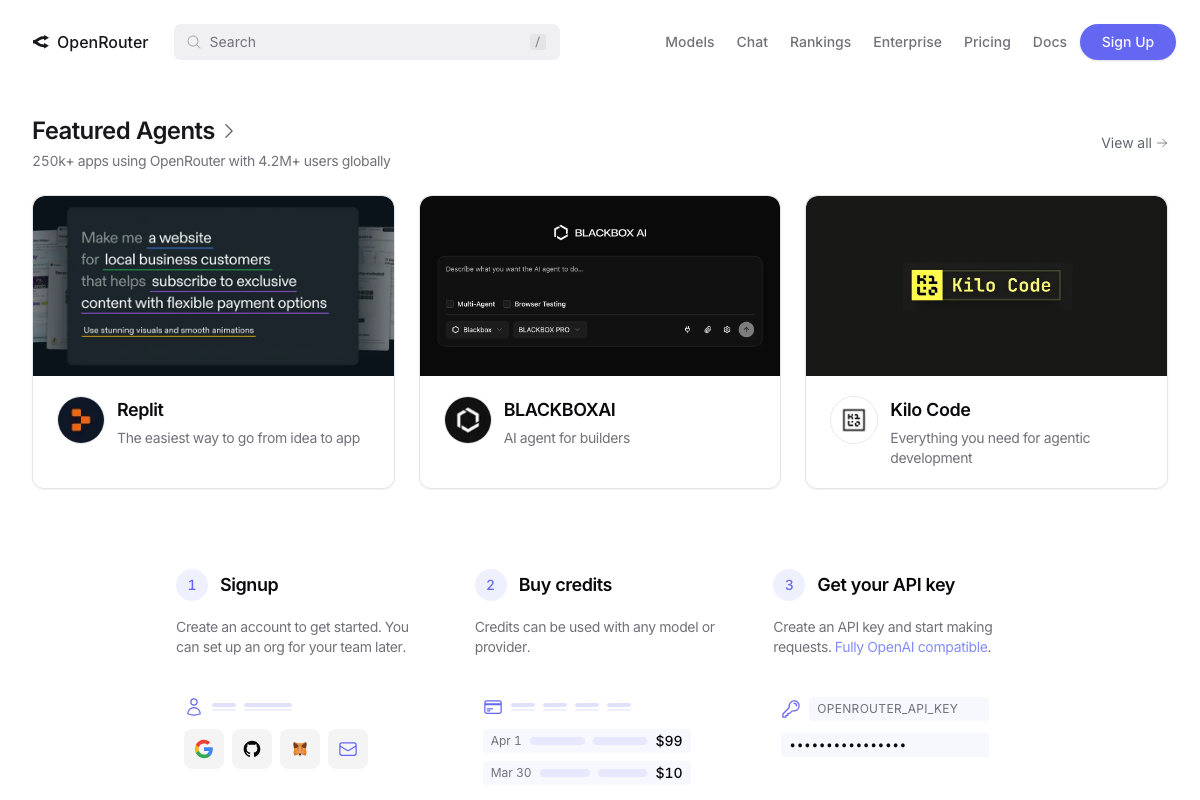
The video’s approach here matches the current docs exactly. OpenRouter’s official onboarding is a documented three-step sequence: Signup → Buy credits → Get your API key. The key field is labeled OPENROUTER_API_KEY, consistent with the installer’s paste-in prompt. Signup supports Google, GitHub, or email. A $10 credit purchase visible in the UI aligns with the tutorial’s $5–$10 recommendation; no minimum purchase amount is stated anywhere in the UI.
Step 4: Choose a model and accept the gateway defaults
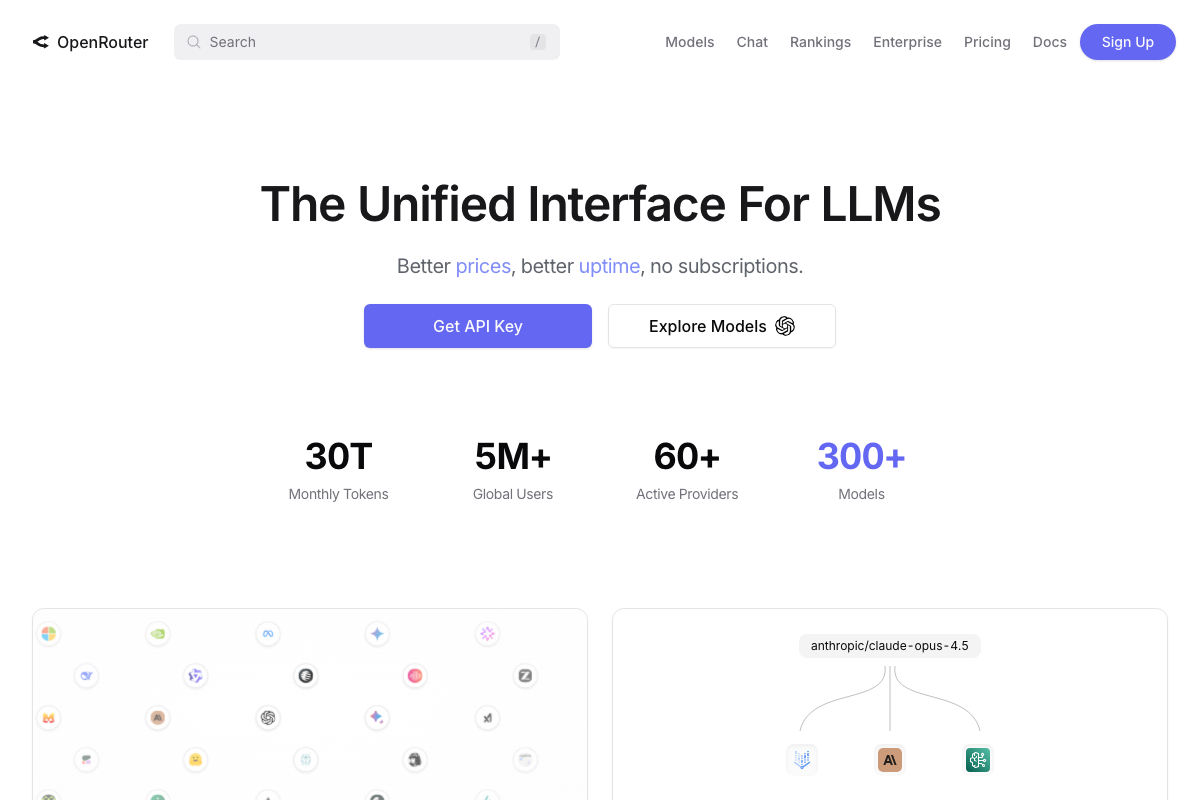
OpenRouter’s 300+ model catalog confirms genuine model choice at this step. As of March 5, 2026, the featured Anthropic model on the OpenRouter homepage is Claude Opus 4.6 — the video demonstrates Claude Sonnet 4.6, which does not appear as a featured listing in any available screenshot. Both may be selectable from the full catalog; verify the exact model identifier in your OpenRouter account before entering it into OpenClaw’s configuration, since the string you paste determines which model is billed and invoked. Gateway port and auth token defaults have no documentation coverage in the provided screenshots.
No official documentation was found for the gateway port and auth token configuration — proceed using the video’s approach and verify independently.

Step 5: Create a Telegram bot via BotFather
Telegram officially confirms an open API and source code free for everyone, so programmatic bot creation is supported. The BotFather workflow specifically — /newbot, display name, username format, token generation — is documented at core.telegram.org/bots, not the consumer homepage. None of the available screenshots cover that page.
No official documentation was found for the BotFather
/newbotflow — proceed using the video’s approach and verify at core.telegram.org/bots independently.

Steps 6–9: Allowlist, skills, hooks, bootstrap conversation, and security hardening
No official documentation was found for these steps — proceed using the video’s approach and verify independently.
Useful Links
- OpenRouter — Unified API gateway for 300+ models across 60+ providers; official source for account creation, credits, and API key generation in Step 3.
- Telegram Messenger — Consumer-facing homepage confirming Telegram’s open API; bot-creation documentation lives separately at core.telegram.org/bots.
- Raspberry Pi — Official hardware listings confirming which Raspberry Pi form factors are Linux-capable; consult before purchasing hardware for Step 1.


0 Comments