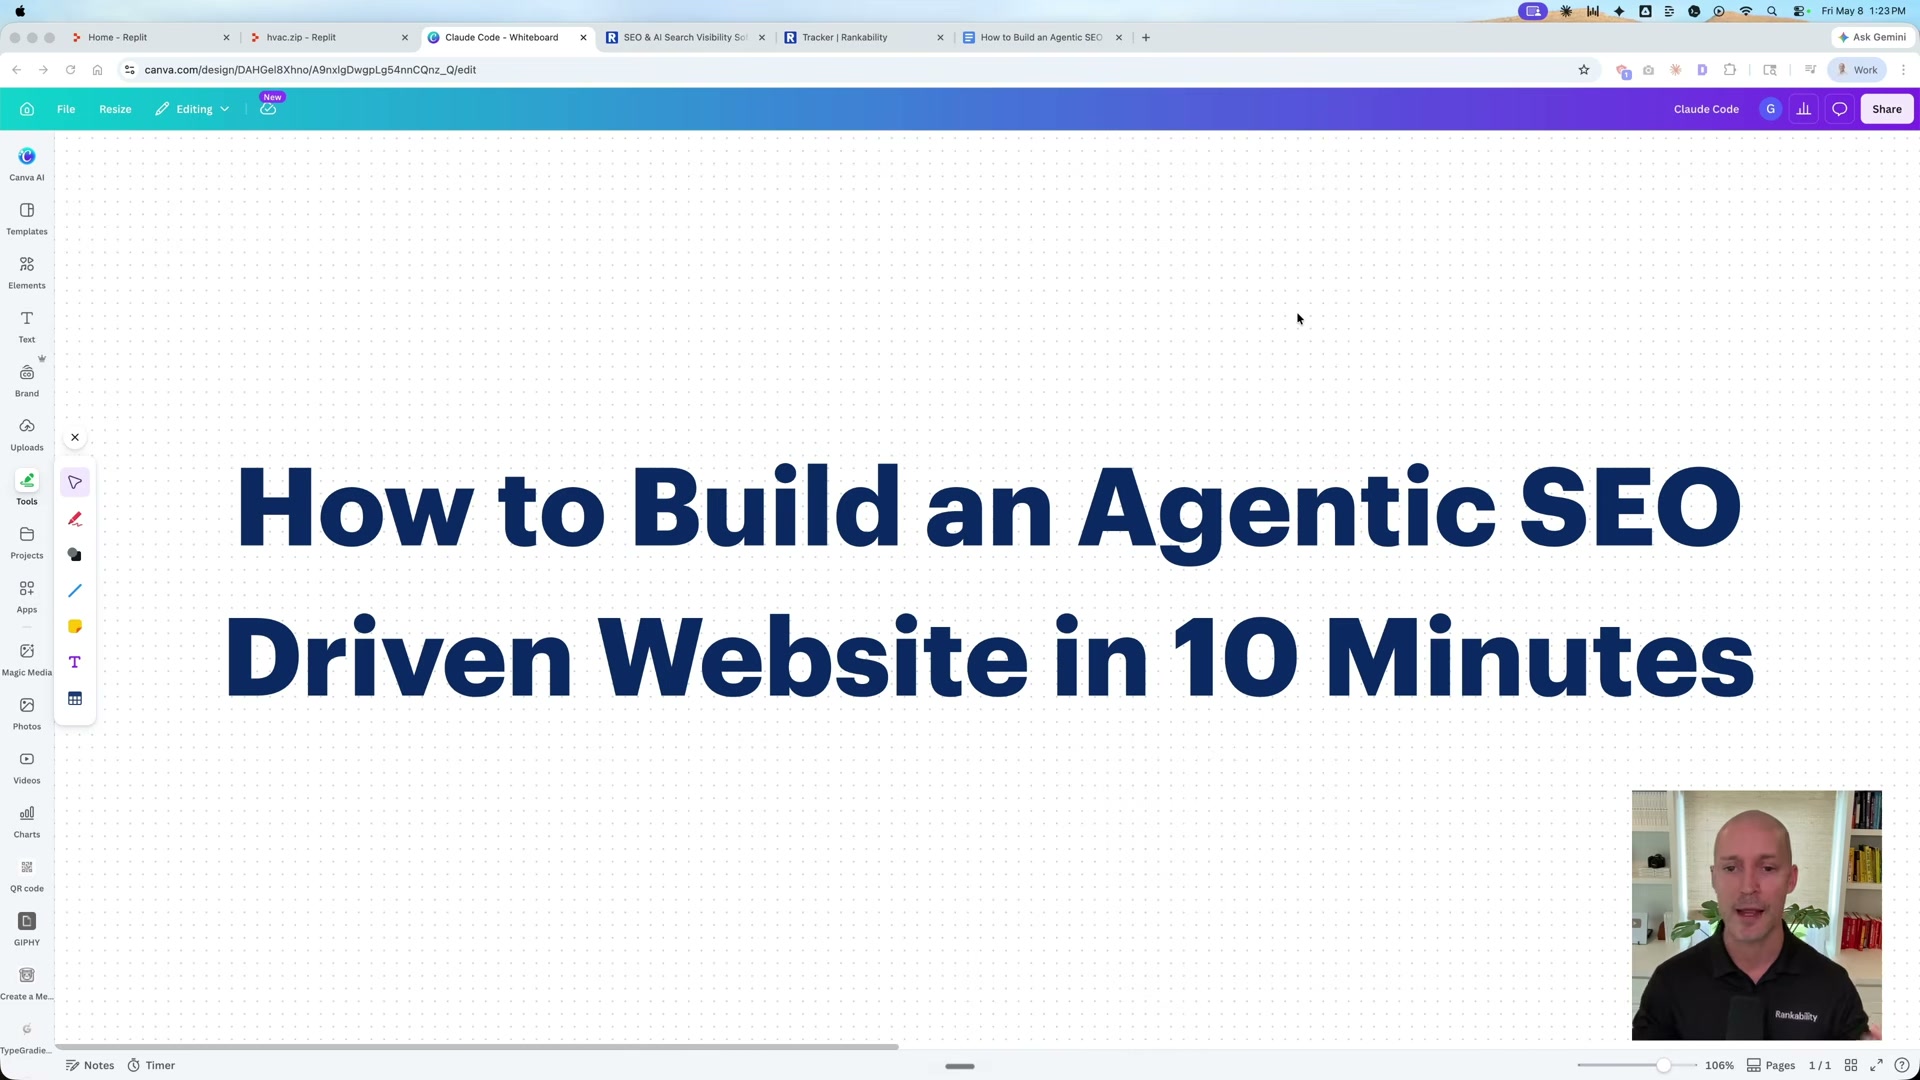
Build an SEO-Optimized Static Website with Claude Code and Astro in 10 Minutes
HTML-first websites load faster, index more reliably, and get cited in AI-generated answers more often than JavaScript-rendered equivalents. This tutorial walks you through using Claude Code to scaffold a production-ready Astro site for any business niche, then importing it into Replit for hosting — no CMS, no manual coding, and no framework wrangling required. By the end, you’ll have a deployable, search-optimized static site built in under 15 minutes.
-
Create a new folder on your desktop and name it after the business niche you’re targeting —
HVACin this walkthrough. This folder becomes the root directory Claude Code writes into. -
Open Claude Code and navigate into the project folder you just created. Every file Claude generates from this point will land there; confirming the path before proceeding saves you from hunting for output files later.
-
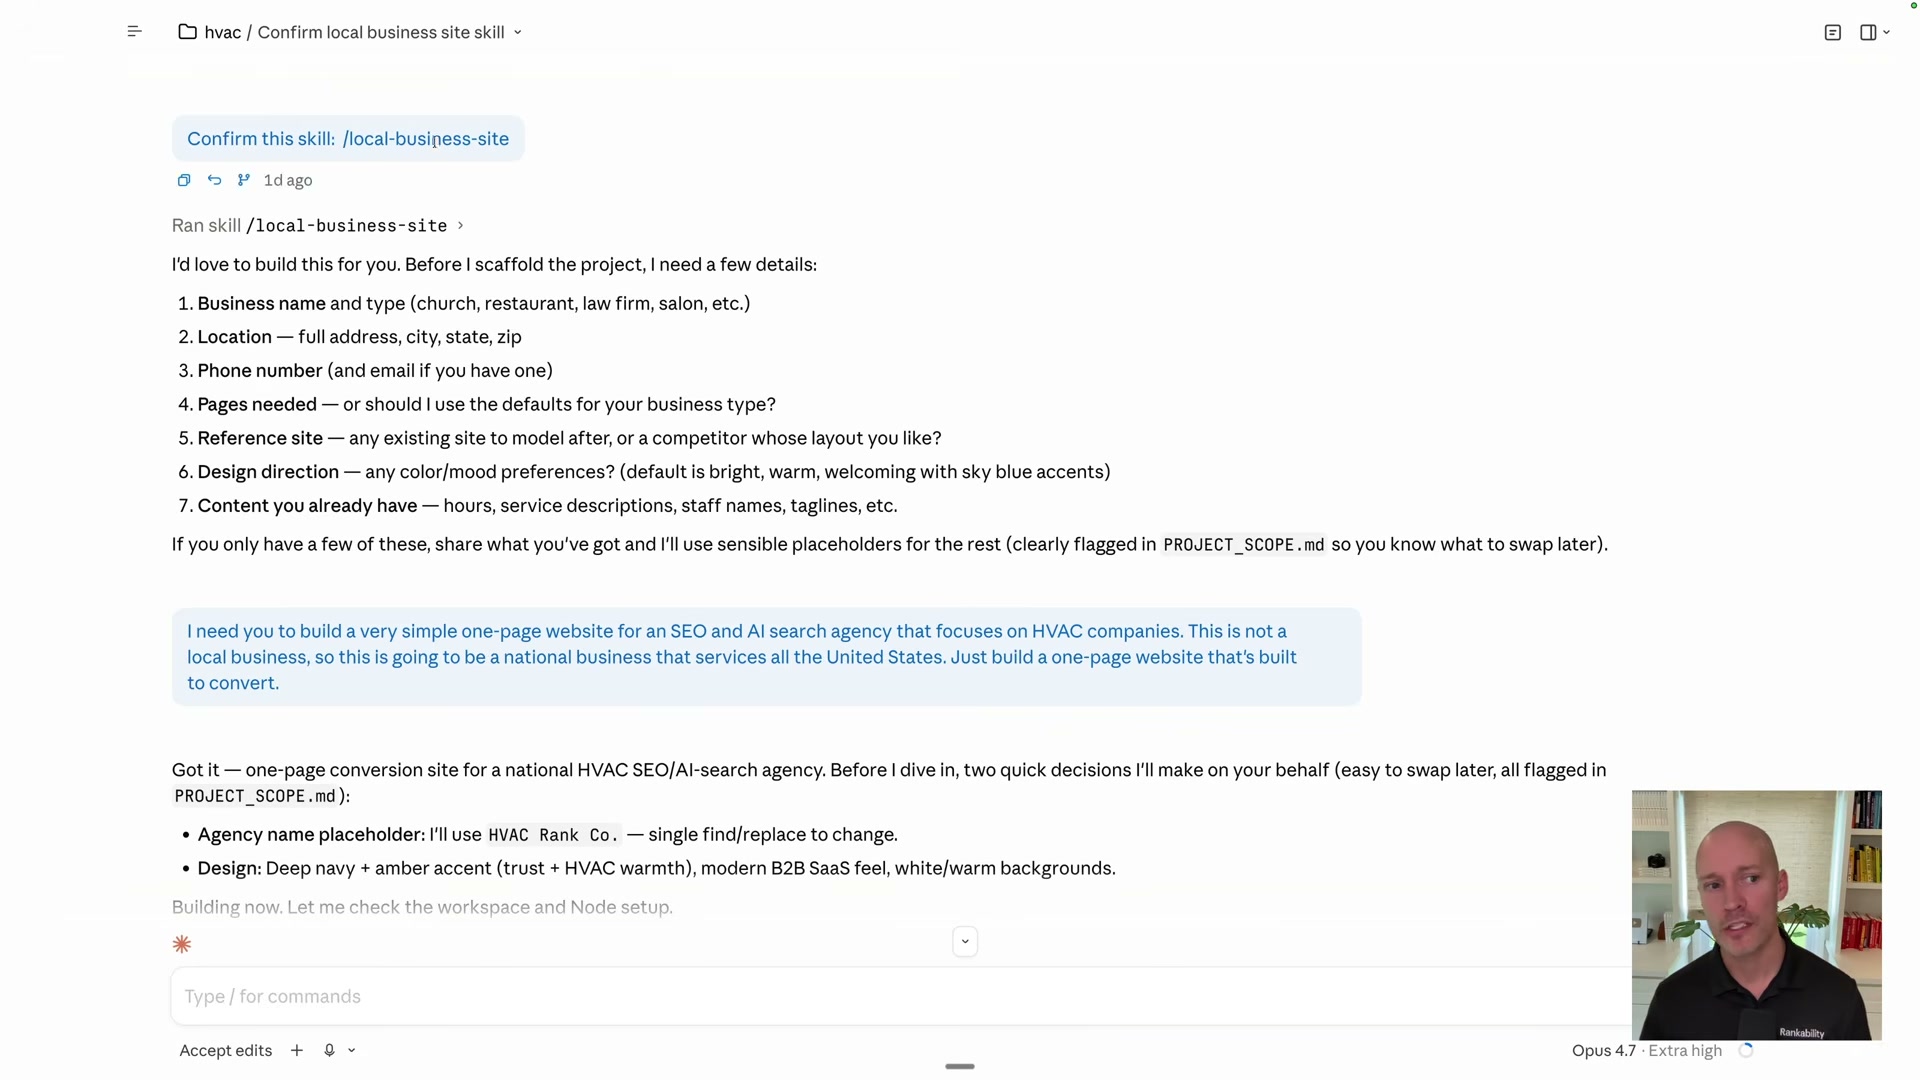
Install the
/local-business-siteagent skill by copying a pre-built Markdown prompt into Claude Code and telling it to install the skill. Claude handles the installation automatically in roughly four to five minutes, after which the skill appears as a slash command.
Warning: this step may differ from current official documentation — see the verified version below.

- With the skill confirmed, prompt Claude Code to build the site. A concise brief is sufficient — for example: “Build a one-page website for an SEO and AI search agency serving HVAC companies nationally. Build to convert.” The skill’s embedded constraints do the heavy lifting: no React, Vue, or Svelte; no dark mode; no databases; pure
.astrocomponents and static output only.

- Claude scaffolds the full Astro project autonomously — expect nine to eleven minutes. The skill also generates a Tailwind configuration with a custom color palette and a two-font stack (Inter for body copy, Playfair Display for headings) as part of its default output.

-
Review the completed build for minor errors. In this walkthrough, a small CSS issue surfaced and was resolved directly inside Claude Code in under a minute.
-
Right-click the project folder on your desktop and compress it to a
.zipfile. On macOS, use the native Compress option in the context menu; on Windows, Send to → Compressed folder. -
Go to Replit, choose Import code and design, and upload the zip. Replit recognizes the Astro project structure and initializes the workspace automatically.
-
Apply a predefined setup prompt inside Replit to finalize the project configuration and prepare it for deployment.
-
Verify the output is genuine HTML by opening the live URL and choosing View Page Source in the browser. Readable text in the markup confirms the Astro build rendered correctly; a wall of script tags means something went wrong in the build step.
-
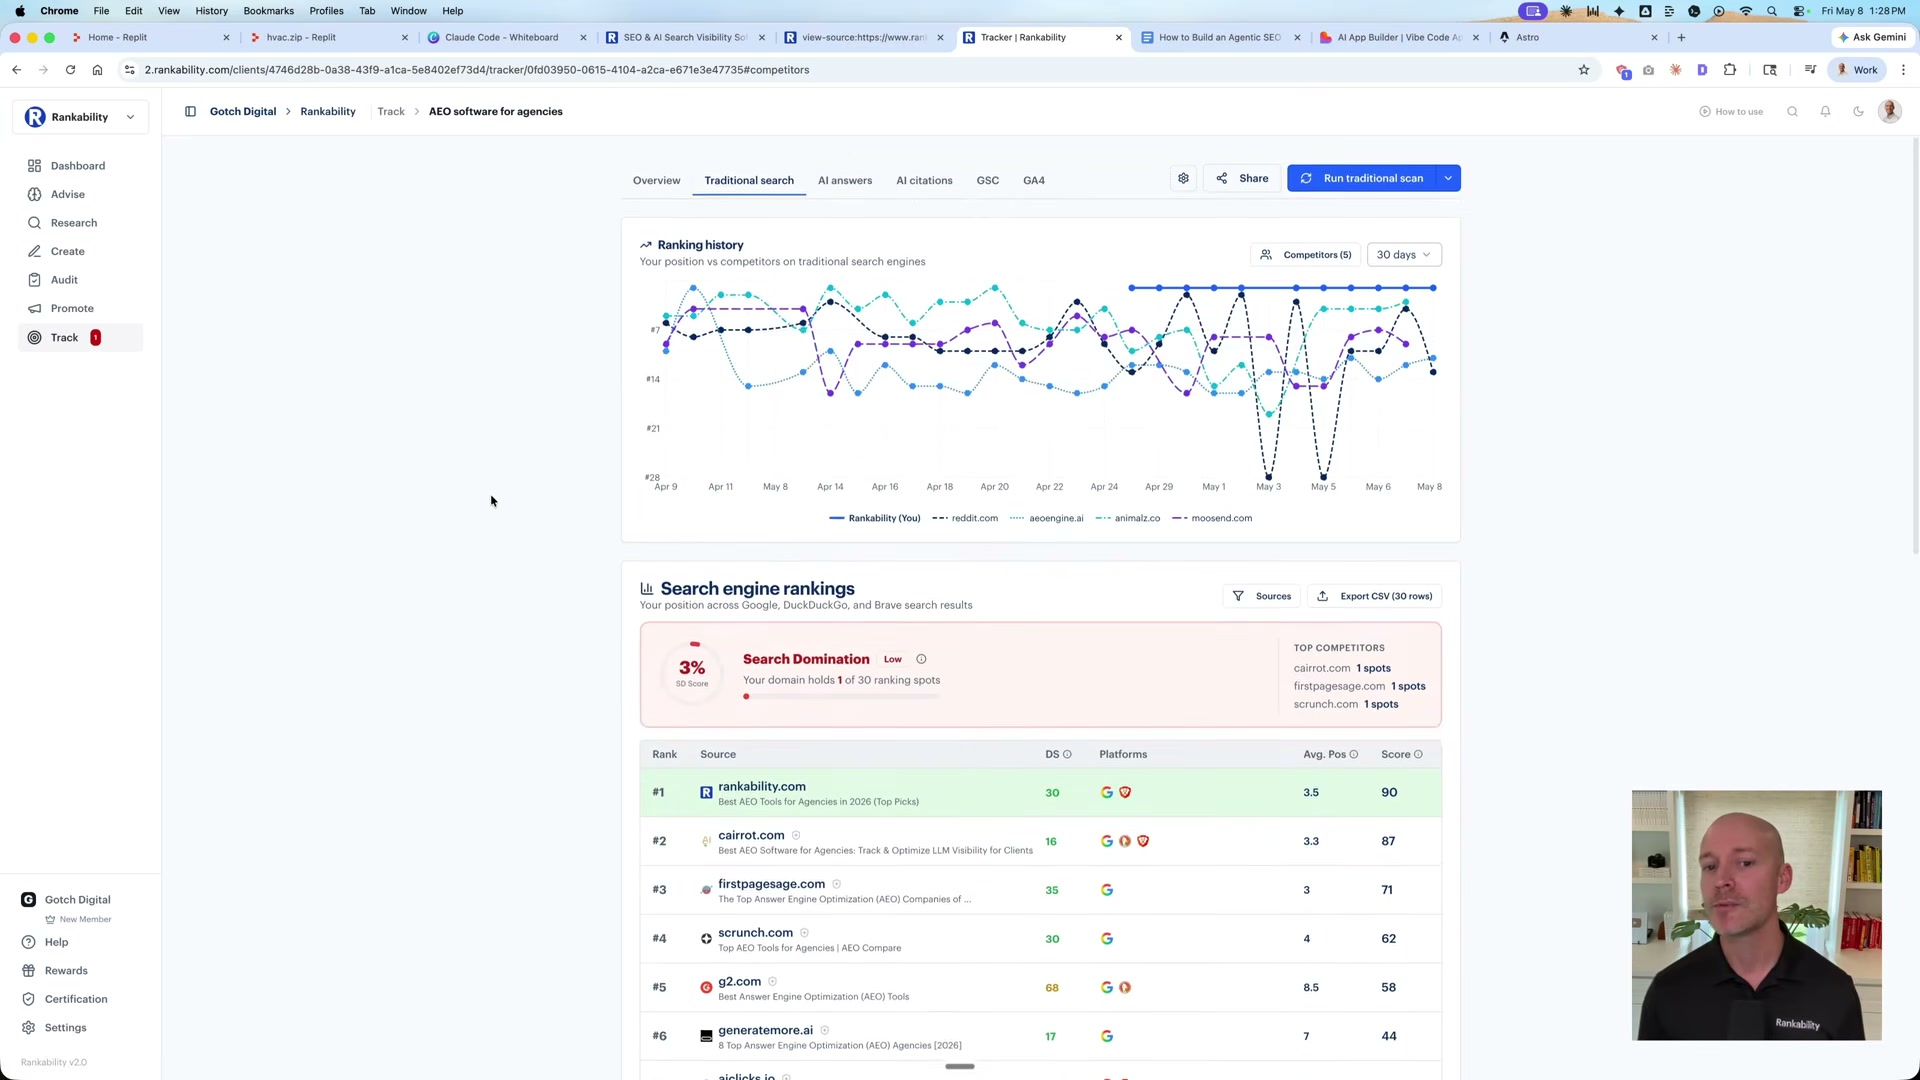
With the site live, connect Google Analytics, Google Search Console, and Microsoft Clarity to begin capturing traffic and visibility data from day one.
How does this compare to the official docs?
The skill installation method and the Claude Code–to–Replit handoff are workflow choices specific to this tutorial — Act 2 maps each step against what Astro’s and Replit’s official documentation actually prescribe, and surfaces the differences that matter for long-term maintainability.
Here’s What the Official Docs Show
The video covers a solid workflow that holds up across most of its architecture and tool choices — the documentation fills in a few meaningful gaps and flags one UI change that requires a different path than the tutorial shows.
Step 1 — Create a project folder
No official documentation was found for this step — proceed using the video’s approach and verify independently.
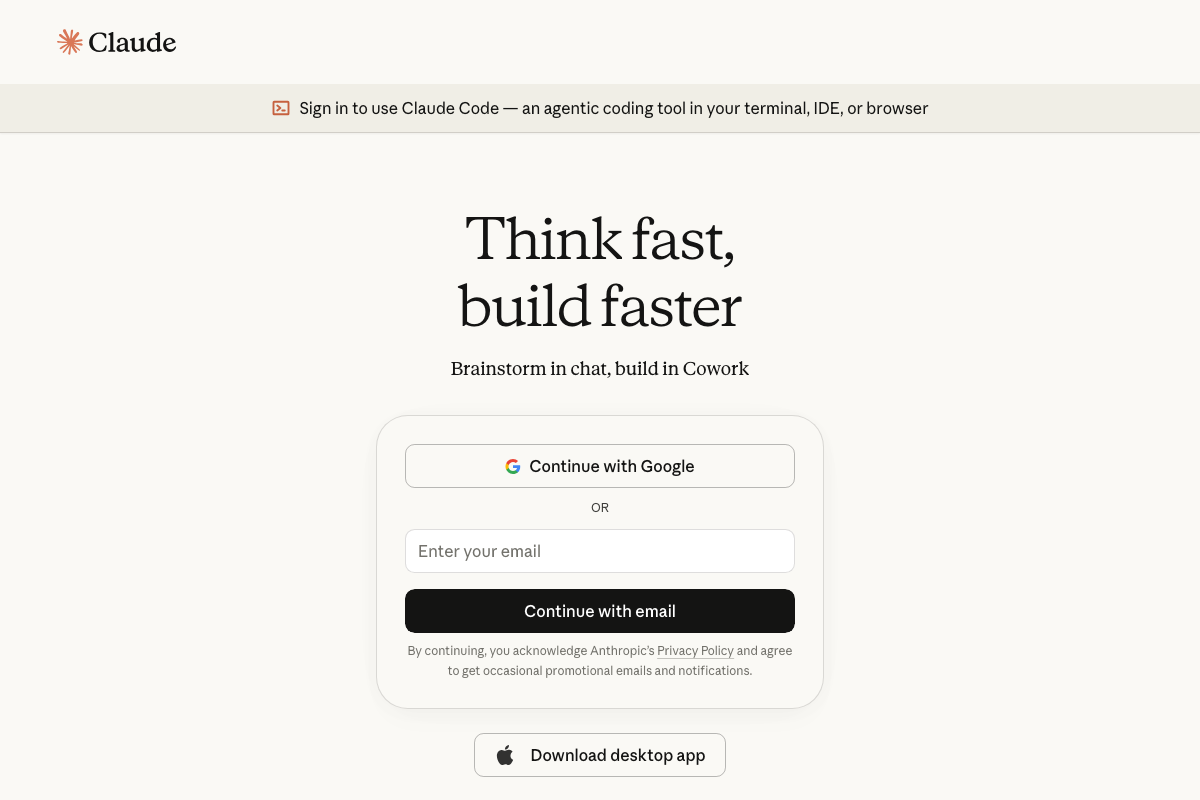
Step 2 — Open Claude Code
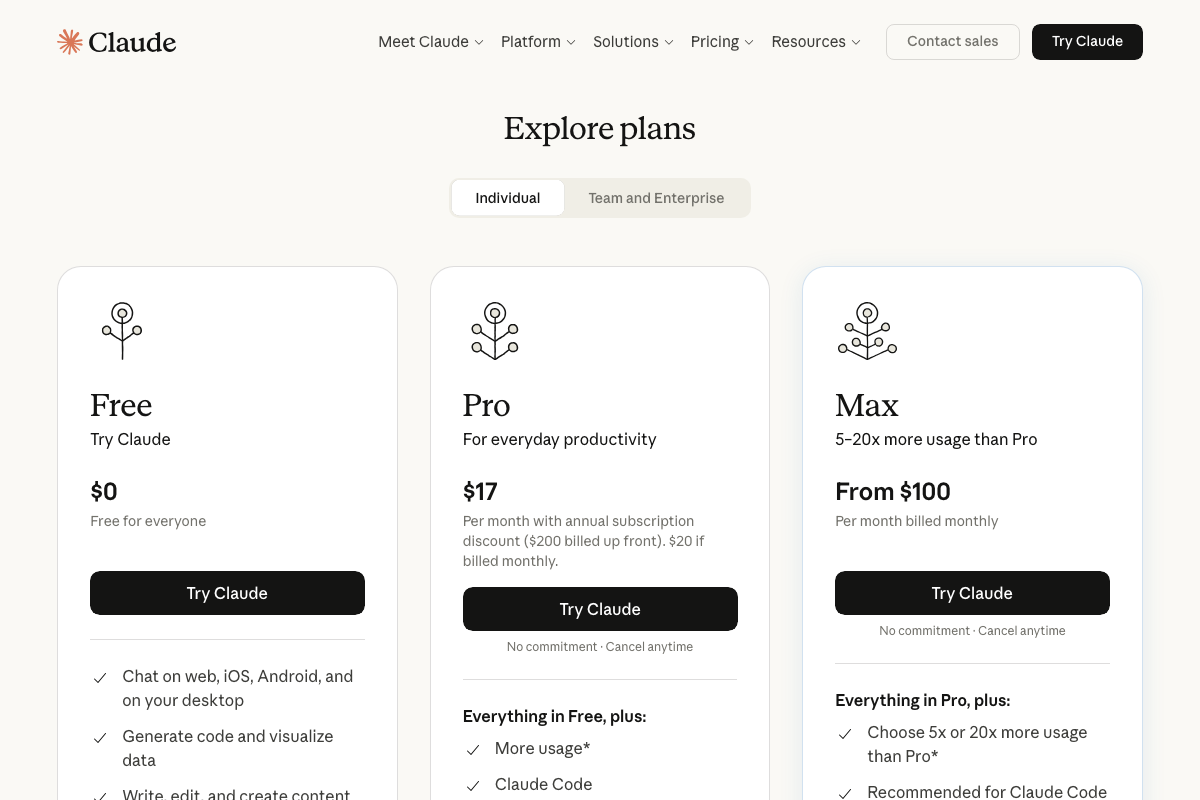
The video’s approach here matches the current docs exactly — Claude Code is confirmed at claude.ai/code as an agentic coding tool running in-terminal, in-IDE, or in-browser. One requirement the tutorial skips: Claude Code is not available on the Free tier. As of May 2026, a Pro plan ($17/month) is the minimum subscription required. The Max plan (from $100/month) is Anthropic’s recommended tier for sustained Claude Code usage.
Step 3 — Install the /local-business-site skill
No official documentation was found for this step — proceed using the video’s approach and verify independently.
Steps 4 & 5 — Prompt Claude to build; Astro scaffolds
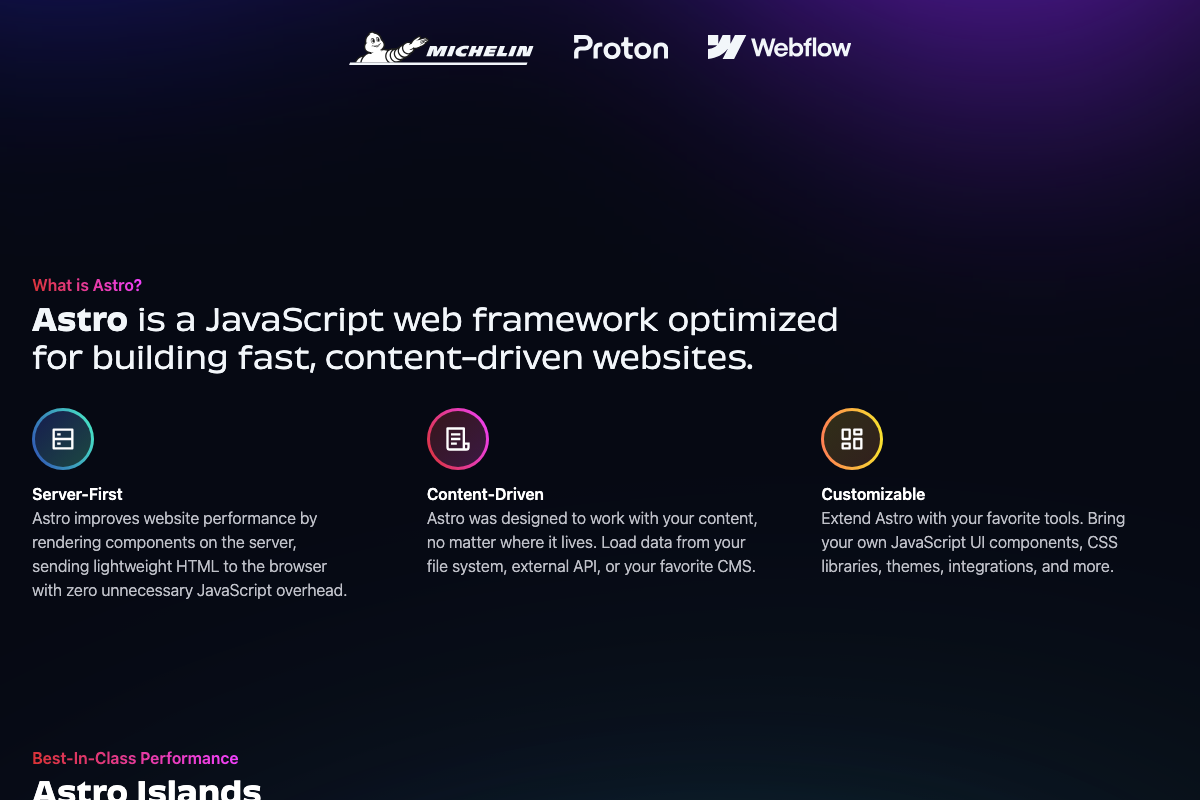
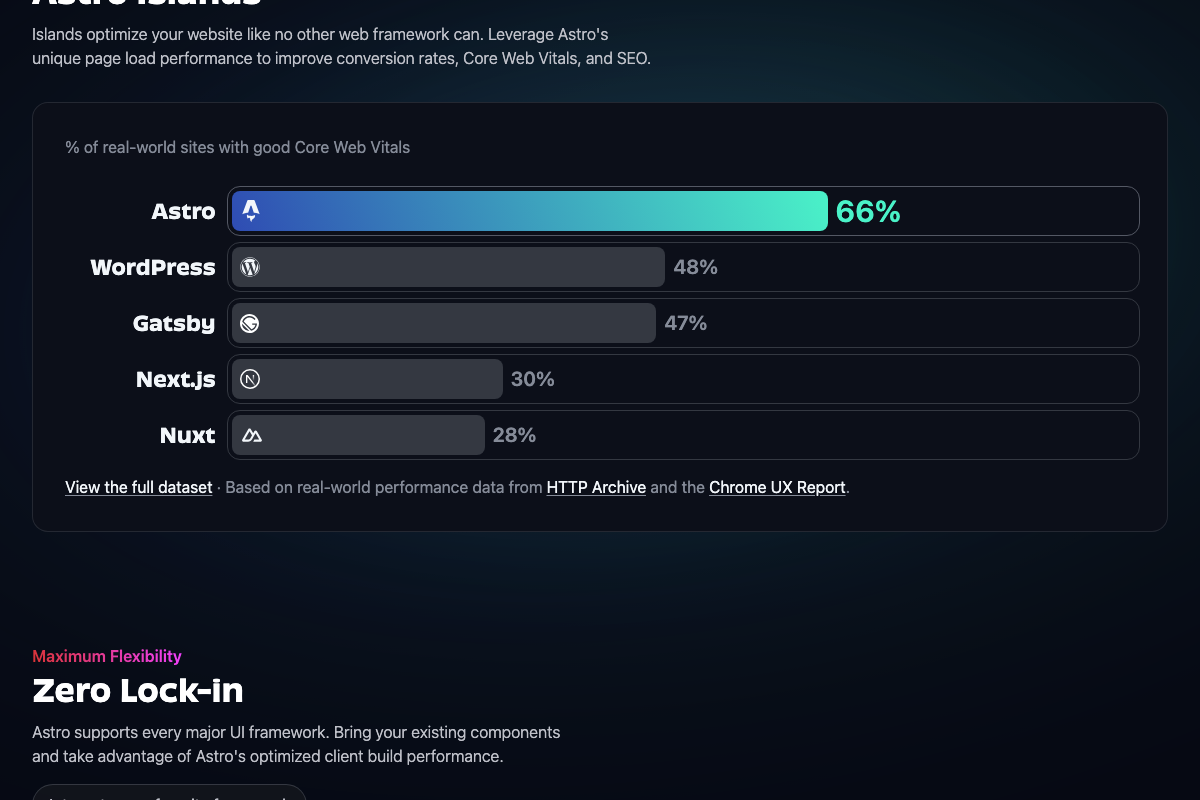
The video’s approach here matches the current docs exactly. Astro’s official “Server-First” documentation describes it as “rendering components on the server, sending lightweight HTML to the browser with zero unnecessary JavaScript overhead” — the precise architectural guarantee the tutorial’s SEO rationale rests on. One version note: the current release is Astro 6.3; users following the tutorial today will scaffold a newer build than the video demonstrates, so expect minor API surface differences. The SEO case is also data-backed by the docs: 66% of Astro sites pass Core Web Vitals versus 30% for Next.js and 28% for Nuxt.

Steps 6 & 7 — Review and zip the build
No official documentation was found for these steps — proceed using the video’s approach and verify independently.
Step 8 — Import into Replit
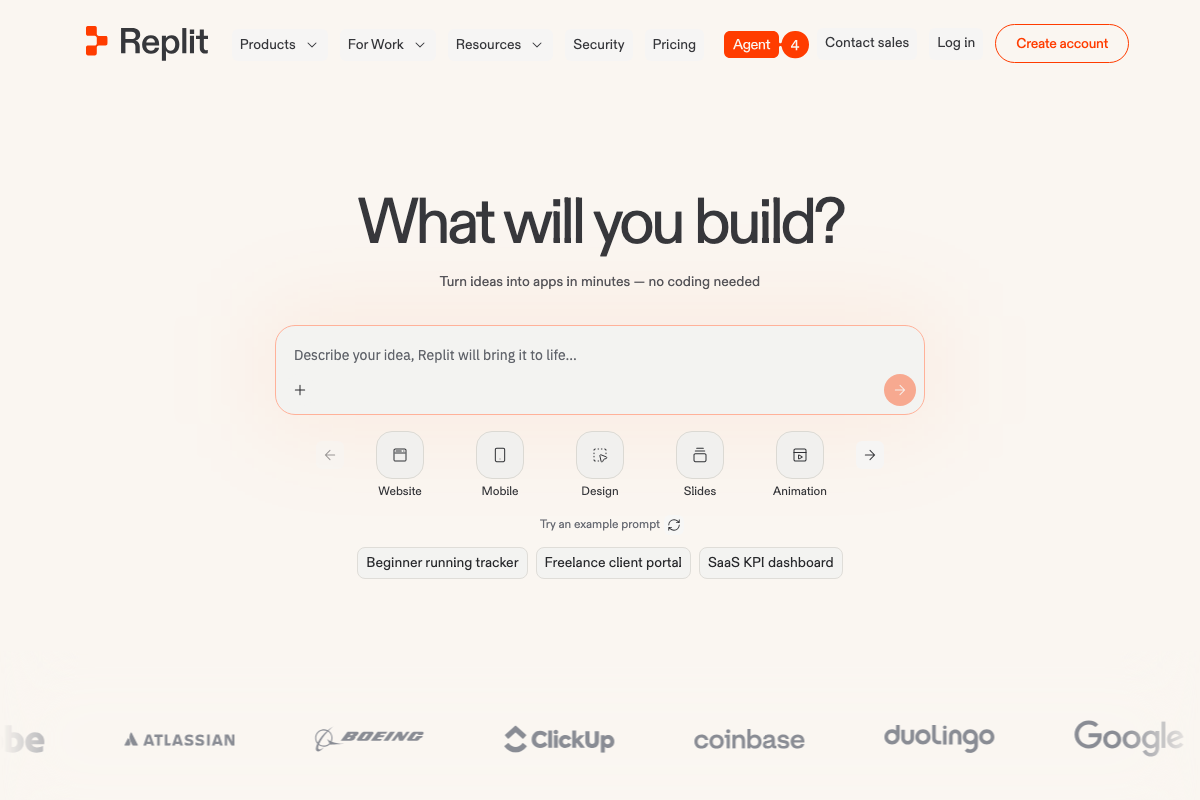
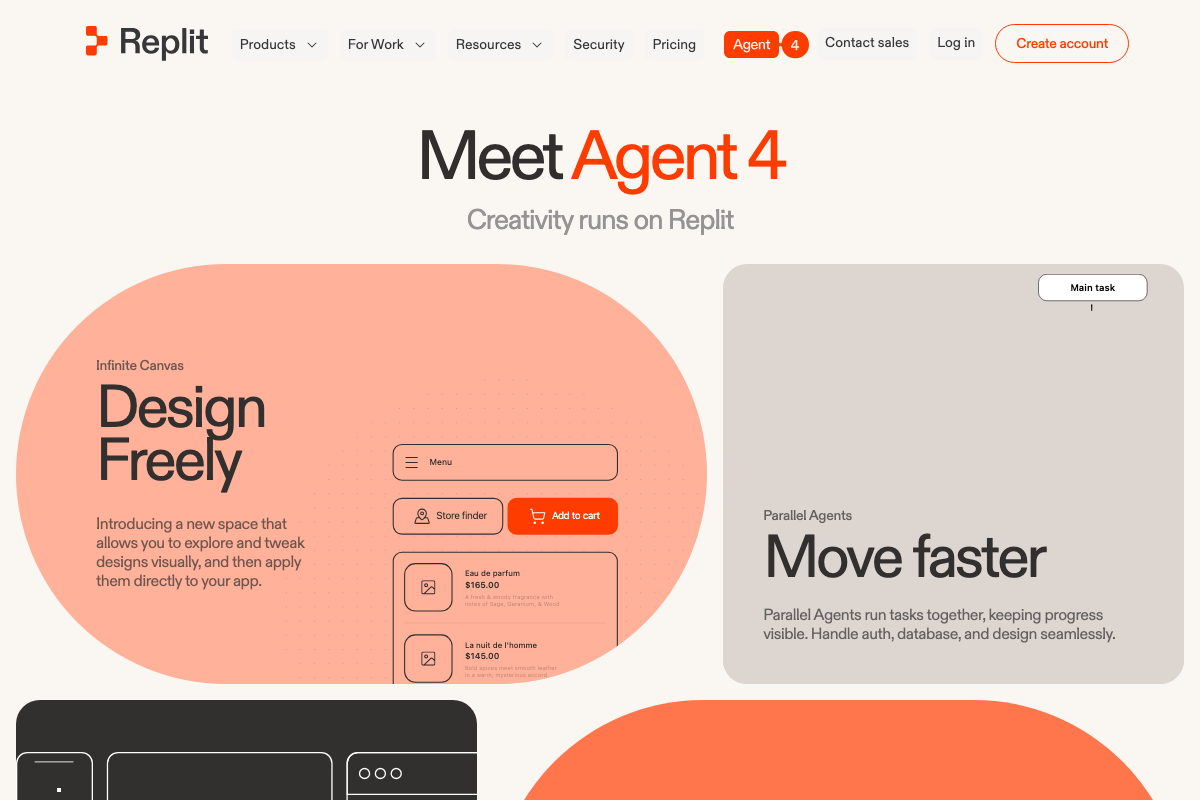
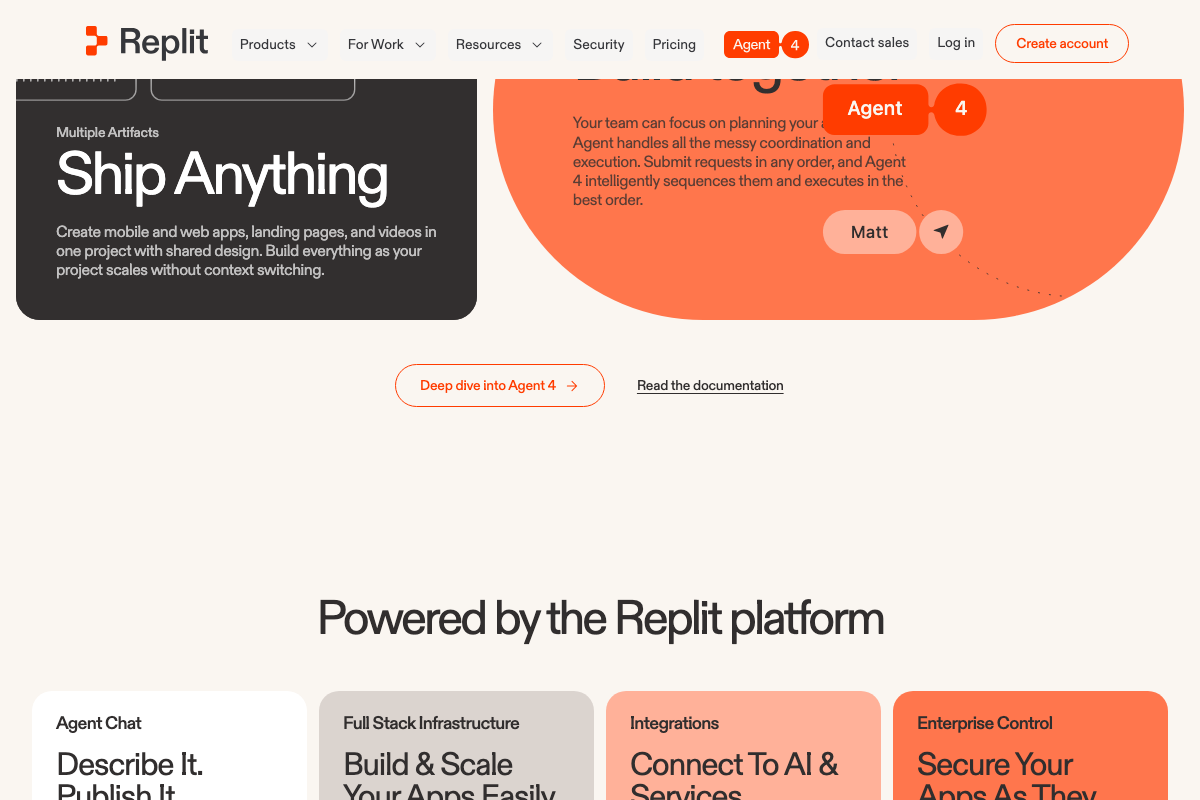
As of May 2026, the “Import code and design” button the video describes is no longer visible at the top level of the Replit homepage — this reflects a UI change since the tutorial was recorded. The current homepage presents Agent 4, an AI prompt builder, as the primary interface. To import an existing zip, look for the upload or import path within the project creation flow rather than the homepage shortcut shown in the video.
Step 9 — Apply the setup prompt in Replit
No official documentation was found for this step — proceed using the video’s approach and verify independently.
Agent 4’s Parallel Agents feature may handle configuration steps automatically; the manual prompt workflow in the video may behave differently in the current interface.
Step 10 — Verify HTML via View Page Source
The video’s approach here matches the current docs exactly. Astro’s Server-First architecture guarantees rendered HTML at the source level — readable markup in Page Source is the documented, expected output.
Step 11 — Connect analytics
The video’s approach here matches the current docs exactly for tool selection, with three additions worth noting. For Google Analytics, the available screenshots show only the sign-in screen — no property creation or gtag installation steps were captured, so follow Google’s own setup guide directly after authenticating. For Google Search Console, property verification and sitemap submission are required after account creation but are not covered in the video. For Microsoft Clarity, the tool remains free, but the platform has expanded materially since the tutorial was recorded: AI summaries, AI chat, and Brand agents are now included alongside the session recordings and heatmaps the tutorial implies.


Useful Links
- Sign in – Claude — Claude Code access point and pricing tiers, confirming the Pro plan ($17/month) as the minimum required subscription
- Astro — Official Astro 6.3 homepage with the npm scaffold command, Server-First architecture documentation, and third-party Core Web Vitals benchmark data
- Replit – Build apps and sites with AI — Replit’s current homepage, now centered on Agent 4 as the primary creation interface rather than the manual import flow shown in the tutorial
- Google Analytics — Analytics sign-in entry point; property creation and gtag setup require authentication before any configuration screens appear
- Google Search Console — Search Console landing page for property setup, DNS verification, and sitemap submission after account creation
- Microsoft Clarity – Free Heatmaps & Session Recordings — Clarity’s feature overview, including AI summaries, AI chat, and Brand agents added since the tutorial was recorded


0 Comments